I think one of the hardest things about woodwork is not cutting the perfect dovetail, or fitting the bridge of an acoustic guitar to the soundboard using only a block plane (no sandpaper, thank you very much), although both of those tasks can be difficult. I think one of the hardest things is identifying the most appropriate tolerance to work to for each specific operation, and to acknowledge when something is good enough even though it might not be absolutely perfect. I’m not saying that we should ever stop pushing ourselves, that each project we build shouldn’t be better than the previous. Far from it. But not everything has to be perfect, especially if we take into account the rest of the project, its intended use, and the fact that we learn a lot less by spending endless amounts of time futzing with a single aspect of a project rather than finishing it and moving onto the next one using the experience and skills we have just learned. I’m not saying be slap dash, but know which battles to fight, know when to knuckle down and get something absolutely perfect, and when to say good enough really is good enough. Or, to put it another way, to maintain perspective.
There is of course a reason I mention this now. At the end of my last post, the lid had been fitted to the tool chest, and the gap between the dust seal and the upper skirt was consistent (about 0.5mm) save for the corner at the back right hand side (which was just over 1mm). And I should have left it like that. Because objectively, this is not a piece of fine furniture – it is a tool chest which will live in my workshop, and although I take pride in my work and want this to be finished to a good standard, it will no doubt take a beating over the years. So leaving the lid with a slightly bigger gap at one corner would have been the smart thing to do (although it would not have offered up much of a narrative for this blog). Instead, I decided to start trimming the dust seal and the upper skirt to eliminate the high points and reduce that pesky gap at the back corner. Having patiently trimmed the dust seal with my block plane, fitted the lid, marked off the high spots, then trimmed some more, the gap is now consistent across all three sides. So, mission achieved. But the time spent on improving a very small aspect of the chest which I’m not going to see very often, was definitely disproportionate.
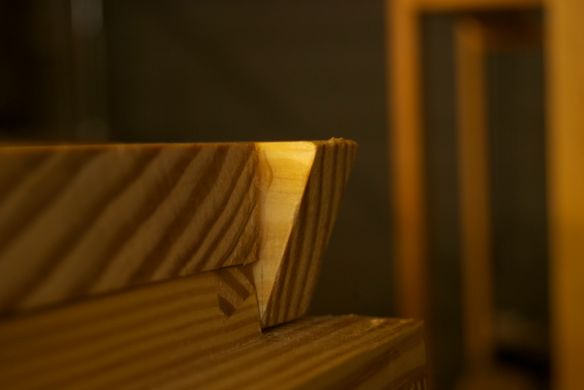
Anyway. Once I had recovered from obsessing over the gap between the dust seal and upper skirt, it was time to finish installing the hinges. The dust seal was left over length on both sides of the lid so I cut this to length with my carcass saw, cutting a bevel that started 1″ on the top edge of the dust seal, and finishing flush with the lid on the bottom edge. This bevel will act as a crude stop for the lid until I fit a chain between the lid and chest.
With the hinges installed on the lid, I placed the lid on the chest and marked the position of the hinges against the back of the case. I then detached just one of the hinges from the end of the lid (in case there were discrepancies in length or thickness between the three hinges), and morticed the case in the same way as I had the lid, defining the ends of the mortice with a 0.01″ razor saw, removing the bulk of the waste with a 1″ chisel and then cleaning up with a small router plane (see my previous post for more detail on this). The router plane does not respond well when taking too big a bite out of this difficult timber, so the chisel work to remove most of the material was crucial, allowing the router plane to clean up the bottom of the mortice to final depth.
I repeated this process for the hinge at the other end of the chest, and fitted both hinges to the chest and lid to check that everything moved smoothly without any wracking. With everything working as it should, I then removed the lid and cut the mortice on the case for the middle hinge. One tool which I have found invaluable for installing the hinges is an automatic centre punch. I use the Starrett 819 punch, which operates with only finger pressure, allowing me to hold the hinge in place with my spare hand. I only wish I had this tool when I was installing all of the hardware on Laurie.
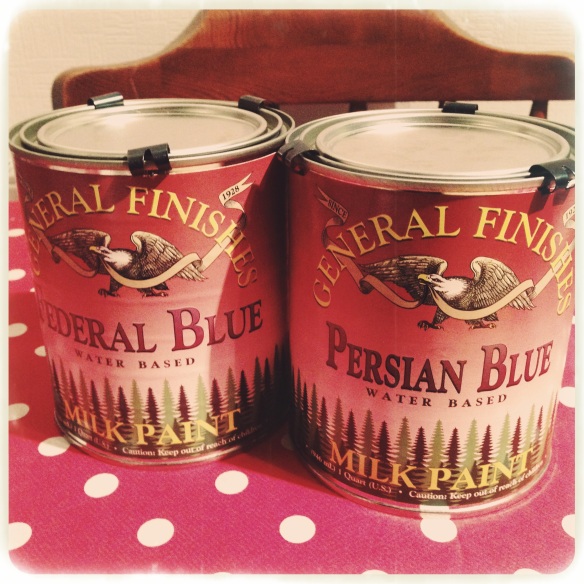
The three hinges move smoothly with no sign of wracking, so this stage of the build is now complete. Next on my to do list is installing the lock, which will be another new experience. The end of the main build (less of course all of the internal fit out) is in sight, so it was very exciting when my milk paint order arrived this week.


