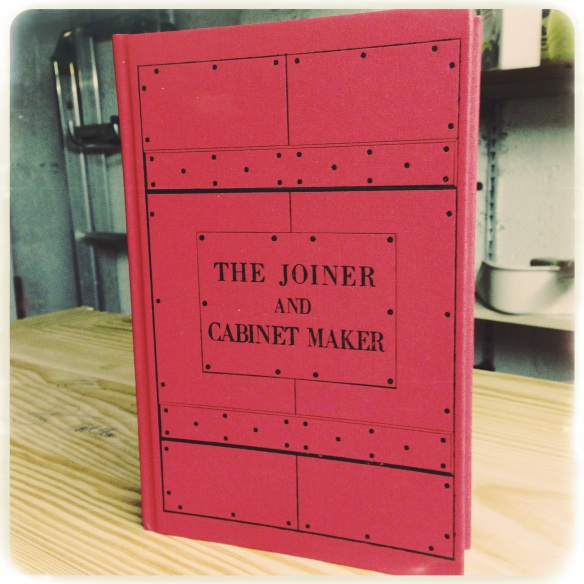
 Last weekend I fitted the lock to the tool chest, and this was another new experience for me. As the Anarchist’s Tool Chest doesn’t go into much detail in how to go about fitting the lock I decided to follow the detailed instructions in The Joiner and Cabinet Maker, for a historically accurate hand tool method.
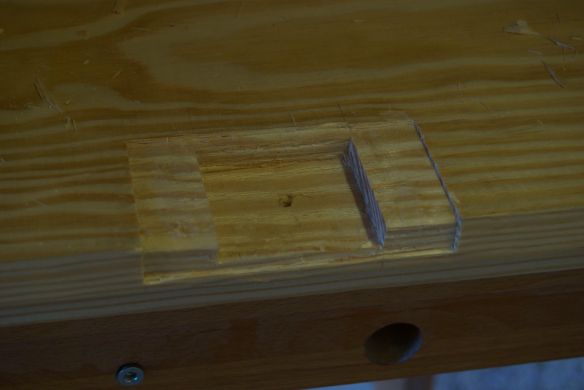
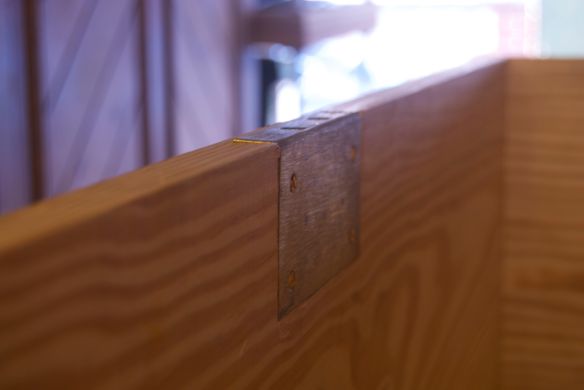
The half mortice lock I fitted required two different mortices to be cut into the front of the tool chest; a shallow mortice for the back plate, and a deeper mortice for the lock mechanism. Before I started laying out these mortices I determined the centre point of the front, after which I used a marking gauge to the position of the shallow mortice on the top edge.
 Having cut the mortice for the top plate, I was able to hold the lock against the inside of front and press the lock pin into the pine, the resulting dent showing where I needed to drill the keyhole. Because I wanted the keyhole to be dead straight through the upper skirt and front of the chest, I cheated and prepared a guide hole in a piece of scrap on the drill press. Having clamped this in place I then drilled the pinhole using an egg beater hand drill.
 In The Joiner and Cabinet Maker, Thomas (the apprentice) uses a rat tail rasp to shape the rest of the keyhole. I don’t at present have a rat tail, so I roughed out the rest of the keyhole with my coping saw, and cleaned up with a series of fine files, checking the shape of the hole against the key and also the escutcheon. Once I was happy that the keyhole matched the shape of the escutcheon hole and allowed the key to slot into the lock it was time to cut the mortice for the lock mechanism.
 I defined the edges of the deep mortice using my 12″ carcass saw, and the back edge with a 1″ chisel dropped into the kerf left by my marking knife. The waste was then removed with chisels and cleaned up with a small router plane. With the lock mechanism fitting snugly into the mortice I was then able to mark out the final dimension of the shallow mortice for the back place.
 The back plate mortice was cut in much the same way as the deeper mortice, save that the ends of the mortice were cut with a 0.10″ razor saw rather than the carcass saw (which would have left too wide a kerf). Guide holes were then drilled for the screws which hold the lock in place.
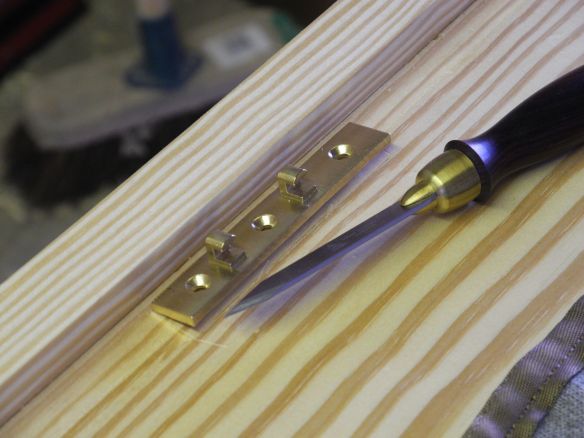
 I then turned my attention to fitting the hasp. The back of the hasp has two prongs, which I used to determine where the hasp should be placed on the lid. With the hasp attached to the lock, I lowered the lid and have it a gentle tap, so that the prongs dented the inside of the lid. It was then a case of laying the hasp on the now detached lid so that the prongs mated with their corresponding dents, and marking round the hasp with a marking knife. I then cut a shallow mortice to accommodate the hasp and screwed it in place, testing that the catch pins slid into the lock correctly.
 All that remains for the first stage of the build is to sand and paint the chest, after which I can start thinking about the internal fit out.

Pingback: The Cabinet Maker at School… Part 5 | Over the Wireless