You’ve got some neck

Today I’ve been sequestered in the workshop carving the neck for the Telecaster build. The neck is a nice piece of birdseye maple, with some unexpected subtle flame across the back, and a birdseye maple fretboard. To add some visual interest, but stiill stay true to the simple workhorse appeal of Tele type guitars, the fretboard and neck are separated by an accent line of black dyed sycamore veneer. The scratch plate is black/white/black laminate, and along with the black tahiti pearl fretboard inlay and side position dots, creates a consistent theme with the lack veneer.

Earlier this summer I had inlayed the black pearl dots, and shaped the fretboard to a vintage correct 7.25″ radius, and the next task was to carve the neck. This guitar is largely based on 1950’s Telecaster’s, and so for neck profile I was aiming for something quite chunky with a “boat” shape rather than the modern “C” profile – I never get on particularly well with super skinny necks. One of the real advantages of having an instrument custom built is the opportunity to have a neck profile carved specifically for your hand size, and playing style – no matter how good an off the shelf guitar is, the neck profile will always be something of a compromise. Unlike modern Fender guitars, the neck on this guitar is a constant 1″ thick across the full length of the neck. As with the neck on Esmerelda, I decided to leave a little more material on the bass side of the neck to create a slightly asymmetric profile which supports the thumb. I first read about Brook Guitars using this on their instruments, although I think that the Fender SRV signature models may also have an asymmetric neck profile.

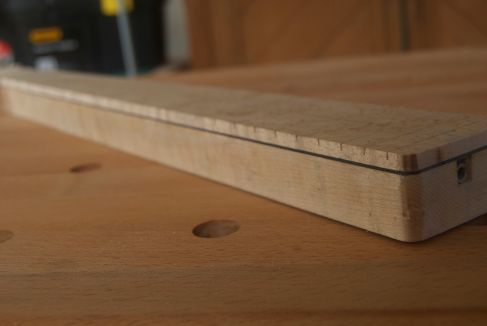
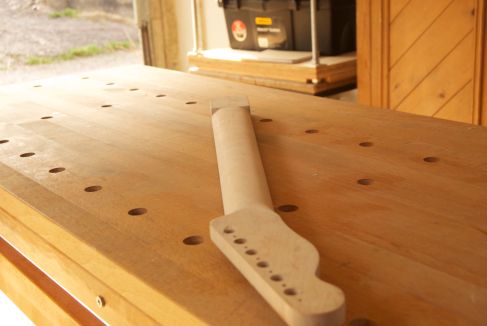
The following is an old picture which shows roughly what the neck was like before the carve, although as I mentioned earlier, the fretboard had been radiused and the inlay fitted between taking the photo and carving the neck profile.

Image

I start by establishing the profile I want at the first fret, and immediately before the body join, by rasping in a rough profile. I use Auriou rasps exclusively; a 9 grain cabinet rasp, and a 13 grain modellers rasp for fine work. The 9 grain is aggressive, but leaves a good finish and is still precise enough to allow you to work up to the line.

Image

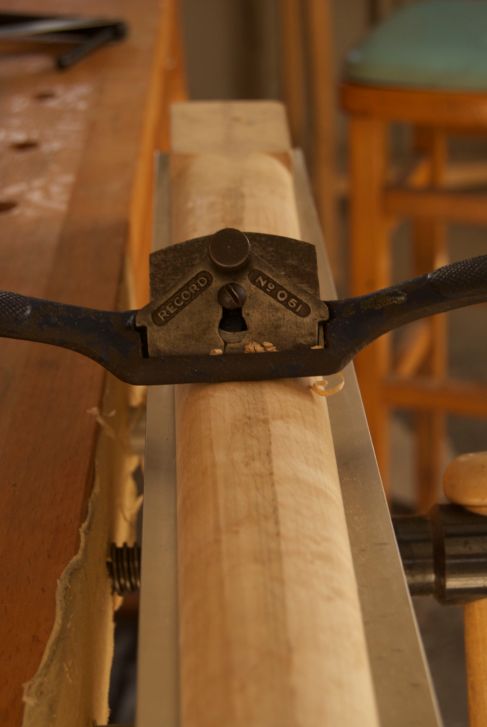
I then join the two roughed out profiles using a spokeshave – this particular spokeshave is an old Record No.51 of my grandfather’s which I have recently restored.

Image

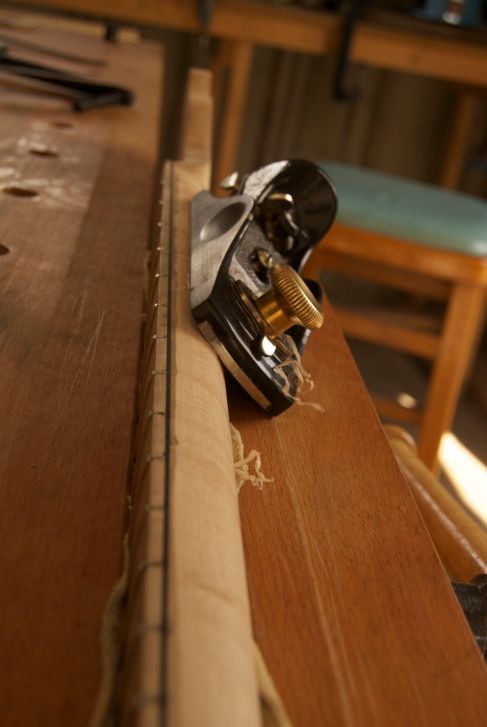
The profile is then fine tuned with a block plane (pictured is my Ray Isles tuned Stanley block plane) tracing the 6 string lines, and staying clear of the centre line of the neck. The rasps are also used to tweak the profile along the length of the neck, until I am happy that the neck is the right shape and that there are no flats, humps or hollows. The final stage is removing previous tool marks and smoothing out the profile using sheets of 150 and then 180 grit paper in what I’ve heard referred to as the “shoe shine” method. Occasionally, there is still a corner or ridge just below the edge of the fretboard, and this is gently eased out with some 80 grit paper and light finger pressure, followed by the 150 and 180 grit papers again.

Image

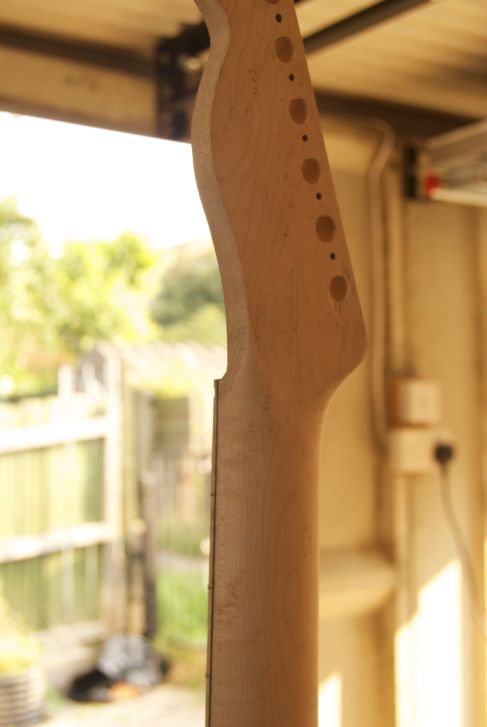
Here you can see the final profile and the transition from the headstock to the neck profile, which was carved using the small modellers rasp and some tightly rolled 150 grit paper. Also visible is the black veneer sandwiched between the neck and fretboard.

Image

The finished neck profile.

Begin the Begin

Beginnings are always the hardest part. Where to start? I mean literally, where to start? At the beginning.

This is a blog about lutherie, wood work, and music making. But really that’s not the beginning, not by any stretch of the imagination. That is very much the destination.

The beginning, I suppose, takes place some 26 years ago, when a much younger me first picked up a violin. What followed was many, many hours of (unintentionally) impersonating the sound of an enraged and cat-nip addled tom cat being fed tail first through a wood chipper. The practice continued, and the cat-slaughter sound effects finally abated. Several years were spent playing with high quality youth orchestras. The tuba, guitar, and mandolin were added to my practice regime. And somewhere deep inside my mind, a question started to form. Because you see, once I understood how a musician used a musical instrument to generate a sound, and string that sound to several others to play a melody, I wanted to know how the musical instrument itself worked.

Although I never did much in the way of woodwork growing up, it was something which had always been present during my youth. My maternal grandfather was an active and enthusiastic woodworker, building everything from toys to wardrobes. There is another blog post or two about the sanctuary of Grandad’s shed, and about the idea of heritage in hand tool working, but I shall leave those for another time.

And so the idea had been planted, and as soon as I finished law school, I booked myself onto a term at the Totnes School of Guitar Making. Under the tutelage of Phil Messer I designed and built, entirely by hand, a 12 string acoustic guitar named Esmerelda. And somewhere a lightbulb lit up. This was it – the Eurika moment. This was love. With hand tool working and making things from wood I might add, not with Phil (although he is one hell of a chap). That was just over six years ago now, and for my sins I spend my days working as a construction solicitor at an international law firm. When I’m not in the office, my focus is still on playing and writing music, and of course, wood working.

Most of my workshop time is still dedicated to lutherie, particularly building acoustic guitars (although at the moment I am working on a ’59 Blackguard Telecaster type electric guitar). But thanks to the writings of Chris Schwarz, both on his blog and in print through his Lost Art Press publishing house, I am slowly turning my gaze towards furniture building. In 2014 I intend to work my way through the projects in the Joiner and Cabinet Maker, and will chart my progress in this here blog.

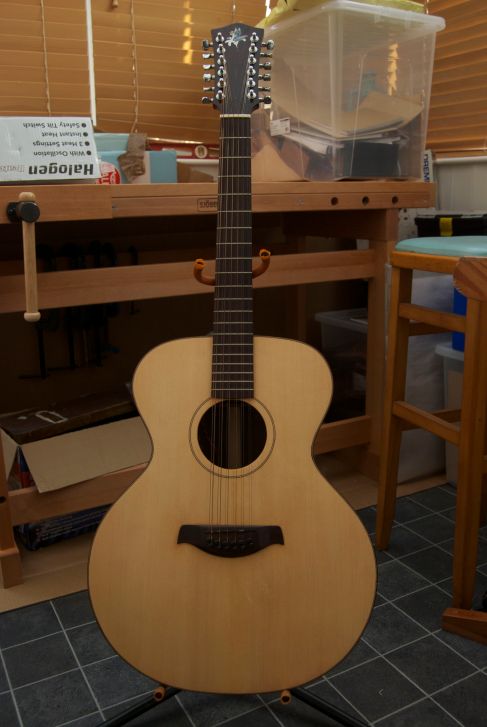
It seems only fitting to end this inaugural post with photos of the instrument which started it all; Esmerelda.

Image

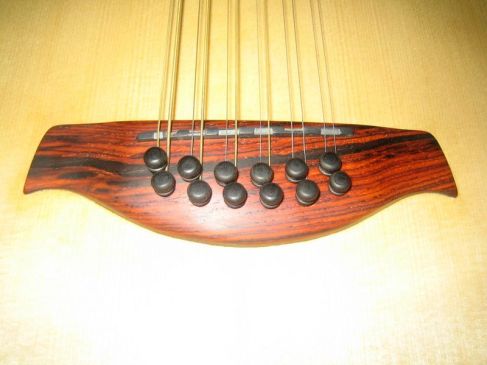
An acoustic 12 string guitar with alpine spruce sound board, Indian rosewood back and sides, mahogany neck and cocobola headstock veneer and bridge. At her widest point she’s 512mm wide (across the lower bout), so pretty large, although the tight waist and small square shoulders give the impression of a smaller guitar when in the playing position.Image

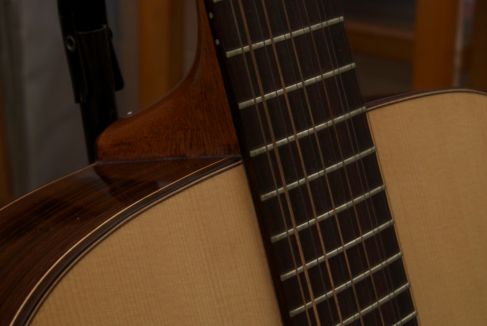
The corner binding is maple and rosewood, a theme which is repeated in the soundhole decoration.

Image

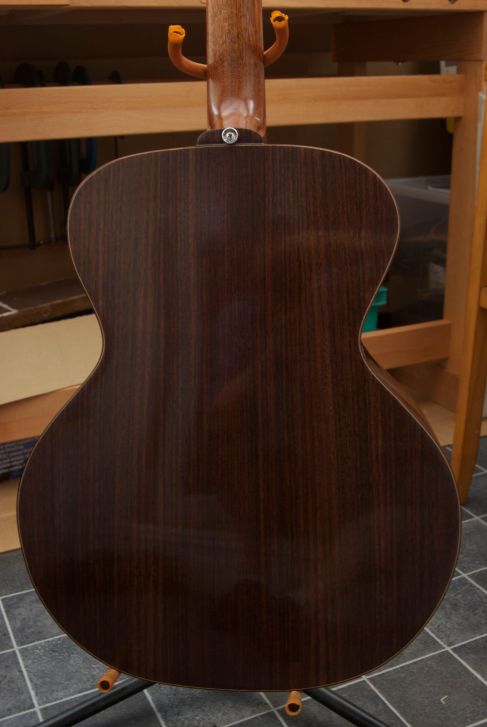
The Indian rosewood back.

Image

Close up of the cocobola bridge.

Image

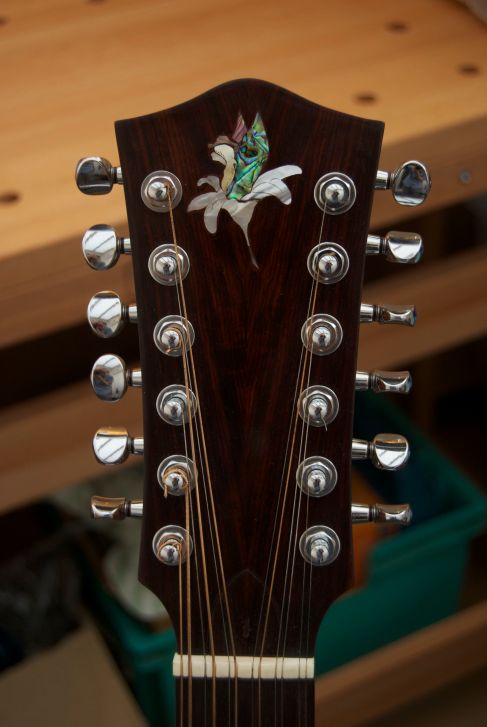
The headstock, with cocobola veneer and angel inlay taken from the cd my band Cake for Lily released back in April 2007.