Today has been my favourite sort of workshop day. There has been visible progress on the Telecaster build, with problem solving and practice at fundamental hand tool skills along the way. Perfect.
Before the wedding, I had got the Telecaster to the point where the next stage was to fit the neck to the body. Although the neck pocket in the body was routed early on in the build, fine fitting the neck and drilling the holes for the neck screws doesn’t happen until quite late in the build process.
Before I started drilling any holes however, I wanted to fit a more substantial table to my drill press to support large pieces such as the Telecaster body. Out of the box my drill press only has a 4″ wide table, which is fine for drilling small work pieces but is somewhat lacking for larger work. Rather than buy a third party table, I decided to make one out of a spare piece of 1/2″ thick plywood I had kicking about. This would give me a substantial 24″ square table which should be more than sufficient to support any workpiece I’m likely to introduce to the drill press. Having drilled and countersunk the mounting holes, and cut a recess to accommodate the drill pillar, I then discovered that the throat of the drill press wasn’t deep enough to reach the location of the holes on the Telecaster body. Damn. It looked like I was going to have to drill these holes the old fashioned way after all. This wasn’t time wasted though, as it’s a job I’ve been meaning to do for a while. When I next get an opportunity, I’ll also fit a fence to the new table.
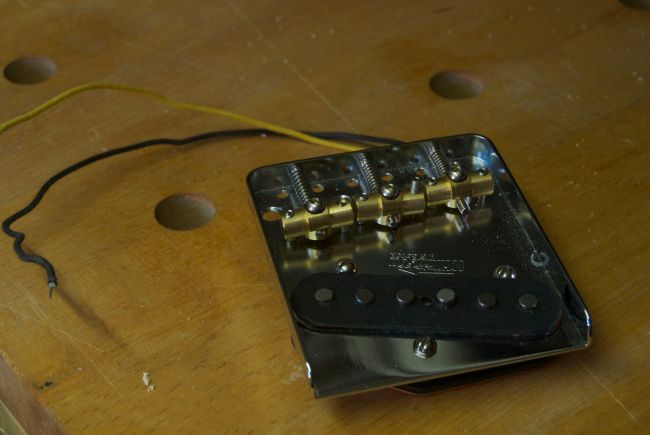
Before I could fit the neck I needed to have the bridge fitted and drill the stringing holes through the body. I screwed the bridge to the bridge pickup (and there will be a future post about pickups in the near future) and placed the bridge pickup in it’s cavity. This then located the bridge in the correct position, which was checked from the front edge of the neck pocket and against the body centreline.
I was then able to drill the four holes for the bridge screws, and the six holes for the string channels, the latter going all the way through the body. Drilling through 2″ thick swamp ash using only a decades old egg beater drill is not for the faint hearted, and a good exercise in drilling perfectly straight. While I was at it, I flipped the body over and widened the string channels (which had been drilled with a 3mm bit) to a 10mm diameter and 9mm depth to accept the string ferrules.
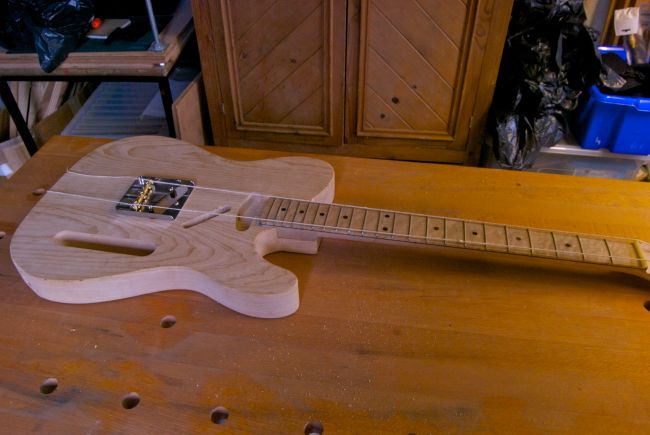
Next, and still using the egg beater hand drill, I drilled four holes through the body for the neck screws. Then came the clever bit. The neck currently has a good tight fit in the pocket, but because I have left some room for the lacquer on both the neck and in the pocket itself, there is a little side-to-side play. I want the neck to be dead straight when fitted, so that the outermost strings are a constant distance from the edge of the fretboard. To check this I installed the nut and the tuners for the outermost strings in the neck, and attached the bridge to the body. I then ran lengths of string from both tuners to the bridge, adjusting the neck laterally until everything was true, after which I pushed a 3mm drill bit through the holes in the body to mark the position of the four screw holes on the bottom of the neck. After that it was a simple enough task to drill the four holes to depth in the neck (yet again, using the egg beater drill because by this point I was growing quite fond of it).


