My Ritual… part 2

_DPP3734

I’ve written previously about how I find ritualised activity helpful for entering the right frame of mind at the start of a workshop day. And although at the end of a project I am always eager to start the next build, I have taken to spending a couple of hours cleaning up and re-ordering the workshop before I start work on something new. I suppose that this is really another ritual of sorts, helping as it does to clear both my head and the ‘shop.


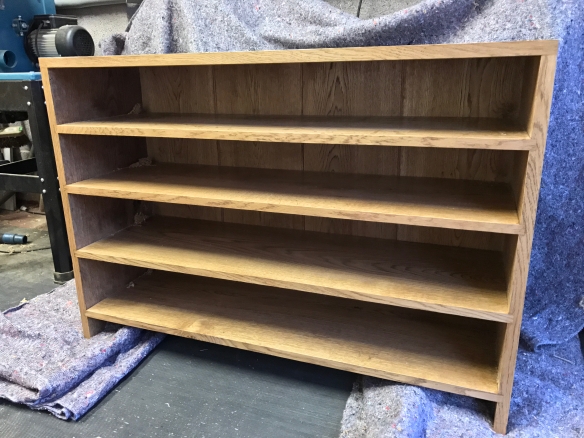
The workshop was in sore need of some attention and tidying by the time I had finished the Policeman’s Boot Bench. Although I try to keep a clear and tidy workspace, working on the Boot Bench had prompted some major reorganisation of the ‘shop, including relocating my bench against the lefthand wall. Changing one element of a workspace invariably means you have to reorganise other areas, and I’d not had the time to complete this process since January.

IMG_6657

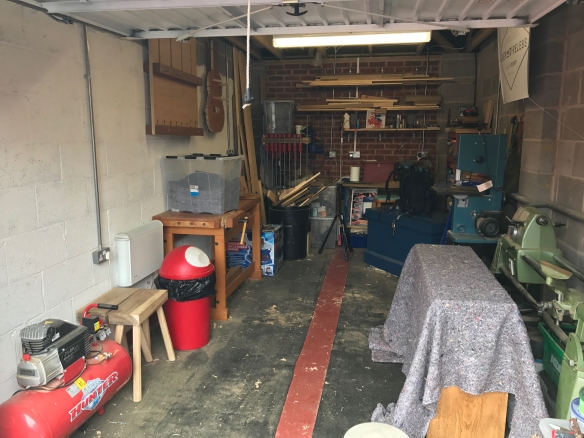
Having completed the Policeman’s Boot Bench – the shop is in need of a good clean and some thorough re-organisation.


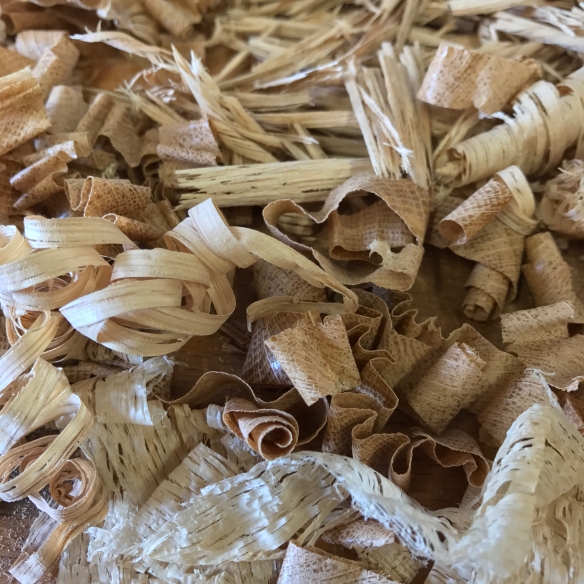
And so although I am chomping at the bit to start building a staked work table (out of the Anarchist’s Design Book) for my study, I spent half a day clearing the shop, having a thorough clean, and re-organising everything into a more ergonomic and less cluttered, space. Sweeping up all of the hard to reach shavings once a piece is finished really does help to clear my mind for the next project. My Anarchist’s Tool Chest has become a favourite refuge for shavings, as it is just high enough off the floor to collect plenty of debris, but too low to the floor to get a broom underneath it. So after wheeling the tool chest out of the ‘shop, and pulling the workbench into the middle of the floor, I had a thorough sweep up followed by vacuuming any stubborn fibres I’d missed.

IMG_6664

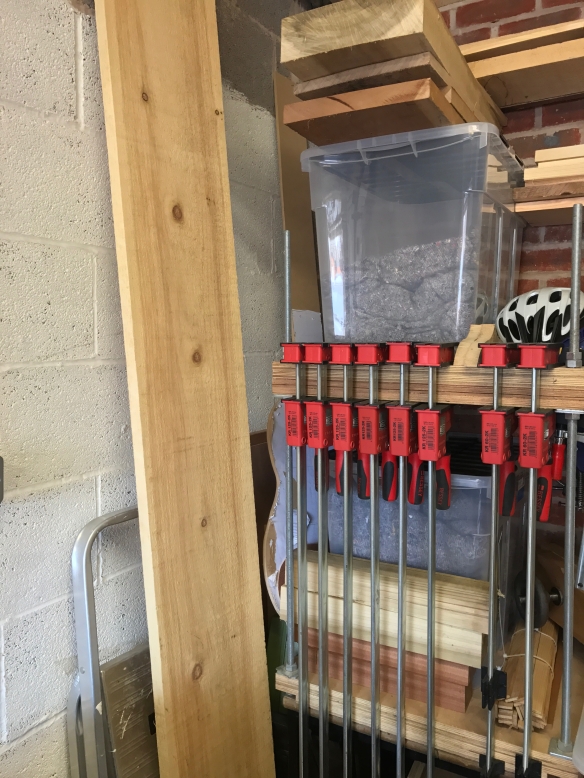
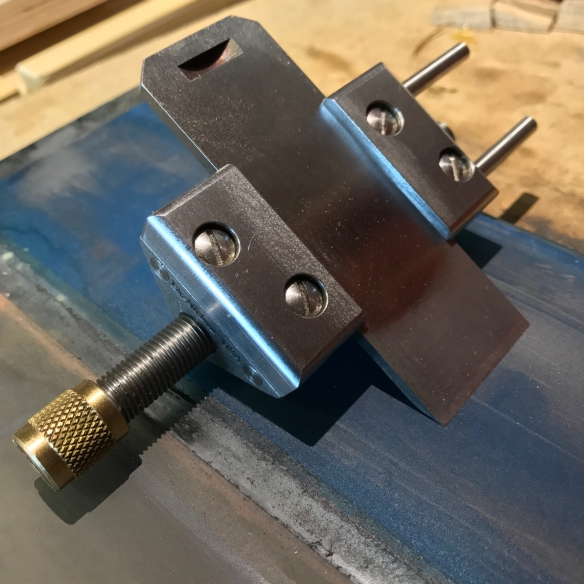
The much improved clamp and timber storage corner of the workshop

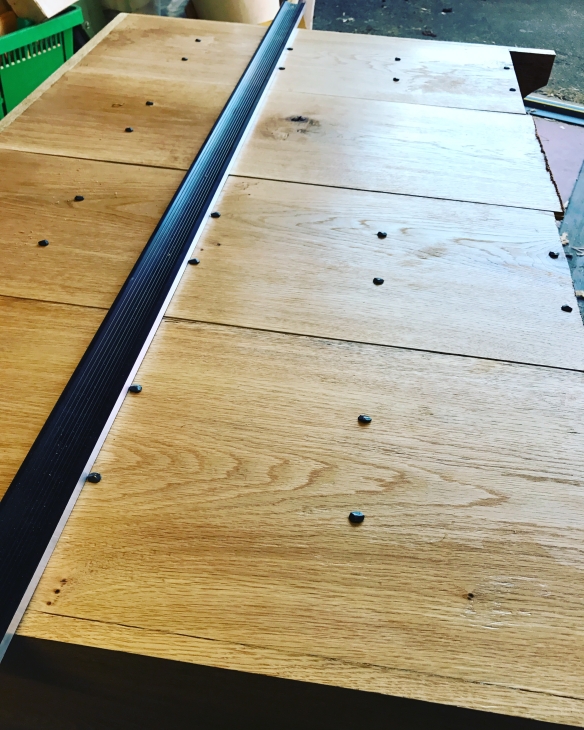
Moving my workbench from the middle of the workshop to the wall had provided much needed stability while planing stock. However, it had resulted in cramped working considitons at the right hand end of the bench, which was squashed up against a growing stack of lumber and my overflowing scraps bin (the contents of which towered above the brim of the bin, threatening to cascade across the ‘shop floor). I’d not had time to address this corner of the workshop while I was working on the Boot Bench, and this was my first opportunity to impose order. I emptied out the timber racks at the end of the workshop, reorganising the timber I was keeping, and consigning less useful pieces to the recycling pile. This meant that a lot of the loosely stacked timber could now go in the racks, with a couple of larger pieces being stored in the rafters. Only one plank of Canadian pine is now freestanding, and that is because at 16′ long it is 5’ longer than my workshop is wide. The scraps bin received similarly ruthless treatment, and the contents which survived the cull were neatly stacked back in the bin. The other source of clutter was my growing collection of Bessey sash clamps, which found new homes clamped around the edge of the go-bar station.

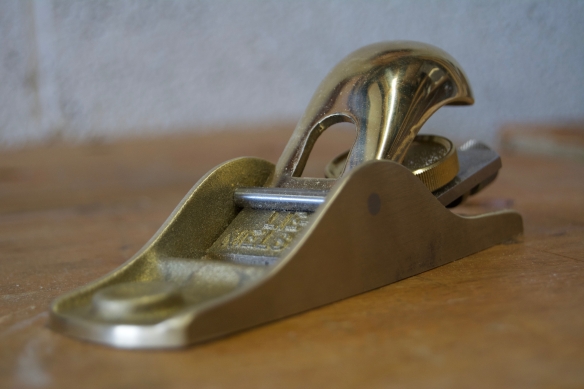
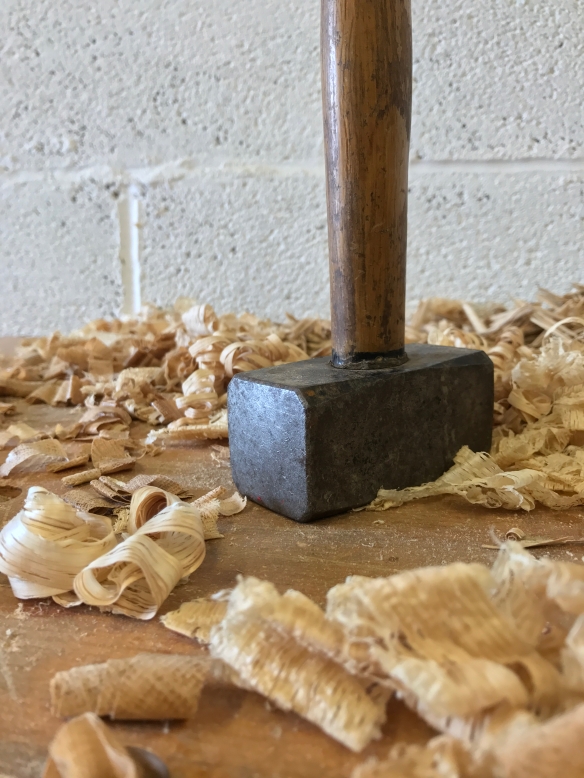
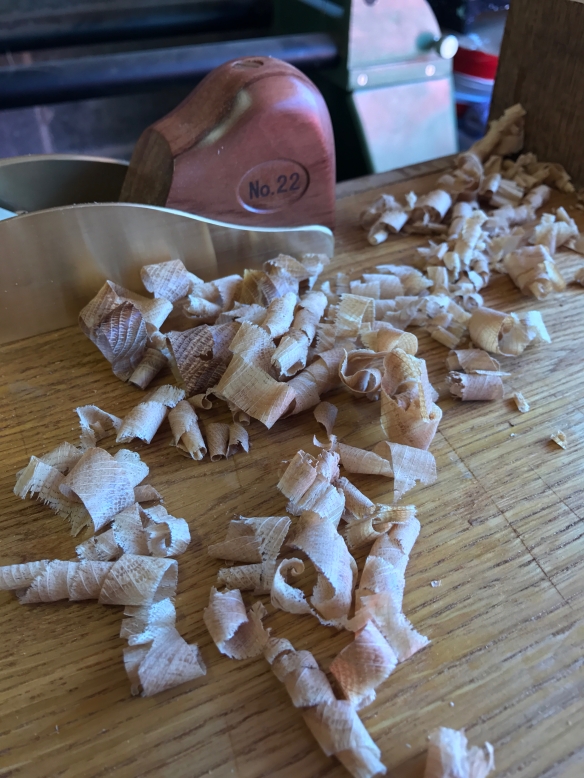
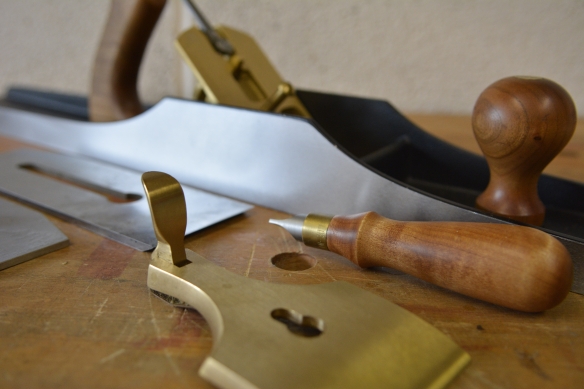
The final element of this ritual is to break down and clean all of the tools I have used particularly hard on a project – usually my bench planes, and some of the more specialist joinery planes. Although I clean my tools after each use and sharpen regularly, giving them some extra attention at the end of a build does keep them in good working order and gives me an opportunity to address any minor issues. This included tightening the frog on my Clifton No.5, as it had started to come a little loose and rattle – probably from several months of taking big traversing cuts through tough oak.

IMG_6665

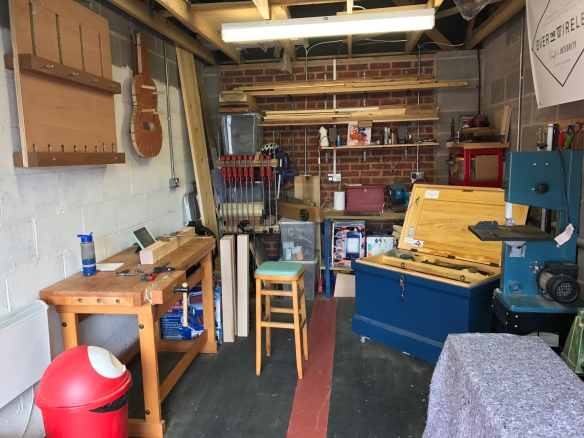
The re-organised and cleaned workshop, ready to start the staked work table

The workshop is now cleared and clean – providing the perfect setting to start the next project free of distractions or niggles. I’ve found the ritual of bookending each major build in this way to be very beneficial. So what rituals do you find help in the workshop?

The Policeman’s Boot Bench… part 15

After seven months hard work, the Boot Bench is finished and safely swaddled in blankets awaiting collection by the client. And while that would make for quite a pithy blog post, it does miss out the final stage of the build process, so let’s rewind a little.

IMG_6604

One finished boot bench – no filter necessary on timber this pretty.

At the end of my last blog post the wide faces of the Boot Bench had been cleaned up and given the first coat of shellac. Next I turned my attention to the front, which is mainly made up of the thin edges of shelves and casework. The process for cleaning up these edges was very much the same as for the main elements of the casework – removing as little material possible with my No.3 smoothing plane to remove the last traces of glue and stray fibres, to reveal clean surfaces and crisp joinery. Because I was working relatively narrow edges (1″ wide for the carcase, and 3/4″ wide for each of the shelves) the cabinet scraper was not appropriate for this work, as there can be a risk of rounding over the corners. Instead, the little L-N No.102 came in handy to clean-up a few areas where my smoothing plane could not reach. For planing the dado joint (where the grain of the sides is running at 90 degrees to the grain of the shelf), skewing the smoothing plane 45 degrees into the cut helped to plane the shelves and sides without any tear-out on either surface.

IMG_6545

Creating a gentle roundover on the top edge of each shelf with the spokeshave

I then gently rounded over the top edge of each shelf using a spokeshave, with three or four passes at 45 degrees to the edge of the shelf, and then three passes either side to blend in the new facet. A gentle round over like this should help to protect the edge from chipping out if the soles of shoes catch when being removed. Originally I had planned to use a scratch stock to bead the front edge of each shelf, but having spent some time looking at the Boot Bench as a whole I decided that four extra beads would (no matter how fun) be too much, particularly as the client prefers understated pieces.

There was a small knot on the front of the bottom most shelf, and instead of filling this with black tinted epoxy (as I had done for the internal knots) which would have drawn the eye to the knot, I mixed up a filler using shellac and oak sawdust, which filled the crack while blending into the timber. Once the filler had dried I brushed on the first coat of shellac to the front of the Boot Bench, and left to dry.

IMG_6547

Introducing a 2lb lump hammer to something you’ve been building for 7 months? Not terrifying at all, why do you ask?

The final touch, before applying the second coat of shellac, was to apply my maker’s mark. The stamp works best in end grain, and I selected the end of a tail, at the back left corner of the top. Although an exciting milestone in any project, it is also a little terrifying to start hammering the product of many months work with a 2lb lump hammer. Fortunately this is one of the instances where a heavier hammer provides more finesse. Instead of pounding away at the stamp to leave a deep mark (which would be necessary with a lighter hammer), the weight of the lump hammer did all of the work, leaving a crisp impression in the hard oak end grain with minimal effort and no risk of damage to the piece. This is a subtle touch – it is there for people to discover, but is still discreet (1″ wide) enough not to dominate the piece.

IMG_6627

The maker’s mark after a coat of shellac and dab of black wax

I then gently wiped down the shellac with 400 grit paper, just to remove the highspots and leave a smooth texture, before brushing on a second coat to all external surfaces. Having left the second coat to dry and harden over several days, I then returned to wax the external surfaces. Black wax is an easy finish to apply, providing you use thin coats – there is a risk of putting too much on which can be hard to buff out, and results in a blotchy finish. I wiped the wax on sparing with a lint free cloth, only adding more once I had worked the wax deep into the open grain – my aim was to enhance the grain not obscure it. Once the wax had dried I then buffed it out thoroughly with a clean cloth.

IMG_6597

When the wax was buffed out, I sat in front of the Boot Bench for 30 minutes or so, in silence, just taking in the form and detail of the piece. Every project is a labour of love, if it wasn’t then there would be precious little reason to build anything. But this build has been a hugely important process – the first piece of furniture I’ve designed from scratch, and my first paying furniture commission. Building something for someone else is always a huge responsibility (not to mention a privilege). I’m proud of this piece, and hope the client will enjoy it.

On Why the Only Way really will be Essex this September

IMG_6352

Look out for the new OtW banner

The European Woodwork Show is now only two months away, so I thought it was time to order an Over the Wireless banner so that my stand is easily spotted (and it brightens up the ‘shop for the rest of the year).

IMG_3624

The Bad Axe luthier’s saw is the first high-quality saw designed specifically for fret slotting. Come and see it in action, and discuss the design process with myself and Mark Harrell

I’ve been giving some thought as to how to make the show memorable, so here is the plan. Over the course of the weekend I will be giving practical demonstrations of the new Bad Axe luthier’s saw in action, slotting some nice maple fretboards. This is the first public showing of the luthier’s saw in the U.K, and so I am very pleased to annouce that Mark Harrell of Bad Axe Tool Works will be making a special guest appearance during the weekend and we will be talking about the design process of the luthier’s saw. I’ll announce the times when Mark will be joining me in September. So, if you want to see one of only two examples of this saw currently in the U.K, and talk about how we designed the saw, then stop by my stand. I’ll also be talking about The Life & Work of John Brown, Welsh Stick Chairs, lutherie, furniture making, and anything else that you good people want to chat about.

img_1208

I will have OtW decals and tees on sale

Following Handworks it feels like no show is complete without stickers, so I will have OtW decals available, as well as some t-shirts (if you would like to order a tee for collection at EWS, or can’t come to the show and want one posted out to you, drop me a line in the comments).

Finally, to round out the experience I’ll have a guitar with me, my Anarchist’s Tool Chest, and the Apprentice.

IMG_1395

Pretty Up

Or, The Policeman’s Boot Bench… part 14

IMG_6412

Sharpening can be a real bore, but I find it can also help to focus the mind on what comes next

I spent today cleaning up the exterior of the Policeman’s Boot Bench. It is always a big step to start cleaning up a project ready to apply finish, not to mention a critical stage of the work – applying a finish will highlight any imperfections or mistakes, so taking your time to getting everything looking pretty “in the white” is time spent wisely. To get in the right mindset, when I came into the workshop I headed straight to my sharpening station and sharpened the planes and cabinet scrapers I expected to use. Even if I had sharpened them last time I used them, they went back to the sharpening table for a fresh hone. Not only did this ensure that everything was as sharp as I could get it (I don’t want any tearout when finnessing the exterior faces of the casework) but most importantly I found that it helped get me in the right sort of mindset for the work ahead.

_DPP3589

Cleaned tails

I find that for final surfacing and clean-up work it pays to have a plan of attack – the last thing you want to do is brush shellac onto a surface only to realise that you’ve not cleaned up it up fully. This is all the more so for the boot bench, where the open fronted shelves means that there are a lot of different edges and corners to pay attention to. I decided to ignore the front of the carcase for this session, and to focus on the faces of the wide boards, starting at one end before moving onto the top, and finally finishing at the other end. This meant that I could gently roll the boot bench onto one end, and then finish work with it standing on the opposite end. Fortunately, the boot bench has enough weight that when standing on a pile of blankets it does not move across the floor while being planed.

_DPP3600

The No.102 block plane is a new addition to my tool chest, but is already becoming a firm favourite

Because I had left the pins of my dovetails slightly proud, it was important to flush these up without chipping out any end grain, before working the rest of surface of the end pieces. I used the little Lie-Nielsen No.102 block plane for this, which worked in a very controlled manner to slice away the proud end grain prior to smoothing the rest of the board with the No.3 smoothing plane. Although I normally use a 60 1/2 block plane, I really like the 102 for delicate work, as it is perfectly sized and weighted to fit in one hand during use, meaning that you can hold the workpiece steady with the other hand. There were a few difficult patches of grain where I had to resort to some very localised sanding, for which I used Abranet 220 grit on a sponge sanding block. I’ve not used Abranet before, but after reading several glowing reviews I thought I would give it a try, and so far it does seem to be the best abrasive I’ve used. I blended the planed and sanded surfaces together using a cabinet scraper, which gave a consistent finish across the face of the board.

_DPP3586

A well tuned cabinet scraper is perfect for cleaning surfaces prior to applying finish

I then repeated the process for the top, with one significant diffence. With the end pieces I was able to work from the dovetailed corner down towards the feet. However the top is dovetailed at both ends. Planing off a dovetailed corner would chip out the end grain on the tails, resulting in plenty more clean up and patching. Instead, I worked from one corner, stopping an inch or so before the dovetails of the opposite corner. Then it was a matter of working in the opposite direction until both corners were flushed up and clean. A cabinet scraper helped to blend the transition between the two directions of working, and by lifting the scraper off the workpiece before I reached the very end, I was able to avoid any spelching.

_DPP3595

Chamfering the back edge using the little No102 block plane

As a final touch, I lightly chamfered the aris of the rear edge of the carcase, using the No.102 block plane. Oak is tough, but can be prone to splintering on the edges, and so removing the sharp corner helps to protect the edge from breaking.

_DPP3590

The half pin at the left hand side hides the rebate for the backboards

With the three wide faces cleaned up, I decided to apply the first coat of shellac while the wood was freshly planed and scraped, to avoid the fibres darkening through oxidization during any delay to finish. I used the same 2lb cut of blonde shellac as for the interior of the carcase, brushed on with a 1″ Gramercy ox-hair finishing brush. The shellac brought out the grain and added a little pizazz to the dovetails.

_DPP3608

Shellac really makes the dovetails standout

All that remains now is prettying up the front of the carcase, applying the rest of the shellac and wax, and (most importantly) stamping the boot bench with my maker’s mark. More on that next week.

IMG_6410

The first coat of finish on the top is really bringing the grain out

Over the Wireless, over the air waves

IMG_6297

While I was at Handworks I was asked to take part in a podcast for the Modern Woodworkers Association. The podcast (MWA Issue 140) is now available for streaming here. My interview starts 40 minutes in, and Issue 140 also includes segments with Anne, Chris Kuehn, Colin Bullock, Jason Weaver, Jim, Peter Galbert, and Ryan Saunders amongst others.

So, if you want to hear me talk about the John Brown book, my favourite woodworking tools, what I think are the biggest difficulties for self taught woodworkers, why we shouldn’t be afraid of failure, and offend Garth Brooks fans the world over, then click through.

The Policeman’s Boot Bench… part 13

The final back board is now fitted, which means that the casework for the Boot Bench is now complete. This feels like quite a milestone after six months of work.

IMG_6303

The pile of shavings on my workbench tell a story of the day’s work – thick cross-grain shavings from traversing a board, wide jointer plane shavings, fine smoothing plane shavings, end grain shavings from shooting work square, and curly ribbons from edge jointing.

Fitting this board was similar to the others (it is after all just a 1/2″ thick tongue and groove board) with a few additional steps to reflect the fact that is was to go between two boards which were already fixed in place. After processing the board to final thickness I selected the best side to face into the casework, as this will be the side that is viewed when the client puts their shoes on the shelves, and shot square the end that fits into the rebate in the top.  As I’ve written before, I like sizing components off the rest of a project wherever possible, and if I can get away without using numbers to measure then I’m always happy. To bring the back board down to the final width I decided to dispense with my rulers and instead use the hole in the back to determine the width. To do this, I cut the tongue on the left hand side of the board, and laid the board in place with the shoulder of the tongue lying against the edge of the adjacent board. This gave me a good indication as to how much material needed to be removed before I planed in the groove on the opposite edge of the board.

IMG_6313

Using a straight edge and the existing nails to locate the edge of the shelf under the back boards

Once I had brought the board down to that rough width, I planed in the groove and tried a test fitting, which told me that the board was a little too wide to allow for expansion gaps on either side. Tongue and groove joinery is pretty forgiving for this sort of test fitting process, especially when using a dedicated plane like the Lie-Nielsen No.49 where the fence is held in a precise and repeatable position to the cutter and where the plane stops cutting once a predetermined depth is reached. Reducing the overall width of the board was a simple matter of taking a few full length passes from each long edge with my jointer plane, restoring the depth of the tongue and groove with the No.49, and then test fitting the board, repeating until I had a clean fit with even expansion gaps on both sides.

IMG_6305

The lump hammer looks like a brutish tool, but actually it has real finese. Impersonations of Thor are entirely at the user’s discretion.

After finishing the board with shellac and wax I used a 2lb lump hammer to knock it into position. I’d previously not thought of using a hammer of this weight for furniture making, but after Chris wrote about the benefits of wielding the sort of hammer that would make Thor proud, I thought I’d give it a go. The lump hammer crushed the end grain of the board a little, but I had anticipated this and left the board over-length so that any damage could be trimmed off.

When fitting the other back boards a portion of each shelf had been visible, which made locating the pilot holes for the cut nails easy. However with all the boards now in place, the shelves were completely obscured. My nightmares recently have been full of images of missing the edge of a shelf and pounding a cut nail into open air within the casework. To avoid this, I placed a large (50″) straight edge against the cut nails holding the other three bac boards in place, and located the pilot holes for the final board off the straight edge. This approach worked a treat, and I’m pleased to say that all 32 nails in the back fit neatly into a shelf (and breathe a sigh of relief).

IMG_6317

More real world testing for the Quangsheng No.22 – trimming the ends of the back boards flush with the bottom shelf. A full review of this plane will be in F&C later this year.

I want to roll the boot bench around my workshop floor as little as possible. And so while the the carcase was face down, I took the opportunity to clean up the back edge of the sides and top with my No.3 smoothing plane, and to apply two coats of shellac. I then stood the carcase upside down (on top of a pile of moving blankets to protect it from the concrete floor) and trimmed the back board ends flush. As a finishing touch, I cleaned up a small amount of squeeze out from the bottom shelf, and then chamfered the feet to ensure that no fibres blow out when the boot bench is moved into position in the client’s home. I’m sure there are more satisfying things in life than chamfering edges with a block plane, but I’m not sure I’ve experienced any.

IMG_6310

A crisp chamfer on the feet