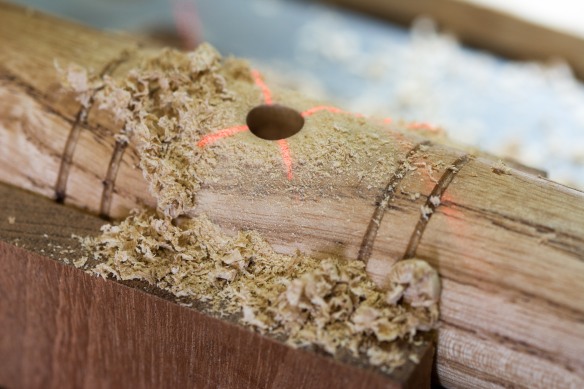
There is nothing quite so terrifying as drilling into a seat you have just completed. Getting the leg angles right is a one-shot deal with little opportunity to correct mistakes. And if you are not careful with the drill, it is possible to blowout chunks from the exit side of the mortise, leaving a ragged mortise on the show face of the workpiece. Still, a little mind numbing terror is good for the soul, right?
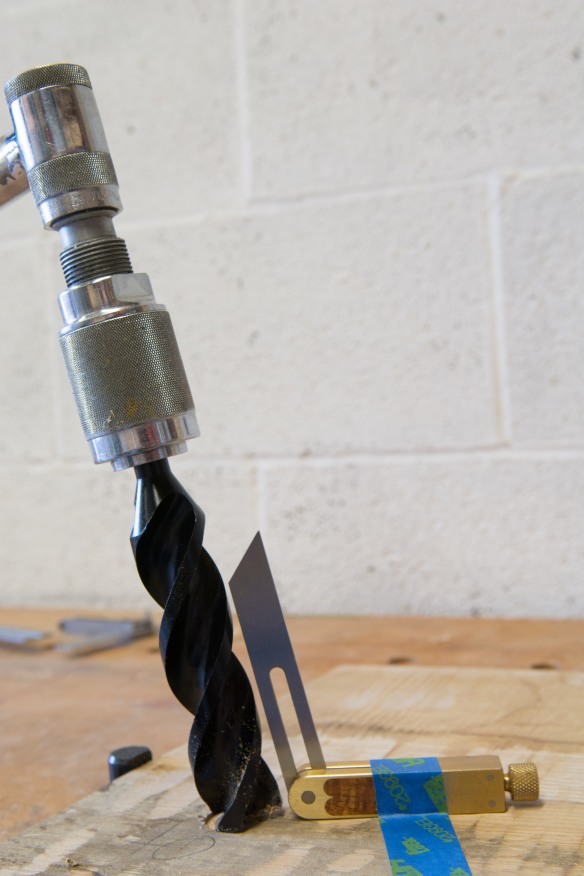
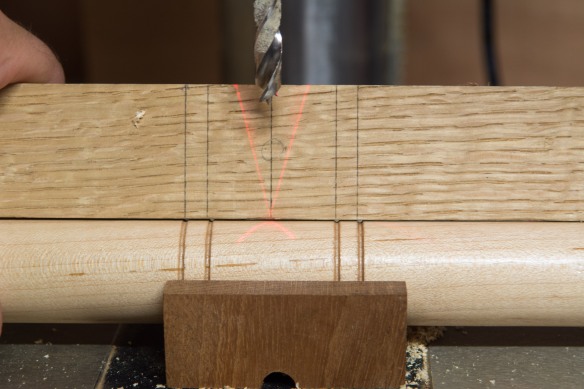
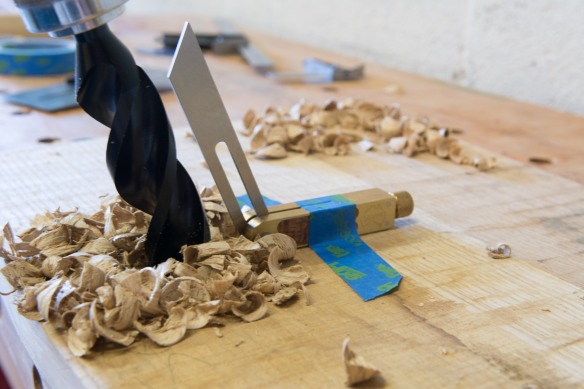
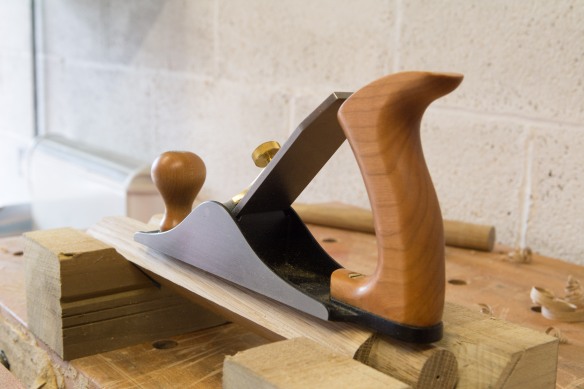
Vesper small bevel and North Bros brace from 1923. The perfect combination.
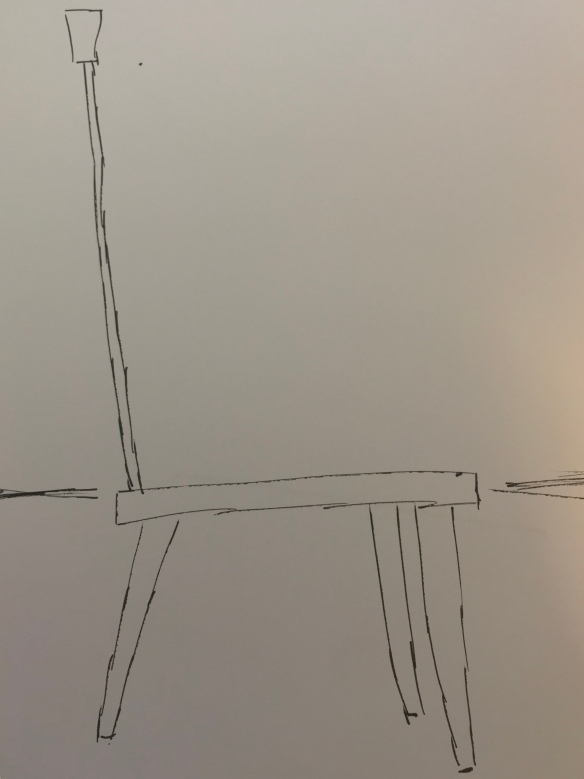
Determining the leg angles (rake and splay) for this chair is something entirely new to me. After combing through my collection of photos for the original chair, and drawing multiple sketches, the angles on the original chair look very close to the leg angles Chris used in his three-legged backstool in the Anarchist’s Design Book. As I’ve got enough parts for a pair of chairs, I decided to make the first version using the sightlines and angles from the Anarchist’s Design Book, (adjusted slightly to fit the dimensions of this stool), assess the appearance of that chair against my photos and sketches, and make any necessary adjustments for the second chair.
Rounding the leg blanks with a scrub plane
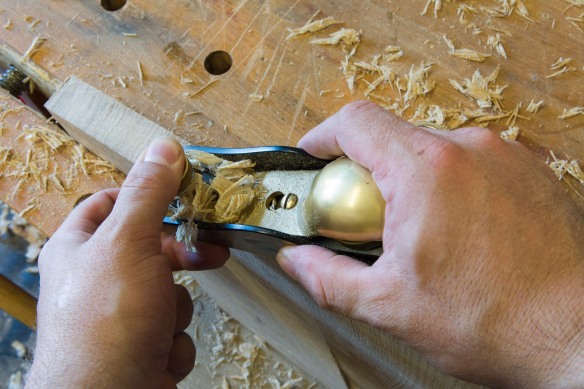
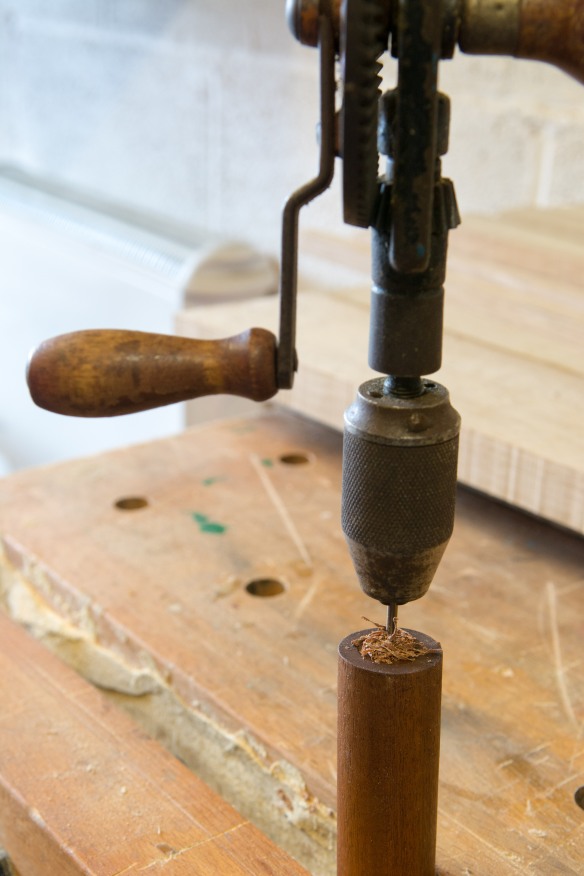
I drilled the mortises out with a 1 1/8″ Woodowl bit in my 1923-era North Bros brace, guided by a Vesper small bevel set to the resultant angle and taped firmly to the sightline on the underneath of the seat. The seat in turn was clamped to a sacrificial scrap of plywood to prevent the exit side blowing out – I won’t be saddling this seat and didn’t have too much thickness to work with if I have to do too much clean up around the mortises. The sacrificial board did its job and I was rewarded with three clean mortises which require very little dressing.
Thanks to Chris Williams for this tip on how to round parts comfortably and swiftly
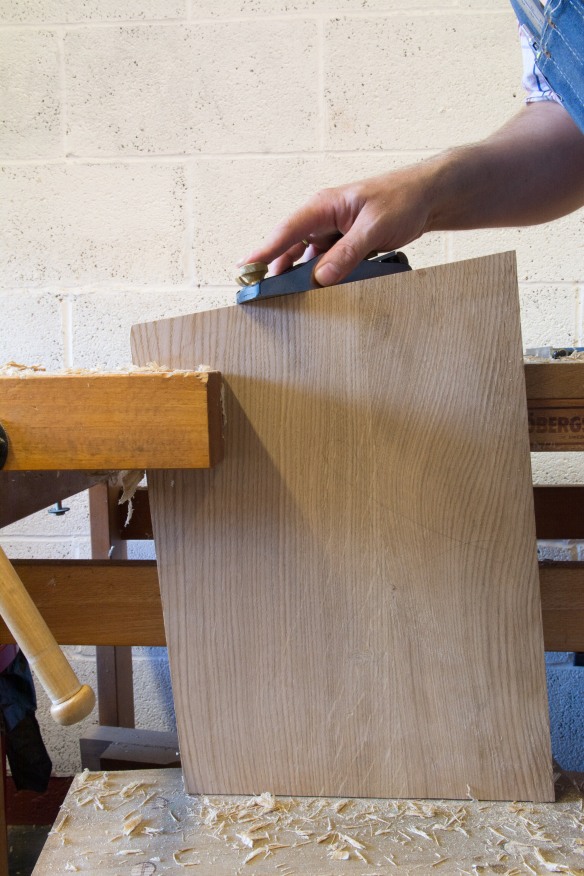
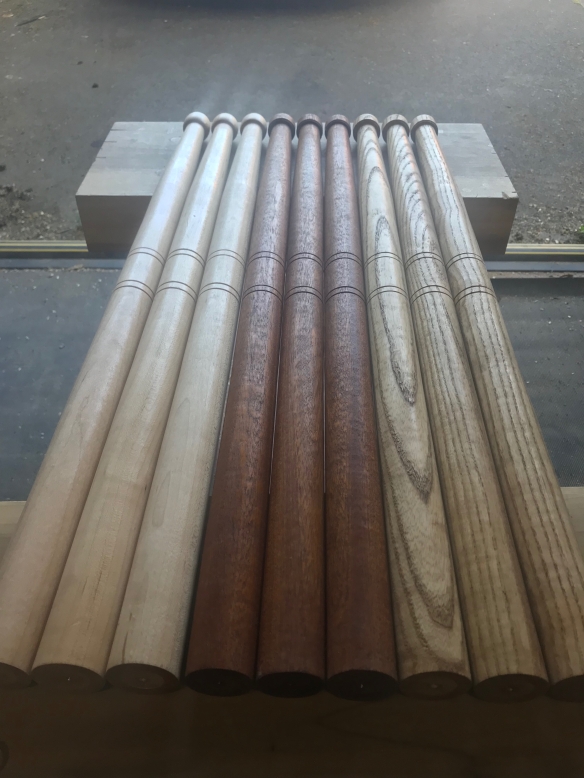
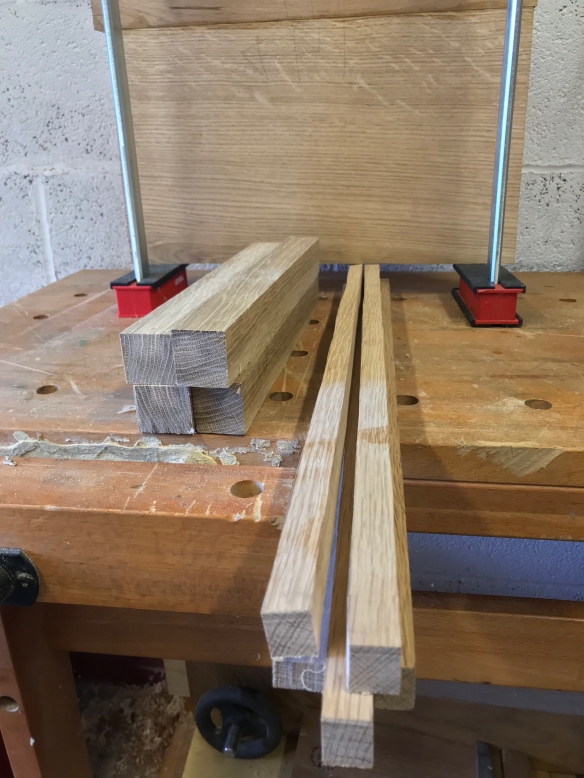
The legs taper from 1 1/8″ at the tenon down to 7/8″ at the foot, and I started out with oversized blanks measuring just over 1 1/2″ square. There are a number of ways to shape the tenons and legs, depending on the tools available to you and personal preference. For this chair I want the legs to have plenty of facets and texture. I started by turning both the tenon and very tip of the foot to final diameter on the lathe – this ensures a good tight fit between the tenon and mortise, and provides a helpful visual guide when rounding the leg by hand. I then hogged off the majority of the waste using the Lie-Nielsen Scrub Plane – I keep finding new uses for this plane and it is much more versatile than I was anticipating. For these legs the scrub is perfect – it is lightweight enough to balance on the short legs, and the 3″ radius on the blade means that as the leg becomes more rounded material is taken from a very localised point without flattening the face of the leg. I worked down each corner of the square leg blank in turn, starting at the aris and then across an increasing arc as the corner became more curved. Once the leg was very close to the curvature of the tenon and foot, I swapped the scrub for my No.3 smoothing plane and took finer cuts to remove any tearout and the most noticeable facets.
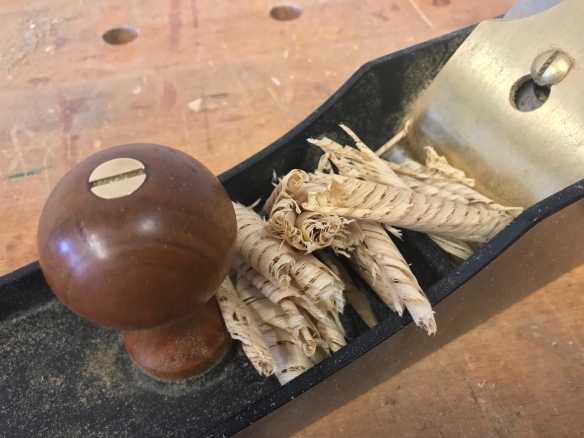
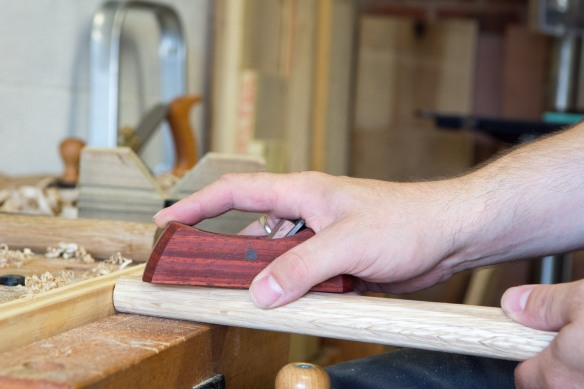
Refining the shape of the legs with a wonderful plane made by Jim McConnell
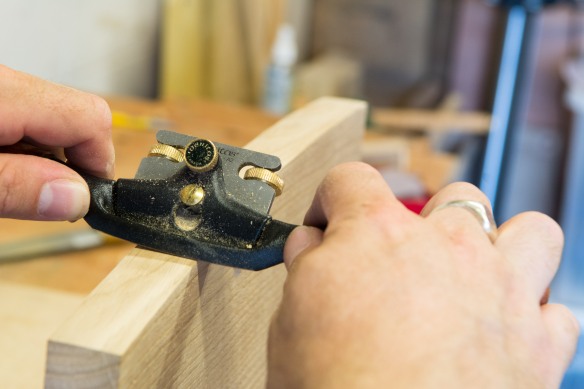
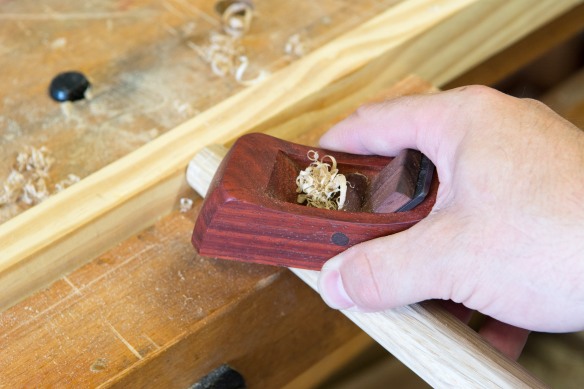
Refining the final surface of the leg was done with a sharp block plane. Jim made me a Krenov-style block plane in Padauk last month, and I’ve been looking for an opportunity to press it into use. Being light weight, and small enough to hold comfortably in one hand, it was perfect for this operation. I also tried some of the tips I picked up from Chris Williams when we were shooting the “Make a Chair” section of the John Brown book earlier this year. The end of the leg was braced against a scrap held in the vise, and the other end of the leg supported in my off-hand. This allows for the leg to be rotated after every stroke of the plane, encouraging a pleasing rhythm which isn’t interrupted by constantly clamping and unclamping the workpiece. When refining the leg I wasn’t looking to remove the facets or texture, just to take off any sharp corners and remove any unsightly flats. The end goal was a leg that looks round, but has a pleasing texture and isn’t perfectly uniform. If you wanted a smoother texture then you could sand the facets out, but I like the way these legs feel straight off the plane.
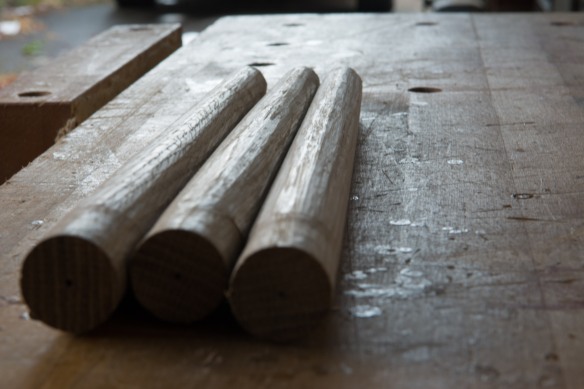
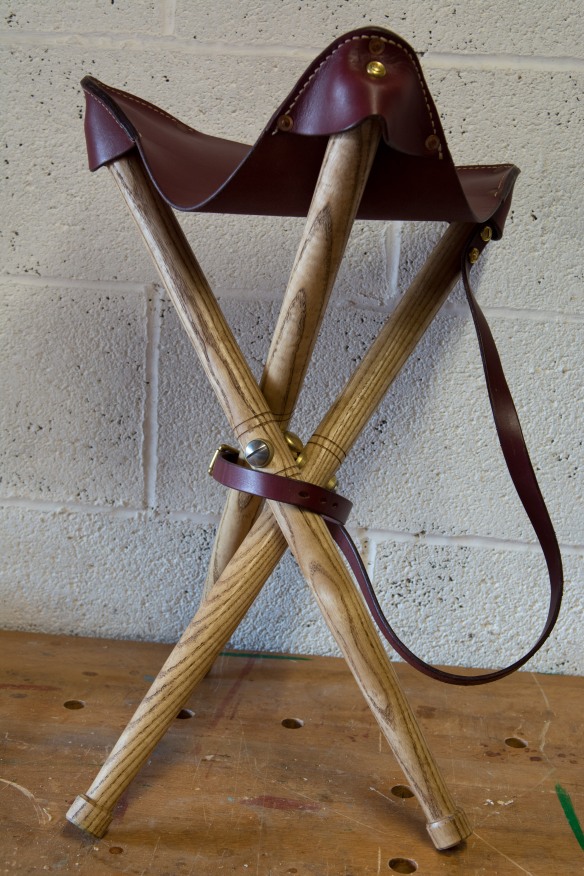
Three completed legs. A tight fit on the mortises, and plenty of texture for the Apprentice to enjoy