Design as a process is something I find simultaneously fascinating and daunting. Much of the apprehension about sitting down to design something comes from the fact that I am terrible at drawing. I mean, most of my stick figures look like they need urgent spinal surgery. One of the most challenging aspects of the rigorous training at Totnes was drawing the outline of our guitars. Those three days spent with a sheet of tracing paper and a pencil, chasing smoothly flowing curves was at times hard going (no templates, no french curves, just freehand drawing and lots of rubbing out). It’s funny, because actually once I move beyond the how do I want this to look stage and into the how do I build it? I find the design process much more enjoyable and less painful, because at that stage it is down to engineering a solution.
The guitar I built at Totnes came out pretty nicely, as did the few furniture pieces I’ve designed from scratch, and to progress as a maker the design process is something I want to feel much more comfortable with. So I’ve been thinking about how to make the act of designing pieces more natural. Mike Pekovich’s excellent book The Why & How of Woodworking makes the excellent suggestion of drawing thumbnail sketches to rough out an idea for a piece before drilling down into measured drawings, and this is an approach Chris has also touched on previously. The idea of a 60 second sketch appealed as an efficient way to capture the essence of an idea. Such a quick sketch would be rough by nature, and so mitigates against my lack of artistic prowess.
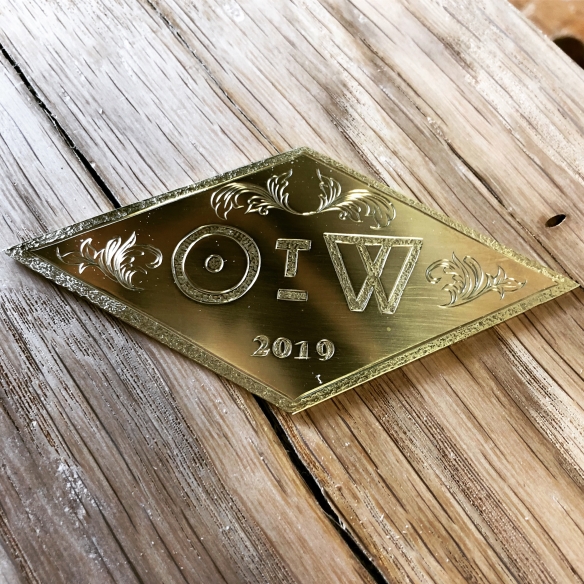
So, on a whim I picked up a sketch book from our local newsagents. Nothing fancy, just an A5 sized fliptop pad with 5mm squared paper. Not long after, Dr Moss and I were planning the next round of decorating (we are slowly but surely eliminating all of the magnolia paint left by the previous owners) and next up is the landing outside our bedroom, which has become a bit of a dumping ground for clutter. Rachel made the excellent suggestion of a narrow table to sit on the landing and prevent clutter build-up, which would also form part of a feature wall with some art work. As well as a new piece to build after the Roubo bench is complete, this gave me a reason to start sketching.
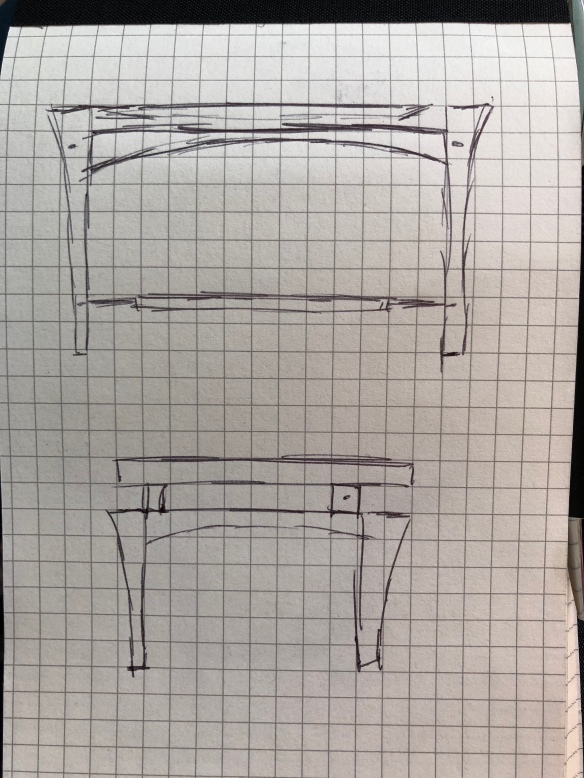
Sketches 1 (top) and 2 (bottom) were exercises in seeing how the components might fit together.
I knew I wanted to try something different to my previous furniture builds, including greater use of curves, and a floating table top. That all sounds like a lot of fun, but how would it fit together? Would the legs go at the corners of the table top, or within the length? Would there be a lower stretcher, or just stretchers at the top of the legs? What would the proportions of the table be? I wasn’t thinking about joinery or technical solutions at this stage, just how the various elements that make a table might be arranged. I had no answers, so I started to draw, limiting myself to 60 seconds or so for each sketch. Now these are rough, rough drawings, but over the course of four sketches I started to zone in on how I thought the table should look – a curved tapered leg profile, with the legs situated underneath the table top allowing a good overhang at each end. A thin, straight stretcher towards the bottom of each leg, and a more substantial curved stretcher at the top. Possibly chamfering the ends of the table top to add to the curved feel.
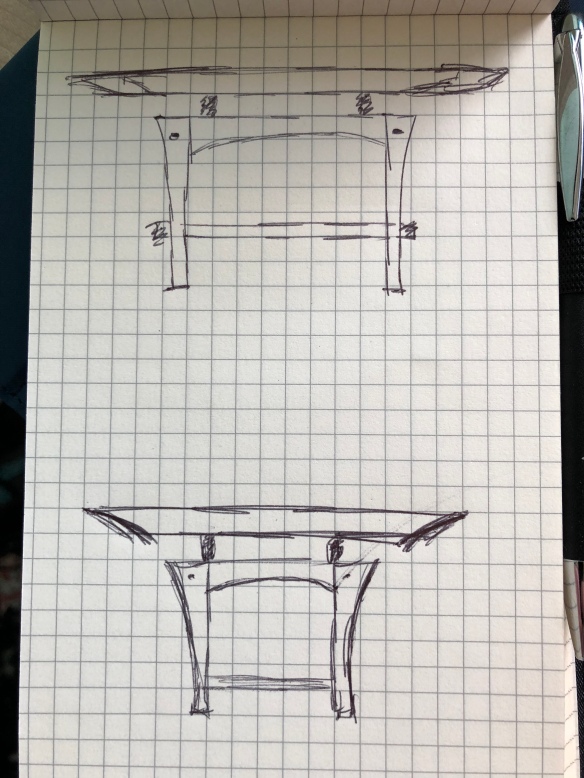
Sketches 3 (top) and 4 (bottom) start to dial in how the design might look.
It didn’t take long to get to something I was broadly happy with. The next stage is to do a more detailed scale drawing (which is the design work I’m much more comfortable doing) and work out the specifics. And the notebook? The notebook will be a permanent resident in my work bag, and I’m setting myself a challenge to sketch furniture pieces at least 3 days a week for a month. At the end of the month, I’ll report back on whether that more regularised and focused design work has had any impact.