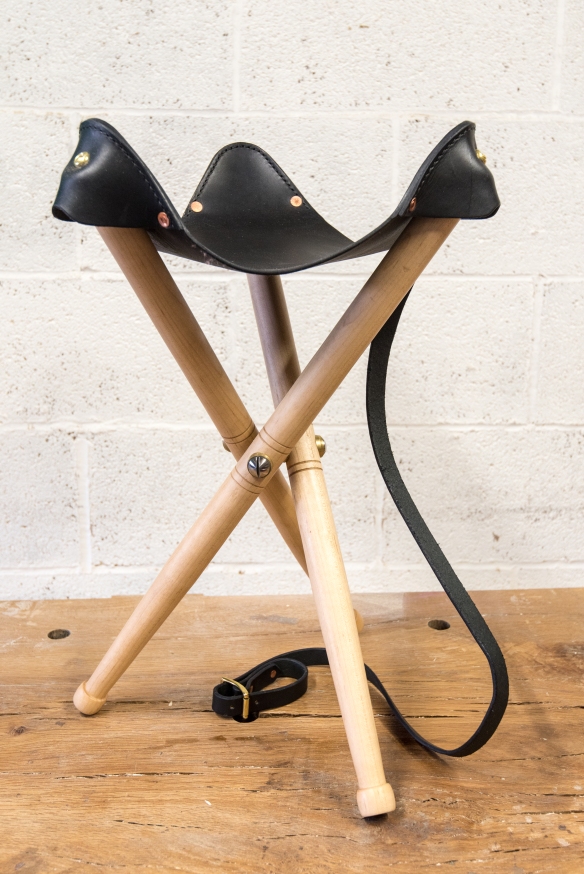
We’re back from a much needed, and very relaxing, family holiday in Devon. After a week away, I was feeling recharged (which I’m sure will last until approximately 9:47 am on Monday morning) and looking forward to turning the legs for the campaign stools.
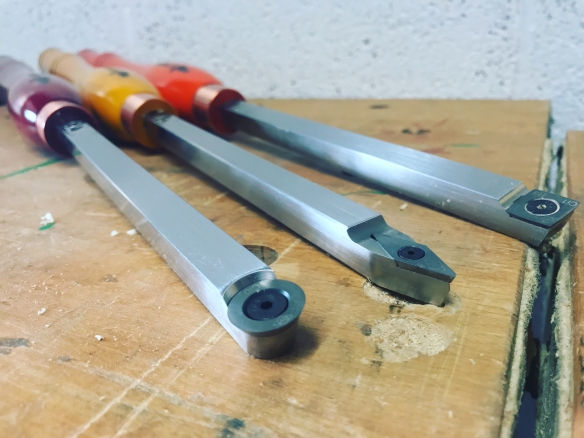
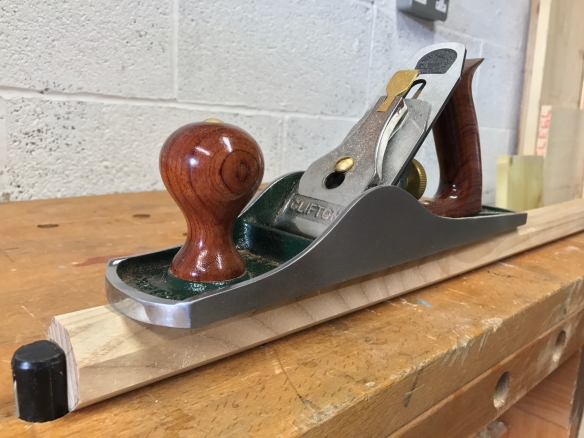
Easy Wood Rougher, Detailer, and Finisher (from back to front)
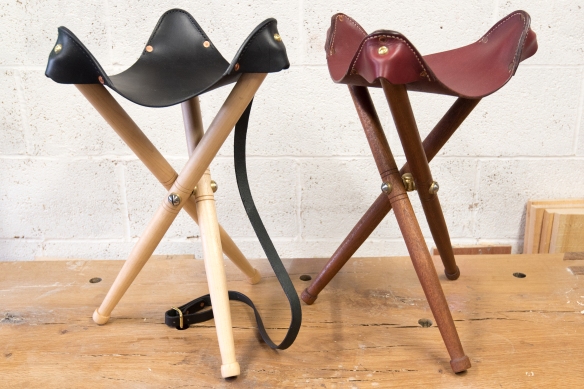
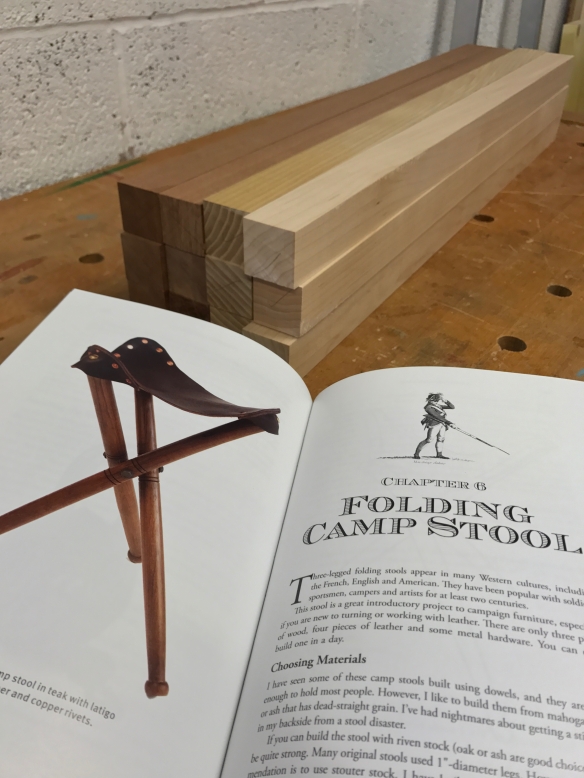
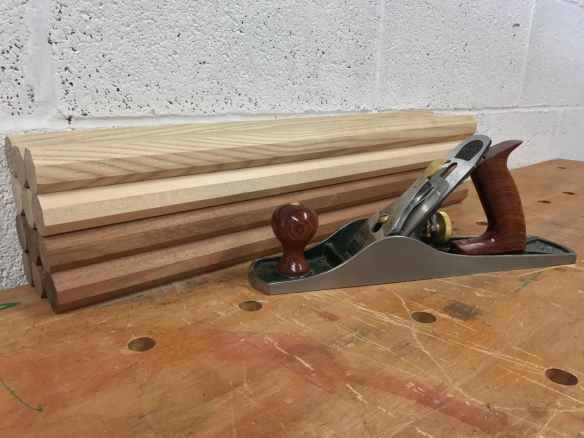
Prior to the campaign stools, the full extent of my time at the lathe was turning the tenons for the staked work table. The campaign stool legs are quite a simple design, which means that they are well suited as a beginner’s project. Because I had enough sapele for two sets of stools I decided to start with that species to get any initial mistakes ironed out – I only have enough ash and maple for one set of stools each, so an error on those species means that I wouldn’t have any spare material to make a replacement leg.
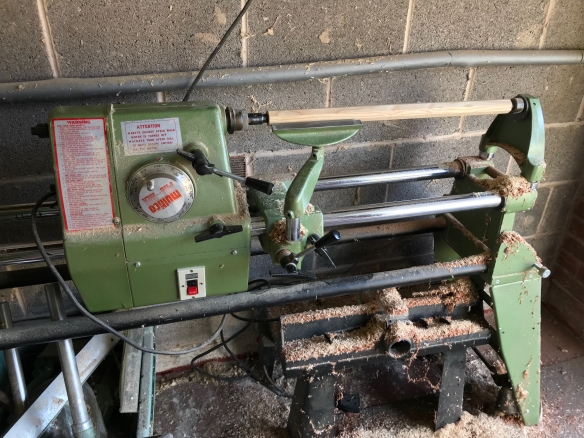
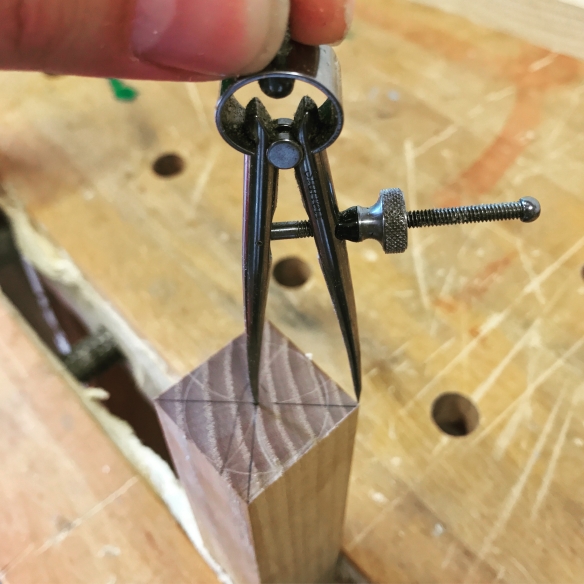
An octagonal leg blank in the lathe ready to go
With this project I had two key learning points in mind – getting more familiar with the lathe and basic turning operations, and achieving consistency of form across each set of three legs. Before I switched the lathe on, I re-watched a section of Chris’ video on turning spindles for Roorkee chairs which contained some useful pointers.

Defining the diameter at each end of the tool rest before removing the waste in between

Working my way down the leg

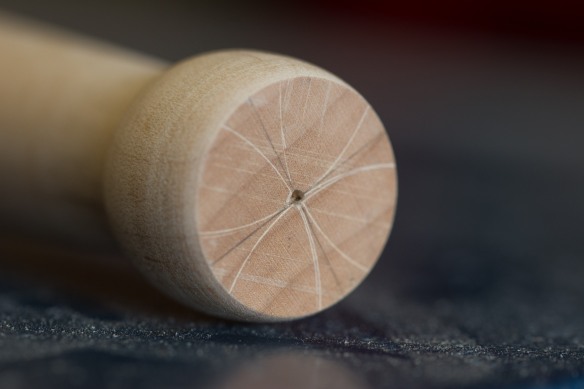
A consistent cylinder, ready for the details
The first task was turning the leg down to a consistent cylinder. As I had octagonalised the legs previously this reduced the amount of material to be removed at the lathe, and also mitigated against the risk of catching a corner and ruining a blank. The tool rest on my Shopsmith lathe is roughly one third of the length of a stool leg, and so the process I adoped was to turn down a small section to final thickness at each end of the tool rest, and then connect those two sections by removing the material in the middle. I started at the left-hand end of each leg, and worked my way towards the right-hand end, moving the tool rest to the next section once that third of the leg was at final thickness. This bulk removal of material (and in fact, most of the work for the legs) was removed with the Easy Wood Rougher.
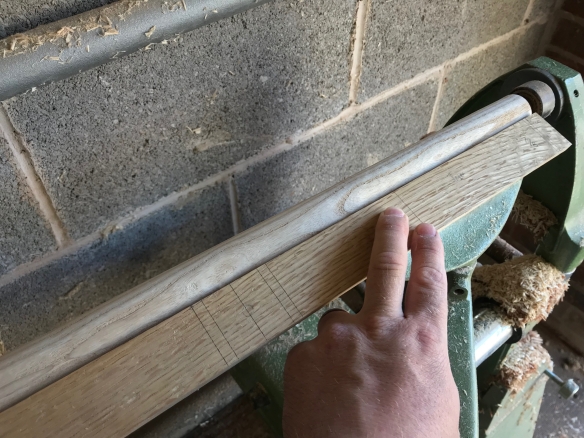
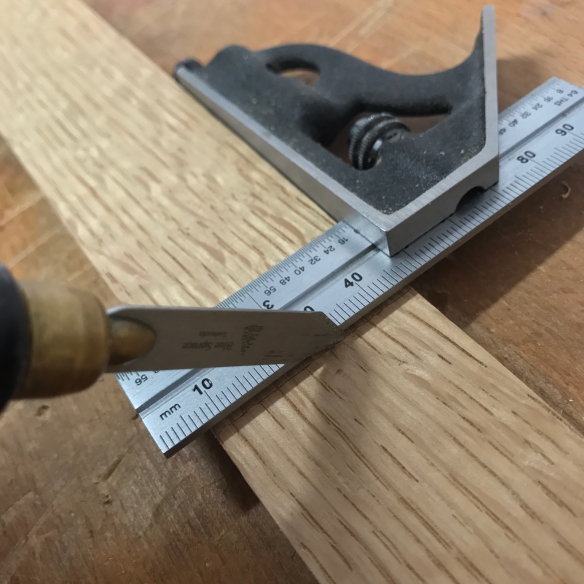
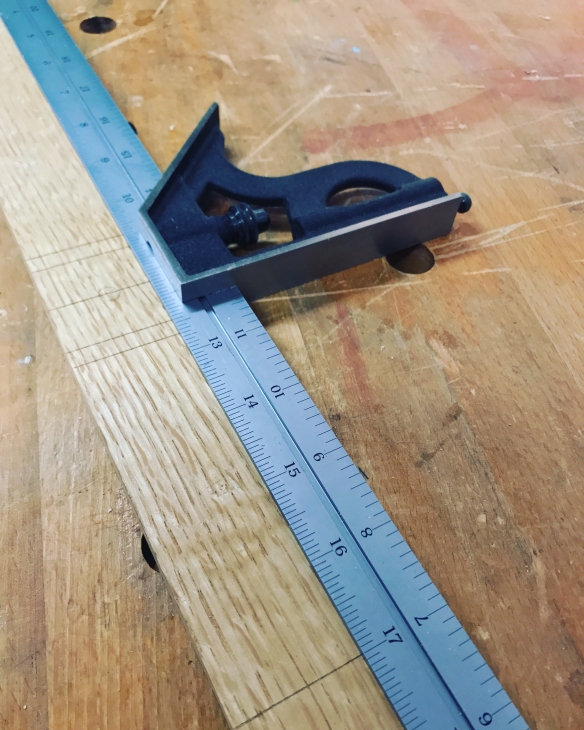
Laying out the details and transitions with the story stick
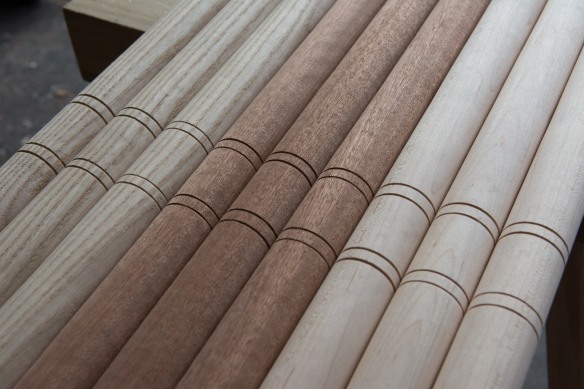
Once the leg was a consistent cylinder, I used my story stick to layout the details to be turned, always laying the foot out at the right-hand end of the leg – for batched work repeating the same process each time reduces confusion and helps ensure consistency. The first detail I turned for each leg was the decorative lines either side of where the tribolt will secure the legs, using the Easy Wood Detailer. These lines were the easiest error to make, and also the hardest to correct, so by turning this detail first I knew whether completing the rest of the leg would be worthwhile.
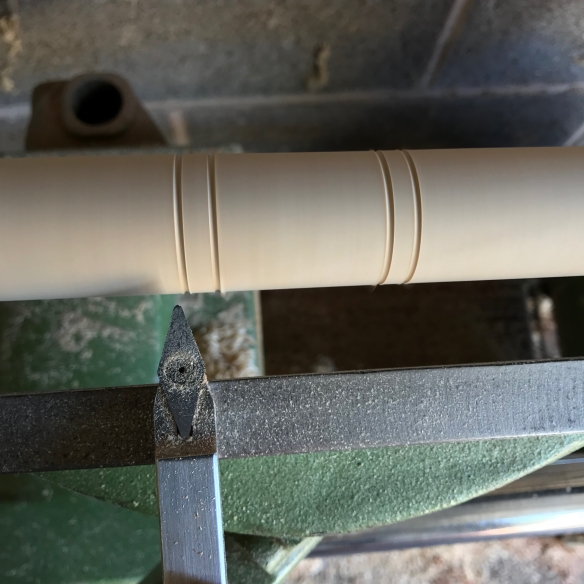
The danger zone successfully navigated
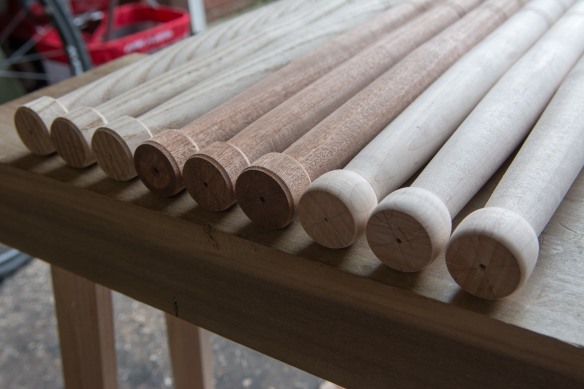
With the decoration safely turned, I then turned down the foot to dimension, followed by the ankle. Instead of turning down the ankle straight to final dimension, I removed most of the material and then started roughing in the taper. This meant that I could avoid having an unsightly flat where the ankle bottomed out at the end of the taper, and helps the taper resolve to more fluidly into the ankle. For my first two sets of legs I decided to go with a Roorkee inspired foot shape of a cylinder with cove at each corner. For the next set of legs I’m thinking of trying a ball foot instead (variety being the spice of life, apparently).
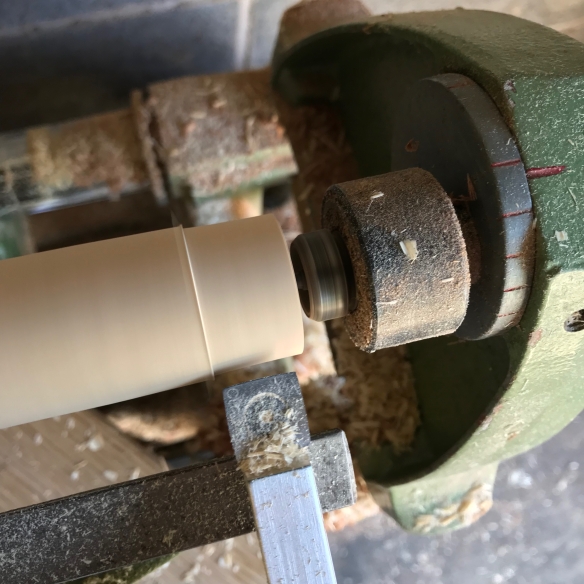
Turning the foot
Once the leg was looking ship-shape, I gave it a quick sand with 120 grit Abranet to remove any fur and tool marks, and then moved on to the next leg in the set. With subsequent legs, I compared progress against both the story stick and the legs in the same set, to make sure I was on the right track.
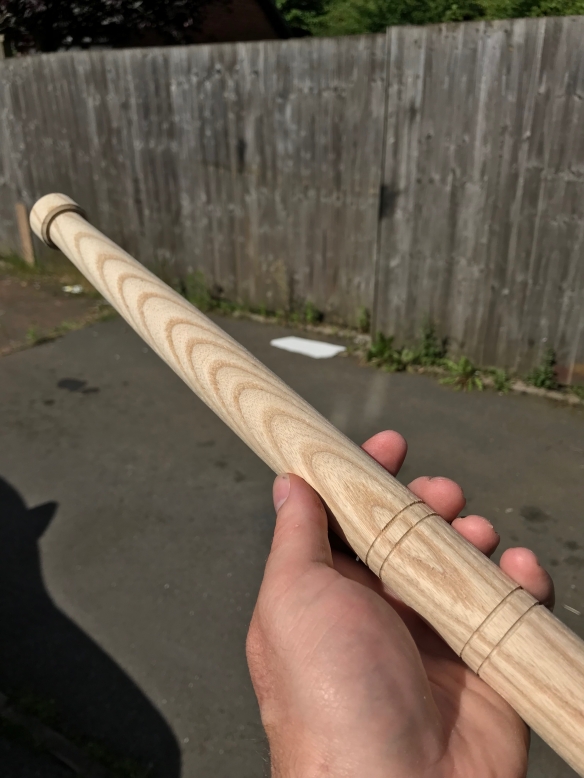
Ash is one of my favourite timber species to work with
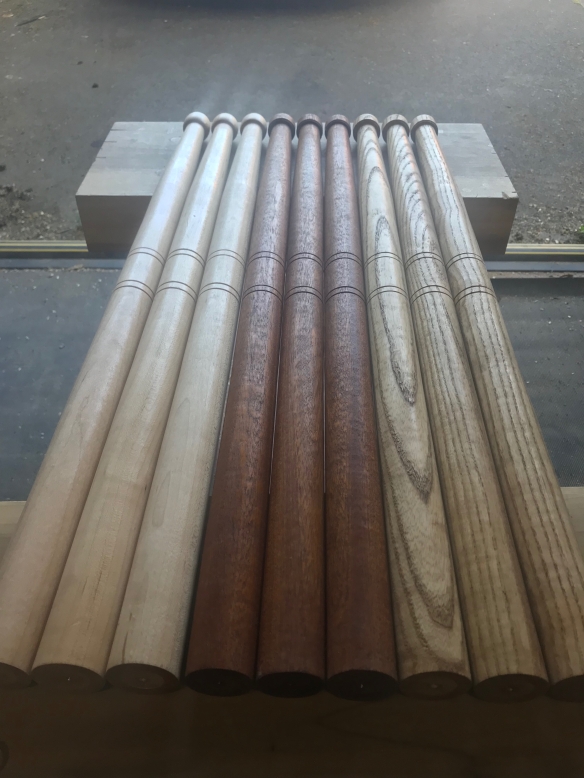
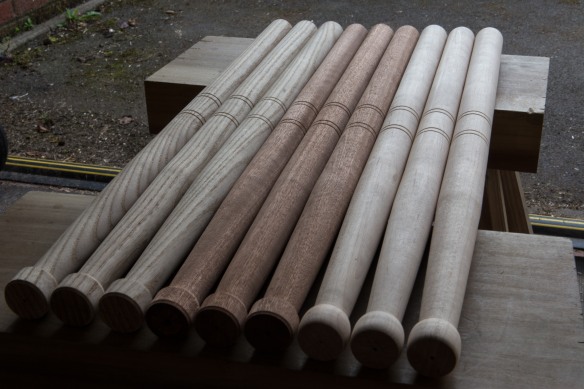
The very first leg I turned was relegated to the burn pile, as I botched the spacing of the decorative lines. With that mistakes done and out of my system, I managed to get three usable and consistent sapele legs, followed by two good ash legs (with one ash blank left to turn). The benefit of batching tasks like this is that increased familiarity results in increased precision and speed. My first leg took nearly an hour an a half, which I reduced to 40 minutes per leg by the end of the day (and I’m sure with practice that time would come down furthe still). Most of the work involved is turning the octagon into a cylinder, with the details taking about a third of the time.
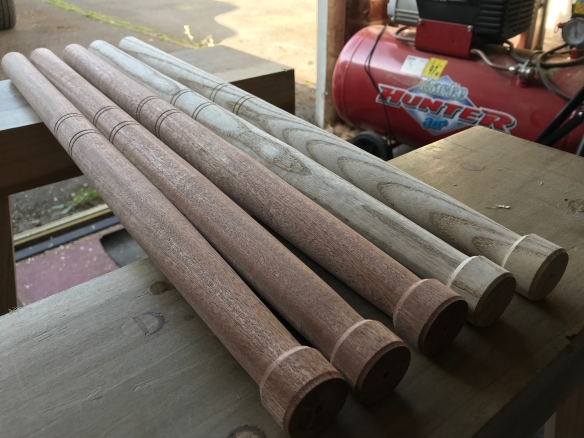
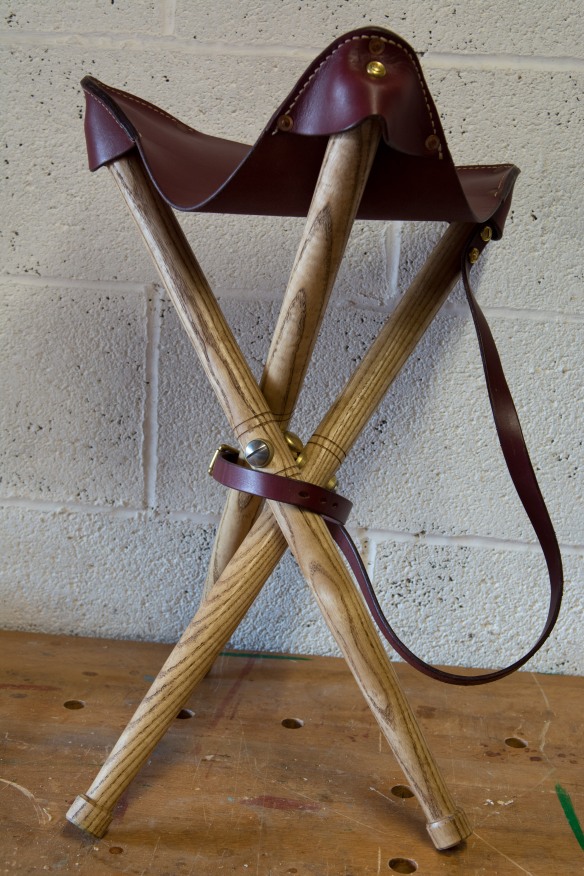
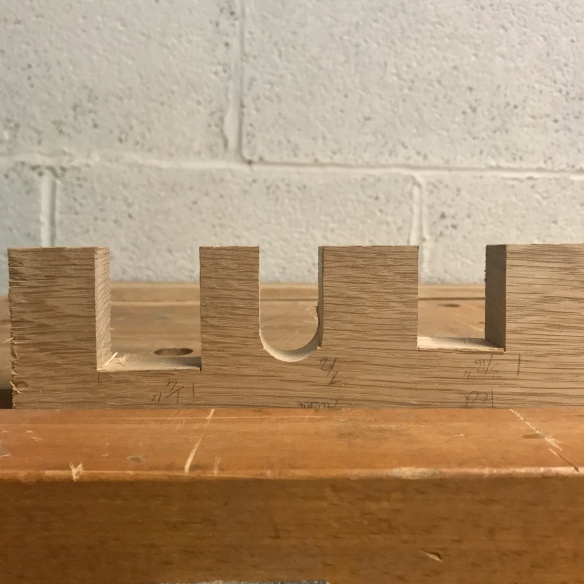
Five consistant, and completed, legs
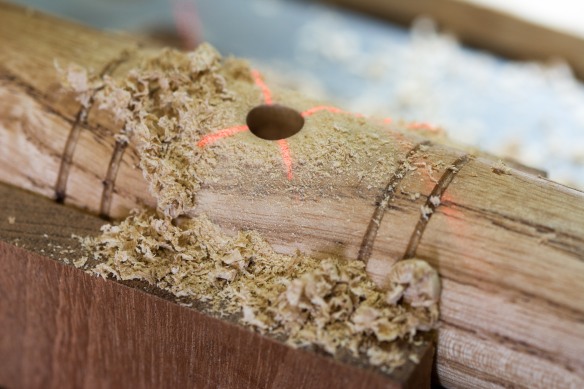
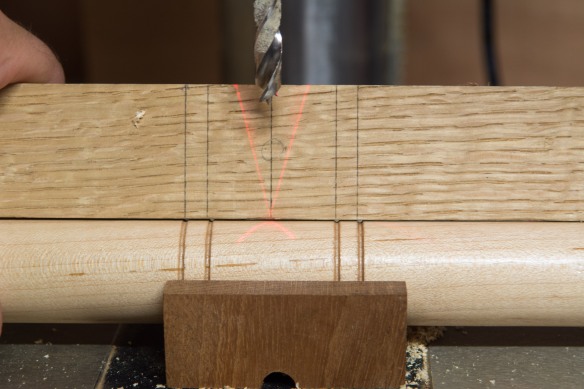
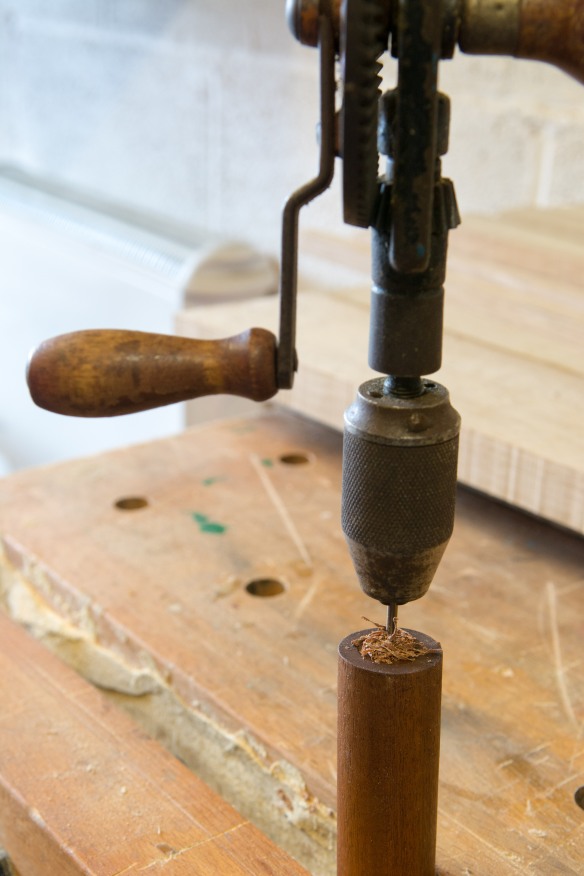
The story stick and go-blocks definitely assisted in achieving consistency, and were well worth the effort. Next up will be turning the remaining ash leg and the set of maple legs, applying finish to all of the legs, and then drilling for the hardware. But that will be for next time.