Interative Design

The following is based on an article originally published in issue 284 of Furniture & Cabinetmaking.

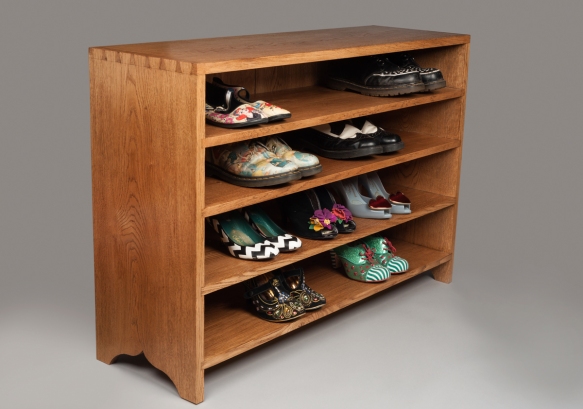
In 2017 a client commissioned me to build an open cupboard for the hallway of a Victorian house in London, with the key design criteria that it was to be able to provide ample shoe storage. The result was the Policeman’s Boot Bench – a dovetailed oak cabinet with four shelves for even the most enthusiastic shoe collector. No sooner had I completed the commission and handed it over to the client, then Dr Moss pointed to the overflowing shoe rack in our own hall and requested that I build a variation on the piece I had just delivered, to address our shoe storage needs (the finished piece can be found here).
_DSC9090

Iterative Design

The process of designing, and building, a second interpretation of an existing project provides an excellent opportunity to review your design process: both in terms of how small design changes can have significant impact on functionality, and how design choices affect the overall form of the piece. Subsequent approaches do not rewrite the base design, but adapt and mould it to new settings and uses that reflect the specific needs of the end user.
_dsf4949

Despite my best efforts, I have been unable to find a design term that reflects the process of adapting a base design for different functionality or aesthetic criteria, and so for the purposes of this article I will refer to it as “iterative design”. If any reader is aware of a design term which better reflects this methodology then please drop me a line and let me know!

Compare and Contrast

While I will be using the two shoe cupboards to illustrate the benefits of iterative design, really the same process could be applied to any furniture form. In fact, on my workbench are two child-sized Welsh stick chairs. These chairs are both based on an 18th century example, but thanks to changing some design elements (one has a round leg profile while the other uses octagonal legs) and material choices (one is oak, the other maple), they have radically different appearances. Returning to the shoe cupboards:

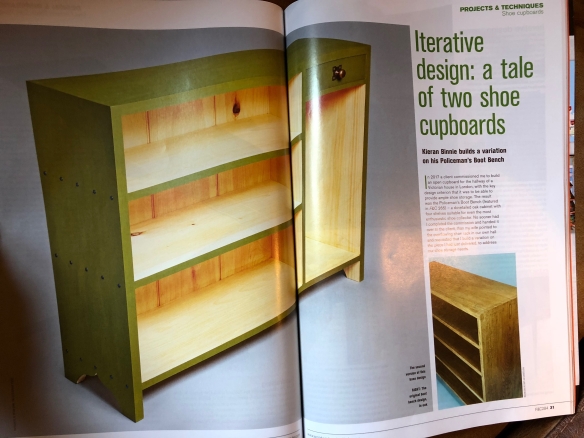
Version One (the original Policeman’s Boot Bench) is all oak construction, with four full-width shelves housed in dados. The finish is blonde shellac and black wax.

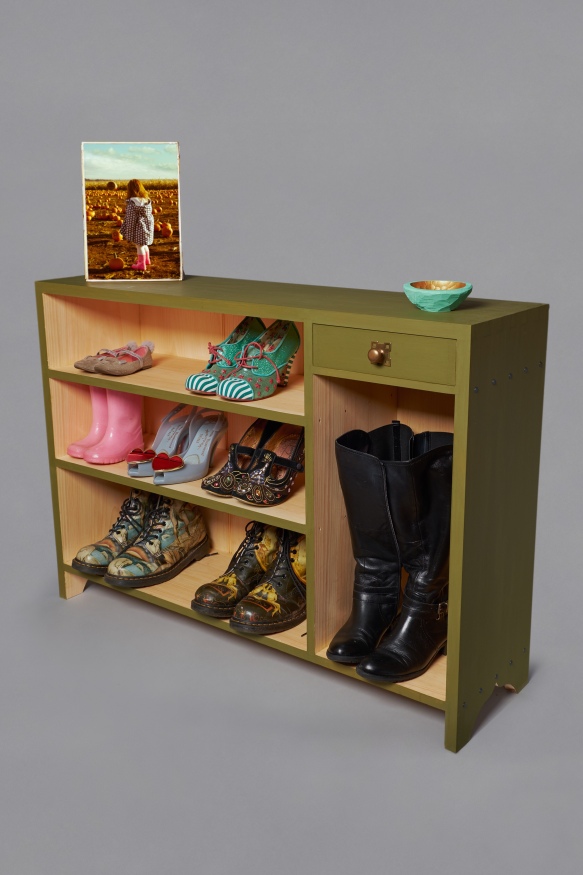
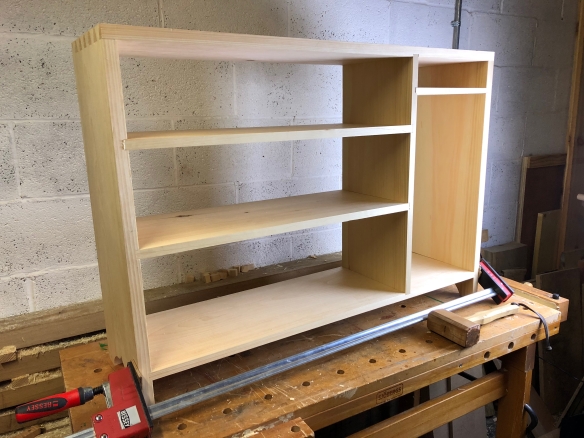
Version Two (which resides in our hall) has the same overall proportions, save for being slightly narrower (11.5” compared to 13”). Pine is used throughout, and the joinery (dovetails, dados, and tongue and groove for the backboards) is exactly the same as for Version One. However, there are three shelves in this iteration of which only the bottom shelf is full-width. The other two shelves terminate in a vertical divider 12” from the righthand end, resulting in a tall compartment at that end. At the top of the compartment is a dovetailed drawer for keys, post, and the inevitable clutter that seems to accumulate by the front door. The shelf spacing is also different compared to Version One. In terms of finish, the exterior of Version 2 is painted with Bayberry Green milk paint by Old Fashioned Milk Paint, topped with Osmo PolyX, while the interior is also treated with Osmo. The dados are pinned with “Roman” style nails from Rivierre Nail Factory, while a Mackintosh brass pull from Horton Brasses allows the drawer to be accessed.
_DPP7006

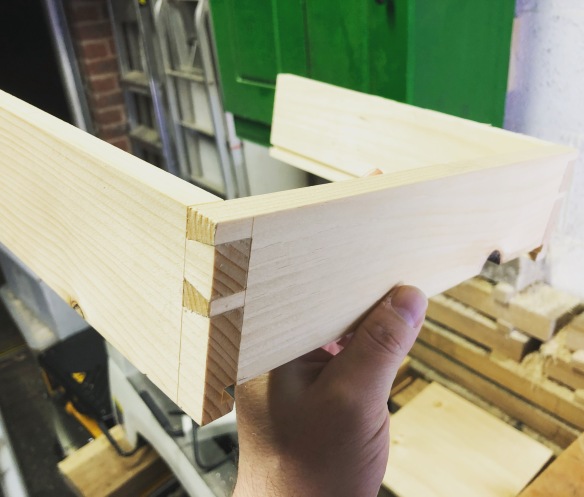
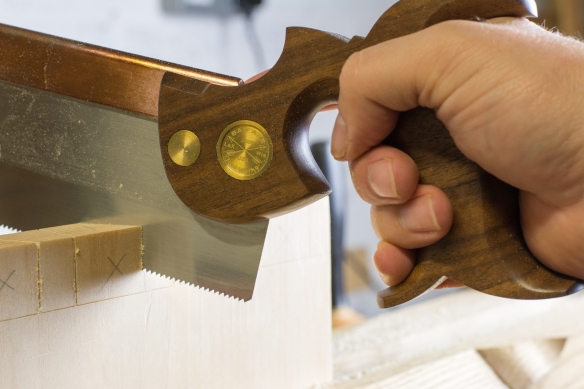
Cutting the dovetails

So those are the differences, but what design choices led to them? This can be split into two elements – functionality and aesthetics.

Functionality – adjusting the functionality of the shoe cupboard was where negotiations started for version two. Our existing shoe rack (by a popular Swedish home furnishing company) struggled to accommodate anything larger than a standard work shoe, and was downright hopeless at holding the Apprentice’s tiny shoes. So, from the very start we knew we needed shelf spacing that would work for my Dr Marten boots as well as a three year old’s favourite sequinned wonders, and Dr Moss’ knee-high boots. The addition of the vertical partition provided the tall boot storage without creating too much unusable dead space, and left me free to have shelves in the main compartment. Having determined the space required for the Dr Marten’s (8 ½” in case you were wondering), the shelf spacing for the main compartment was stepped off with dividers to achieve a gradually reducing space for each shelf up, without the need to deal with awkward fractions. A small drawer at the top of the full height compartment added an extra level of functionality as well as some visual balance to the design – before adding the drawer, the right-hand compartment looked cavernous and disrupted the proportions of the piece.
_DPP7314

Aesthetics – the Policeman’s Boot Bench was designed for a Victorian property with an original tiled hallway, and the emphasis on oak and a simple finish fitted that setting very nicely. Thanks to a large lime tree in the front garden our hallway has a tendency to be gloomy, and in an effort to mitigate this we have painted the walls a bright yellow. For this reason we wanted to avoid adding large pieces of furniture in dark wood, and so pine was chosen for gentle tones it would add. The overall form of the shoe cupboard is understated, and relies on hand cut joinery as well as an elegant foot detail to provide visual interest. Milk paint is the perfect finish for adding colour while keeping joinery visible, and the benefit of a mid-toned colour is that the natural wood of the interior illuminates the shelves, making the overall piece “pop”.

These are all simple choices – asking what we want to use a piece for, and how it will sit in the intended setting. And yet, when added together, they result in substantially different pieces.


_DPP7188

Cleaning out dados

The Benefits of Iterative Design

Having found the iterative design process to be beneficial and thought-provoking, I was interested to see if other makers used this process. Canadian furnituremaker Rich Wile makes extensive use of this approach, particularly when deploying specific joinery solutions. Rich explained that while he developed a “chair base design using bent laminated braces” for a dining chair, “it has provided the design and build basis for many other projects including benches, stools and small tables. Each application requires small tweaks to the design, such as the size and angle of the brace, but the technique remains the same”. Carver Danielle Rose Byrd also makes use of iterative design, particularly with spoons and shrink pots which “are limited to more nuanced changes in design that benefit from an iterative design process”.

I have found two main benefits to this process, although I am sure there are plenty of others I’ve not yet stumbled upon. Firstly, once the base design has been prepared, creating further iterations is a more time-efficient process, because the overall form (proportions and joinery, not to mention the construction process) have already been established. Instead, subsequent design time is focused on making adjustments to achieve a different functionality aesthetic, or to accommodate different materials. Those efficiencies are not confined to the time spent on design either. As Rich explains: “I tend to over-engineer a piece with extra structure or support the first time around. But the experience of each subsequent iteration allows for refinement or efficiencies to develop in the built to either save material or time, or to increase the flexibility of the design”.
_DPP7005

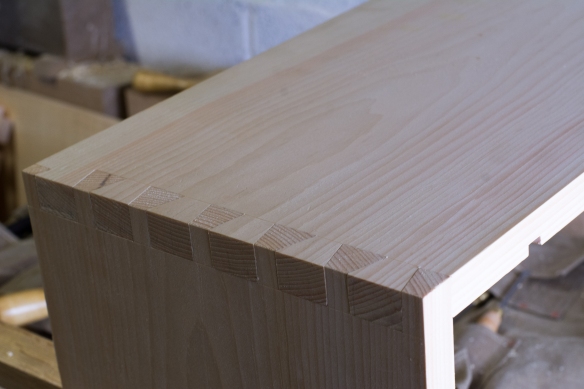
Dovetails for the first corner

Secondly, having an established based design already built (iteration one – in my case the Policeman’s Boot Bench) enables the impact of each design change to be readily compared and contrasted. Again, that might be in terms of functionality, or appearance. By expanding the uses of a base design, you develop an understanding of what functionality can be achieved within a given footprint or internal fitout. This reflects Danielle’s experience, as “it’s one thing to see a new pattern carved onto a flat board, but being able to use an actual shrink pot so I can see how the pattern relates to the shape of it allows me to make better informed decisions about what ultimately gets used on the final piece”, and for this reason she keeps all of her “practice boards and failed past projects”.

The Drawbacks of Iterative Design

No design process is perfect, so are there drawbacks to iterative design? The obvious one, to my mind, is that any process based on repetition or making adjustments to a base design, has the potential to limit design language and result in a narrower breadth of work. Danielle’s experience would support this, and suggests that “iterative design holds me back – I tend to think smaller, be more conservative, and limit myself”. Richard adds that “I think you can become too comfortable with your ‘hammer’ and perhaps have a blind spot for other approaches”, although staying interested in other makers’ designs and approaches can counterbalance that risk.
_DPP7202

Conclusion

Within the context of a broader approach to design, I’ve found that iterative design can be a useful tool, and one which has some very beneficial attributes. What I find really interesting about using the Policeman’s Boot Bench as a base design is that making changes to the internal layout requires only moving the location of the dados, which really emphasises the flexibility of both the joinery and the design. As Rich observed about his own experience with iterative design “when the project I am building can [make use of an established design feature], I know I can rely on solid experience and approach, and focus on details and aesthetics and not on behind the scenes building techniques”.

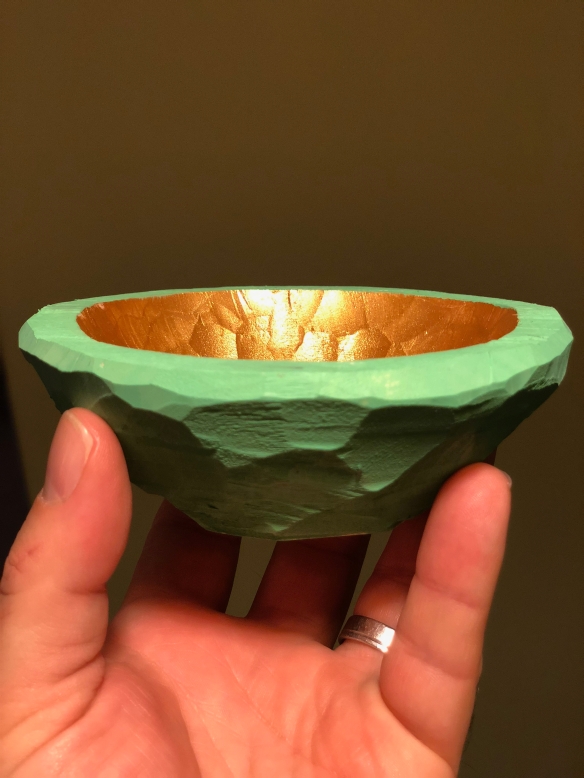
At its root, this iterative design process is about developing a design language and experimenting. In fact, the more I dig into this as a process the more I find that I am engaging in a design conversation with myself and the overall brief of the project. Building that design language presents the opportunity to explore ideas, and draw upon previous experience to trial new approaches As Danielle explains, “when I first got into bowl carving, I set aside ten or so maple bowl blanks and let myself go wild on them, entertaining any and every idea I had so I could find the extremes of what was possible, including texture. I also have bowl failures that I keep around. This comes in handy during the iterative design process because it allows me to easily expand on previous ideas that I’ve hashed out on these testers seemingly picking up where I’ve left off”.
IMG_1370

Bowl by Danielle Rose Byrd

This represents my first forays into iterative design, and the experiences of some other makers. And so, I shall finish with a challenge – next time you come to design a piece, ask yourself if you need to start from scratch, or whether you have already built a base design that could be adapted. This approach may save you time and provide some unexpected results.

In Print and Covered Up

IMG_2768

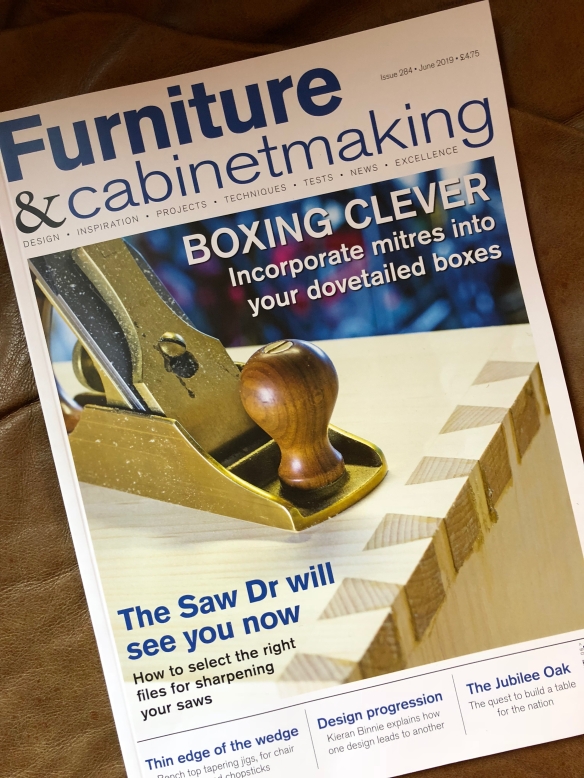
Issue 284 of Furniture & Cabinetmaking is now in print and features a wealth of interesting content by Mark Harrell (on saw sharpening), Rich Wile (on the Midlands Woodwork Show), and Derek Jones (on box making). Also featured is my article on iterative design process. This article uses the example of how the base design for the Policeman’s Boot Bench evolved into the Back to the Boot Bench, and as well as insight into design process from Danielle Rose-Byrd and Rich Wile (both of whom graciously agreed to be interviewed for the piece, for which I am most grateful).

This article is my 34th piece for F&C, but the first time that I’ve contributed the cover image, which I am very excited about.

IMG_2770

Boot Bench Beauty Pageant

Last week photographer Gareth Partington came by the workshop to take beauty shots of the completed Back to the Boot Bench and the staked worktable I built last year. This is the third time I’ve worked with Gareth, and it is always a real privilege. As well as being an outstanding photographer (you should see some of the landscapes and portraits on his site) he also brings a fresh perspective to projects I’ve become too familiar with, finding ways to highlight the overall form and details of a project with a fresh eye.
The boot bench beauty shots are now up on the Portfolio section of Over the Wireless, and can be found here. The staked worktable photos will follow in the next week or so.

Back to the Boot Bench… Part 7

_dpp7234

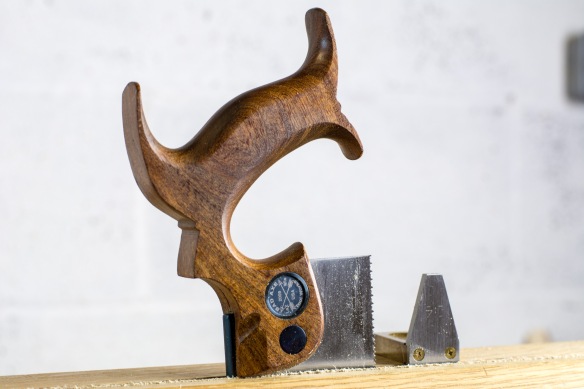
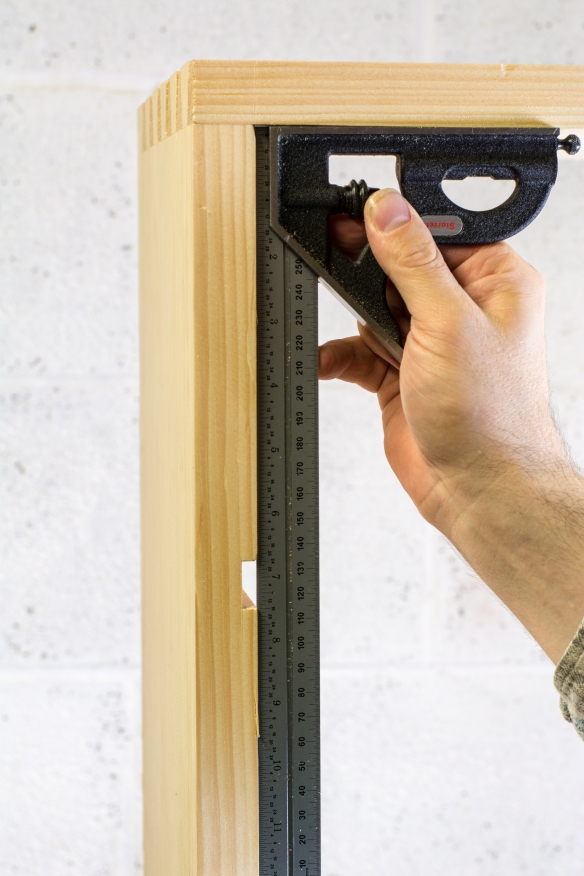
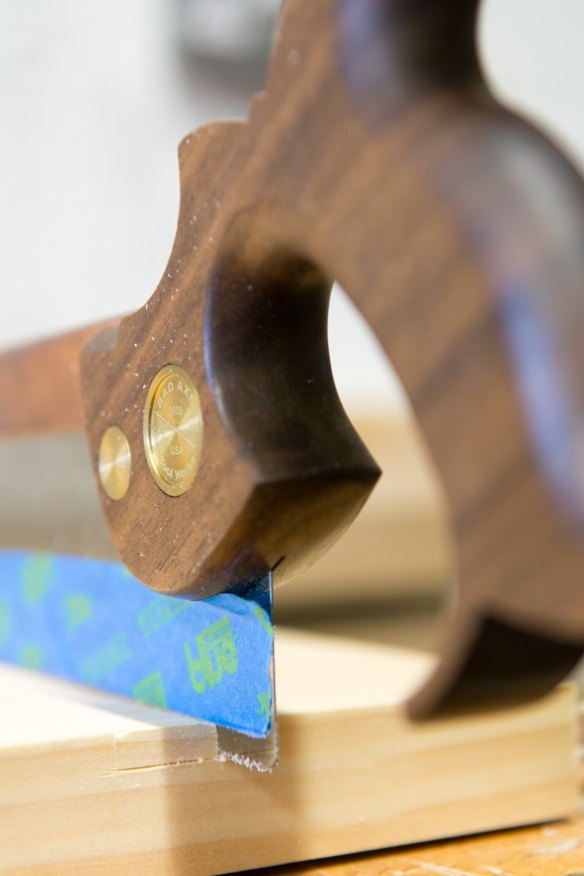
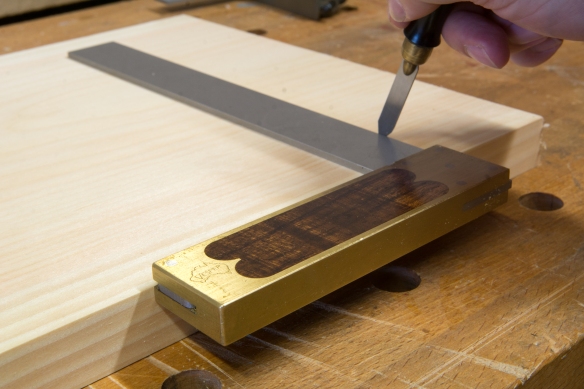
Doc Holliday 10″ dovetail saw and Sterling Toolworks 1:4 Saddle Square

The final stage of the Boot Bench was to make the drawer which fits in the compartment at the top right of the case. The drawer is of quite ordinary construction – 1/2” stock dovetailed at the corners, with a 1/4 x 1/4” groove in the sides and front to capture the bottom. The bottom is 1/2” thick, tapering to 1/4” at the edges to fit into the groove, and is orientated with the grain running across the drawer so that any seasonal movement is pushed to the rear edge of the bottom.

_dpp7228

Ploughing grooves for the bottom

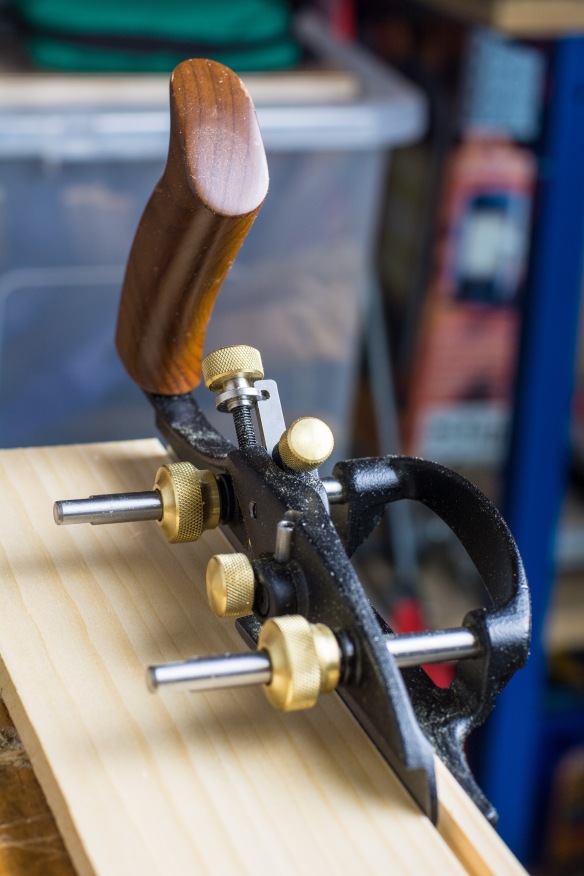
As the front of the drawer will be painted to match the rest of the casework, I decided to use through-dovetails rather than half blind, as the end grain of the drawer sides won’t be that noticeable, and a simple square plug will fill the groove ends in the tails. Before dovetailing, I ploughed the groove in the sides and front using a Veritas small plough which I leave permanently set up for this operation.
img_1517

The rear corners, showing how the bottom slides in from the back of the drawer

Although dovetailing is the same operation regardless of stock thickness, I definitely find that dovetailing 1/2” stock requires a lighter touch than the 3/4” to 1” range that represents the majority of my work. That lightness of touch involves both a slight change to the tools I reach for, and the way I use them. For the past two years my go-to dovetail saw has been the 14” Bayonet by Bad Axe, but while that is an excellent saw for my usual stock thicknesses, for 1/2” it is a mite too aggressive, so I prefer my 10” Doc Holliday saw (also by Bad Axe), which has a touch more control for thinner stock. I also swap out my usual 8” coping saw for a smaller piercing saw for hogging out the waste, as the finer blades allow me to creep right down to the baseline without fear of any blowout. I find that I also use lighter mallet blows when chiselling.

_dpp7468

Sure, you could taper the edges with a jack plane, but when the panel raiser is this much fun, why would you?

The dovetails are orientated with the tails on the drawer sides and the pins on front and back, which minimises wracking when sliding the drawer in and out. The front had two tails, laid out so that the grooves land well within the tails. The back of the drawer is not as wide as the other components, as it terminates immediately above the groove, with two unequally sized tails capturing the back.

_dpp7471

Raised panel and scalloped surface – a lovely contrast

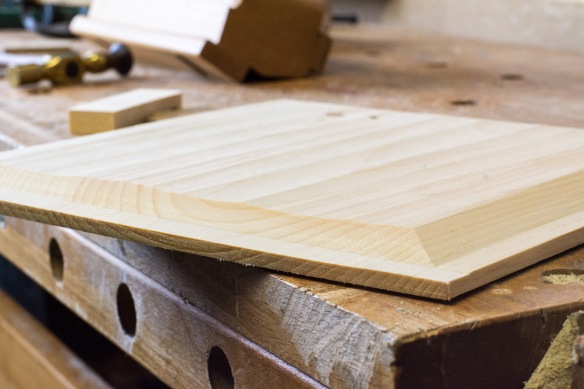
Once the dovetails were glued up I sized the bottom so that it fit the available space. The interior surface of the bottom was planed smooth, but I left the scalloped texture from the scrub on the underside. The taper to fit the grooves was then cut with the Philly Planes panel raiser. A rough taper could be achieved with a jack plane, but the contrast of a sharp raised panel and scalloped surface was something I wanted to achieve, as a visual (and textural) treat for anyone who takes the drawer out in years to come. I used some hope made soft wax on the edges of the bottom to help ease them into the grooves, and then smoothed the exterior of the drawer with my No3. I also drove a short Roman Nail through small notch at the rear edge of the bottom into the back. The notch allows for seasonal movement in the bottom, while also holding it in place.

_dpp7473

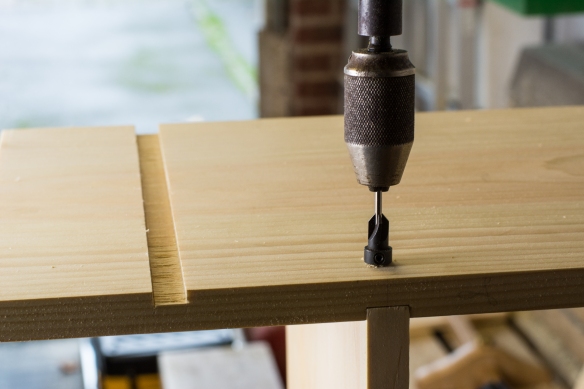
Drilling the mounting hole for the drawer pull – sacrifical stock prevents blowing out the interior of the drawer front

After testing the fit of the drawer in the compartment (relief, it had a snug fit and moved smoothly!) I drilled the mounting hole for the drawer pull. Clamping some sacrificial pine to the inside of the drawer from prevented the drill bit from blowing out the internal surface of the drawer front. I then pared two small plugs to fit the groove ends on the front, and glued them in place. Once the glue has cured I will flush them up and then paint the drawer front. After which, this project will well and truly be completed.

_dpp7476

The completed drawer (upside down to show off that lovely texture). You can see the Roman Nail at the rear of the drawer bottom

Back to the Boot Bench… Part 6

Finishing the Boot Bench was a straight forward process which I was able to attend to between festivities over the Christmas break.

img_1285

Sealing knots with shellac

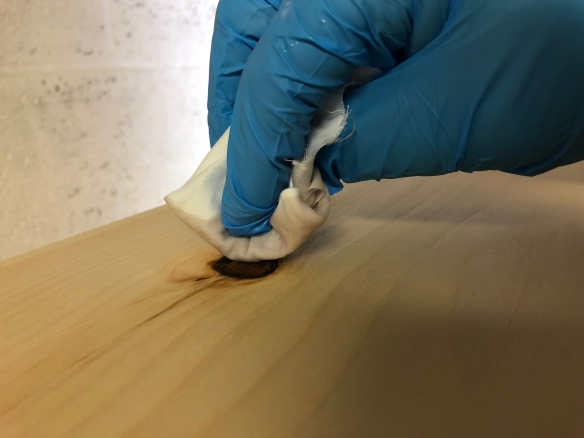
Before applying any milk paint I sealed two knots (one on the top, and one on the right hand side) with a thin coat of shellac. That was followed by five thin coats of Bayberry Green milk paint by Old Fashioned Milk Paint, applied with a foam brush. I tend to mix milk paint using a 2:1 ratio of warm water to powder. This creates a much thinner mixture than the manufacturer’s instructions, which call for a 1:1 ratio. The result is a thin paint which requires more coats to get an even coverage, but which does not obscure the underlying detail or require as much work to remove the chalky texture. As you can see from the gallery below, the paint took a few coats to build up a nice density of colour. Once the fifth coat had dried I burnished all of the paint using a pad of brown paper – this smoothed out the texture and also eased the few remaining variations in colour.

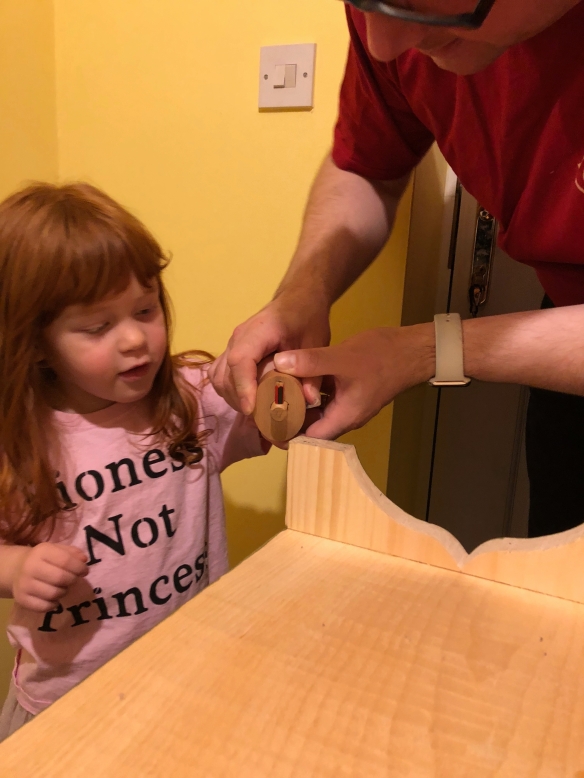
I then removed all of the blue tape and was pleased to see that there had been very little colour bleed on the edges of the shelves. I gently chamfered the leading edge of each shelf with a spokeshave to protect the fragile corners from years of use, and this also removed what little colour bleed there was, resulting in a crisp paint line. At the same time, I flipped the case upside down (using a moving blanket to protect the finished surfaces) and chamfered the feet using a 9 grain Aurio rasp. The Apprentice helped me layout the chamfers with a pencil gauge, and also took some swipes with the rasp. She’s really enjoyed helping out on this project, and so some more father-daughter ‘shop time will hopefully be on the cards soon.

img_1427

The Apprentice helped me chamfer the feet

I then padded on two coats of Osmo Polyx to the interior and exterior of the Boot Bench. Osmo is a hardwearing and waterproof oil finish, which makes it perfect for this application. The oil gave a soft lustre to the milk painted surfaces, and deepened the colour a little. It also emphasised the underlying details, such as the end grain texture and lines of the dovetails, which is wonderful as I wanted to be able to see the joinery through the paint.

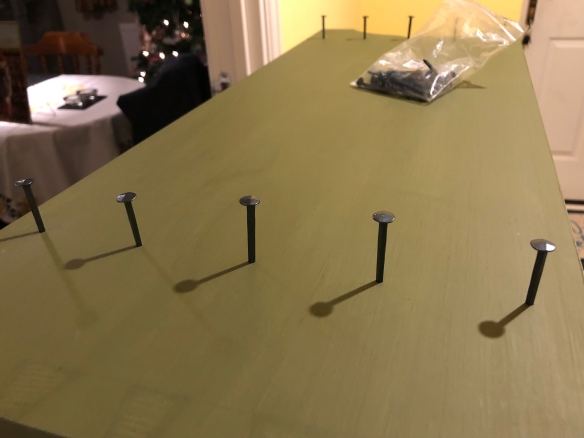
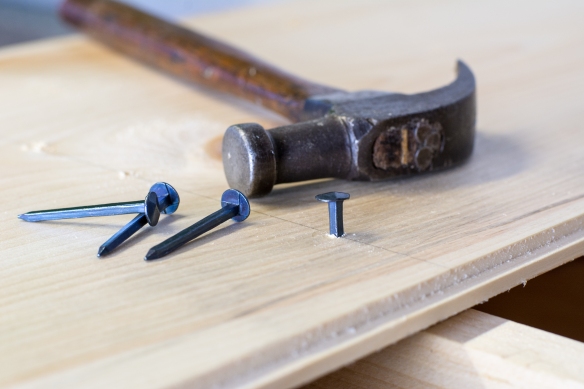
Once the Osmo had dried the finishing touches were to knock in the nails pinning the dados, and to apply my maker’s mark to the end grain on one of the tails. There really is nothing like introducing a 2lb lumb hammer to a project you’ve finished… And then, on New Year’s Day the Apprentice helped me load shoes onto the shelves. The Boot Bench has been in use for just shy of a week now, and has had a transformative effect on our hall – easily accomodating all of the shoes which used to spill out of the previous rack, and making the space much more welcoming. I need to finish making the drawer, and then this project will be done. More on the drawer next time.

img_1482

Back to the Boot Bench… Part 5

_DPP7293

Dressing the front of the boot bench with my No3 smoother

I waited to clean up the dovetails on the boot bench until the very last stage before painting. The main reason for this is that I try to only clean up the exterior of a project once,  so as to avoid removing any more material than I strictly need to. By waiting until the last possible minute I am also able to address any “workshop rash” to the exterior.

_DPP7297

That moment of truth when you clean up a joint. This dado looks ok.

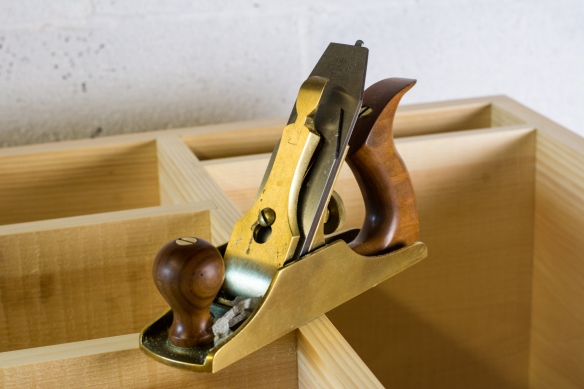
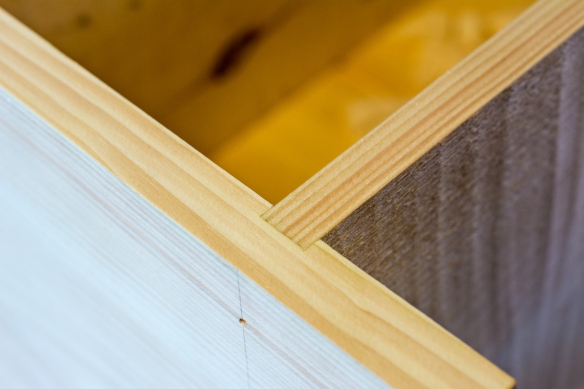
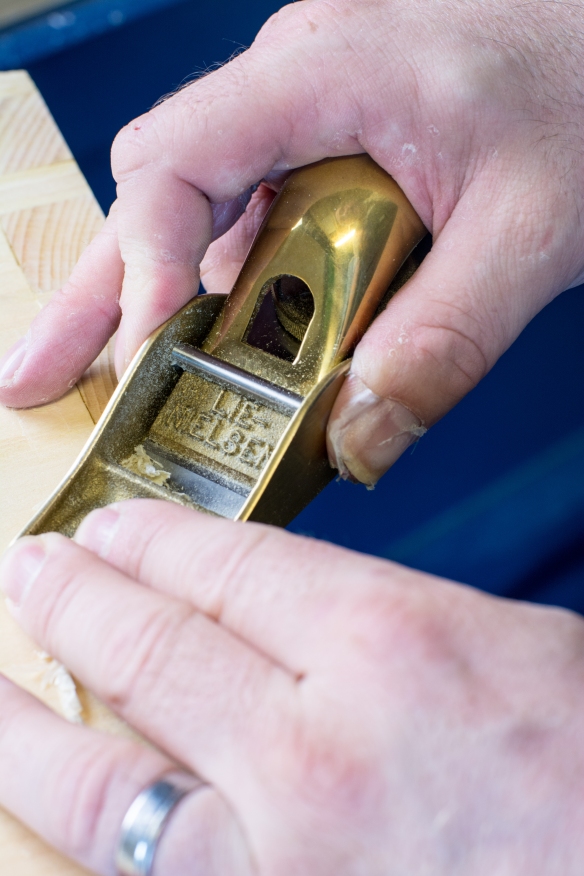
When cleaning up casework I try to approach the job in a methodical fashion, so that I only work on each face once, and to avoid denting or scratching a surface I’ve just cleaned up. This is all the more important given that workholding for a large-ish piece of furniture is different to flat boards. The most involved element of cleaning up the boot bench was the front, where all of the shelves intersect with the carcase, and need to be flushed up. I worked round the shelves in order using a freshly sharpened No3 smoothing plane and a No101 apron plane. Starting with the vertical divider, I flushed the ends up with the block plane, and then dressed the full length of the divider with the smoothing plane. Once the divider was flushed up, I then moved to the bottom shelf, and then each of the shorter shelves in turn, before lightly dressing the edges of the carcase. By moving around the elements in this order I was able to keep track of where I was, and also ensure that the casework is not planed out of true. When planing dados, skewing the plane to 45 degrees with a light cut as you work across the joint helps to avoid spelching or tearout on either component.

_DPP7338

Drilling the pilot holes for more Roman nails. I wonder how many holes this drill has created over the years?


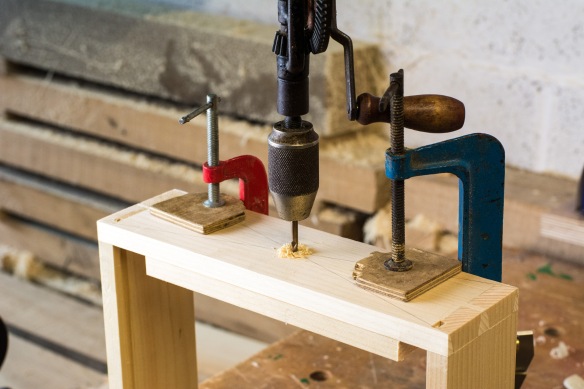
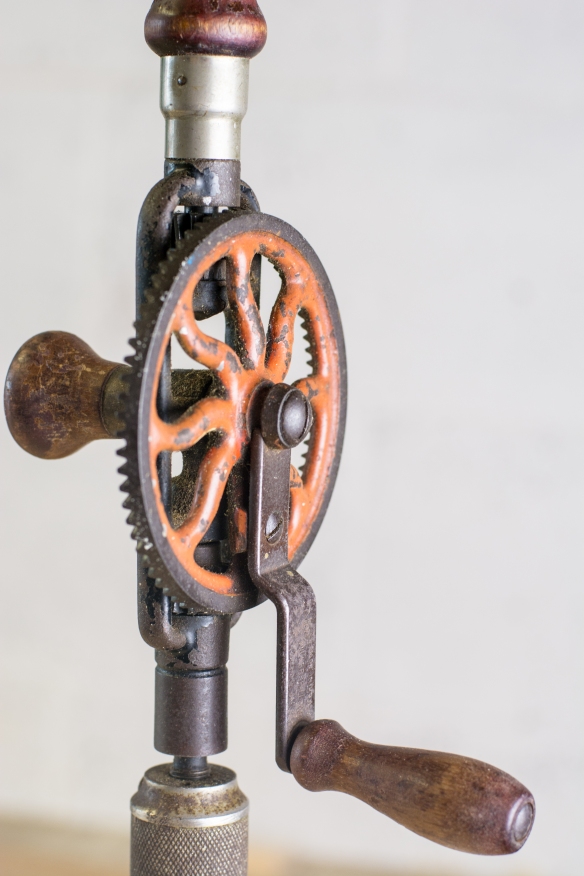
Once the front was looking good, I worked each end in turn before turning my attention to the top. The first task for the sides was to layout and drill pilot holes for the Roman nails which will pin the dados. The nails will be hammered in once the boot bench is painted, as I want the nail heads to be a decorative feature and not covered in paint. Five pilot holes per shelf were laid out with dividers, and drilled using a tapered drill bit in my grandfather’s egg beater drill. Next, each side was cleaned up with the No3 smoother taking light cuts until the pine was smoothly finished and the dovetails were flush. To work the ends, I placed the boot bench on top of a thick blanket to protect it from the floor, and braced it against the workbench. Some minor glue staining remains on the end grain of the dovetails – from my initial (highly unscientific) experiences Old Brown Glue seems to penetrate deeper than Titebond. As the boot bench will be painted this does not matter, and the joints were all clean with no glue left on the surface.

_DPP7345

Trimming the dovetails flush


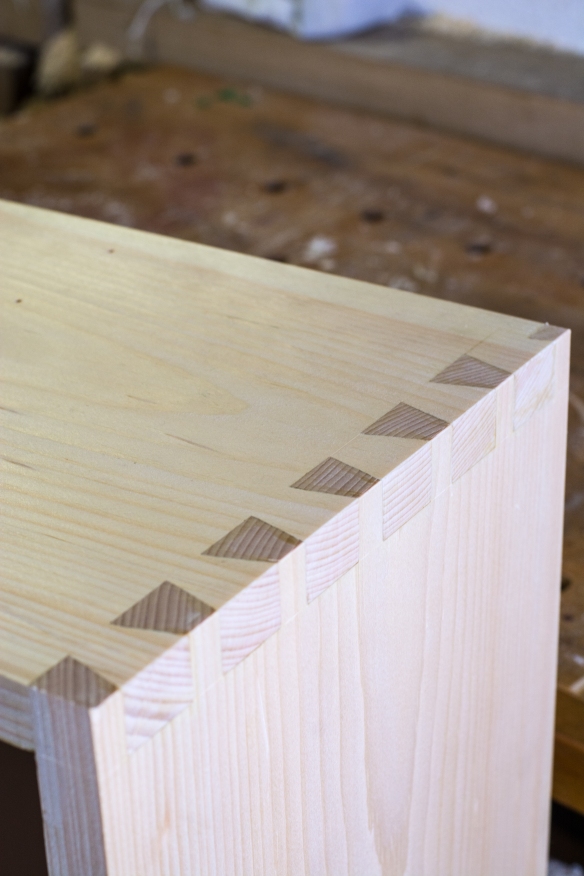
I trimmed the tails flush to the top with the block plane, and then smoothed the top until the surface was clear and free of tearout, standing the case on the floor (on top of a blanket) and bracing it against a bench leg. I’m pretty pleased with how these dovetails came out. The final touch was gently chamfering all four edges of the top, to avoid denting those delicate corners in use.

_DPP7351

Clean dovetails, these look ok

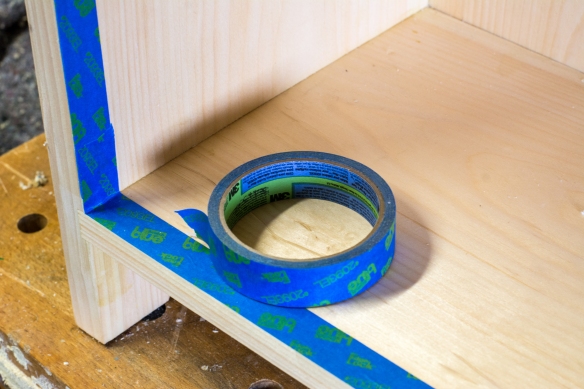
I still need to complete the drawer, and apply finish to the whole piece. But the boot bench is almost finished, and should be in use by Christmas. In readiness for painting, I also applied blue tape to the inside edges of the casework and shelves, to avoid paint transfering to the interior. I have further strategies to address any paint that creeps under the tape, but you’ll have to wait until the next post for that.

_DPP7357

Taping up the casework before painting

Back to the Boot Bench… Part 4

Events have been conspiring to keep me out of the ‘shop for the past couple of weeks, although I did manage to steal a couple of hours on Sunday to fit the backboards to the boot bench.

_DPP7254

Preparing the tongue and groove joints

I’m not sure if I approach this method in the same way as everyone else, or whether I’m a bit screwball about it, as I prefer to fit the outer pair of boards, and then work my way in to the middle of the carcase. This ensures that I end up with a symmetrical arrangement of boards, and can adjust the size of the middle board (or pair of boards) to fit the aperture without too much measuring.

_DPP7267

Roman nails and a hammer by CE Hammond of Philadelphia

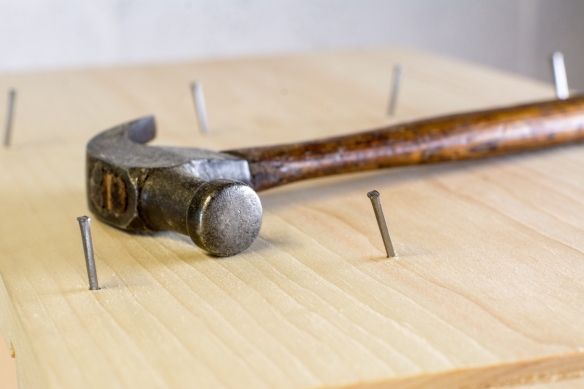
There are four backboards for the boot bench, and each are 1/2″ thick and pine, just like the rest of the project, and joined together with tongue and groove. The two outer boards are glued along their outermost long edge into the rabbet in the casework, and all four boards are nailed to the rear edge of the shelves with the Roman nails I wrote about last time.  I processed the two outer boards first, shooting the top edge square and planing the tongue and groove joinery into the inner edge with the Lie-Nielsen No.49. To trim the boards to length I dispensed with the shooting board, and instead struck a line across the widh of the board at 26 3/4″ along the length – this will give an overhang of 1/2″ beyond the bottom shelf. I then chiselled a trench to the waste side of the line (as you would for a “first class” cut), and then cut down the line with a Bad Axe 20″ mitre saw. This saw leaves a nice clean edge, and this method offered a very quick way to cut the boards to length keeping a good square end. Once all the boards are fitted I can then clean up the bottom edge with a block plane if necessary, but to be honest as this surface will be only a couple of inches above the floor and at the rear of the casework I’m not sure if it will need any clean up. Reading Mortise & Tenon has had a real impact in how I approach my work, in terms of the decisions between which surfaces must be pristine, and where it is more efficient to leave signs of process.

_DPP7274

The bead adds a nice shadow line for decoration, and also hides any gaps that occur as a result of seasonal movement in the backbords

Once the outer two boards were processed, I held them in place and drilled pilot holes for the nails using an egg beater hand drill. Each board has four nails for each shelf, and I partially inserted four nails per board to hold it in place while I measured up for the inner pair of boards, which turned out to be a little narrower than the outer pair. The final touch was to add a bead to the shoulder of each tongue with my Philly Planes 1/8″ beading plane.

dav

The Apprentice helping to nail the backboards in place

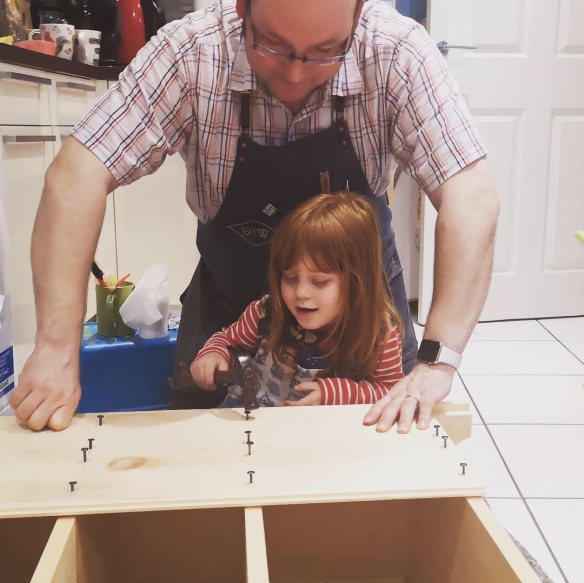
This stage of the build also offered a significant milestone. The workshop was too cold to use hide glue, so I relocated to the kitchen to glue and fit the outer boards. As I was doing so, the Apprentice was finishing her dinner and I asked if she’d like to help me fit the boards in place. She readily agreed, and was super focused while she knocked in nails (using the vintage CE Hammond hammer she received just after she was born) and cleaning up squeezeout with a toothbrush. This was the Apprentice’s first experience of woodwork, and she seemed to really enjoy it, so hopefully we will have many hours of father-daughter time in the workshop – she’s already talking about “making a chair for mummy” (although we may need to build up to chairmaking).

Back to the Boot Bench… Part 3

One of my favourite elements of any project is choosing the hardware and finish options. These are the finishing details which add character and flair to the piece, but which must be carefully selected so as not to distract from the essential form – no one wants to add chaps to a squirrel. This process often involves looking at the context in which the project will sit, and making decisions based on what would complement that context, and what combination of elements would work together to present a harmonious piece of furniture.

_DPP7217

Planing drawer stock

When we first moved in to our house (nearly) four years ago, the hall felt pretty dingy, in part thanks to the rather drab magnolia paint job we’d inherited, and also because the only natural light comes from a small pane in the front door, which spends much of the year shaded by two large lime trees in the front garden. When it came to decorating the hall (part of the great magnolia-eradication campaign which continues to this day) we wanted a colour scheme that would brighten the hall and make it an inviting space. After painting many test panels on the walls, we settled on a vibrant Mediterranean-style yellow. The yellow was then complemented with copper accents on a mirror frame and lampshade.

_DPP7250

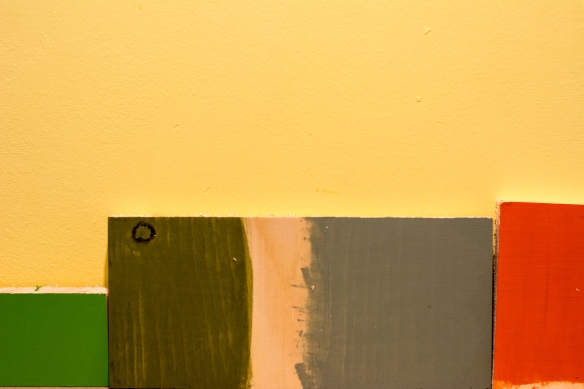
Our sample boards in situ against the hall wall – the Basil Green (second, left) was the winner, closely followed by Persimmon (far right)

I knew from the start that the boot bench would have a milk painted exterior, and oiled interior. I’m not a big fan of unpainted pine, and this combination provides a more pleasing exterior, while allowing the pale yellow of the interior to pop a little, which will add the appearance of a light piece of furniture. But what colour of milk paint? I collected offcuts of the shelves and casework so that I would have material for test painting that was consistent with the boot bench. After scouring the colour charts for General Finishes and Old Fashioned Milk Paint, we identified a number of possible contenders which were duly ordered and sample panels prepared. After the addition of a top coat of Osmo, the sample boards were then lined up in the hall to judge in situ. The winner was Basil Green by Old Fashioned Milk Paint, although we were both tempted by the (very bold) choice of Persimmon by General Finishes.

_DPP7209

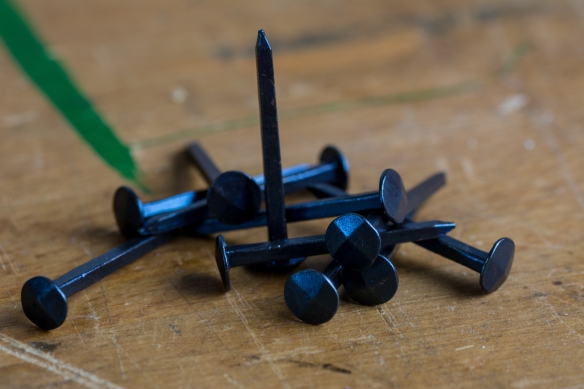
“Roman” nails by Rivierre

So, with the finish selected, it was on to the hardware. The shelves will be pinned through the dados, partly to ensure longevity, and also as a means of subtle decoration. I have always used cut nails by Tremont Nail (available from Tools for Woking Wood), and their rosehead nails hold like the dickens, and are very nice to look at. I’ve been interested in using the “Roman” nails by Rivierre (and available from Dictum) since Chris first wrote about them, and this looked like a good opportunity. The gently faceted head of the Rivierre nails is very attractive, and the black finish means that they will be understated but visible against the milk paint.

IMG_1070

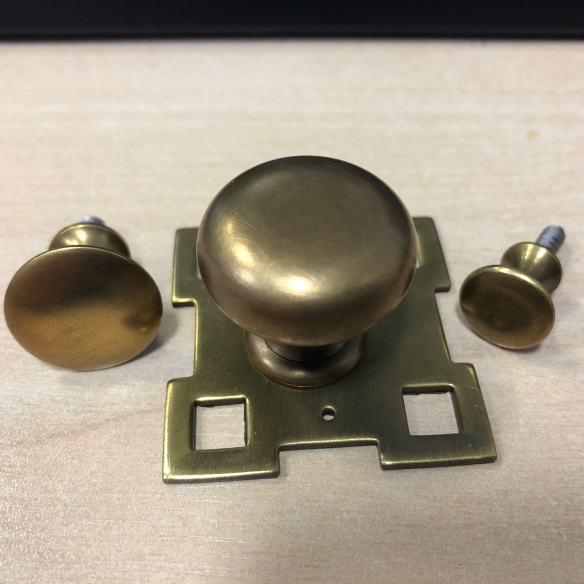
Selection of drawer pulls from Horton Brasses

The boot bench has a single drawer in the top right corner, and the final hardware choice was for drawer pull. Any excuse to order hardware from Horton Brasses is welcome, so I browsed their catalogue for suitable pulls and ordered three options, all in the “light antique” finish. After trying the three pieces against the drawer front, we settled in the Mackintosh pull, which adds a nice visual detail without being too showy. The light antique finish works also nicely against the darker milk paint.

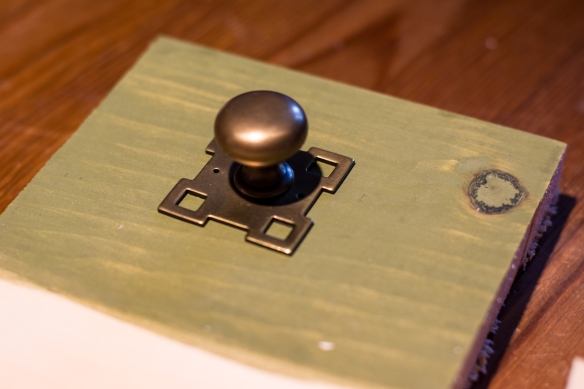
_DPP7244

The Mackintosh pull works nicely against the Basil Green milk paint, and is a good size for the drawer

With the details selected, I now need to finish fitting the back and making the drawer before cleaning up the casework. There is still plenty to do on this build, but at this rate it will be finished before Christmas.

Back to the Boot Bench… Part 2

_DPP7005

Dovetails for the first corner

It’s been a few weeks since I last posted, but despite the radio silence I have been progressing the boot bench for our hall. The first task was to cut the dovetails which join the sides and top of the casework. I’ve written about my dovetailing process previously (and also here), and the internet probably doesn’t need another treaties on how to cut dovetails. So I shall spare you, dear reader, from having to read another account of the same process. Truth be told, the only changes I’ve made to how I dovetail in the four years since I took the Anarchist’s Tool Chest class with Chris is that I use a Moxon vise for holding the workpiece, and I use a Bad Axe Bayonet saw for dovetailing stock thicker than 1/2″ (for 1/2″ stock I use my original 10″ Bad Axe Doc Holliday dovetail saw).

_DPP7006

Cutting the pin board

The remaining dados in the top (to accept the vertical divider) and the divider (for the shelves), were cut in stages. First, I did a dry fit to check that the carcase went together without any issue, and then marked off the position of the dado in the top to accept the vertical partition. By measuring the location of the dado in the bottom shelf once the casework was assmbled I could ensure that the corresponding dado in the top would be in exactly the right location. With that dado cut, I inserted the vertical divider and then measure the position of the three dados for the shelves, double checking by measuring each dado from both the bottom and the top of the interior of the casework.

_DPP7189

Laying out the dado positions for the vertical divider

With the dados cut I then prepared the shelves to fit their respective dados. A final dry fit confirmed that all of the components were a snug fit and that the casework went together square and true. Glue-up can be stressful enough without having to wrestle multiple parts, and so I prefer to assemble casework in stages. The first stage for this project was the carcase – top, sides, and lowest shelf. I assembled the dovetails first, applying Old Brown Glue to all surfaces and then knocking them together with a 1lb lump hammer. I then sized the end grain of the lower shelf with glue, waiting a few minutes before applying glue to both dados before sliding the shelf in place. This was my first glue up using a flux brush to spread the glue (a tip Chris wrote about recently) and it worked very well for getting an even coat of glue.

_DPP7195

Drilling pilot holes through the vertical divider

The dados will be reinforced with cut nails. The dados in the carcase will be nailed once the glue cures, but there is not enough space inside the casework to drill pilot holes in the vertical divider once assembled. While the carcase was in the clamps I assembled the interior dry, and drilled pilot holes for the cut nails through the vertical divider into the shelves. Those pilot holes were angled in opposite directions to increase holding power. I have just enough space to use a hammer to knock these nails in when gluing the interior assembly, and by inserting the nails into the divider during glue-up they will help to keep the shelves aligned when sliding them into place.

_DPP7202

Next up will be to glue in the shelves and divider, fit the tongue-and-groove back, and finally dovetail the drawer. This project is coming together quite quickly.

IMG_1001

Dry fit and looking ok

Back to the Boot Bench… Part 1

Over the past couple of weeks I’ve written a fair bit about the maple component of the Autumn of Maple and Pine, but not much about the pine. Until now.

_DPP6867

Making out dados while in the throws of Vesper Fever

As I mentioned previously, the pine is for a variation on the Policeman’s Boot Bench for our hall. Our shoe storage needs are slightly different to the client I built the original Boot Bench for, and so while I have retained the overall dimensions the interior will have a slightly different configuration. So instead of four full-length shelves, we have three shelves of greater depth which extend for three quarters of the length of the casework, and a vertical partition which leaves a full-height section for wellington boots. At the top of the partition is a drawer for post, house keys, and all of the usual clutter that accumulates beside the front door. The pine will be milk painted, most likely a sage green to compliment the yellow walls of our hall.

_DPP6869

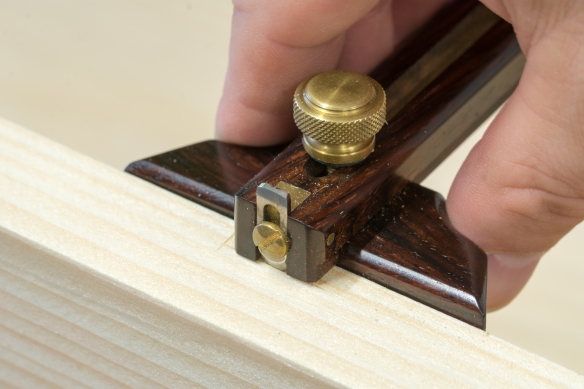
Laying out the dados with my Hamilton Tool Works small marking gauge

This is the first piece of furniture I have built for a communal area of the house, and I’m looking to solving the shoe storage problems which the Policeman discussed when collecting his boot bench. This will be a piece which we use every day, and which will be the first thing we see when we walk in the front door.

_DPP6875

The Bad Axe Bayonet is still my favourite way of cutting dados

The construction methods of our piece will be the same as for the Policeman’s Boot Bench – dovetails, dados and rabbets abound. I will also be using cut nails to further secure the shelves to their dados. I wrote extensively about the process for making the Policeman’s Boot Bench at the time, so I don’t intend to go into the same level of detail this time around. But that is not to say that the blog will be silent on this project, instead I’m going to focus on the differences from the previous build, which I think will be quite interesting.

_DPP6870

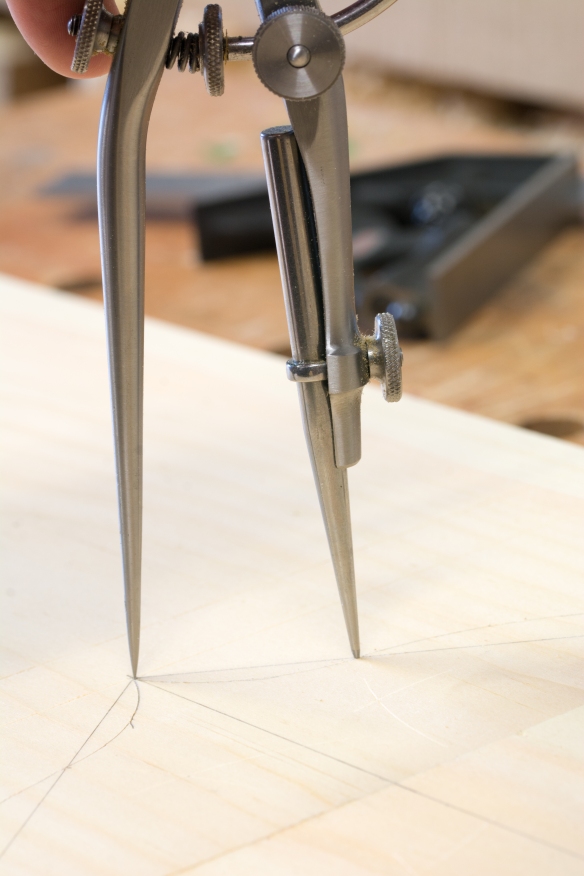
Laying out the foot detail with some pre-industrial geometry

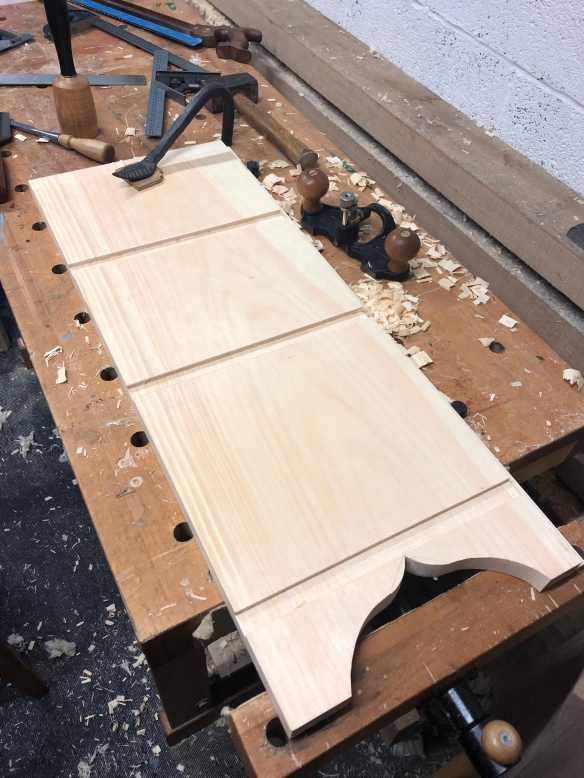
So far I’ve been approaching this build in several discreet stages. The top, bottom shelf, and sides, form the main casework into which the partition and internal shelves will fit. I processed the outer components as a set, cut all of the rabbets and then laid out the foot detail. But before cutting the feet, I turned my attention to the dados for the shelves, divider, and drawer.

_DPP6882

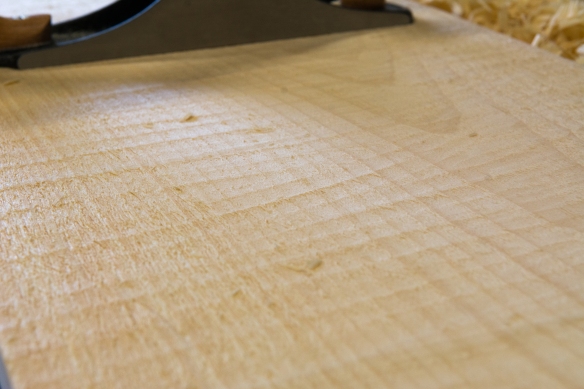
The underside of all of the shelves will be textured


Laying out the position of the shelves was causing me a headache until I abandoned numbers and used my dividers to step off proportionate locations. The bottom shelf is 3″ from the floor to allow space for the foot detail. I knew that the gap between the bottom and the middle shelf needed to be greater than the shelves in the Policeman’s Boot Bench to accomodate my Dr Marten boots, but laying the shelves out with numbers resulted in a clunky and awkward spacing. Instead, I divided the space between the bottom shelf and the top of the casework (less the thickness of the two higher shelves) into 9 equal units. The middle shelf was positioned four units above the bottom shelf, and the top shelf was positioned 3 units above the middle shelf.

_DPP6890

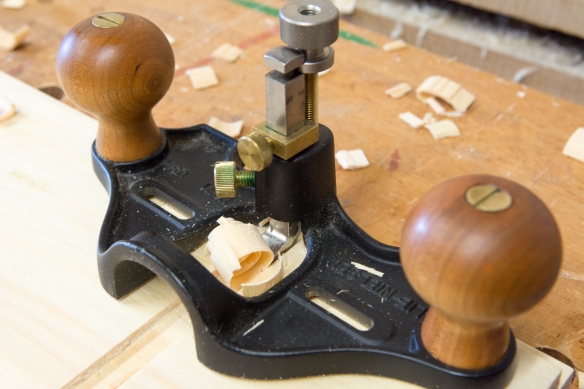
Cleaning dados with a router plane

I have no idea what the measurement of those 9 units is, but it doesn’t matter. The resulting spacing looks a lot more pleasing than any configuration I could devise using fractions of inches, and will accomodate a wide range of footwear. There is also a single dado in the bottom shelf, and the underside of the top, to take the divider.

IMG_0836

Dados and the foot detail

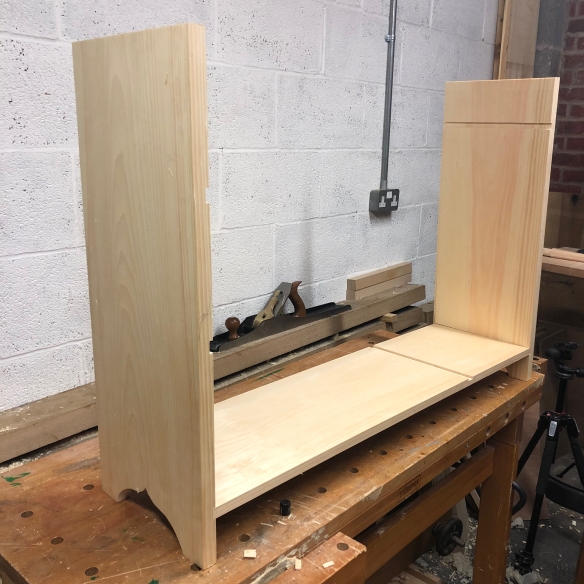
Once the dados were cut I cut the cyma reversa foot detail with a coping saw, cleaning up the curves with rasps. I fitted the bottom shelf by planing the underside with the scrub plane until the shelf was a snug, but not overtight, fit in the dados. The next task will be to dovetail the top and sides, and then start work on the internal fittings. This project is shaping up quite quickly, and I’m hoping to have it complete before our annual Christmas house party at the begining of December.

IMG_0837

Test fitting the sides and bottom shelf.