“The Finest Worksong”

65159AB7-6B4A-42DA-B57E-A9E9D0F8E2CD

Cleaning up the first edge

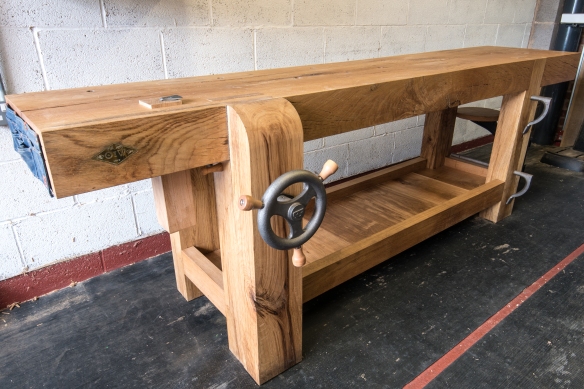
Now that the Roubo bench is finished I’m digging into my first furniture project in some months, not to mention the first thing which will be built at the Roubo bench – a boarded bookcase from The Anarchist’s Design Book, in maple to match my staked desk from the same book. I actually purchased and broke down stock for this build back in February 2018 with (optimistic) intention that I would have the bookcase and a matching chair completed by the summer of that year. Needless, to say after gluing up the first panel I got way laid by two stick chairs, a set of campaign stools, and the Roubo bench. All good things to be distracted by, but the pile of maple and boxes of books next to my desk aren’t going anywhere, and I’ve been looking foreward to building this project for ages. So now is a good time to get building.

IMG_6327

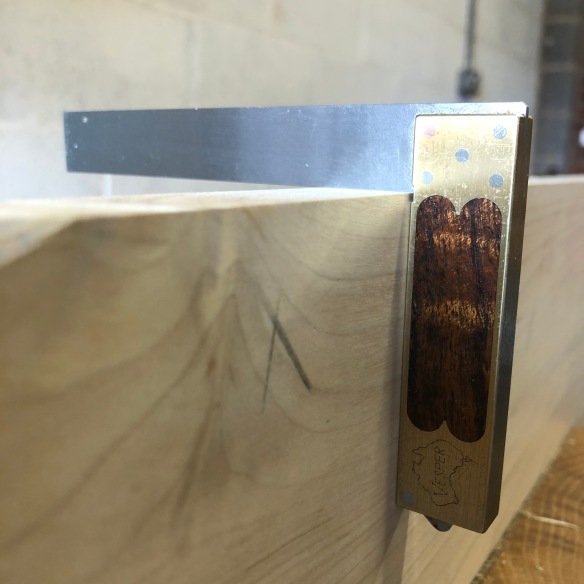
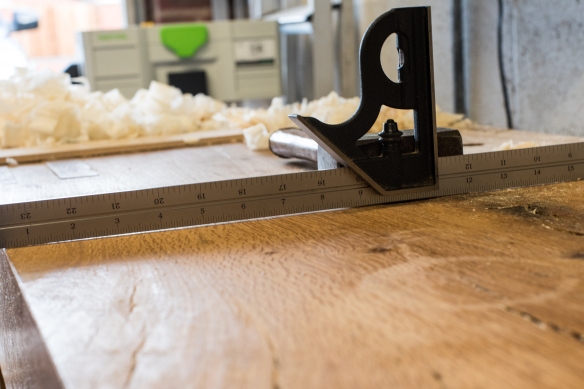
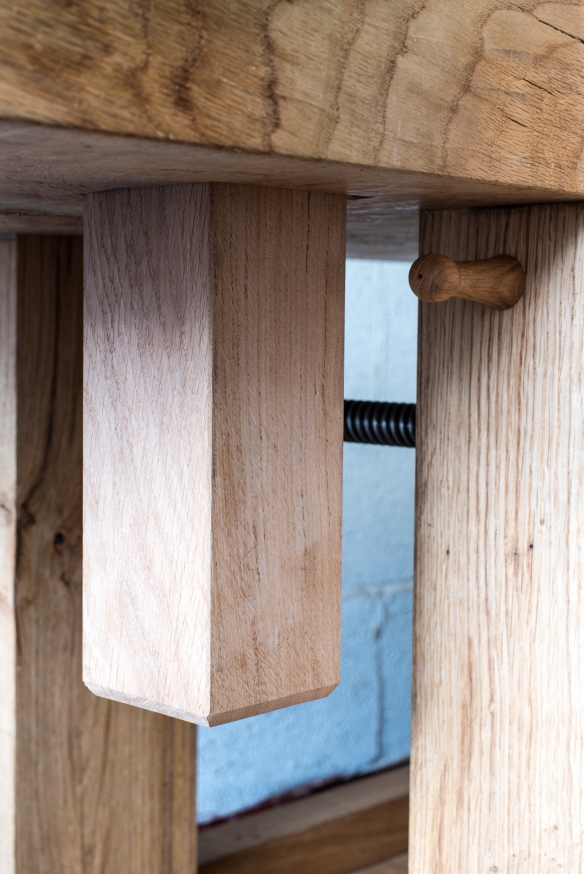
Chris Vesper is the ultimate arbiter of squareness in my workshop

When Megan teaches this project at the LAP store front it is a two day class, cutting joinery, assembling the bookcase, cleaning it up and getting acquainted with cut nails. That sounds like a good way to spend a few days. But that compressed timetable assumes the timber is dimensioned and ready for use (one of the major benefits of taking a class). Try as I might, I was unable to get maple in the 13″ widths needed for the project (the perils of using an American hardwood in the UK – I hear in the States 13″ wide maple liteally grows on trees). So before I can get to the joinery I’ve got five panels to glue up and flatten, less the panel I glued up in 2018. That’s a decent amount of work gluing and processing stock by hand. It’s a good job I enjoy using my hand planes.

DSC_2544

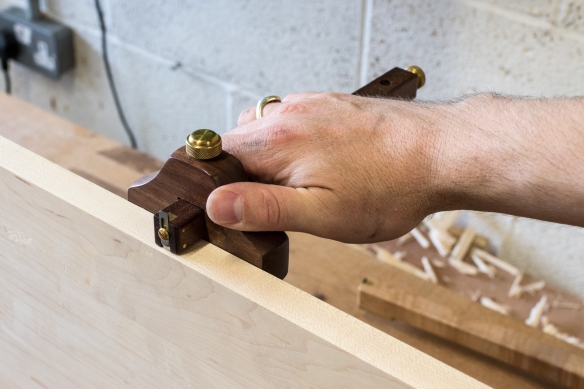
Marking panel thickness

As an easy start I have been processing the panel I glued up in 2018. The interesting thing about the process is not flattening the board – I’ve written about that process plenty of times before (a good soundtrack is advisable, and as I’ve been on an IRS-era R.E.M kick recently I’ve had Document playing quite a bit). No, what has been interesting is getting accustomed to different ways of working at the Roubo bench.

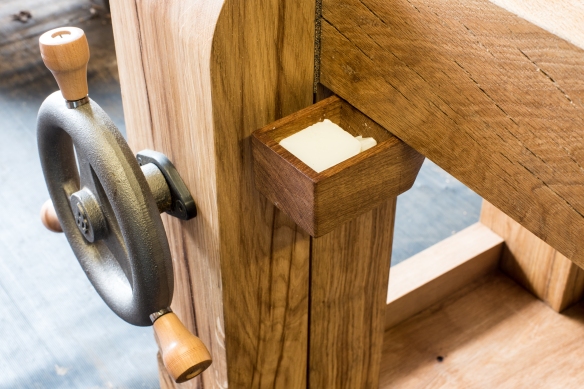
To traverse the board flat I’ve been holding it with a combination of planing stop and doe’s foot with holdfast. Rock solid work holding and simple to set up. For working along the grain, I abandoned all work holding that fixes the workpiece in one position, and worked into a batten held by the planing stop and holdfast. If you are accustomed to cinching work between bench dogs in a tailvise, this “loose” approach to workholding can be a leap of faith. But it works very nicely indeed, and an additional benefit is the increased amount of feedback from the tool and workpiece. You’ll soon learn if your plane is not sharp, because it’s harder to muscle a dull blade through the cut if the workpiece can slide out of the way. Similarly, the workpiece will tell you if you’re not applying pressure in the right places, or skewing the plane in the wrong direction, because the timber will slide from under the tool. Instead of being a hinderance this is really helpful, because if you learn from these cues then planing becomes more efficient, and you remember to sharpen more frequently. This learning curve with the bench has made a routine operation (flattening stock) a thought provoking and very beneficial experience. I’m sure the bench has more to teach me as we get acquainted.

DSC_2547

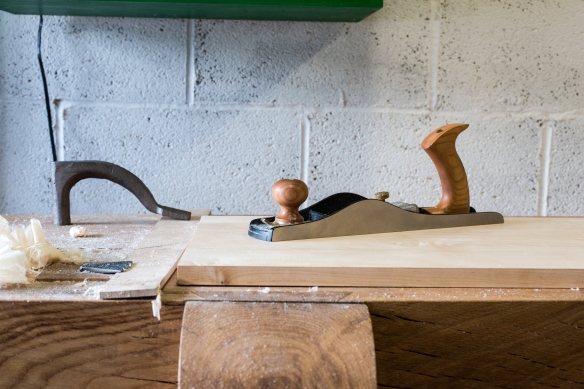
Planing into a batten, with the No62

The maple I’m using is beautiful stuff, but prone to areas of bad tearout. While I normally use my standard issue bevel-down bench planes for processing stock (No 5, 8 and 3, in that order) I’ve found myself reaching for the No62 bevel-up plane, which when sharpened to a 50 degree bevel tames even the most truculent grain with ease. So after traversing the grain with the No5 and a cambered blade, I’ve been working along the grain with the No62 to remove traversing marks and before finishing up with the No3 to achieve a final finish. The first panel is now ready for joinery, so I’ll be moving on to the next panel (and my first glue-up at the Roubo bench) shortly.

DSC_2554

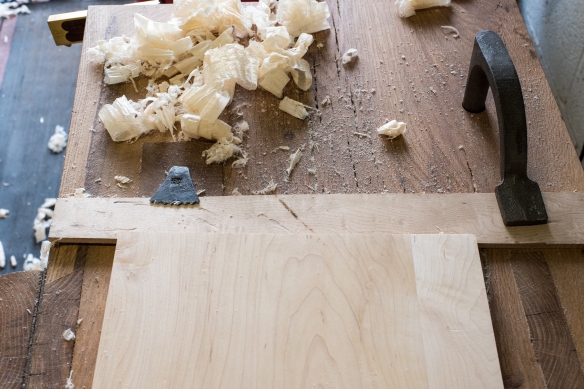
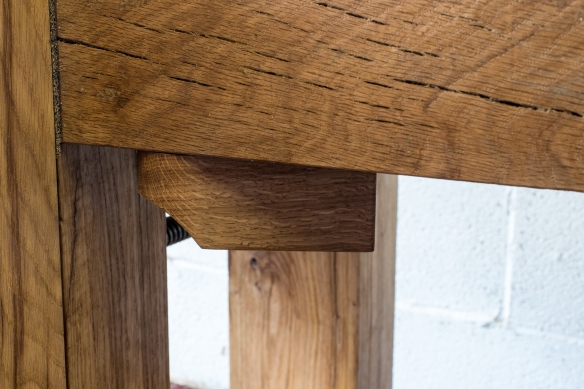
Planing stop, holdfast and batten (I’m using an old fretboard blank)


The Living Breathing Roubo Workbench

DSC_2539

The tenons are now proud of the workbench

One of the interesting experiences associated with building a slab-top Roubo workbench is the knowledge that while you’re aiming for tight, rock solid joinery when the bench is assembled, the nature of the slab top means that the joinery is unlikely to stay visually perfect for very long.

IMG_5217

The same joint when it was originally assembled and cleaned up – good and tight

I assembled my Roubo bench on 24 November 2019 – almost exactly five months ago. And when I cleaned up the joints in the weeks that followed they were pleasingly tight and gap free. Now, I built this bench in full knowledge that the slab would move during the first year or so, as it slowly reached moisture equilibrium with my workshop. Most timber reaches this point relatively quickly, but the sheer mass of the slab means that it takes longer to reach equilibrium. The benefit, is that once the slab achieves equilibrium it will move much less than a thinner conventional benchtop. So while the movement can be more dramatic at first, the bench should be much more stable as time passes.

DSC_2538

This week I noticed that those lovely tight leg joints were showing a consistent gap around the tenon, and that the tenons (which I had flushed when I flattened the bench top in December of last year) were now approximately 0.5mm proud of the bench top. This is to be expected, as the bench top shrinks around the leg joints. A quick check of the bench top with a straight edge showed that the top has started to cup a little, 4 months after I flattened it. I was expecting to flatten the bench top several times over the first 12 months of the bench’s life, so again this isn’t much of a surprise. The amount of cupping isn’t enough to interfere with using the bench, so I will leave it for a month or so before undertaking the first re-flattening of the year.

DSC_2540

The top has started to cup again. Next month it will be time for a flattening session

Do those gaps around the leg joints matter? Not in the slightest – the bench is still rock solid and the gaps are only cosmetic. Those joints are not coming apart any time soon, if ever. I will add wedges to fill the gaps when I next flatten the bench, and will flush up the joints. This is all part of life with a Roubo bench, and I’m ok with that.

“If it won’t hold soup, it’s art”

DSC_2504

After 13 months of working on the Roubo bench I was in sore need of a palate cleanser before I dive into my next significant furniture build (which, for the curious, will be the boarded book case from the Anarchist’s Desk Book, in maple to match my staked desk). One of the things I’ve been interested in trying ever since I bought my lathe is bowl turning. With the generous advice and guidance of my good buddy Rich Wile (who also contributed the title for this blog post), I invested in a good lathe chuck and a couple of sets of jaws, and ordered some bowl blanks.

DSC_2507

Over the past week I’ve turned two bowls in ash, and have found it to be a relaxing and entirely enjoyable process. Neither bowl is likely to win any beauty contests, and I’m going to do a little more work on both of them before I apply finish, but as a process it has been relaxing and has introduced an entirely new way of working wood while still producing (hopefully) objects of use. With both bowls I’ve not approached the lathe with any particular ideas or preconceptions, and have instead tried to achieve a pleasing form, ad-libing as I go. The second bowl blank looked solid in the rough, but turning it identified some deep checking and voids – no matter, as this will give me an opportunity to try some of the finishing ideas I have. Dr Moss is also excited about finishing and decorating some bowls. A family collaboration!

DSC_2513

With the smaller ash bowl I plan to paint the outside with pink milkpaint, and finish the interior with further coats of Tung oil (I applied one coat after turning it to get an idea of how the oil would look against the grain), and give it to the Apprentice for use as a snack bowl. The larger bowl I will hollow out a little more, as the walls look a touch thick, and then oil the outside to emphasise the wild grain. The inside will then be painted with milk paint, and it will go in the lounge as decoration.

IMG_6106

Each bowl took roughly 90 minutes to turn – is that fast for experienced bowl turners? I have no idea. But this is the first time I’ve taken rough timber to nearly-ready for finish in such a short time frame. As a form of instant gratification woodwork alongside my longer-term furniture projects, bowl turning seems quite attractive. And it also provides a means for quite quick experimentation, both in terms of form and approaches to finishing. Not to mention a useful way to turn offcuts into something useful. So I’m feeling quite excited by exploring this part of the craft. This blog won’t become a turning-focused space, but I am looking forward to becoming better acquainted with the lathe and exploring turning while I pursue furniture making and lutherie.

DSC_2517

Roubo Is Here

There is nothing quite as cathartic as the traditional end of a project clean up in the workshop. The opportunity to re-order the timber racks, clear out scrap, and impose order on the ‘shop. Completing the Roubo bench called for this more than ever, given that the project itself has prompted a major re-organisation of the ‘shop. While the workshop was looking tidy and clean I decided to take some beauty shots of the bench, before it settles into a life of being used. In normal times, Gareth Partington would be working his magic (as he has for the pieces in my portfolio), but these are not normal times and lock-down makes calling in an external photographer unviable. Maybe I’ll ask Gareth to take some photos of the bench in a few years’ time to capture the patina, battle scars and wear.

But for now, these will suffice. Proof that Roubo is here, and he is good.

DSC_2488

DSC_2480

Benchcrafted Glide C vise

DSC_2454

Curved vise chop profile, and vise handwheel

DSC_2456

Draw bore peg in barefaced mortise and tenon joint

DSC_2452

Maker’s Mark Plaque by Jenny Bower

DSC_2453

Saddlebag by Texas Heritage, mounted at front end of bench

DSC_2457

Planing stop and lump hammer peg

DSC_2466

Planing stop forged by Peter Ross

DSC_2482

Crucible holdfasts, stored in the front-right leg

DSC_2503

Benchcrafted swing away seat, mounted on front right leg

DSC_2475

Shelf fitted with tongue and groove joinery and beading detail

DSC_2472

Grease box

DSC_2471

Grease box pivoted out for access

DSC_2500

Roubo on Roubo – Plate 11 provided the blue print for this bench, and the Burn HeartPied du Roi ruler provided the base unit of measurement