Roubo Is Coming… Part 32

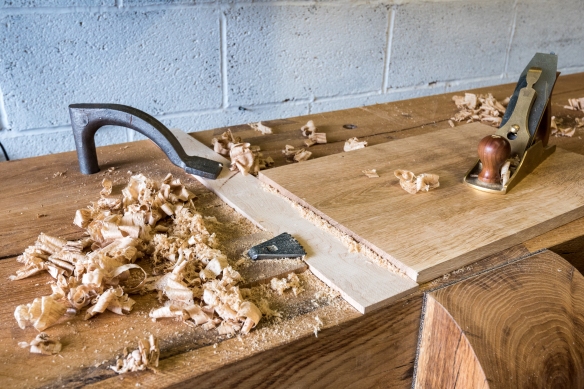
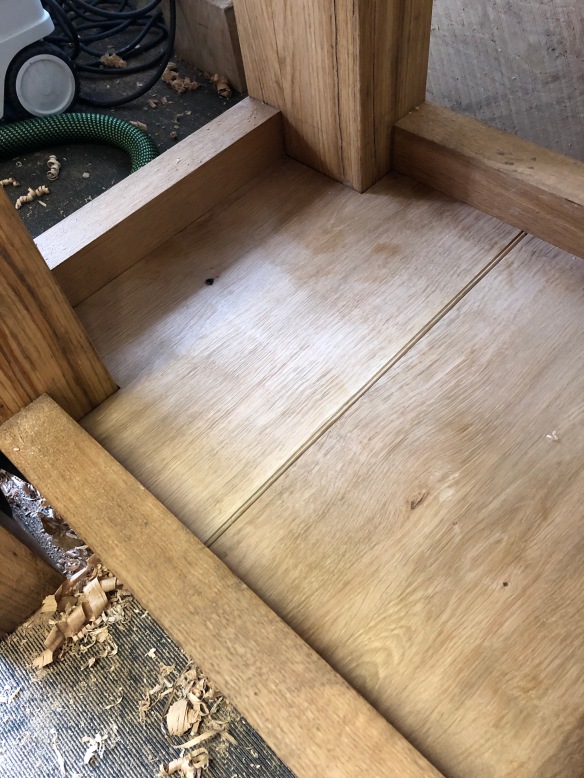
I left the shelf last week with one board left to fit to the shelf between the stretchers. I had deliberately laid out the shelf so that the narrowest board fell in the centre of the shelf, and once the other boards were fitted I measured the remaining aperture and cut the board to size and cut the tongue and groove joinery which would connect it to its neighbours. After slotting the board in place I applied a coat of boiled linseed oil to the entire shelf, to match the finish on the rest of the bench.

IMG_5943

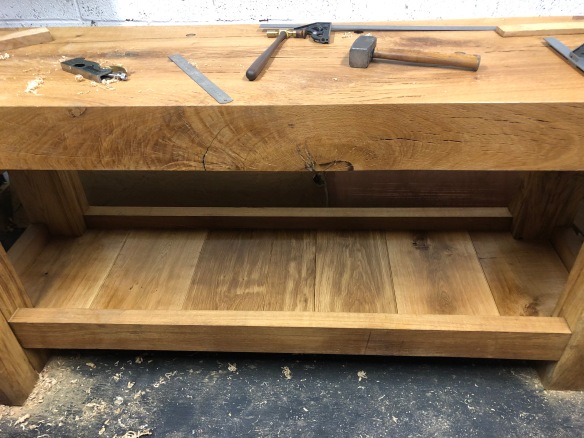
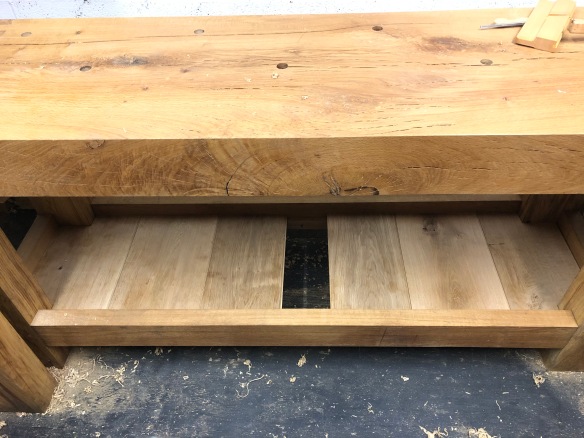
The completed shelf after a coat of boiled linseed oil

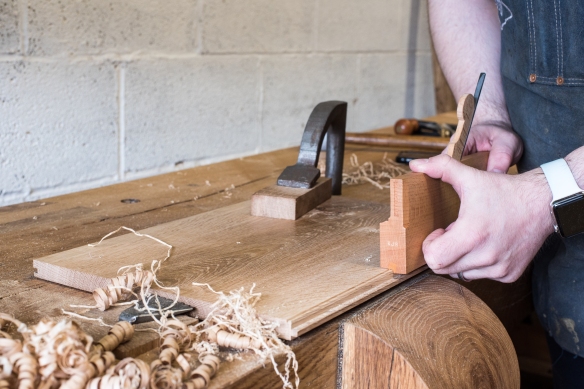
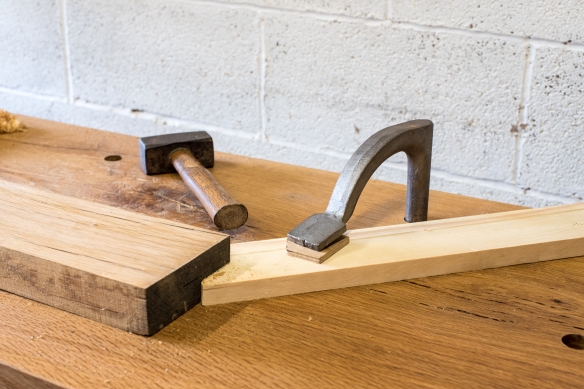
A good lump hammer or mallet is essential to the operation of the Roubo-style bench – it is used to adjust the planing stop and set holdfasts. So the final detail which I wanted to add was a peg to the front left leg, from which to hang my lump hammer. I can’t take credit for this idea – when I was teaching at the LAP storefront last autumn I noticed that Chris had fitted a peg to his Roubo bench for this purpose, and after a week or working a that bench I was sold on it as a very useful addition.

DSC_2436

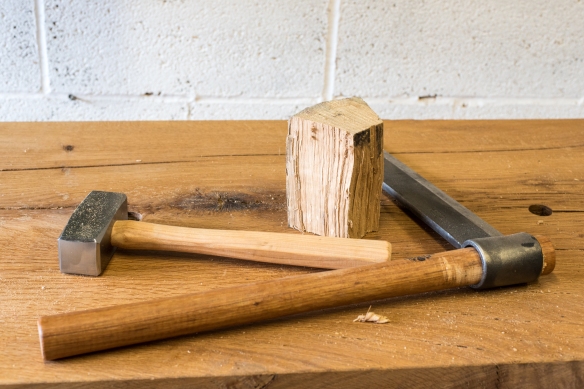
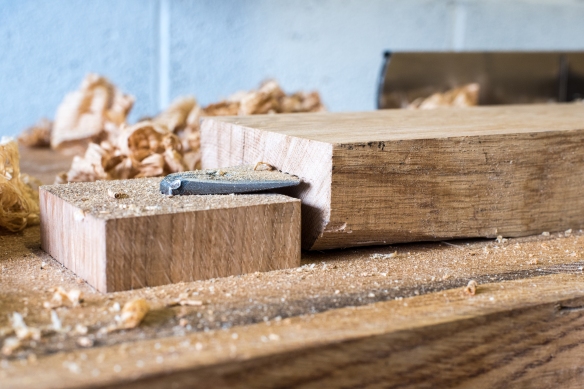
I used riven oak for the peg, which was left over from the Welsh stick chair I built for Mortise & Tenon last year

I’m still in my infancy as a turner, but simple jobs like this are a great opportunity to develop skills, and I really enjoy firing up the lathe. Because the peg will carry the weight of a 2.2lb lump hammer, I wanted to make it from reliable strong stock. After rummaging through my stash of air dried riven oak (a bucket of shorter pieces lives at the foot of my drill press) I found a suitable piece roughly 5″ long, which I brought down to rough size with a froe and lump hammer.

DSC_2439

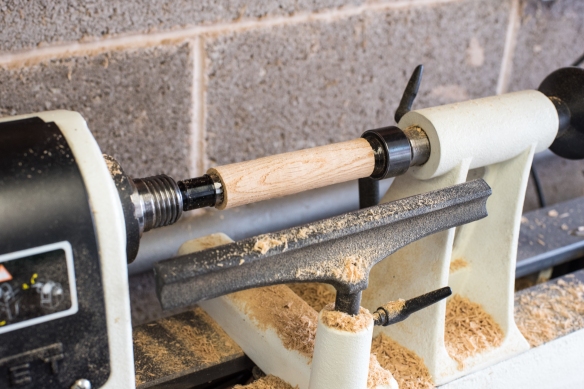
Stage one is turn the blank to a cylinder

I turned the roughly sized oak into a cylindar a little over 1″ diameter, and then turned a 1″ long tenon to just over 1/2″ diameter using a parting tool and Peter Galbert’s very helpful Caliper. With the tenon turned, I removed the workpiece from the lathe and cut the excess material using a Bad Axe 12″ carcase saw.

DSC_2440

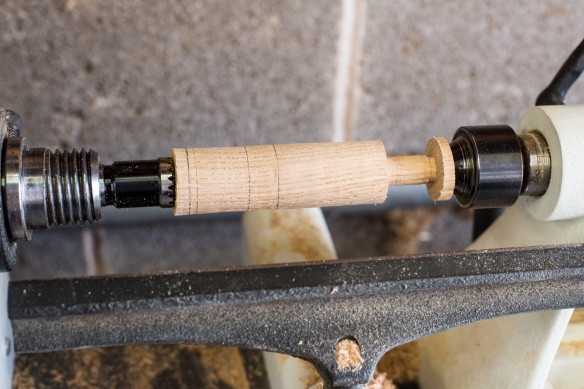
Turn the tenon, and layout the sections of the peg

I then turned the peg, using a set of zero jaws to grip the tenon. The head of the peg is roughly 1″ in diameter, and I turned the body of the peg by eye until it had a pleasing shape – no real meaurements were involved. While the form is not as elegant as the “shaker” style peg Chris has on his bench, this peg is plenty stout and should support the lump hammer without any problem. I sanded the tool mark off with 320 grit paper while the peg was on the lathe.

DSC_2441

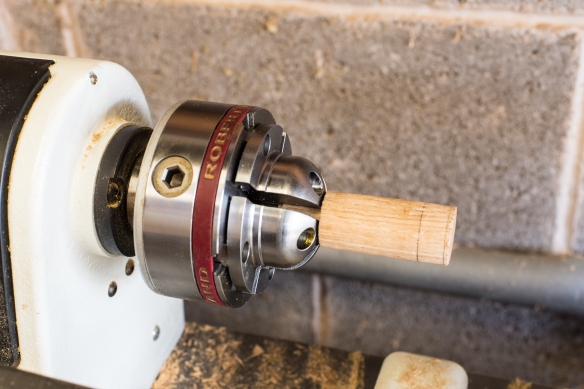
Zero jaws hold the tenon so that I can shape the peg

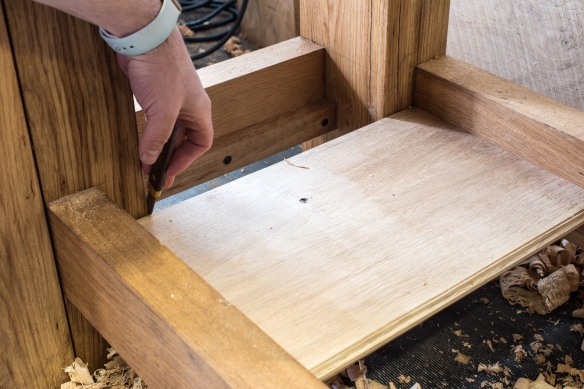
After checking the placement of the peg, I bored a mortise in the leg using a 1/2″ auger bit in my North Bros brace. I’ve never used the ratchet function on the brace before, but the proximity of the bench top meant that I was unable to use the full sweep of the brace, and engaging the ratchet made easy work of boring the mortise to full depth using only 2/3 turns of the brace.

DSC_2443

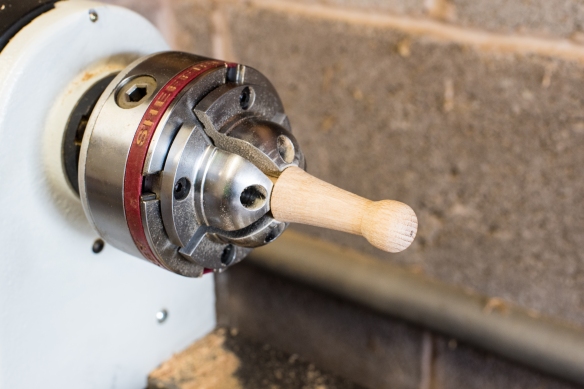
The shaped peg, ready to be fitted to the bench

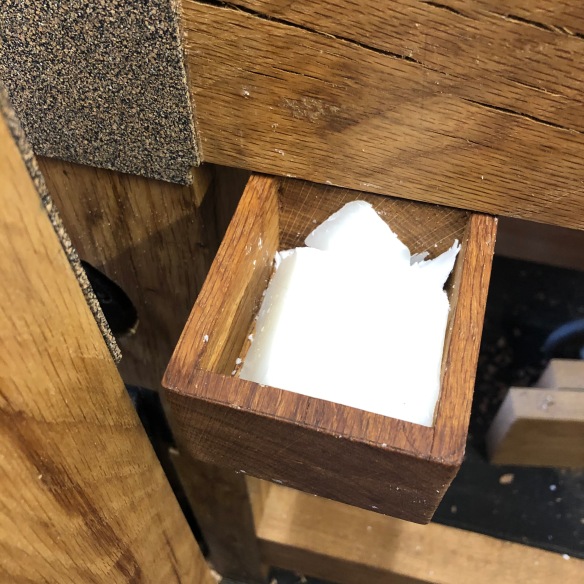
The peg tenon was a little too snug to fit into the mortise, so I borrowed a chairmaking technique from Chris and compressed the tenon with a pair of non-scratch pliers. Applying a coat of hide glue allowed the tenon to slide into the mortise before the moisture in the glue caused the tenon to swell, locking it in place. A quick coat of boiled linseed oil on the peg, and the bench was finished. I’ve ordered some leather cord and once this arrives I will drill a hole in the handle of the lumb hammer and hang it from the peg, ready for work.

DSC_2446

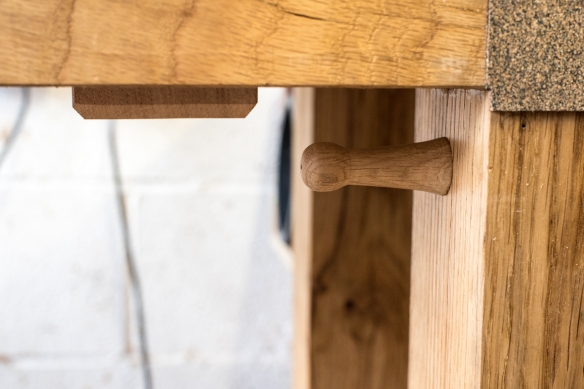
Fitted to the bench and oiled

And so, after 13 months’ work, I can finally say “Roubo Is Here“. I celebrated with a whisky at the bench to christen it.

DSC_2449

Christening the bench with a very nice single malt

Roubo Is Coming… Part 31

DSC_2417

Smoothing the shelf boards – planing into a batten supports the workpiece and means it can be moved quickly.

The final significant task before I call the Roubo bench “done” is fitting a shelf between the stretchers. There are a few details to fettle, but I”m very much on the home straight and the finishing line is in sight.

DSC_2428

Transferring the size of the recesses directly off the legs.

For the shelf I am using scrap oak left over from the Policeman’s Boot Bench and other projects – a number of the shelve boards are gnarly pieces which did not make the grade for furniture quality work. It is a perfect opportunity to get them off the scrap pile and into use, and to be honest the “character” fits in nicely with the rest of the Roubo bench. I really like tongue and groove joinery for base or back boards for casework, and shelves for the bench. With a dedicated plane cutting the joinery is quick and simple, and it provides a strong joint. It also gives me an opportunity to use my 1/8″ Philly beading plane, which is probably the most enjoyable tool in my toolchest.

DSC_2432

Cutting the recesses with the Bad Axe 16″ tenon saw

The boards were all of varying width and thickness. Rather than loose too much material by making them a consistent width, I bought four down to a width of just over 10″, and a further pair to 9″ wide. All were processed to a consistent thickness of a half a pouce (keeping with the 18th century unit of measurement wherever possible for this project). While my tongue and groove plane is set for 1/2″ thick boards, offsetting the joinery does not matter providing both halves are cut from the same reference surface so that they match. Processing the boards also provided an opportunity to try another work holding solution – planing into a batten held by the planing stop and a holdfast. This worked very nicely, and not having the boards held down mechanically meant that the workflow was very efficient when changing workpieces over.

DSC_2434

Tongue and groove joinery is a cinch with the Lie-Nielsen No.49

Once the boards were trimmed to length to fit between the stretchers I started by laying them out. Pairs of the wider boards were placed at each end, with pairs of the narrower boards set in next to them. The outer most boards need to be let into the gap between the legs so that they meet the narrow stretchers at each end of the undercarriage. Instead of measuring the recesses, I marked these directly off the surface of the legs by holding the board against the legs and marking both dimensions with a marking knife registering off the surface of the leg. I then cut the recesses using my Bad Axe 16″ tenon saw. Normally for piston fit joinery I would cut against, but not on, the knife kerf. However, a little bit of slop here helps to ease the fit of the shelf boards, as the undercarriage is not perfectly square. So for the recesses I cut on the knife kerf. The resulting fit was nice and clean, without being overtight.

DSC_2427

Beading is about the most fun you can have in the workshop.

Once the end boards were in position, I then cut the tongue and groove joinery with a Lie-Nielsen No.49, and a bead on the shoulder of the “tongue” half with the Philly Planes beading plane. The boards are fitted together and rested on the shelf support battens – there is no need to nail or glue them in place as they lie quite flat, and the weight of my Moxon vise, shooting boards and other appliances will hold them in place. Being able to lift the shelf out easily will be beneficial, if I ever need to replace or repair the boards.

IMG_5908

The shelf fits around the legs nicely.

With the four-board arrangement in place, I could then measure the remaining gap for a central narrower shelf board. I will fit this board and oil the shelf during the week, and then do some tidying up before calling the bench done by the end of the month. Having the width of the shelves reduce from each end towards the middle of the shelf adds a nice visual rhythm, and made fitting the boards a lot more straight forward.

IMG_5914

There is one final board to fit before the shelf is ready to be oiled.


Roubo Is Coming… Part 30

DSC_2410

Today was my first opportunity to spend any real time in the workshop this month, due to a number of factors outside my control. I’ve been itching to complete the Roubo bench build, and am determined to do so by the end of the month. That seems achievable right now.

DSC_2393

The planing stop is one half of the work holding solution

Today’s work involved processing some oak stock for a pair of shelf supports on the long stretchers. This is straight forward work – flatten one face, joint an edge, rip the support off and clean it up, joint the cut edge and repeat for the second support. I’ve written plenty about processing stock with hand planes before, so don’t intend to write much about the process here. But what is worth spending some time talking about is how the bench functions and supports this sort of fundamental task. I processed and fitted the shelf supports for the short stretchers before I assembled the bench, but the difficulties associated with processing long stock on my Sjoberg bench meant that I’d procrastinated over the long shelf supports. And so, today was the first time I’ve processed a decent sized piece of rough stock with hand planes using the Roubo bench. Really, this is one of the first tests of the bench, and the experience was instructive to say the least.

DSC_2387

A holdfast and doe’s foot is the second half of the work holding solution

I’d read plenty about the use of Roubo benches before I started to build mine, and I knew the theory of working with planing stops, holdfasts and doe’s feet. But with woodwork reading only takes you so far – the real learning comes at the bench, when you implement the theory for the first time (and the second time too). I’ve been itching to find out how working at the Roubo bench would feel, and put simply, it just works. Rock solid work holding which is swift and unfussy to set up. The bench is stable, has plenty of capacity for large stock, and does not make a song and a dance out of supporting the workpiece. It just holds everything in place while you work. Within a few plane strokes I forgot that this was a new way of working for me, and I was able to focus on processing the stock – work holding became second nature. Which is exactly what I wanted when I started building the bench.

DSC_2402

Thicker pieces, like this 2″ thick oak, can be held in the same way for edge jointing

For the uninitiated, the work holding strategy on the bench top (as distinct from holding in the leg vise) is comprised of two elements – the toothed planing stop, and a doe’s foot secured by a holdfast. The doe’s foot is simply a piece of scrap with a 45 degree corner cut out of the end. The workpiece is pushed into the planing stop (a tap from a lump hammer or mallet drives it onto the teeth), and the doe’s foot is then slid into position to constrain the rear end of the workpiece. A holdfast keeps the doe’s foot in place. This allows the face of the workpiece to be planed, and thicker stock can also be rotated for edge jointing. One benefit of this arrangement is that releasing the work holding is very quick, to allow for the workpiece to be moved or measured, which makes for a very smooth workflow. This is exactly how I like my work holding solutions – dirt simple, effective, and quick to set up. The Crucible holdfasts have a tenacious grip, and the doe’s foot is incredibly effective for such a simple fixture. I mocked up a quick doe’s foot using some scrap pine today, but will make a few nicer versions of varying thicknesses (for processing stock of different thicknesses) using hardwood when I have a free moment.

DSC_2414

The Texas Heritage Saddle Bag holds smaller tools while I work

The Texas Heritage Saddle Bag is also proving to be very useful as a safe resting place for measuring and layout tools while I’m at the bench. All of my tools go back into my Anarchist’s Tool Chest at the end of the day, but having somewhere to put delicate tools within easy reach while you’re working is a great way of speeding up workflow, and the Saddle Bag does this perfectly.*

IMG_5859

Grease pot full of paraffin wax

I also filled up the grease pot with paraffin wax. While I ordinarily use mutton tallow, I was concerned that having a large pot of tallow open to the air might attract critters into the workshop (who doesn’t want rendered sheep fat on demand?) so decided to use paraffin wax instead. Paraffin wax works very nicely, and a 1kg block was very cost effective. The grease pot has already proved its worth while processing the oak stock today – locating the post next to the leg vise and planing stop means that the  wax is easily at hand so I lubricate more often, and having the pot rotate under the bench top means that it stays out of the way while working. Another feature of the bench that just works. I think that the Roubo bench and I will get on just fine.

*N.B it is worth commenting that I purchased the Crucible holdfasts, Peter Ross planing stop, and Texas Heritage Saddle Bag at full price. Just a gentle reminder that I’m #neversponsored