A Welsh Stick Chair for the Apprentice – Reprise

IMG_4223

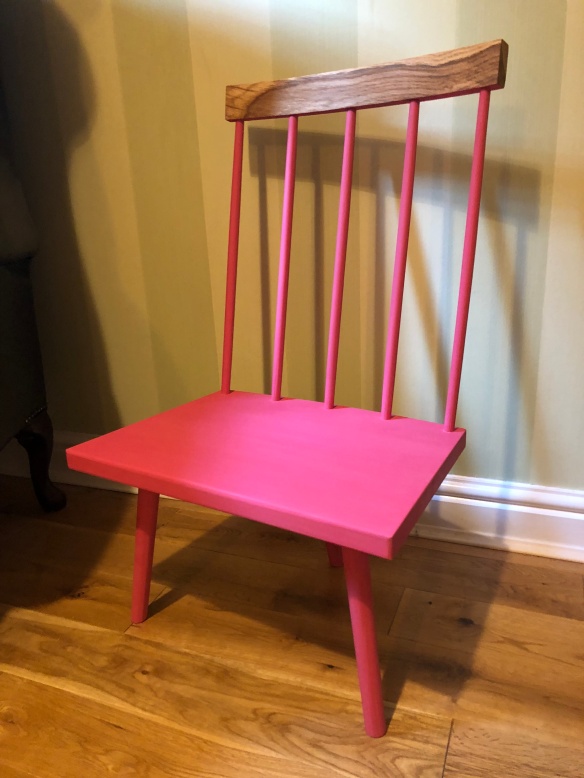
The completed chair in situ

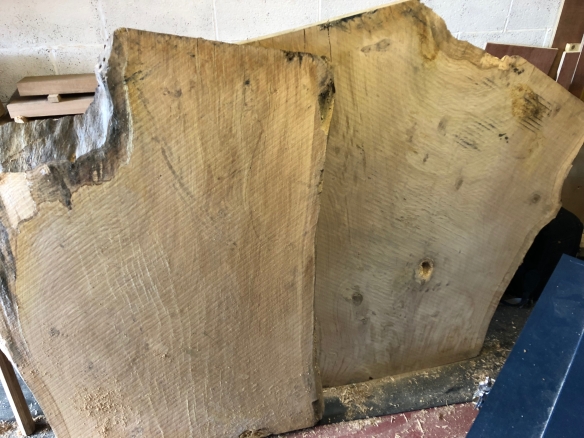
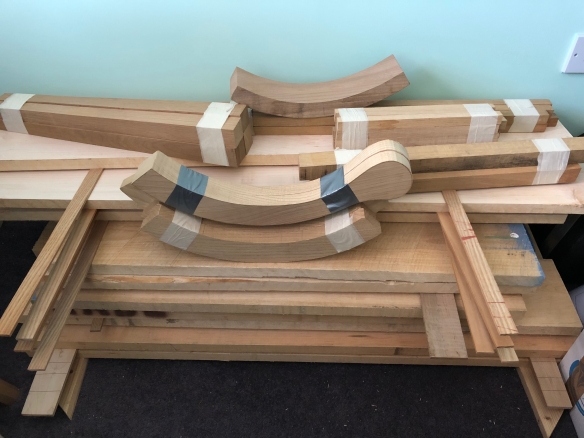
Long time readers may remember the stick chair I was building for the Apprentice, based on a child-sized 18th century chair held in the collection at St Fagans. That build stalled last year when my first forays into steam bending a comb proved to be unsuccessful. I didn’t abandon the build, but it went on the back burner while I built a steam box, and then all of my workshop time was absorbed by the article for Mortise and Tenon, and the Roubo bench build. But I never stopped looking for an opportunity to finish this chair. While I was processing stock for my stick chair for the M&T article and some other projects, I found within one of those huge oab slabs, some curved grain which matched the curvature of the comb for the Apprentice’s chair. Jackpot – no need to steam bend stock (although with the steam box now complete, I am looking forward to steam bending chair parts in the near future). I cut the comb out of the slab, and set it aside while I finished ther chair for M&T.

IMG_4105

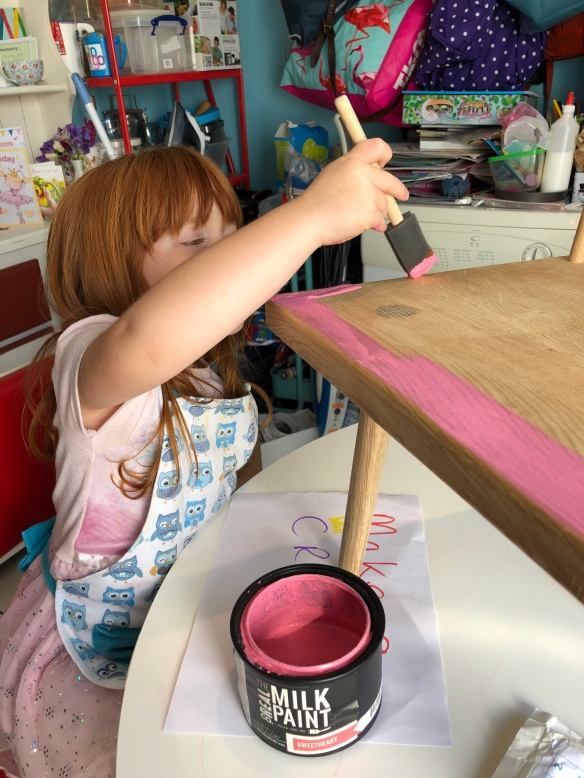
Painting the chair

With the M&T chair (and article) complete, I managed to find some time to clean up the comb with spokeshaves, and did the final glue up for the Apprentice’s chair. The chair is made with oak from three different sources, and there is not enough consistency of colour across the various components to use a clear finish. So original my plan was to milk paint the chair green to match the green Chesterfield armchair I sit in. On reflection, I asked the Apprentice what colour she would like the chair, and we looked at some milk paint samples until she settled on Sweetheart Pink by Real Milk Paint. After quickly placing an order with Tools for Working Wood, we were ready to finish the chair.

IMG_4222

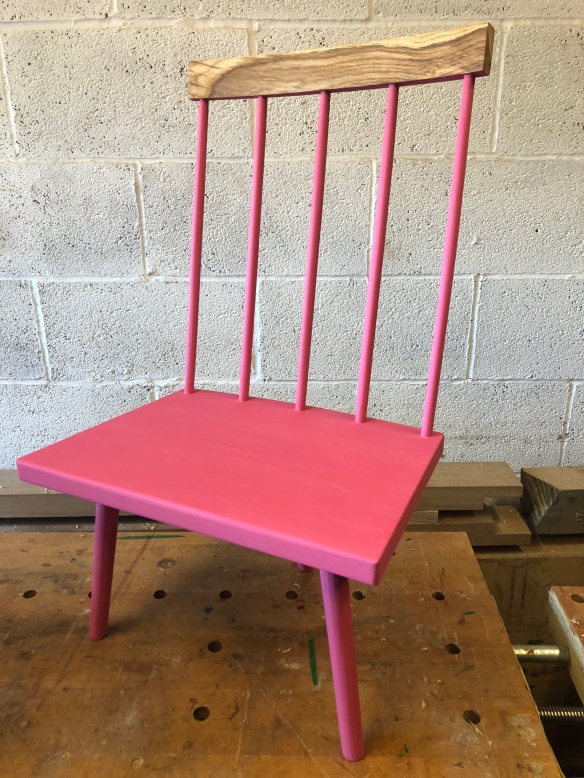
Painted, burnished, and oiled

I thought it would be fun for the Apprentice and I to paint the chair together, and she eagerly assisted me with the first coat. Milk paint often takes several coats for a consistent finish, and I applied a further three coats in the evening. Once we had a good consistent finish I burnished the paint with brown paper, and then ragged on a single coat of Osmo Polyx. The Osmo deepened the colour of the paint a little, and also emphasised the texture of the underlying wood (particularly the facets on the legs and sticks). The comb had some striking grain, and so I deliverately left that unpainted to add some visual interest.

IMG_4228

A satisfied customer

The chair now resides in our lounge, next to my reading chair, and the Apprentice seems to really love it. She is also facinated by the idea of making furniture, and so hopefully it won’t be too long before she joins me in the ‘shop.

Slab Life

IMG_2400

Two very large oak slabs, waiting to be turned into something useful

I’ve had two large oak slabs sitting in the corner of the workshop since January – the product of a fruitful research trip last autumn to Whitney Sawmills and St Fagans. The slabs are 50″ x 45″ and 2″ thick, and take up a monstrous amount of space, so I’ve been biding my time to cut them down into usable sizes and reclaim some much needed floor area. After several evenings of cutting mortises for the Roubo bench, I felt it was time for a couple of hours doing something different, and decided to breakdown the slabs. As I’m planning on doing a full dry-fit of the Roubo undercarriage soon, having some clear space in which to assemble the legs and stretchers will definitely make like easier.

_DPP8173

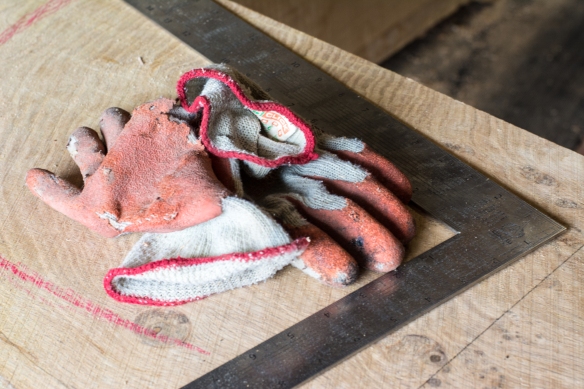
Key tools for working with rough lumber – a timber framing square and pair of thick gloves

The first thing I do whenever I break down rough stock is work out how to efficiently harvest the parts I need, along with any useful spares. This was no different, although the size of the slabs did present a few different challenges. The oak was purchased for a special project I’ll be starting work on very soon (more about that soon), but I also knew that I’d have plenty of spare left over for other things. So, having marked out the critical components I needed for the main project, I reviewed what spare material I had.

_DPP8166

Tracing the outline of the seat for the settee – I did this on both slabs before deciding which would be best

As can be seen from the photos, the slabs are roughly “Y” shaped, from where the trunk had forked in two directions. The right-hand stem of one slab had been whispering suggestions of being turned into a two-seater Welsh stick chair. As a project, that really appeals particularly given the gentle concave curve to the edge of the slab which would work nicely as the front of the seat, and I can shape the rear edge to match. That focus on letting the material dictate the proportions and form of the chair is something which early Welsh stick chairs really emphasised. To make sure I had enough material available for the seat I rigged up a pair of trammel points to a long ruler, and traced along the edge of the slab to establish where the rear of the seat would fall.

IMG_2405

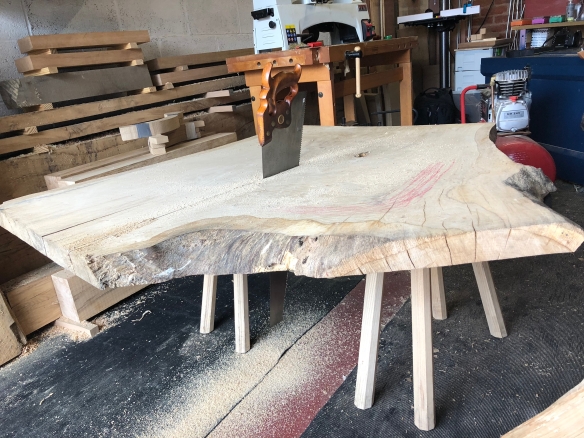
The Disston D8 and staked saw benches are how I cut up stock for ever project

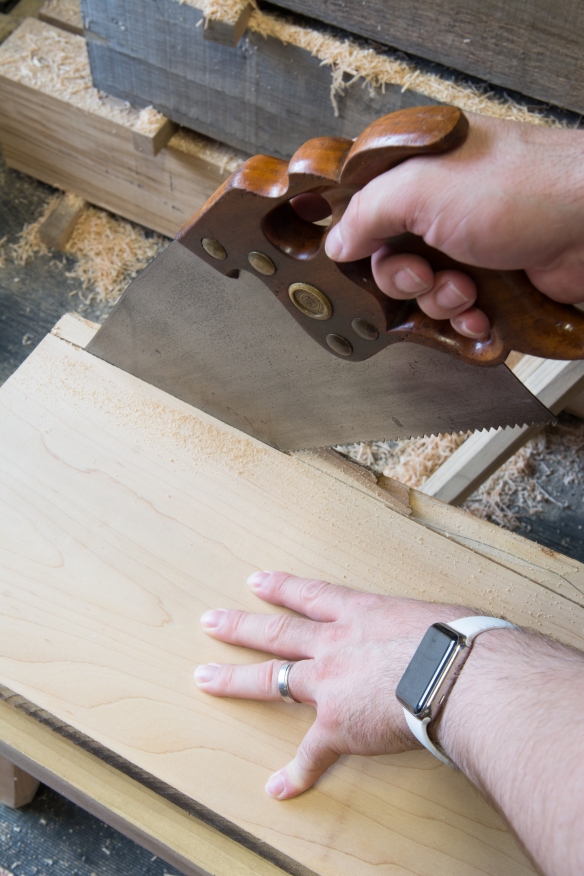
The slabs were large and heavy enough to require rolling around the workshop instead of carrying. That being said, placing a slab on my pair of staked saw benches was rock solid while sawing. I ripped the settee parts off one slab, as well as the components for the main project off both slabs, using the Disston D8. The slab was still reasonably wet (24%) which meant that sawing it by hand was not as heavy going as it would have been if the timber was dry. The remaining sections were then crosscut to size, and stickered to dry out a little more before I bring them into the house.

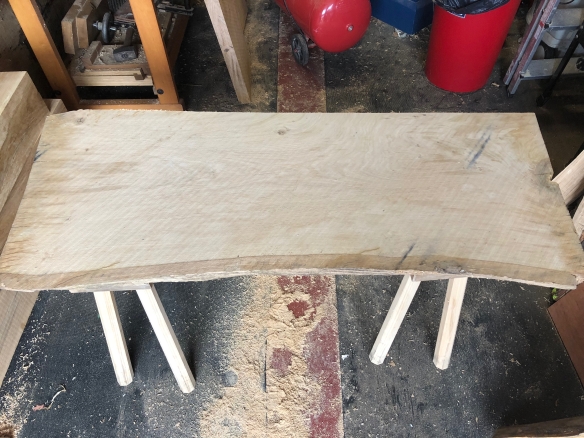
IMG_2406

The settee seat blank. The back edge will ultimately be curved to match the front.

The Autumn of Maple and Pine… Part 3

IMG_0729

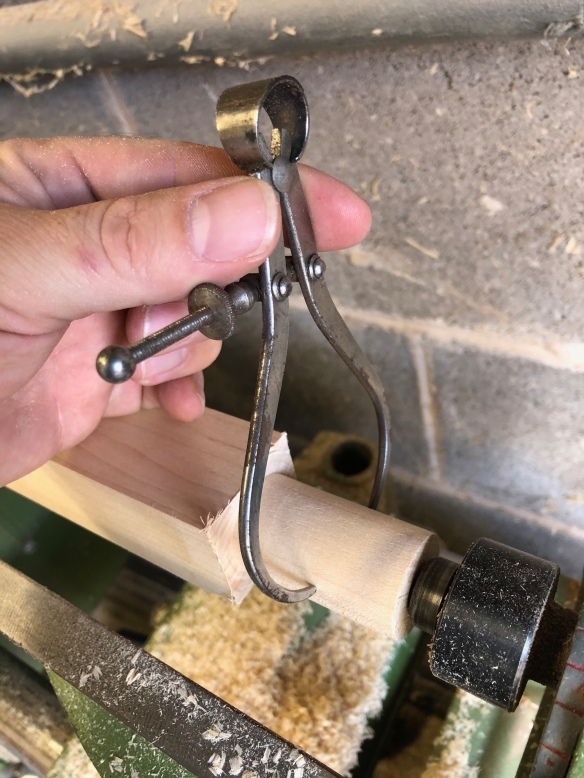
When the callipers slip over the middle of the tenon, you know you’re done.

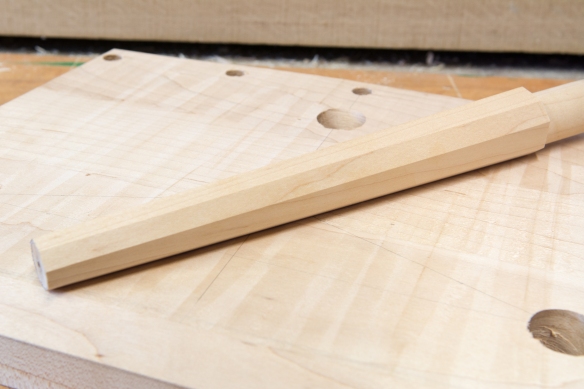
The final piece of the puzzle for the Surprise Chair is the leg profile. I want this to add another texture and set of lines to contrast with the seat of the chair. For the Apprentice’s Stick Chair I used irregular facets and a hand-rounded process with the scrub plane and block planes. In the spirit of my last post, for this chair I wanted something different. As the maple takes crisp details really well I decided that a tapered octagon would work very nicely for the child-sized proportions. It’s also been a couple of weeks since I octagonalised anything, which in all honesty is far too long.

_DPP6841

Tapering the square leg blank

As a first step I trimmed the leg blanks to length, allowing 10 1/2″length for the leg, and 2″ for the tenon. Previously when turning tenons at the lathe I’ve used the Easy Rougher tool for the whole job. This approach has been effective as bringing the tenons down to size, but it can take a while to hog off all of the waste and arrive at a completed tenon. I recently picked up the Easy Wood Parting Tool, and thought this would be a good opportunity to put it to use. I used the parting tool to define the shoulder of the tenon, going to final depth. The narrow cutter (1/8″) meant that the tool sank to the finished diameter of the tenon swiftly, but with a lot of control. I then used the shoulder as my guide to shape the rest of the tenon with the Easy Rougher. This also gave me an excuse to use the callipers from my Great-Great Uncle Bill’s Starrett layout kit, setting the callipers to the diameter of the tenon and working the blank down until they just slipped over the middle of the tenon.

_DPP6842

Octagonalising the leg with the No.62

Once the tenon was defined, I tapered the square section of the leg down to 7/8″ at the foot, before laying out the octagonal facets. It was then a simple (and entirely familiar) matter of octagonalising the leg with the No.62 (still on test) until the facets were even all the way round the leg, and tapering smoothly.

_DPP6853

Texture, facets, and chamfers as far as the eye can see

At present the octagon at the taper is a touch fatter than the legs for the Apprentice’s Stick Chair, and I am wondering whether I should thin down the dimensions at the top end a little (while keeping the foot at 7/8″). A test fit of the leg in the mortise will help to judge whether any adjustments are needed to the thicker end of the leg (and then it will be on to the remaining two legs). But otherwise I am pleased with how this leg looks, and the crisp facets of the octagon adds another dimension to the chamfers, and scalloped texture, of the underside of the seat. For the sticks I’m planning a soft, hand-rounded finish, as crisp edges on those would not make for a comfortable chair. This chair is coming on nicely, and I am looking forward to having it legged up soon.

The Autumn of Maple and Pine… part 2

_DPP6658

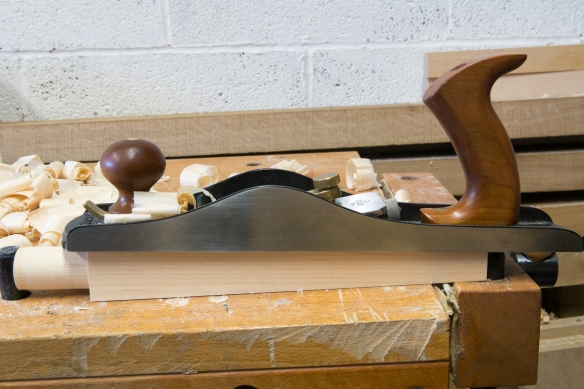
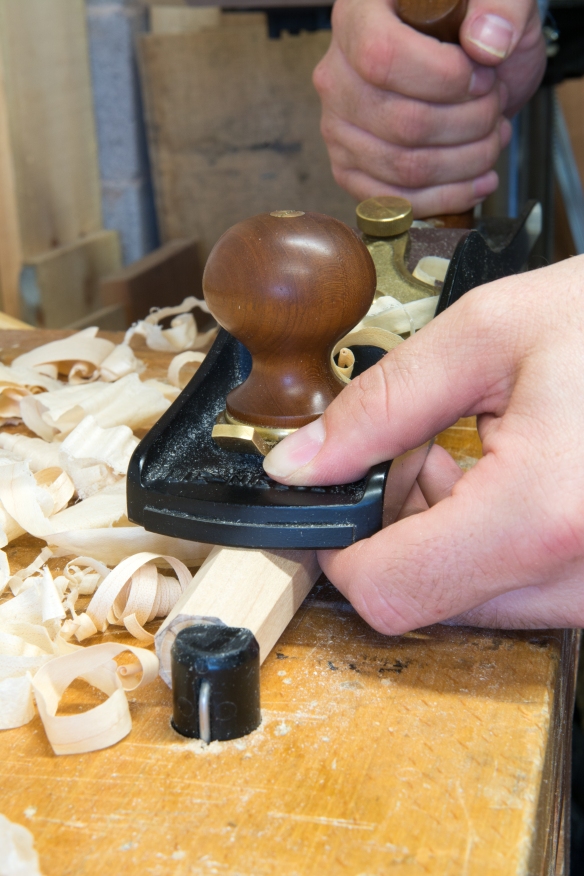
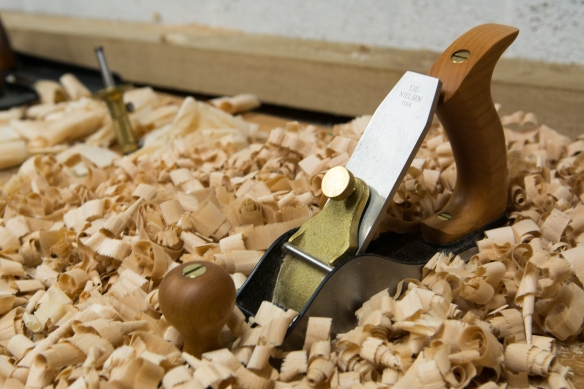
Scrub plane in a mountain of maple shavings

One of the joys of revisiting a furniture form you have previously built is the opportunity to explore the effect of small changes to either (or both) the process of building the new version, and also the design of the finished piece. This can either be intentional changes in design or process, or prompted by the material at hand. When I broke the maple seat blank for the Surprise Chair out of the clamps I decided to try a slightly different process for the build than I had for the Apprentice’s Stick Chair, and also to take a different approach to some of the design aspects.

_DPP6800

Laying out the leg positions using the pattern for the Apprentice’s Stick Chair

Fundamentally this chair will be to the same design as the Apprentice’s Stick Chair – the same leg and stick angles, dimensions, and seat shape. But what I want to achieve is a different feel for this chair. With the Apprentice’s Stick Chair I deliberately went for softened lines, irregular facets on the legs, and a slightly folk craft feel which leant itself well to the oak I was using. The maple I am using for the Surprise Chair suggests crisper lines, with regular facets and chamfers. This has in large part been an idea prompted by the seat material. The oak I had for the Apprentice’s Stick Chair was 1 1/8″ thick in the rough, and finished out at 1″ thick, which meant that I did not have any depth to play with for chamfers on the seat. The maple stock for the Surprise Chair was 2″ in the rough, which meant that I had plenty of spare material to play with when it came to chamfers.

_DPP6806

Drilling the leg mortises.


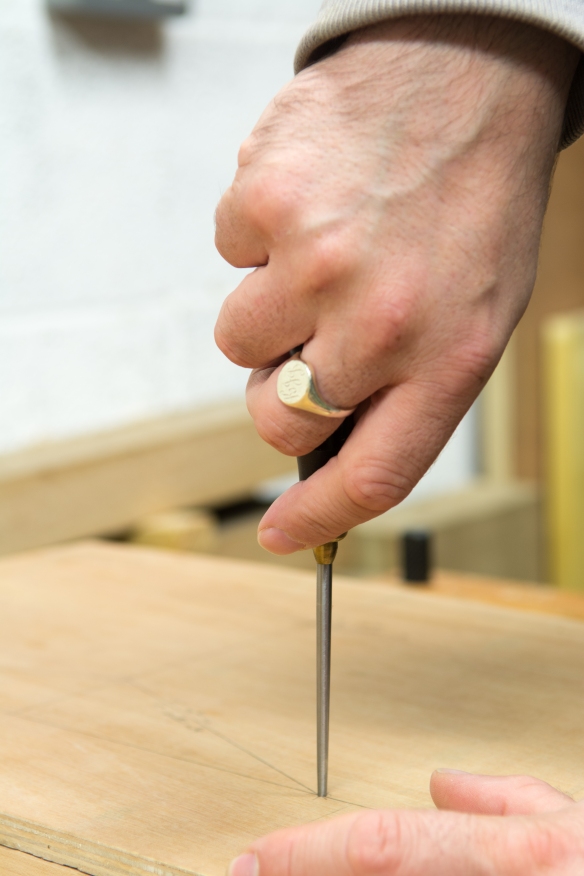
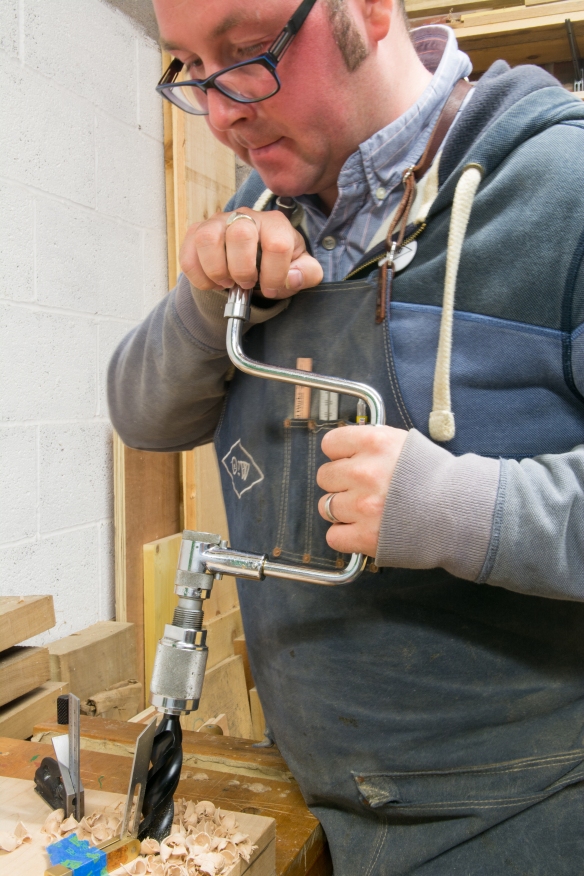
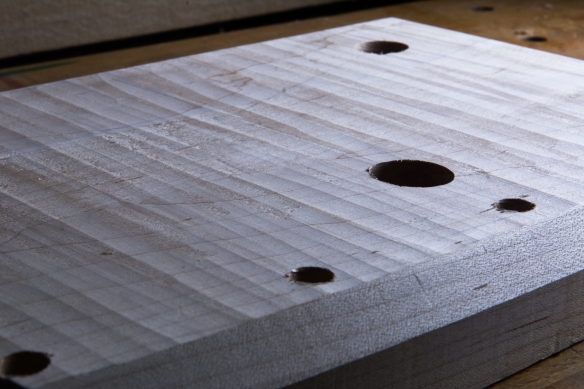
After cleaning up the top surface of the seat, I thicknessed the seat to 1 5/8″ thick using the Lie-Nielsen Scrub plane before shaping the seat. The scrub is the perfect tool for this sort of operation – it removes material at a rapid (but controlled) rate, and also leaves a delightful scalloped surface texture. With the seat at final dimension and shape, I flipped it face down on the bench and laid out the location of the legs and sight lines using the pattern I made from the Apprentice’s Stick Chair. After clamping the seat to a sheet of sacrificial ply, I drilled the leg mortises using a 1 1/8″ Wood Owl bit in my 1923 North Bros brace. Previously I had drilled the stick mortises for the Apprentice’s Stick Chair once the chair was legged up, but I was in a drilling mood (brace and bit makes for a very addictive method of boring holes) so I turned the seat the right way up and laid out the stick positions using the same pattern before drilling them with a 1/2″ Jennings pattern bit in my brace. I won’t know for sure until I’ve made the sticks and fitted them to the seat, but it did feel like drilling to consistent angles was easier with the seat clamped to the workbench instead of being on it’s own legs. So this is a process change which I may adopt going forwards.

_DPP6808

Chamfering the underside of the seat

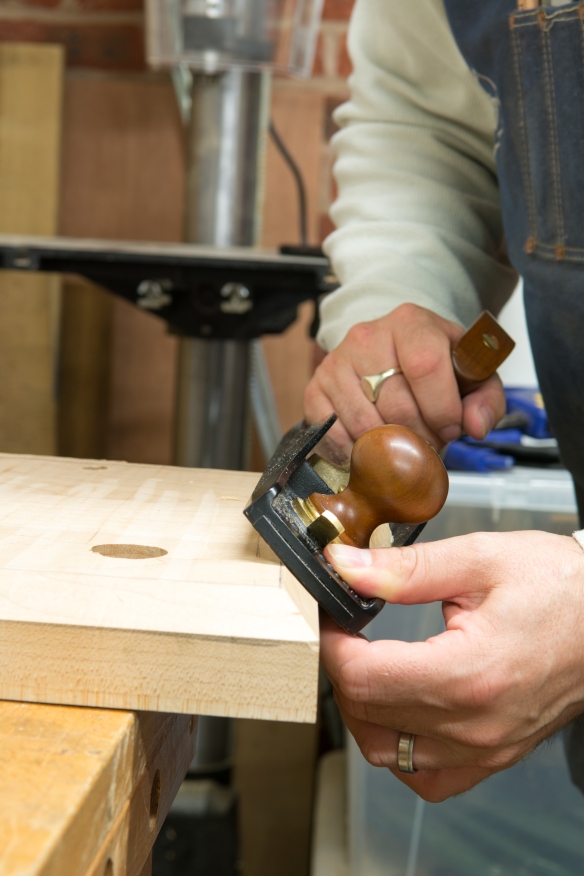
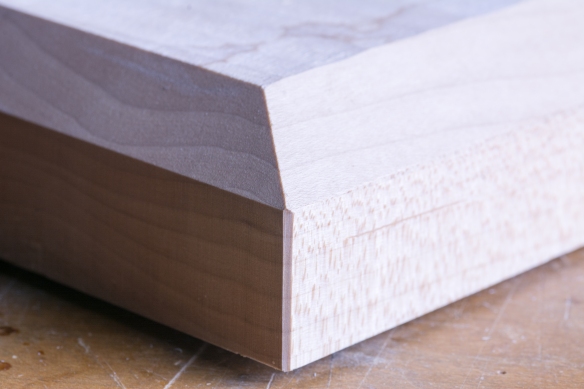
Now came the fun bit – chamfering the underside of the seat. The historic chair I have based this build on had a seat of 1 5/8″ thickness in the middle, with edge chamfers down to 1 1/8″ at the edges, so I decided to follow that example. I laid the chamfers out with my Bern Billsberry pencil gauge, and planed the three straight chamfers with the Lie Nielsen No.62 . The curved chamfer on the rear edge of the seat was cut with a Veritas spokeshave. As a final touch, I then chamfered the two front corners of the seat.

_DPP6816

My favourite element of the seat so far – intersecting chamfers and lines

As I mentioned earlier, this is fundamentally the same chair as the Apprentice’s Stick Chair. But already I am seeing how small design changes can have a significant impact on the overall form. Next for this build is making the legs, and while I will be using  the same leg dimension as for my previous chair, I am thinking of tapered octagonal legs instead of the hand-rounded approach I used last time. That should support the deliberate clean lines of this chair, and I am looking forward to seeing how the octagonal legs interface with the chamfers on the underside of the seat.

_DPP6820

The contrast between the smooth chamfers, clean lines, and textured underside of the seat makes for a very tactile seat.

The Autumn of Maple and Pine

IMG_0591

Here you had an “all assembly needed” flat pack book case and stick chair. TIme to turn that stack of maple into something useful.

Since the start of the year I’ve had the stock for my boarded bookcase stickered neatly at the side of my desk, underneath the timber for a Welsh stick chair.  The bookcase design (from The Anarchist’s Design Book) is one I’ve been looking forward to for a long time, as it looks like a fun build and will liberate a lot of my history and woodwork books from the boxed purgatory they have suffered since we moved house. I decided to build the bookcase out of maple to match the Staked Work Table I finished in January.

_DPP6527-2

Removing a live edge from the maple seat

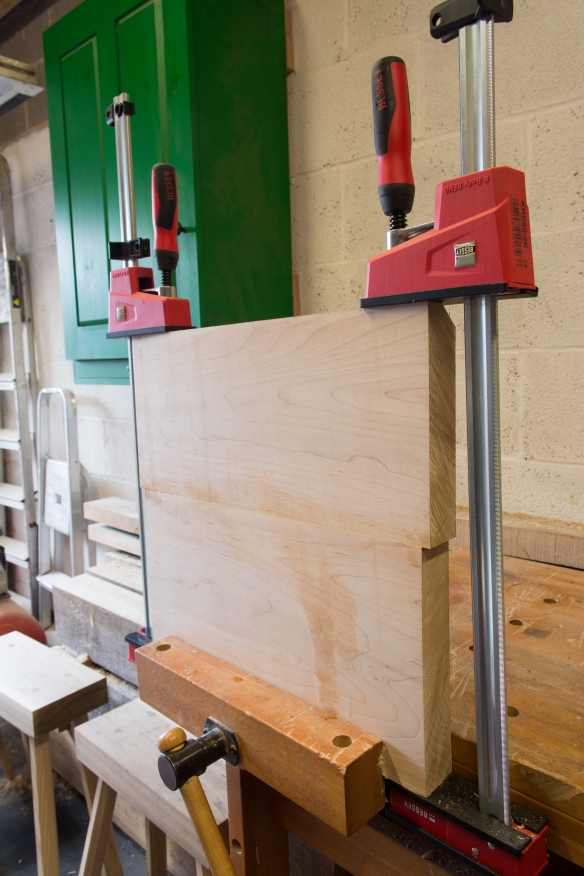
Unfortunately sourcing wide enough boards in the UK seems to be a challenge, so I’ve committed to gluing up a pair of boards for each of the sides and the three shelves in order to reach the 13″ width needed (a reason, perhaps, to move to Kentucky? I hear that such boards are in plentiful supply). If nothing else, this will give me plenty of practice with long edge joints, which is always good to have. The other project on the to-do list is a variation on the Policeman’s Boot Bench for our hall (in pine), which I promised Dr Moss I would finish before our annual Christmas Tree trimming in early December. I’ll be starting the boot bench in October, so I thought that I would use the remainder of September to build a steam box so that I could finish off the Apprentice’s Stick Chair, and also start gluing up the panels for the book case. . Although I don’t normally move between several simultaneous projects, I will be staggering the bookcase build in between stages of the boot bench and hopefully doing so will be a positive experience.

_DPP6532-2

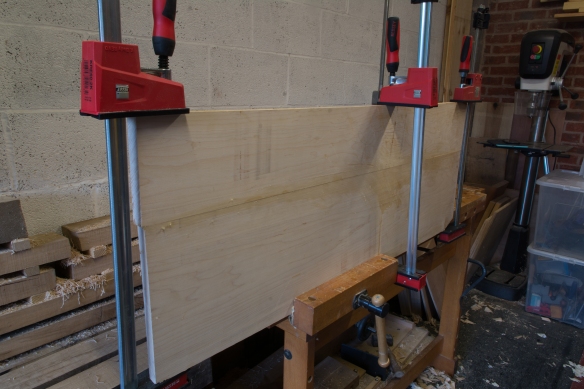
A stick chair seat in the clamps

While I was thinking about working on several projects at once, and had the glue warming in a mug of hot water, I decided to joint up the seat blank for another child sized Welsh stick chair (and now I’m thinking that the autumn is looking very busy!). This chair will be all maple, and be a little different to the one I am building for the Apprentice. The 2″ thick maple seat was made up of two boards, and jointed very easily before going in the clamps to cure over night.

_DPP6539

Laying out the mortises for the

While I waited for the glue to cure I finished making the chair pattern I started a few weeks ago. While I’ve made plenty of guitar templates, it is not somthing I’ve done for furniture. For chairs it makes a lot of sense as there is a great deal of construction information to collate if you want to make another version of the same chair (and I do) – mortise positions, resultant angles, sight lines, seat dimensions and curves. I intend to use this pattern as an aide memoire rather than a concrete design to follow slavishly – this way all of the information I need is in one place, but I can still change the details and proportions as the whim takes me. The pattern is on 6mm ply, which means that it was easy to work but should be durable for years of use.

With the pattern complete and the seat blank clamped up, I decided to get a start on jointing the first side of the bookcase. I started off by levelling the rough sawn edges with a No62 plane that I’ve been testing for an article in Furniture & Cabinet Making. The No62 is shorter than I would like for a 48″ long edge joint, so I then moved to my usual No8 jointer. I quite enjoy edge jointing – the Staked Work Table build was good training for long edge joints, and I was looking forward to the practice of jointing five pairs of boards for the book case. Maple can be an unforgiving wood to edge joint – being very light in colour the glue line can be glaringly obvious unless you get a good tight joint off the plane, without relying on clamp pressure. The key (as with many woodwork operations) is patience.

_DPP6549

Jointing the first set of boards for the bookcase

Unfortunately, by the time I had a good clean joint the temperature had started to fall, and while the glue was good and warm in the pot (I warm Old Brown glue to the recommended 120-140F), it started to tack up while I was pulling the top board into position and setting the clamps. It was now 13C in the ‘shop, and I wasn’t confident that I would get a good bond with the temperature dropping so rapidly. Removing the clamps and washing the jellified glue off both halves of the joint wasn’t how I had intended to spend the late afternoon, but you only get one chance to nail a glue-up. With the joint cleaned and dried, I moved the clamps and timber into the house (which was mercifully warmer) and had a much less eventful glue-up in the kitchen. It is definitely getting to the time of year where any ‘shop glue-ups have to take place earlier in the day, or else in the house (another reason to move to Kentucky, perhaps?).

Over the next couple of weeks I’ll move my way through the stack of maple in the music room waiting to be glued up into panels for the bookcase, and will also progress the maple stick chair (as well as building a steam box and finishing the Apprentice’s Stick Chair. There’s a fair amount going on!). Juggling multiple projects will hopefully teach me a few valuable lessons, as well as watching various things take shape.

_DPP6555

The aborted glue-up in the workshop. just before I moved everything into the house to work at a temperature much kinder to hide glue


A Welsh Stick Chair for the Apprentice – Part 8

I was hoping this would be the final blog post on the Apprentice’s Stick Chair build, save for some progress photos of painting it. For reasons that will become clear, the chair is not quite finished yet, although there have been some valuable learning experiences.

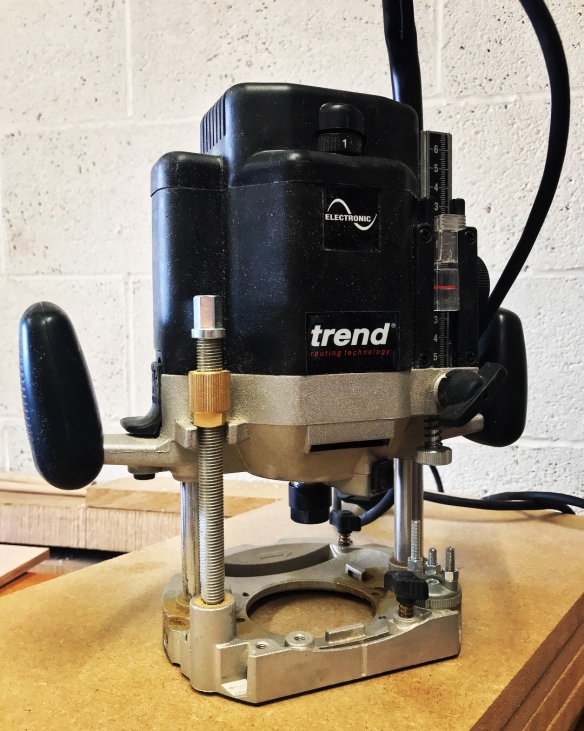
But that’s for the end of the blog post – first let’s rewind a bit. Once the glue had cured on the bending forms I broke them out of the clamps and cleaned up the curves with a 2″ flush trim bit in the router – while I find it very hard to get excited about router bits, this bit from LMII is wonderful for taking a final pass and cleaning up the edges of electric guitar bodies (the main reason I bought it).

_DPP6489.jpg

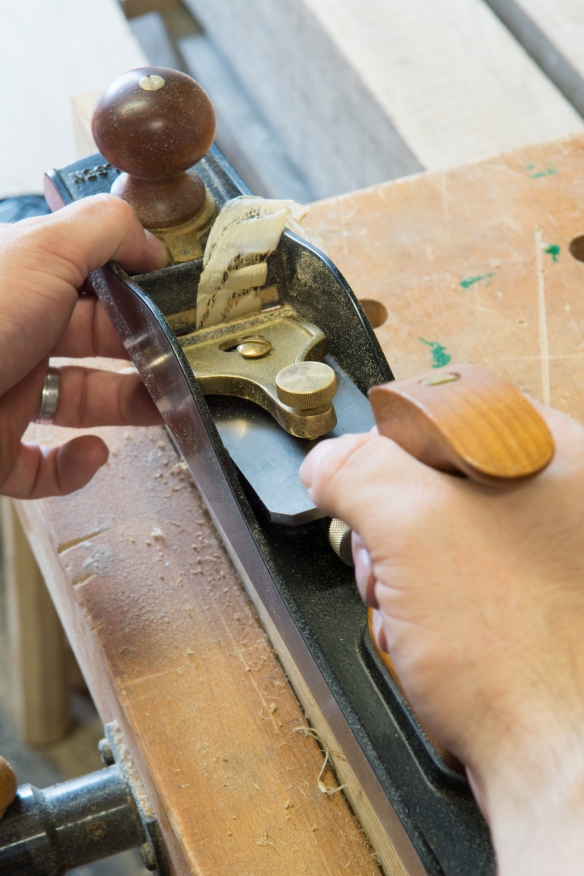
Preparing the comb with a L-N No.62

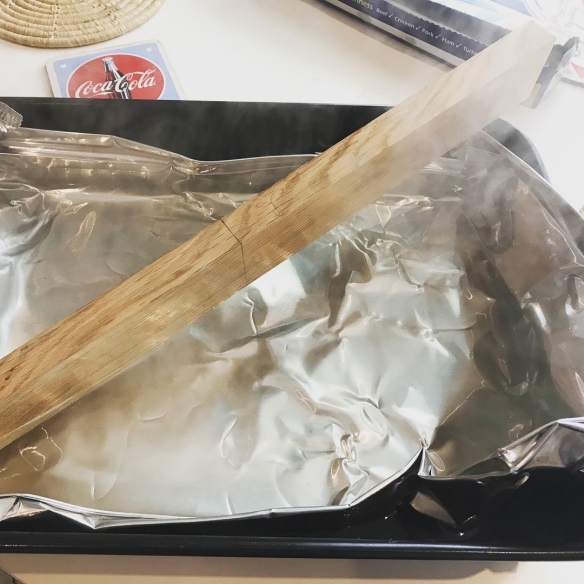
I then cleaned up the comb blank with a Lie-Nielsen No62 plane, which I’ve been testing for an article in Furniture & Cabinetmaking. With the comb clean and square on all sides, and the centre line marked on the reference edge and face, it was game time. I’ve not built a steam box yet, although it is very much on the to do list as I get deeper into steam bending. So to steam the comb for this chair I took instructions from The Anarchist’s Design Book and poached the comb in a pan of hot water in the oven. It turns out that our oven isn’t quite wide enough to take a 17 1/2″ long comb, so I had to wedge the comb in at an angle, with one end out of the water. Several layers of tin foil later to seal in the steam, and I left it to poach at 230 degrees for an hour and a half.

IMG_0467

Ready for poaching in the oven.

Once the steaming session had finished, I sprinted (with a very hot piece of oak in my hands, and the BBQ smell of toasting oak in the kitchen) to the ‘shop, and clamped up the comb in the bending form, being sure to align the centre lines on both halves of the form with the centre line on the top edge of the comb. Nothing exploded in a hail of oak shrapnel, and the comb appeared to be well steamed across its length, so I was hopeful that this initial foray had been successful. With everything clamped up firmly and the comb conforming to the shape of the form, I left it for six days to return to equilibrium moisture content and settle into the new shape.

IMG_0468

Clamped up in the bending form – nothing exploded, and the comb conformed to the curve

Which brings us nearly up to date. Yesterday afternoon I removed the comb from the form and was pleased to find an even bend. Yes one end was a little charred, but that would disappear under a couple of coats of milk paint. I gave the surfaces a final clean up, and drilled the mortises for the sticks. The comb slipped onto the sticks nicely for a dry fit, and the Apprentice came to join me in the shop to sit on her chair for the first time, which she thoroughly enjoyed. By this point the comb had been out of the bending form for maybe 40 minutes. And it was then that I noticed – it was startening to straighten out. By the time I had cleaned up and put my tools away, the comb had lost probably 1/4″ of the curve. This would not do.

IMG_0503

40 minutes after coming out of the form, the comb has lost nearly half of the curve. Game over.

Now, having returned to Peter Galbert’s Chairmaker’s Notebook (my go-to resource when it comes to chairmaking)  and spoken to people who build chairs far more regularly than I, there seems to be a couple of possible reasons for this:

  1. The oak was kiln-dried, which can make steaming less successful;
  2. Having one end of the comb out of the water meant that the effect of the steam was inconsistent; or
  3. I offended the steam-bending gods somehow.

Although I would have liked the Apprentice to use her new chair sooner, I’m not feeling too disheartened by this. It seems a right of passage for every aspiring chairmaker to have an unsuccessful steam bending experience (often many), and I want this chair to be right. I’m going to build a proper steam box, and find some air dried oak for a second go at steaming the comb. If that fails, then I will go “full Welsh” and cut a curved comb from solid material, no steaming necessary. So this is a good learning opportunity.

IMG_0496

The dry fit, before the comb straightened out. When finished, this chair will look pretty nice.

A Welsh Stick Chair for the Apprentice – Part 7

Today has been very productive, even if has been spent on tasks which are not my favourite sort of work. The reason for this can be expressed in three words – MDF, plywood, router. So it has been quite an atypical day at the workbench for me. The purpose for this change in work style has been making the bending form for steam bending the comb of the Apprentice’s Stick Chair. As much as making templates and routing sheet goods to shape is far from my idea of a good time, it is one of the most effective means of making a bending form, so on Saturday morning I took an early morning trip to a local timber yard to stock up on materials.

_DPP6471

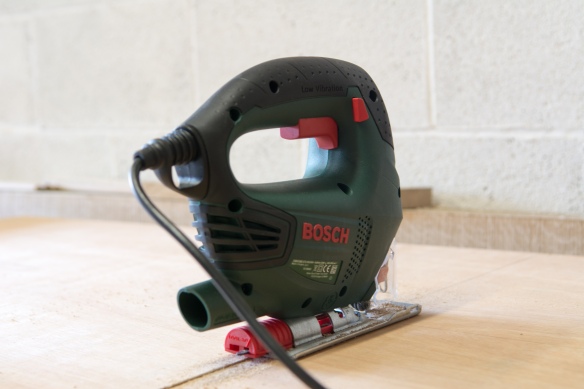
I use a jigsaw to break down sheet material – with the splinter guard fitted this Bosch cuts very smoothly.

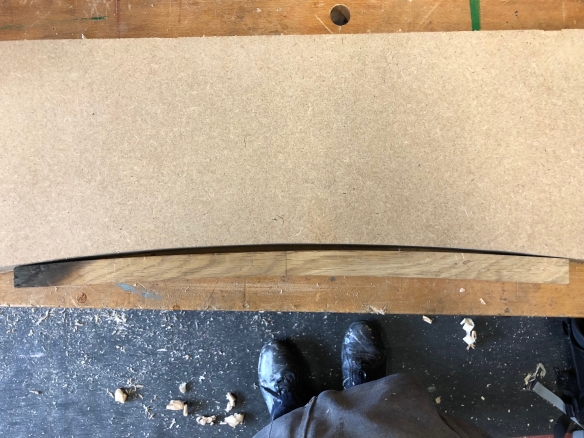
The bending form is very simple, and comprises two halves which are square on three sides, and curved on the fourth side to match the curvature on the rear edge of the chair. One half of the form has a convex curve while the other is concave, so that when the comb is steamed and clamped between the forms they will persuade it to adopt the desired curve. I do so little work with sheet goods that my ‘shop isn’t really set up for it, and this sort of work always seems to take longer than I expect, mainly because it is a very different workflow and sort of problem solving to the handwork I do 98% of the time. While I wouldn’t want to spend too much time shackled to the router in my dust mask, it is good for the soul to occasionally try a different method of working.

_DPP6472

Drawing the curve of the comb onto the router template using a drawing bow

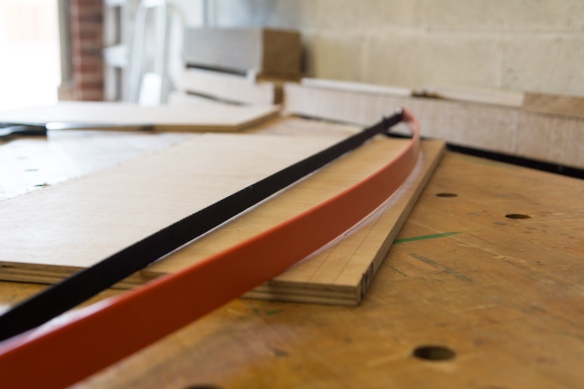
The comb for the Apprentice’s Stick Chair is 50mm wide, and so I made the form out of three layers of 20mm MDF, each measuring 300mm x 600mm. Because MDF does not work well with handtools, I first made a routing template out of 6mm thick plywood which is ar easier to shape by hand. The template was 600mm wide to match the width of the MDF, and I drew a centreline before using a drawing bow to trace on the curve of the comb. While the comb is only 17 1/2″ long (to match the chair) I extended the curve across the full 24″/ 600mm width of the template in case I want to use the same arc for a longer comb in the future. I find it easier to cut a flowing curve by hand rather than on the bandsaw (probably due to a lack of practice for the powered method) and so cut the curve of the template using a Knew Concepts coping saw, before sanding to a smooth curve with Abranet (80 grit followed by 120 and 180 grits) on a hard sanding block.

IMG_0410

I don’t think I’ve turned the router on for 18 months, possible longer. But here goes nothing.

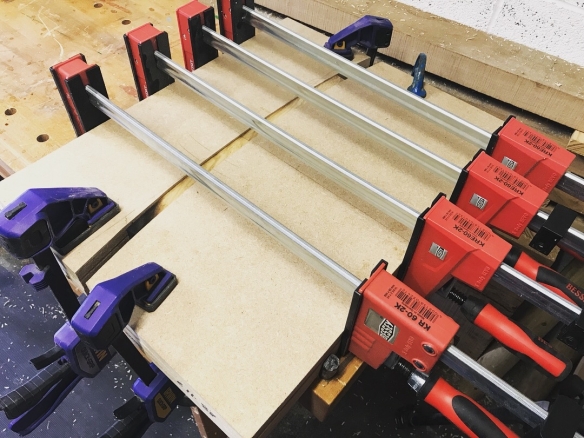
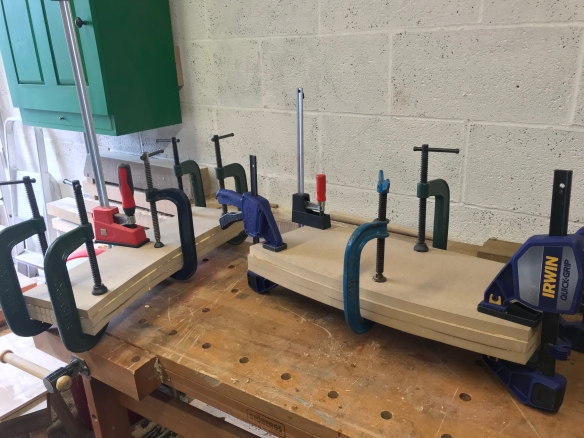
I then used the template to draw the curve onto all 6 pieces of MDF, and cut a rough curve on each using the bandsaw, making sure that I stayed outside the layout line. Once the curve was roughed in to each piece of MDF, I then routed one layer of each half of the bending form to final shape using a 12mm template bit in the router. A quick check demonstrated that the two halves of the form fitted together nicely, and then I laminated the MDF boards together, using Titebond Original and plenty of clamps. Once the glue cures I will shape the remaining layers of each form using the same router bit, following the curve of the top layer (which I shaped today). This approach makes for an easier glue up, as lining up the various layers once they have been lubricated with glue is far less critical than if all three layers had been routed to the final shape.

IMG_0413

Two bending forms glued and clamped up. The top layer of each has been routed to final shape, and will provide the template for the router to shape the remaining two layers once the glue has dried

While the power tools were out, I also made a pattern of the chair using some leftover 6mm ply. I intend to make this chair again, and already have some ideas for a subtly different version, so having a pattern of the seat shape with the position of the legs and sticks laid out, together with the key angles, will mean less time revisiting my notes and more time making shavings.

IMG_0412

All the sticks are fitted, and the chair is just waiting for the comb to be steam bent

With all of the power tool work finished, it was a blessed relief to reach for my block plane and fine tuned the fit of the sticks, as well as easing some of the hard edges of the seat and legs. The chair is now ready for the sticks to be glued in, and the comb to be fitted. Which means that soon this project will be finished and the chair will be in use.

A Welsh Stick Chair for the Apprentice – Part 6

Of all the processes for the Apprentice’s Stick Chair, shaping the sticks has been the one which has felt the most outside the my sphere of experience – the least like the lutherie or furniture making I am used to. There are no layout lines, no reference edges, just the stick in your hand and the dictat to “think round“. It has also been one of the most enjoyable elements of the build, maybe for precisly that reason.
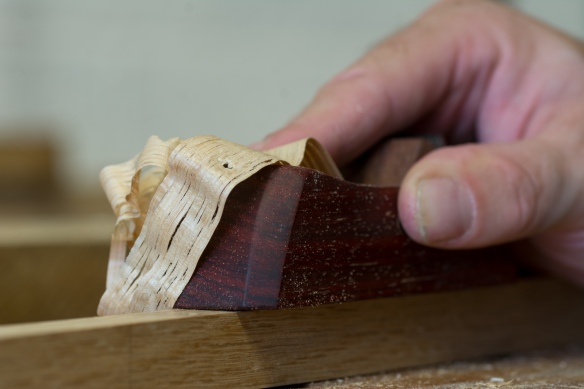
_DPP6133

The sticks are 17 1/2″ in length, and oak (the traditional timber choice for sticks). The blanks start off at roughly 3/4″ square, before being shaved to a pleasing round profile and to the correct diameter. I drilled two holes in an offcut of oak to guide the process – one with the auger bit I used to drill the stick mortises in the seat, and the second with the 1/2″ forstner bit I will use to drill the comb. One of the things I’ve found recently is that there can be significant variations of the same size drill bit or chisel between manufacturers, so having test mortises for each drill bit I am using is essential. These test mortises tell me when the tenons are at final dimension, and avoid reaming out the mortises on the seat by testing overly large sticks.
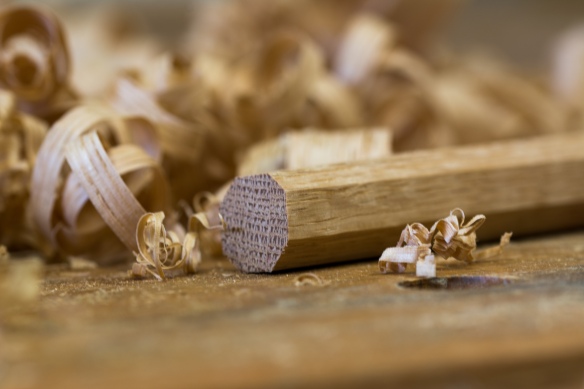
_DPP6136

Start with a rough octagon, and then plane to a smoother cylinder

I’ve been doing all of the shaping work for the sticks with two block planes – a Lie-Nielsen No.101 and the Krenov style Padauk block plane Jim made me this summer. You could easily shape the sticks with only one plane, but when doing a mini production run of the five sticks I found it quicker to have two planes on the bench – one with a rank set iron for heavy stock removal (those corners aren’t going to remove themselves now, are they) and the other set for a very fine cut.

The sticks had been broken down to their rough dimension on the bandsaw when I started this build, including a couple of spares (always have spare sticks), which gave them ample opportunity to acclimatise and settle before being shaved. The first step is to bring the blanks down to a rough octagon by knocking off the corners – I do this purely by eye and without any layout lines, setting the stick against a bench dog and steadying it with my off-hand while taking heavy strokes with the block plane.
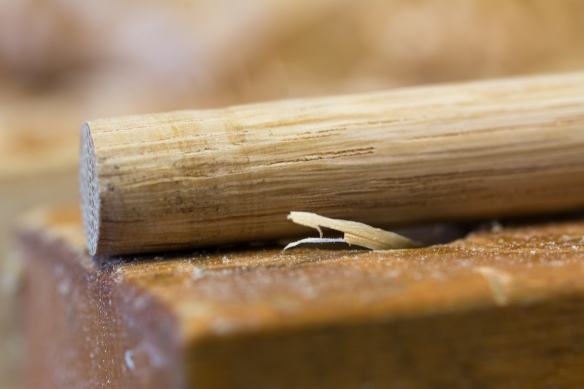
_DPP6137

Test the stick in the mortise, and then shaving away the burnishes areas for a perfect fit.

Once the corners are knocked off, it is time to round the sticks, using a similar process to how I rounded the chair legs. I set a tapered piece of scrap in the vise to act as a planing stop while supporting the far end of the stick in my hand . Being tapered in height means that as the stick comes closer to final dimension I can register the end of the stick against a lower section of the stop, rather than having to reposition the whole stop in the vise, which saves time. The far end is difficult to plane while you are holding it, so I round the stick by taking long strokes along 3/4 of the stick length, staying with the coarse set plane for now, and constantly turning the stick round. The aim is to remove the corners of facets and bring the stick into a smooth cylindrical shape.

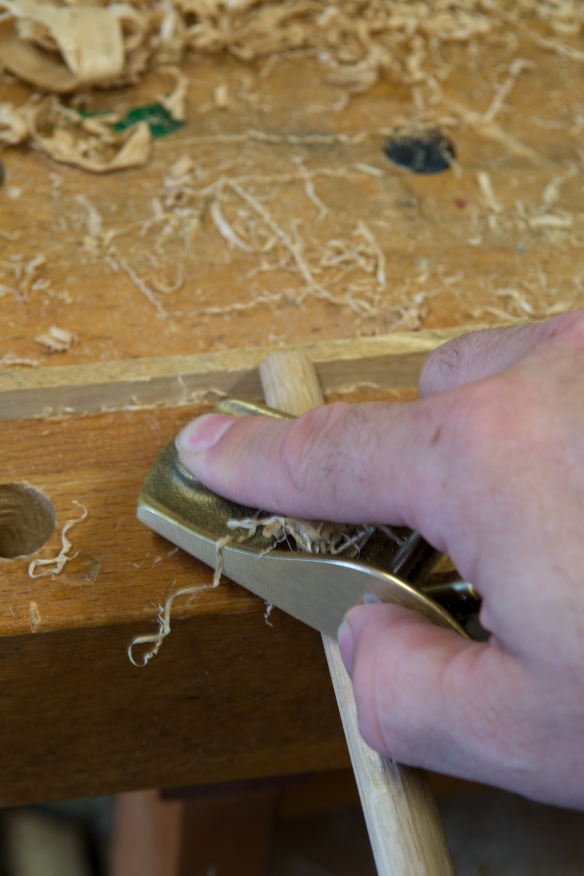
Once I get close to the final size I change to the finely set plane, still working along 3/4 of the stick’s length, and constantly rotate the stick in my off-hand as I work. One of the difficult elements of shaping the sticks compared to flat work is that reading the grain is much more difficult, and also important. When using four-sided boards it is easy to tell from the reference edge and end grain which direction the grain is moving. But as the sticks become more cylindrical there are fewer visual cues. Fortunately, with mild timbers, using a very sharp and finely set plane, and skewing the plane heavily, it is possible to ignore grain direction somewhat. On more orney stock, it becomes a case of remembering where the trouble spots are and reversing the direction in which you plane.
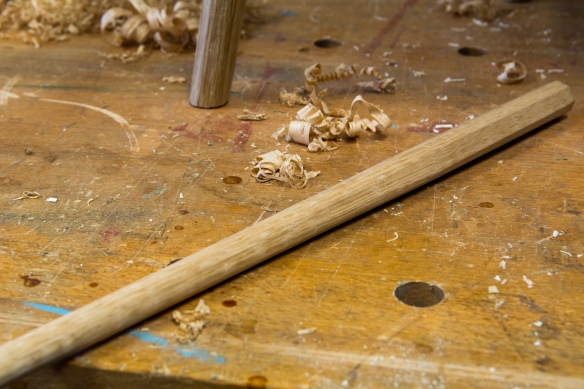
_DPP6146

The stick part way through shaping – one end is fitted, and and I blend in the shape as I fit the other end

Once the stick is cylindrical and close to final dimension, I try it in the test mortise and plane away any burnished areas, as these are the high spots. I’m aiming for a “squeaky” fit, but one which goes a full 1″ into the seat mortise. Once that end is done, I swap the stick round so that I am working the the comb-end of the stick. That end is still octagonal in cross section at this point, although the stick tapers into a cylinder from about 1/4 of the length. I work that end, blending the octagonal end into the existing cylindrical elements of the stick until it is consistently round and fits the test mortise for the comb.
 

_DPP6147

Skewing the plane and using a very fine cut helps to control tearout

Finally, as much as I dislike sanding I do then hit the sticks with 120 grit abranet briefly. This helps to remove any remaining light tearout, and to smooth the sticks off. The end result is a stick that looks round, and doesn’t have too many obvious facets, but has obviously been rounded by hand rather than machine.
_DPP6150

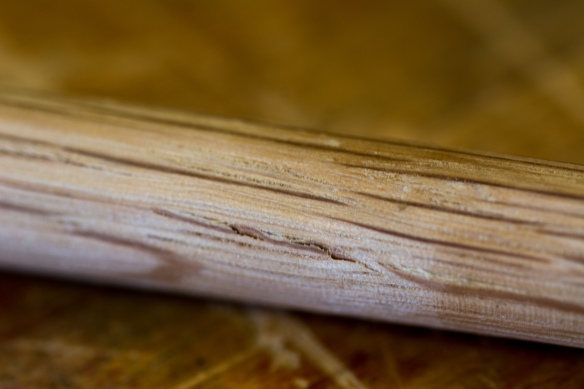
The first two sticks using oak left over from the Anarchist’s Tool Chest had shakes running throughout. So they went in the burn pile.

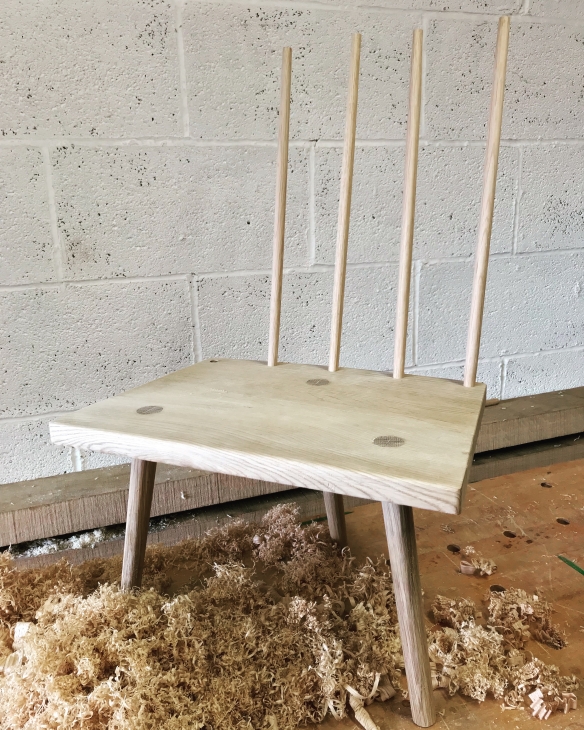
The oak I’ve been using for these sticks comes from two sources, all of it left over from previous projects. Some is left over from the Policeman’s Boot Bench, and has been wonderfully mild to work. The rest is excess stock I bought for fitting out the Anarchist’s Tool Chest in October 2014. That oak has been more problematic, despite never having had issues with the stock that actually made it into the tool chest. The first two of the sticks from the ATC oak revealed deep shakes along their length once I had finished shaping them  (it only ever happens after you’ve put the work in, right?). So those were scrapped instantly – this is one of the reasons it pays to have spare sticks. Fortunately the remaining sticks are all perfectly fine. I couldn’t resist dry-fitting the first four sticks, and the chair is starting to look quite nice.
IMG_0309

Four sticks down, one to go.
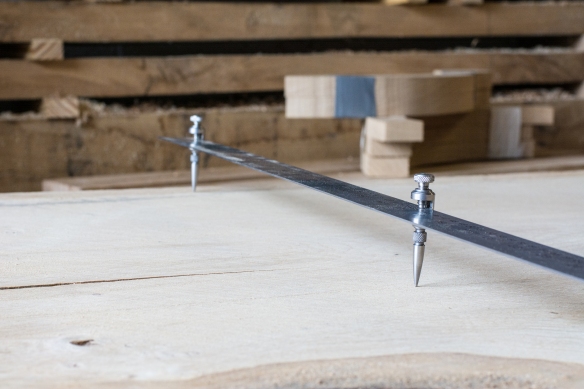


A Welsh Stick Chair for the Apprentice – Part 5

_DPP5965

Trimming the leg tenons flush

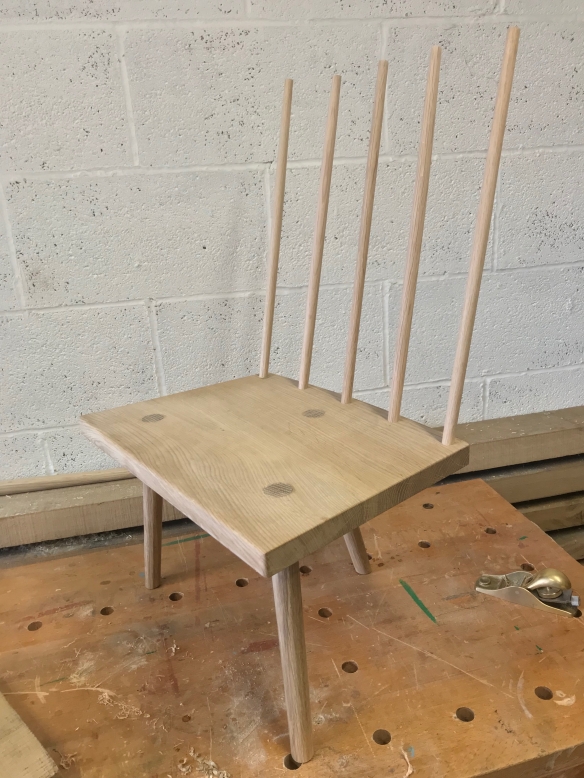
The Apprentice’s Stick Chair is now looking quite chair-like, and there’s now only four sticks left to make along with the comb, before I’m ready to break open the milk paint.

_DPP5966

Paring the flush to the seat


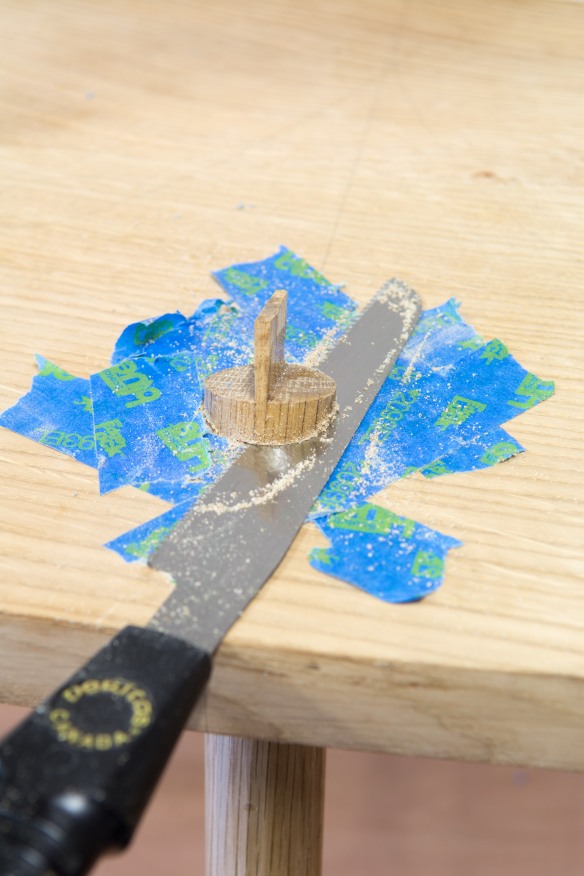
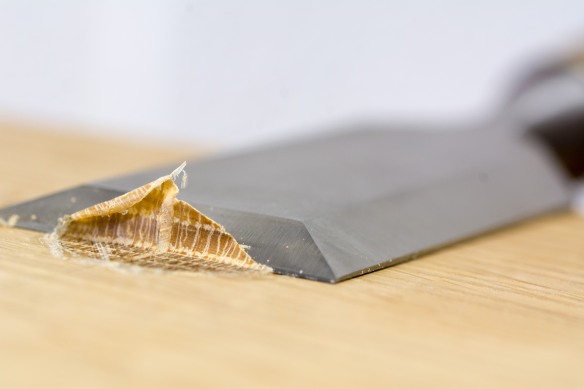
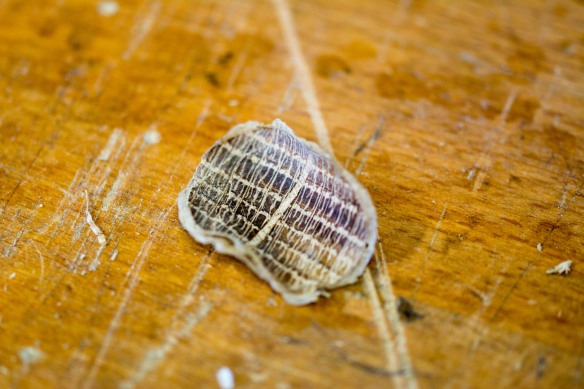
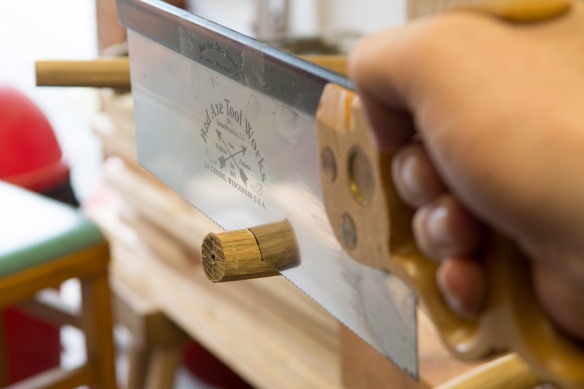
Once the glue had cured on the legs, I cleaned up the surface of the seat and flushed up the tenons. Chris recently wrote a useful blog post about getting good results from a flush cut saw. I take a slightly different approach, although the gist of it is the same. First, I surround the tenon with a web of blue tape to protect the surface of the seat. I then hog off the bulk of the tenon with a flush cut saw. The tape means that there is a small amount of tenon left protruding from the seat, and I remove this with a sharp paring chisel (I use a 2″ Ashley Isles butt chisel which I keep honed to a shallow angle for paring tasks). Push the chisel with one hand, and with your off hand press down on the back of the chisel to keep it co-planar with the seat. This way the chisel won’t dive into the seat, and will also resist the temptation to ride over the tenon. If your chisel is sharp enough it is possible to remove a complete cross section of the tenon in one pass.

_DPP5992

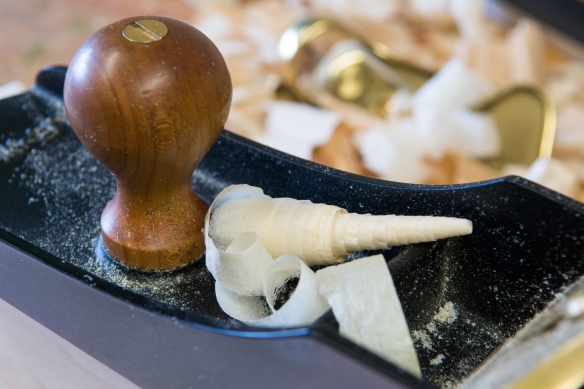
A complete wafer thin tenon shaving!

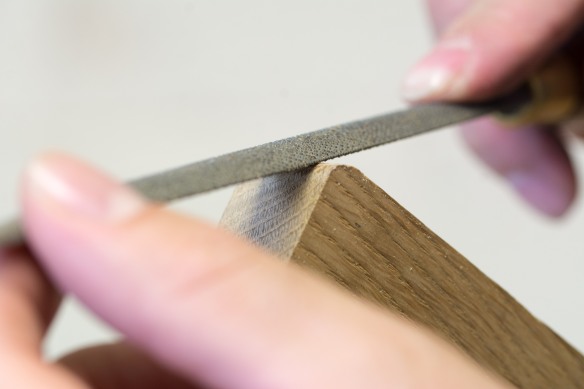
Once the tenons were pared flush I turned my attention to the other small details on the seat. Those crisp corners and edges are helpful for laying out the legs, but won’t be comfortable for little people sitting on the chair. I rounded over each corner using a fine (13 grain) rasp, and a sharp block plane rounded over the aris on each side of the chair. I haven’t saddled the seat of this chair, but I did want to add a bit of extra comfort to the front edge of the seat. To this end, I rounded over the front edge with a block plane, but took progressively more strokes in the centre third of the front edge than I did at each end. The result is a gentle radius to the front edge, and a subtle dishing to part of that edge, which will stop the seat digging into the backs of the Apprentice’s legs.

_DPP5969

Rounding the corners with an Auriou 13 grain rasp

With the top of the seat now ship shape, I turned my attention to below the seat. On the original chair that this build is based on, the top edge of the seat is 11″ from the floor. To level the chair I set it on a sheet of 3/4″ ply which was dead level and flat. I then placed wedges under each foot of the chair until it was level side to side, and had a finger’s width of slope to the back of the seat. Then it was a case of hunting through the scrap bin until I found an offcut which was the right thickness to be 11″ from top edge of the seat. To the scrap I taped a Hock Tools marking knife – I keep this knife especially for scribing legs to length. It is sold without a handle, and has a single bevel to the blade. By keeping it un-handled I have a razor sharp knife that registers true on whatever scrap block I need to tape it to.
_DPP5961

Cutting the legs to length

After selecting the right offcut, it was a simple case of knifing in the correct position of the feet, and then cutting to lose lines with my Bad Axe 12″ carcase saw. Cutting legs to length is one of my favourite elements of a legged build – while the angles look screwy, if you follow the lines it always works out ok. I finished up by chamfering the bottom edge of each leg with the same 13 grain rasp.

_DPP5973

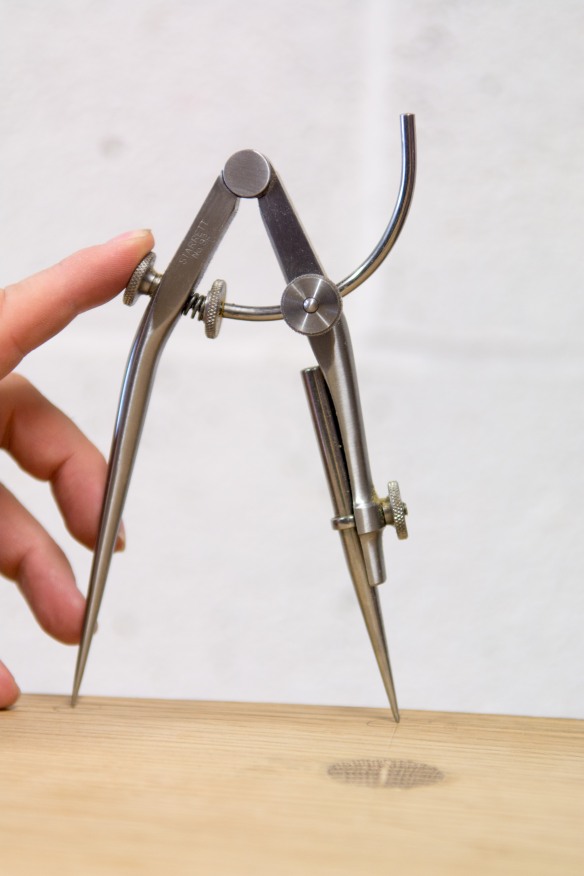
Dividers make for easy layout of the sticks

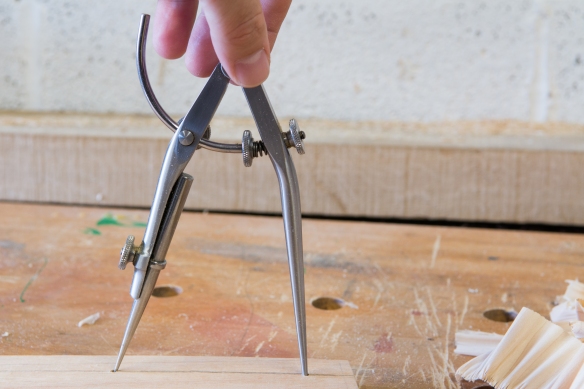
While I was working on the seat I decided to drill the mortises for the sticks. These are 1/2″ in diameter, and centered 3/4″ from the edge of the rear edge of the seat. I stepped the position of all five seats off wih dividers, and ater experimenting with bevel angles I settled on a back stick angle of 11.5 degrees – it looks close to my photos of the original chair, and more importantly, should provide plenty of back support and comfort.

_DPP5976

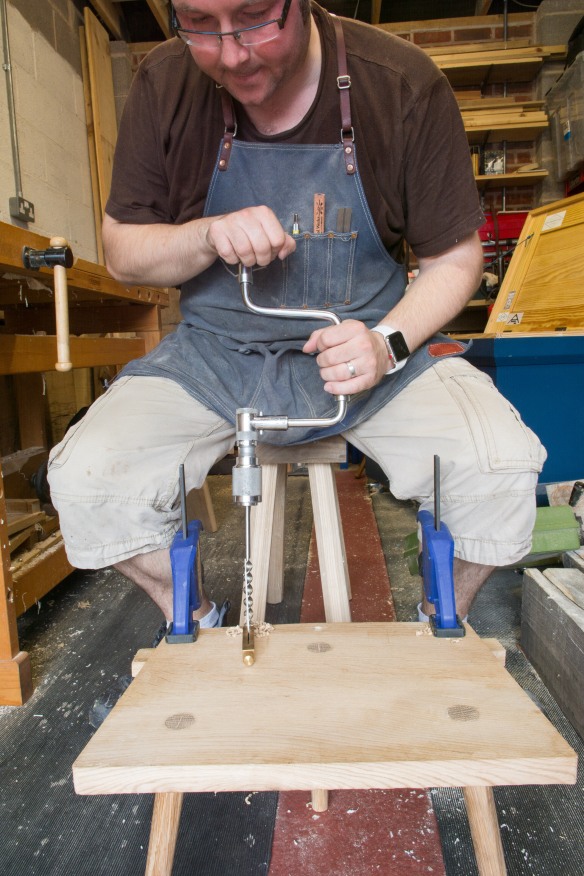
Doing my finest Chairman Brown impersonation

The thing about drilling mortises is that you need to hold the workpiece securely. Chairs don’t give you much to clamp, and so I decided to follow John Brown’s example from Welsh Stick Chairs, and put the chair on the floor, and drill the mortises while sitting on  a saw bench, holding the chair in place with my feet which gripped the legs. After gravity, your body is the best clamp you own. A 1/2″ diameter auger bit in my North Bros brace made quick work of the mortises – this is another task I real enjoy, as it doesn’t take long to dial your eye in to the angles, and drilling with a brace is a very relaxing affair. The mortises go all the way through the seat, so I clamped a scrap to the underside to avoid blowing out the exit side of the mortise.

_DPP5989

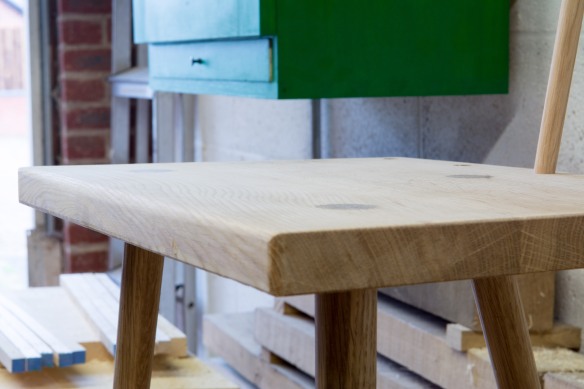
You can see the dished and roudned over edge of the seat

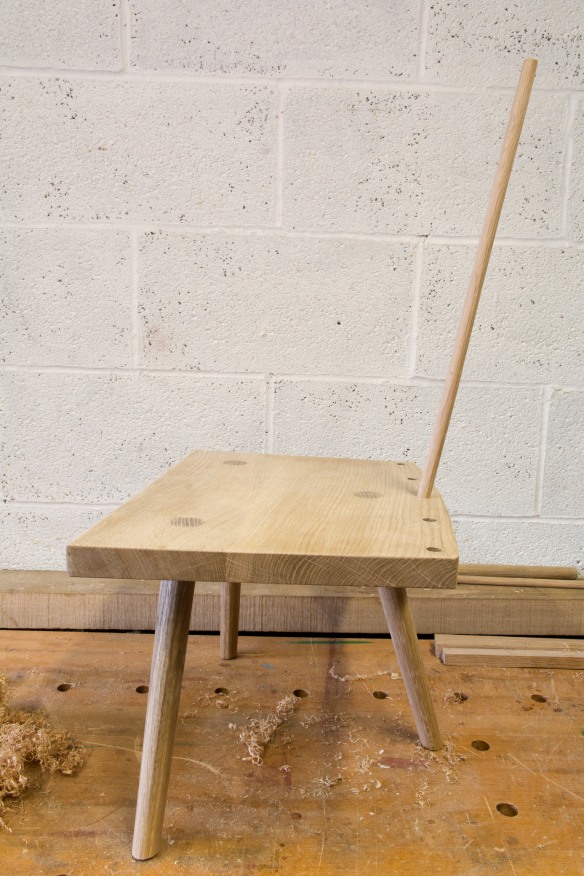
Once the mortises were drilled, I couldn’t resist test fitting the first stick to see what the completed chair would look like. So far, I’m quite pleased with how this one is turning out.

_DPP5977

Test fit! The chair is looking quite handsome.