
The December 2017 issue of Popular Woodworking is now available for download and contains, amongst many other excellent articles, my End Grain column on why embracing the risk of failure is a necessary part of developing as a woodworker.

The December 2017 issue of Popular Woodworking is now available for download and contains, amongst many other excellent articles, my End Grain column on why embracing the risk of failure is a necessary part of developing as a woodworker.
One of my favourite elements of any project is choosing the hardware and finish options. These are the finishing details which add character and flair to the piece, but which must be carefully selected so as not to distract from the essential form – no one wants to add chaps to a squirrel. This process often involves looking at the context in which the project will sit, and making decisions based on what would complement that context, and what combination of elements would work together to present a harmonious piece of furniture.
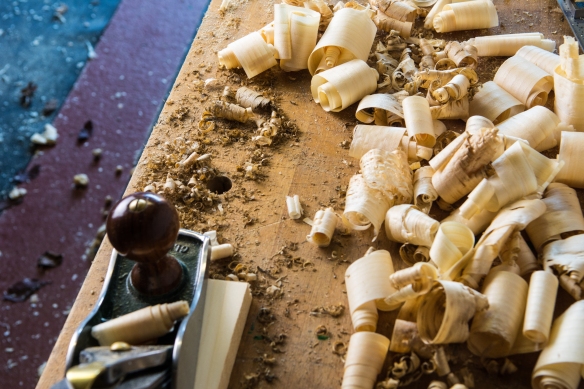
Planing drawer stock
When we first moved in to our house (nearly) four years ago, the hall felt pretty dingy, in part thanks to the rather drab magnolia paint job we’d inherited, and also because the only natural light comes from a small pane in the front door, which spends much of the year shaded by two large lime trees in the front garden. When it came to decorating the hall (part of the great magnolia-eradication campaign which continues to this day) we wanted a colour scheme that would brighten the hall and make it an inviting space. After painting many test panels on the walls, we settled on a vibrant Mediterranean-style yellow. The yellow was then complemented with copper accents on a mirror frame and lampshade.
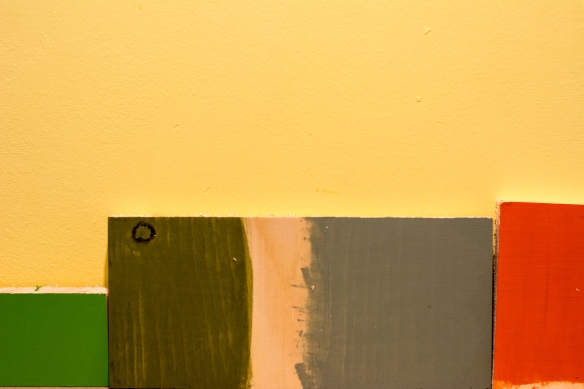
Our sample boards in situ against the hall wall – the Basil Green (second, left) was the winner, closely followed by Persimmon (far right)
I knew from the start that the boot bench would have a milk painted exterior, and oiled interior. I’m not a big fan of unpainted pine, and this combination provides a more pleasing exterior, while allowing the pale yellow of the interior to pop a little, which will add the appearance of a light piece of furniture. But what colour of milk paint? I collected offcuts of the shelves and casework so that I would have material for test painting that was consistent with the boot bench. After scouring the colour charts for General Finishes and Old Fashioned Milk Paint, we identified a number of possible contenders which were duly ordered and sample panels prepared. After the addition of a top coat of Osmo, the sample boards were then lined up in the hall to judge in situ. The winner was Basil Green by Old Fashioned Milk Paint, although we were both tempted by the (very bold) choice of Persimmon by General Finishes.

“Roman” nails by Rivierre
So, with the finish selected, it was on to the hardware. The shelves will be pinned through the dados, partly to ensure longevity, and also as a means of subtle decoration. I have always used cut nails by Tremont Nail (available from Tools for Woking Wood), and their rosehead nails hold like the dickens, and are very nice to look at. I’ve been interested in using the “Roman” nails by Rivierre (and available from Dictum) since Chris first wrote about them, and this looked like a good opportunity. The gently faceted head of the Rivierre nails is very attractive, and the black finish means that they will be understated but visible against the milk paint.
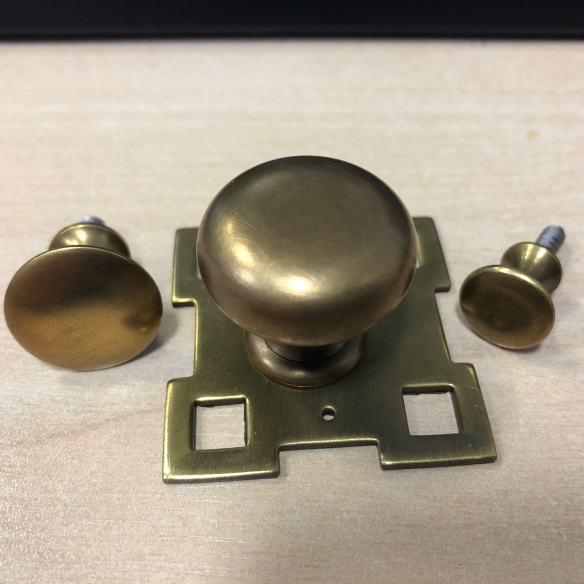
Selection of drawer pulls from Horton Brasses
The boot bench has a single drawer in the top right corner, and the final hardware choice was for drawer pull. Any excuse to order hardware from Horton Brasses is welcome, so I browsed their catalogue for suitable pulls and ordered three options, all in the “light antique” finish. After trying the three pieces against the drawer front, we settled in the Mackintosh pull, which adds a nice visual detail without being too showy. The light antique finish works also nicely against the darker milk paint.
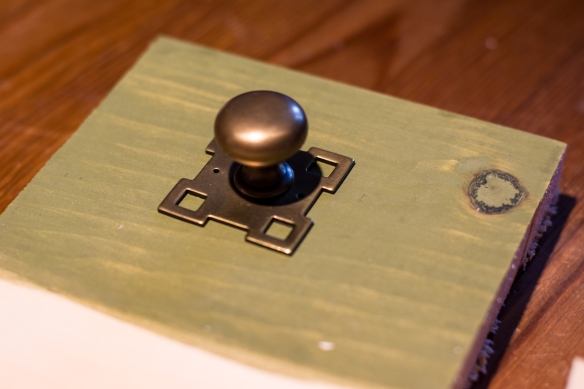
The Mackintosh pull works nicely against the Basil Green milk paint, and is a good size for the drawer
With the details selected, I now need to finish fitting the back and making the drawer before cleaning up the casework. There is still plenty to do on this build, but at this rate it will be finished before Christmas.
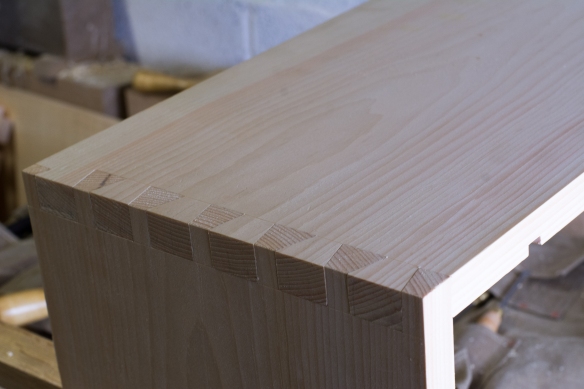
Dovetails for the first corner
It’s been a few weeks since I last posted, but despite the radio silence I have been progressing the boot bench for our hall. The first task was to cut the dovetails which join the sides and top of the casework. I’ve written about my dovetailing process previously (and also here), and the internet probably doesn’t need another treaties on how to cut dovetails. So I shall spare you, dear reader, from having to read another account of the same process. Truth be told, the only changes I’ve made to how I dovetail in the four years since I took the Anarchist’s Tool Chest class with Chris is that I use a Moxon vise for holding the workpiece, and I use a Bad Axe Bayonet saw for dovetailing stock thicker than 1/2″ (for 1/2″ stock I use my original 10″ Bad Axe Doc Holliday dovetail saw).
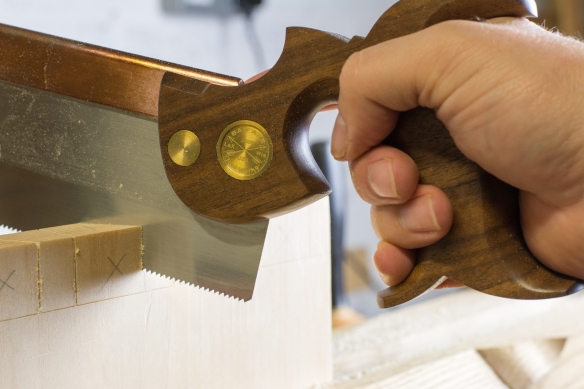
Cutting the pin board
The remaining dados in the top (to accept the vertical divider) and the divider (for the shelves), were cut in stages. First, I did a dry fit to check that the carcase went together without any issue, and then marked off the position of the dado in the top to accept the vertical partition. By measuring the location of the dado in the bottom shelf once the casework was assmbled I could ensure that the corresponding dado in the top would be in exactly the right location. With that dado cut, I inserted the vertical divider and then measure the position of the three dados for the shelves, double checking by measuring each dado from both the bottom and the top of the interior of the casework.
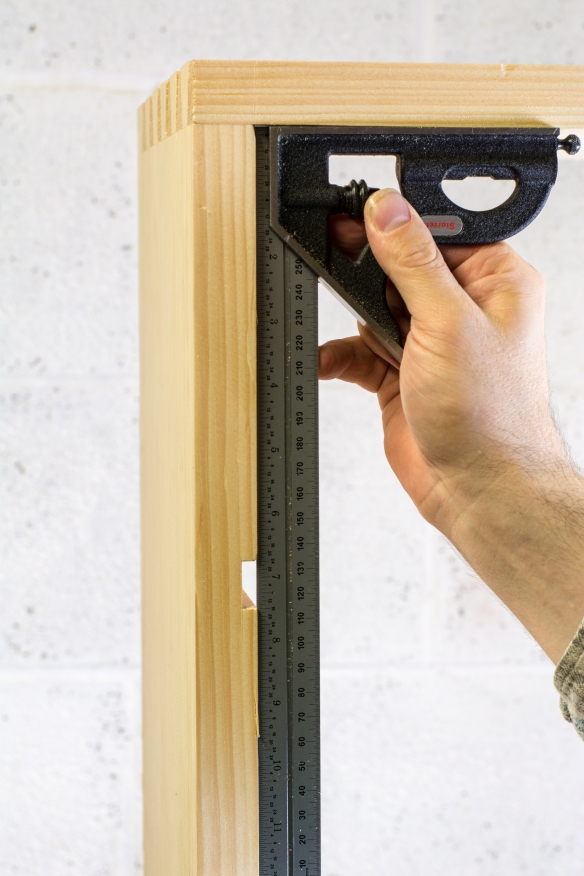
Laying out the dado positions for the vertical divider
With the dados cut I then prepared the shelves to fit their respective dados. A final dry fit confirmed that all of the components were a snug fit and that the casework went together square and true. Glue-up can be stressful enough without having to wrestle multiple parts, and so I prefer to assemble casework in stages. The first stage for this project was the carcase – top, sides, and lowest shelf. I assembled the dovetails first, applying Old Brown Glue to all surfaces and then knocking them together with a 1lb lump hammer. I then sized the end grain of the lower shelf with glue, waiting a few minutes before applying glue to both dados before sliding the shelf in place. This was my first glue up using a flux brush to spread the glue (a tip Chris wrote about recently) and it worked very well for getting an even coat of glue.

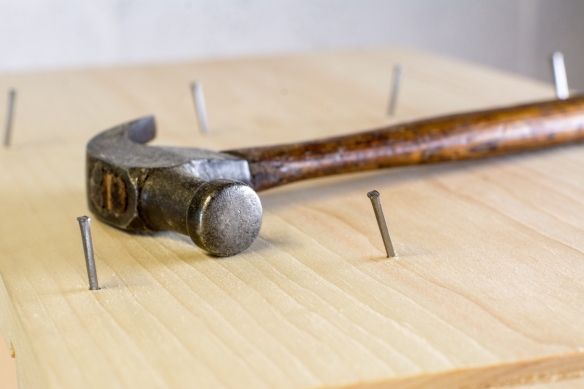
Drilling pilot holes through the vertical divider
The dados will be reinforced with cut nails. The dados in the carcase will be nailed once the glue cures, but there is not enough space inside the casework to drill pilot holes in the vertical divider once assembled. While the carcase was in the clamps I assembled the interior dry, and drilled pilot holes for the cut nails through the vertical divider into the shelves. Those pilot holes were angled in opposite directions to increase holding power. I have just enough space to use a hammer to knock these nails in when gluing the interior assembly, and by inserting the nails into the divider during glue-up they will help to keep the shelves aligned when sliding them into place.
Next up will be to glue in the shelves and divider, fit the tongue-and-groove back, and finally dovetail the drawer. This project is coming together quite quickly.
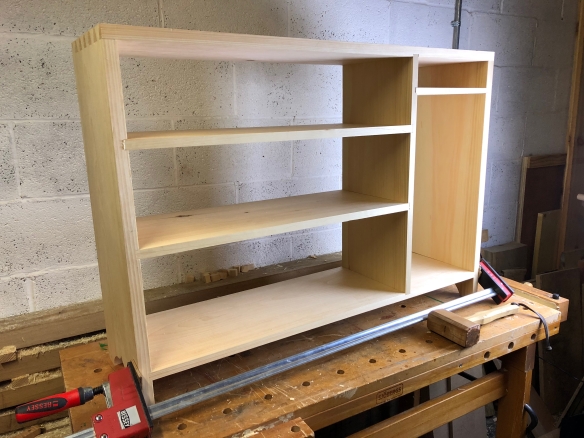
Dry fit and looking ok
