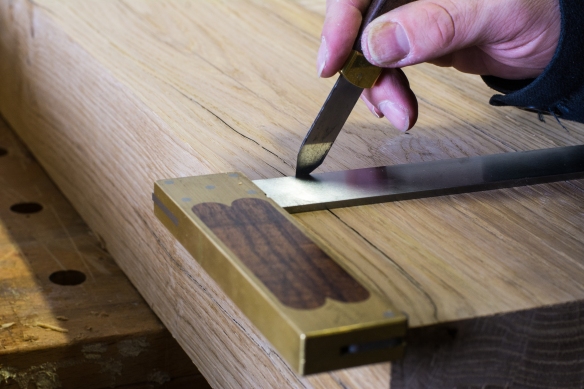
Laying out the mortises with the Vesper 10″ square and Hamilton marking knife
After processing the legs and stretchers for the Roubo bench I was looking forward to cutting some joinery. Roubo explains that the stretchers are flush to the front of the legs (which also means that the long stretchers will be in the same vertical plane as the edge of the bench top) and situated between 4 and 5 pouce above the floor. He is silent on how the stretchers should be fixed to the legs, although mortise and tenon joinery is the obvious choice for this element of the build. I decided to follow Chris’ approach to this joint and use bare faced tenons, the advantages of which are that you only have one tenon shoulder to worry about, and you can include a good solid 1 pouce thick tenon (and 3 pouce long) in the joint. As with everything on this build, the joinery is big, which is why this bench should last forever.
Laying out tenon width also established the dimension of the mortise
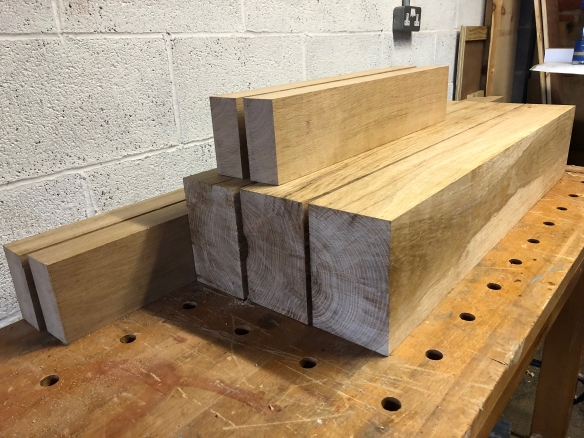
To break up this element of the build into manageable chunks, I decided to cut the joinery for the short stretchers first to create two sub-assemblies of legs, and then cut the joinery for the long stretchers as a second round which will leave me with a completed undercarriage. Whether you cut mortises or tenons first is, I think, purely a matter of personal preference. I tend to cut mortises first. What is important is careful layout of both halves of the joint, which I much prefer to do in one sitting so as to avoid any small (but significant) changes in measurement.
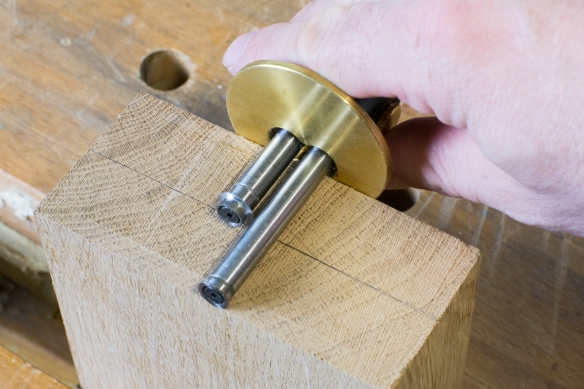
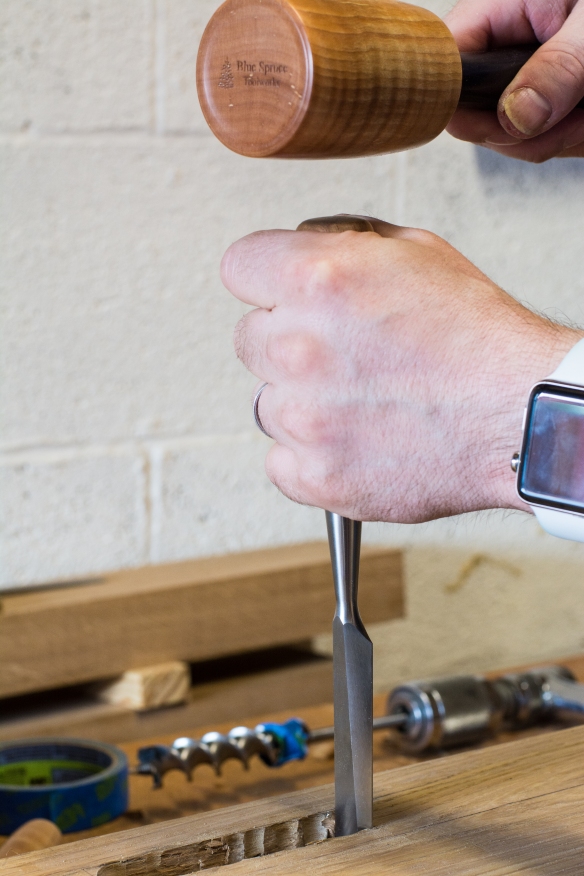
Boring out the waste with a 1920-era North Bros. brace and 7/8″ auger bit. The Vesper 4″ square and my great uncle’s Starrett combination square keep me plumb to the workpiece
The Veritas mortise gauge is my go-to tool for laying out the joint, and I typically start by marking out the tenons. This establishes the setting for both halves of the joint and the gauge is then locked into that position for the remainder of this project. With the tenons marked out, I then laid out the mortises, measuring from the bottom end of each leg. The ends of the mortises were scribed across the full width of each leg, as this will enable me to wrap round the positions to the sides of the leg for the long stretcher mortises.

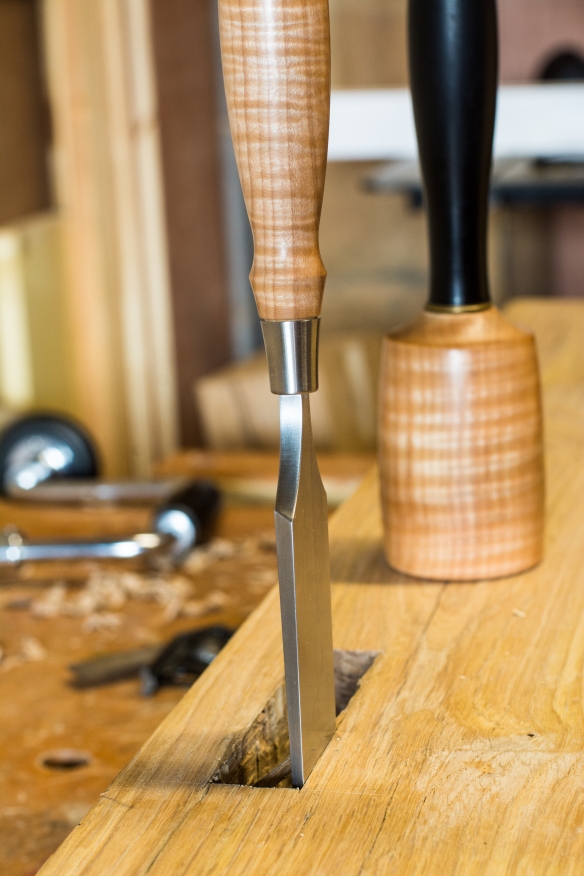
Ready for paring
As I’ve said before, this oak is tough stuff. There are no medals for cutting these mortises with only a chisel and mallet, only blisters. Also, the widest mortise chisel I could find on the internet was 1/2″ wide, which would effectively require cutting two mortises for each joint, and removing the thin webbing between them. That sounds a lot like work to me, and so I took a different tack while staying firmly hand tool only. So, with my big Jet drillpress standing tantalisingly close, I fitted a 7/8″ Jennings pattern auger bit (from Tools for Working Wood) to my 1920s era North Bros. brace, and bored out much of the waste by hand. Yes the Jet would have eaten much of this oak for breakfast, but I really enjoy using the brace and bit, and taking it at a steady pace this did not feel like a particularly tough job. The key is to be bold and use the largest bit you can, to remove as much waste as possible. A knife line down the middle of the mortise also helps to give a clear centre line in which to place the lead screw of the auger bit.
Squaring the ends of the mortise
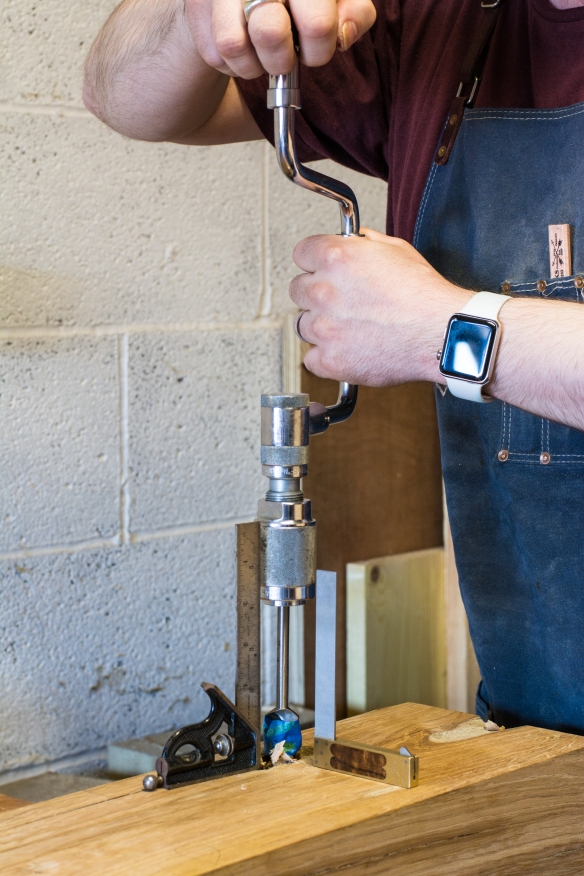
With much of the waste removed to depth, the mortise could then be cleaned up with chisels. Effectively paring the mortise walks square and true relies on taking small bites with a chisel, and nibbling your way back to the baseline, very much as you would when chopping dovetails. First I removed any webbing left between the auger holes, and then square up the ends of the mortise using a 3/4″ chisel. The end grain is brutal hard stuff, even with a freshly honed chisel, and a sharp tap with a mallet helped ease things along.
Paring the sides with a wide chisel
The sides of the mortises were easier going, and I used a 1 1/2″ wide Blue Spruce bench chisel for these – that width gave me a very consistent straight wall but without being so wide that it needed too much force to push through the cut. Again, paring the excess away in small bites and working back to the knife line, is essential. I also use a two handed grip for this work – my right hand is on the chisel handle with my thumb looped over the end for maximum downward pressure, while two fingers of my left hand are wrapped round the front of the blade, pulling it flat against the wall of the mortise. Each hand only has one job to do – the right hand drives the chisel and the left keeps it running in the right direction. This grip keeps the chisel from drifting out of the cut, and also from under cutting the wall of the mortise. A small combination square can help test the walls of the mortise – if the blade of the square does not make contact with the top of the mortise then there is a bump which needs paring flat.
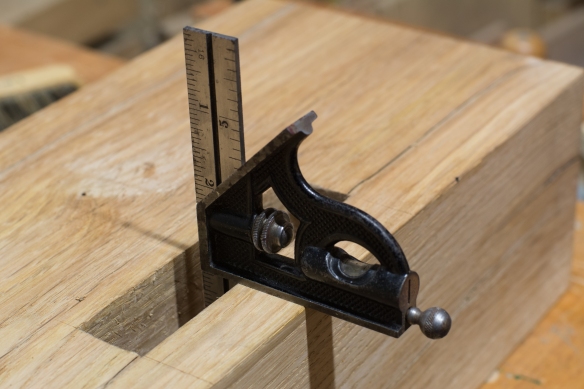
Checking for square with the vintage Starrett
Next up will be cutting the tenons for the short stretchers, and tuning the fit of the joints. And then repeating the whole process for the long stretchers.
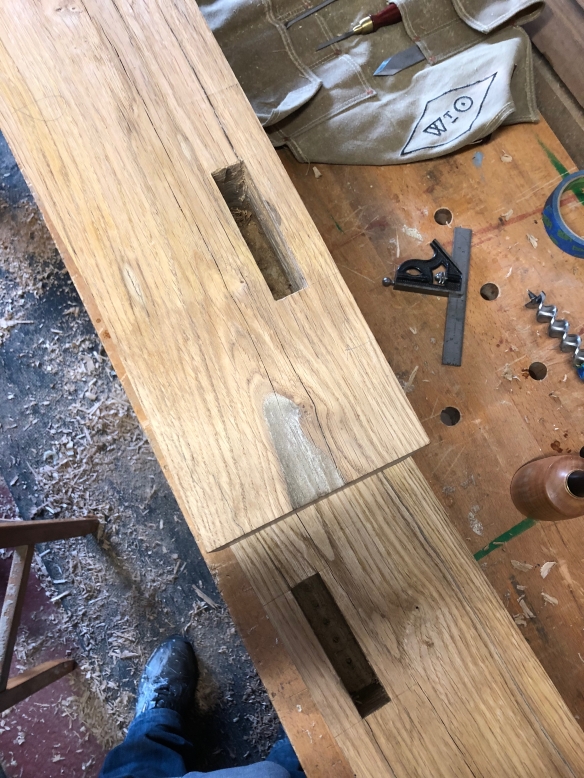
Two of the four mortises cleaned up and ready for tenons