Transferring the joinery to the slab top
If I’m being honest, cutting the joinery in the slab top is the element of the bench build that has me feeling the most apprehensive. I’m going to look at these joints everytime I stand at my bench, so I want them to be good. The scale of the slab (currently 5 3/4″ thick, with the top surface still to be flattened) also adds an additional concern – this is big joinery, and the accuracy with which the joinery is layed out and cut will determine how well the bench goes together. No pressure then.
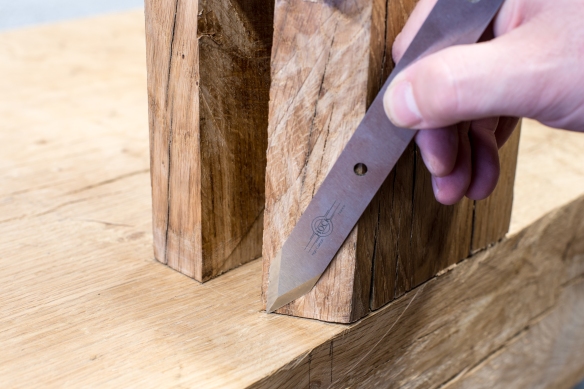
Using an unhandled marking knife allows me to get up close to the leg
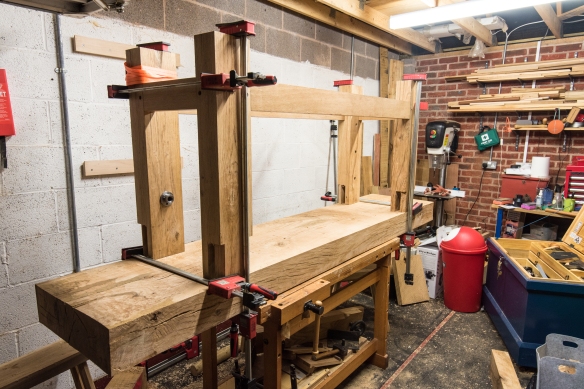
To transfer the joinery from the legs to the slab I once again called upon the assistance of my slab moving team, and we put the slab upside down on my existing workbench, and assembled the undercarriage (also upside down) on top of the slab. Each leg was clamped to the slab and then checked for square against the slab in front/back and side-to-side directions. This invariably involved some repositioning and adjusting until all four legs were flush to their respective edges of the bench top, and perpendicular to the slab on all sides. Once the legs were properly positioned, I transferred the joinery using an unhandled marking knife by Hock Tools. I keep this marking knife in my chisel roll for leveling chair and table legs, and marking tasks where I need the whole knife to be flush to a component (where the handle of my other marking knives would foul the line). It worked perfectly for this application, and left a good clear line which I then filled with 0.2mm pencil for increased visibility.
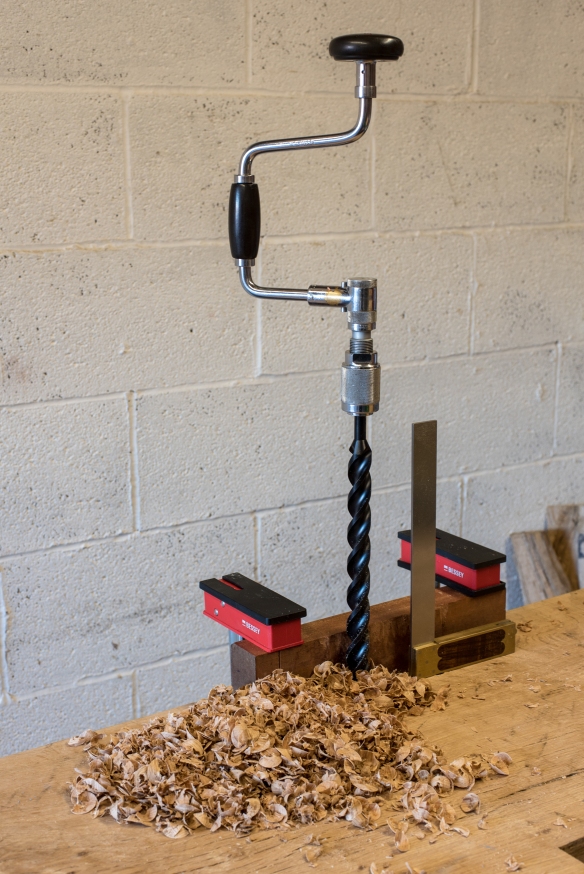
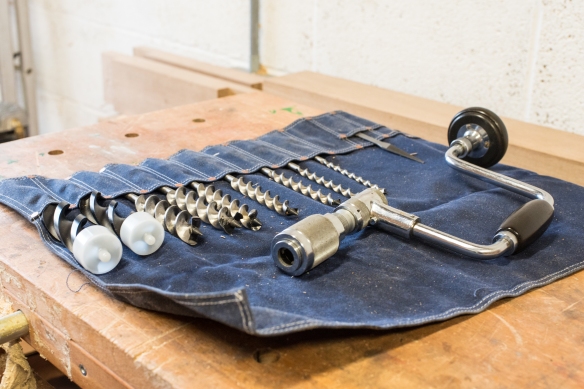
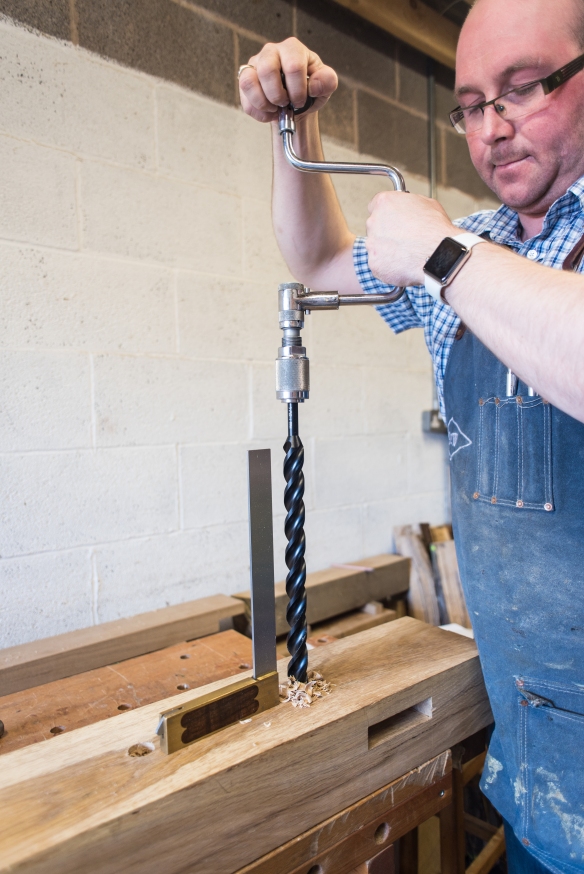
Boring out the waste with bit and brace – this felt a little like work
The mortises are a little over 5/4″ wide, and to hog out the waste I used a 1″ diameter WoodOwl ship’s auger in my North Bros brace. The increased length (18″) of the ship’s auger makes it easier to keep perpendicular to the workpiece, and I also clamped a guide block with a 90 degree face to the bench top as a visual aid, along with my 10″ Vesper square. WoodOwl bits cut very cleanly, and if you are careful there is no spelching on the exit side of the hole. This meant I was able to bore all the way through the bench top in one go, rather than going half way and then flipping the workpiece over (I try to minimise the number of times the slab is moved, as I have to call on my slab moving team each time). Drilling through the slab meant that chips were able to fall through to the floor as I pared the mortise, which meant I did not have to stop and periodically clear the mortise of debris. I bored five holes in each mortise, which removed the majority of the waste.

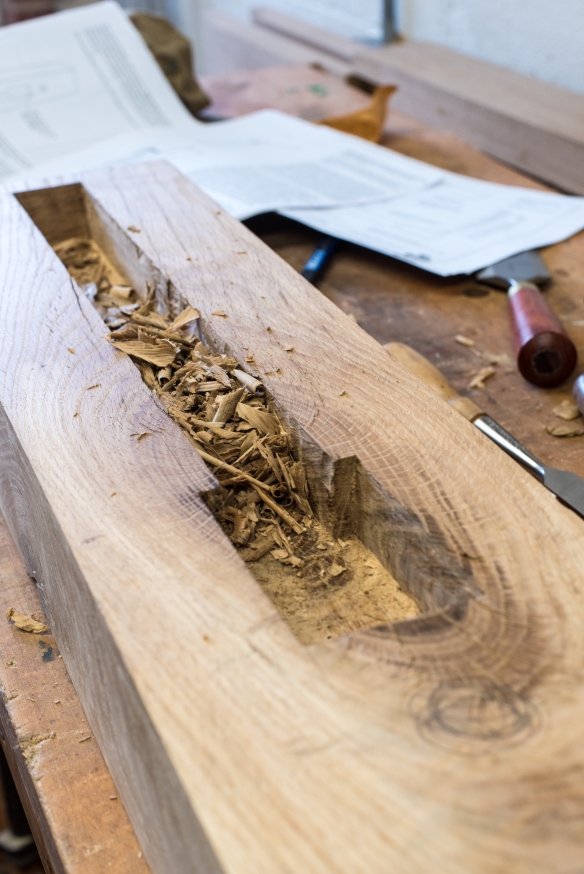
Paring the mortise walls
I then knocked out the webbing from both sides of the mortise using a chisel. When removing this material, efficiency is key, and I find that making a relief cut with the chisel in the centre of the webbing, then cutting each side, gives the chip a route to pop out. The majority of the webbing was cut from the top of the mortise, but I did kneel under the bench top to remove some from the underside to avoid spelching. Once the webbing was removed, I pared the mortises back to the baseline, checking for square as I went. Despite being a deeper through mortise, the process is very much the same as I wrote about for mortising the legs. The main difference is that I did not pare to the full depth from one side. Instead, I pared to roughly 4 1/2″ deep, (leaving 1 1/4″ left to go) and will finish cutting the mortise from the opposite side. This will prevent blowing out the grain on the exit side, and also ensures that the mortise is plumb throughout.
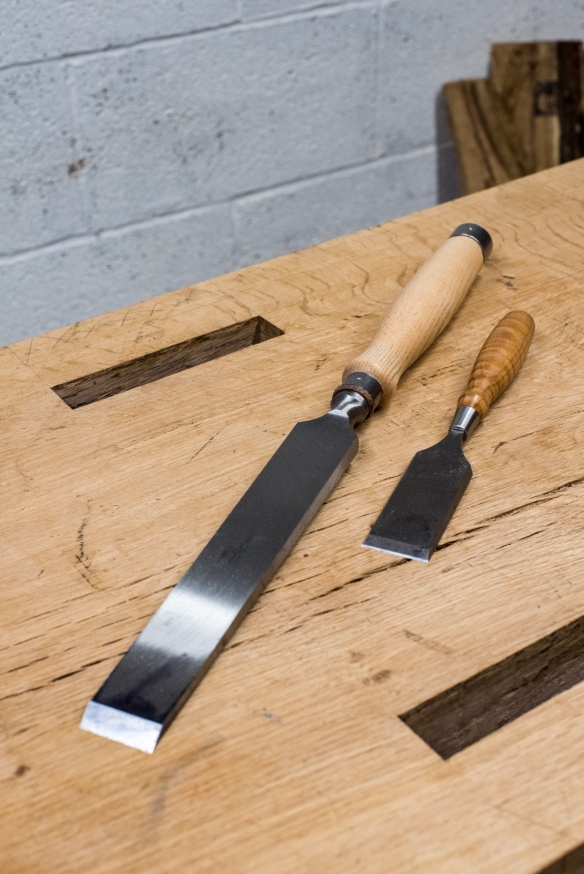
The timber framing chisel, against my regular Blue Spruce chisel for scale. And two completed mortises
I have approached this build with the intention of using only the furniture-making tools already in my tool chest. However for this stage of the build I did add a timber framing chisel to my tool kit, because of the significant depth of the mortises (which would have all but swallowed my existing chisels). The 1 1/5″ wide timber framing chisel is a monster, with a 10 1/2″ long blade. Not only is the extra length very useful for cutting deep mortises, but the additional weight means that it is very efficient at paring mortise walls, as the chisel effectively drops into the cut, especially when used in conjunction with a guide block. This specialist tool was a very worthwhile investment, even if it won’t get used very often.
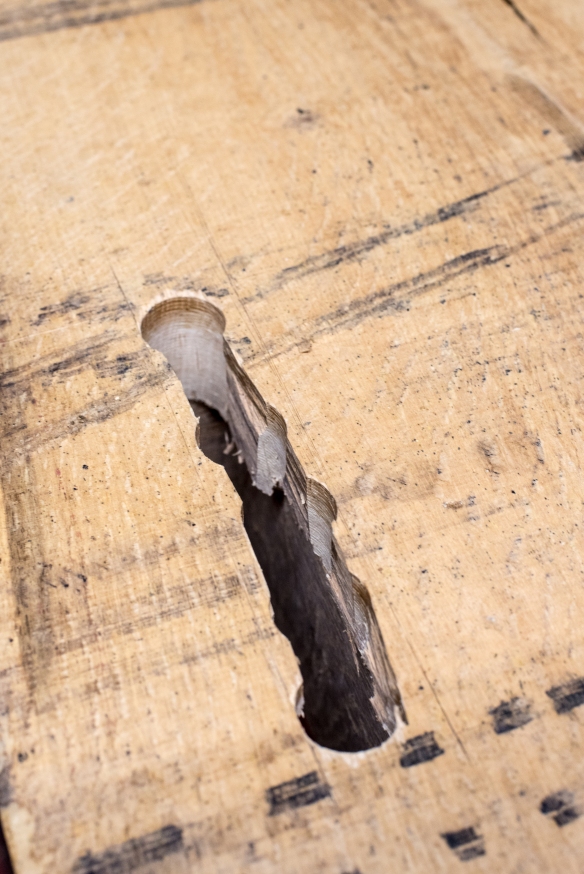
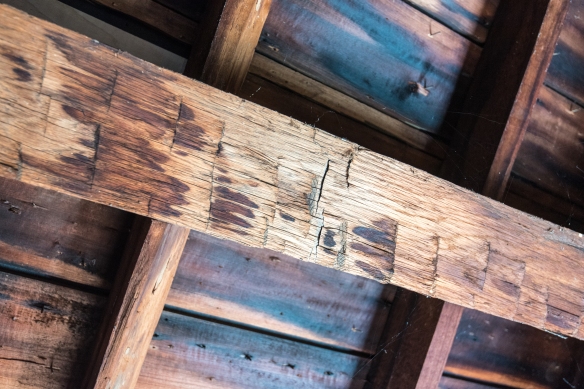
This is what the other side of the mortises currently looks like – they will be pared square next
The slab has been rotated and my next task is to cut the remaining elements of the mortises, before moving on to the dovetail sockets.
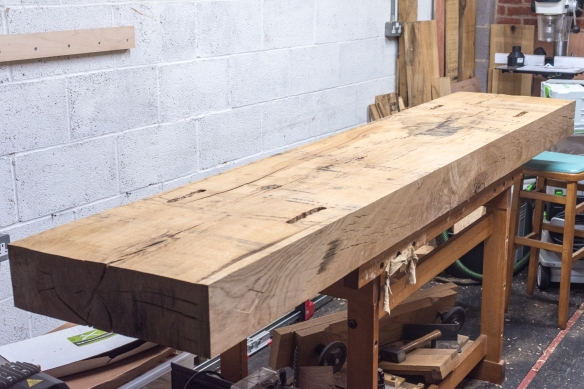
The slab has been flipped over, ready to finish cutting the mortises.