The following is based on an article that originally appeared in Issue 250 of Furniture & Cabinet Making magazine. Thank you to Patrick Leach for his invaluable knowledge on historic Stanley planes, Philip Edwards for his assistance with wooden bodied planes, and Classic Hand Tools for photos of the Lie Nielsen range of bench planes.

My set of bench planes, from left to right: No.8 jointer, No.5 jack, and No.3 smoother
Step 1 – Admit you have a problem
1869 was a good year for woodworkers. Stanley had just started selling their Bailey pattern bench planes, which set a standard for metal bodied hand planes that endures today with tools made by the likes of Lie Nielsen and Veritas. In contrast to wooden planes, which were referred to by their function, those early Bailey pattern planes were helpfully numbered 1 to 8, with each successive number referring to an increase in size. The Stanley numbering system has become a familiar industry standard but also sets a trap for the unwary woodworker. Because while a standardised numbering system makes it easy to identify hand planes, instead of focusing on the function of a plane we start to look at our tool kits and at the gaps in the numbers. From there, it is only a short step to convincing ourselves that our work would be so much better if only we had a No.6 plane, or a No.2, or all eight. Yes, definitely all eight. Before you know it you are a tool collector, with an expensive habit to feed and a growing stable of tools to keep sharp and rust-free.
Jack planes are versatile tools – they can be used for rough stock removal, smoothing, and as short jointers
Now, hand planes are the most totemic woodwork tools and form the cornerstone of any handwork tool kit, as well as being highly useful even in machine-focused workshops. However, the available range of planes can be bewildering, particularly to the beginner woodworker. Even if we focus on bench planes and ignore more specialised joinery planes (for instance, plough, moving fillister, and shoulder planes), the range of smoothing, jack, try, and jointer planes is extensive, particularly given the modern proliferation of bevel up and rebate bench plane models.
But what planes do we actually need to build furniture? Do we really need all 8 bench plane sizes, or is a smaller tool kit sufficient to produce high quality work? I am happy to report that there is a cure for plane addiction, and it starts with ignoring the size numbers and focusing on what we actually use the planes for. Here’s how it works.
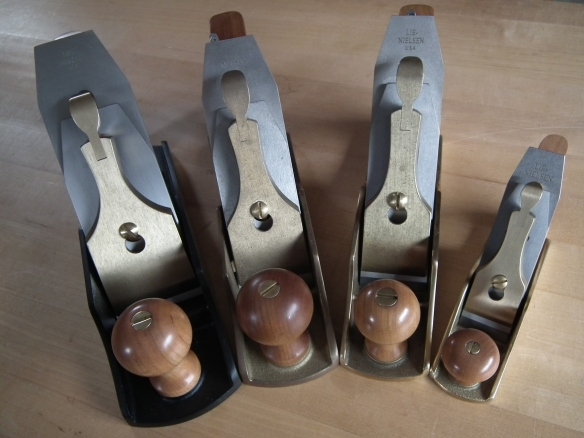
Smoothing planes come in a rang of sizes from the tiny No.1 (far right) to the much larger No.4 (far left)
Step 2 – Ask the dead guys
There are very few hard and fast rules in woodworking, but one that always holds true is that if you ask a question about which tools to buy, you will get many conflicting answers, each based on personal preference. The result is increased confusion and a longer shopping list. So lets take an entirely different approach, and ask woodworkers from the past 400 years. This approach is instructive, because pre-industrial woodworkers did not have the benefit of machines in their workshops, nor was pre-dimensioned timber as readily available as it is today. Instead, historic woodworkers relied on their hand planes to bring rough boards down to dimension, to prepare joints for gluing, and to smooth casework. And what is more, they needed their hand planes to work as efficiently as possible – time has always been money for the professional woodworker, and without a thickness sander or jointer to process stock quickly, efficient hand plane use was essential. Finally, tools were expensive so few craftsmen could afford to buy tools that would not be used. Even if you use pre-dimensioned timber, or incorporate machines into your workflow, understanding how pre-industrial hand tool workshops used hand planes helps to narrow the shopping list of bench planes.
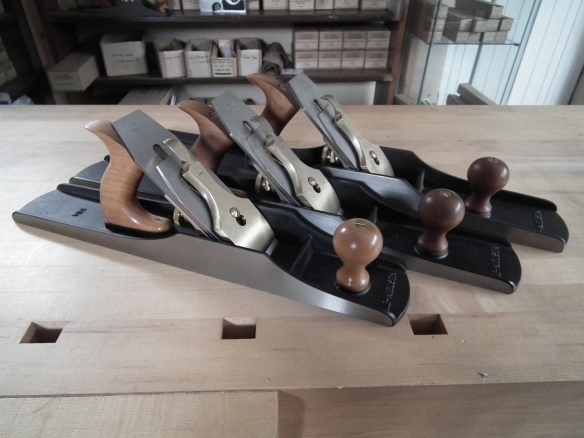
For a jointer plane the choices are between the No.6, No.7 or massive No.8
Joseph Moxon
Mechanick Exercises or the Doctrine of Handy-Works by Joseph Moxon is the earliest recorded English language text on woodworking. Originally published as a series of pamphlets in 1678 covering a range of skilled trades, before being compiled into a single volume in 1703, Mechanick Exercises provides a detailed account of the tools found on the bench of the 17th century joiner, and how those tools were used. Moxon helpfully identifies five planes in the joiner’s tool chest: the fore plane, the jointer, the strike block plane (an early precursor to the mitre plane) and a rebate plane. Moxon does not give any measurements for the size of the planes, but does provide clear descriptions of their uses. The fore plane, Moxon tells us, is to prepare timber for the smoothing or jointer planes. The jointer is used to flatten a work piece, while the smoothing plane is used to create a finished surface on the work piece. These are functions with which the modern woodworker is very familiar.

Wooden jack and jointer planes by Philly Planes
Benjamin Seaton
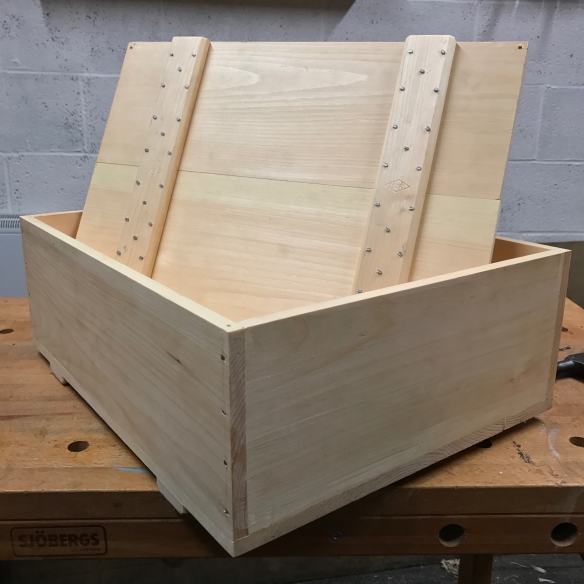
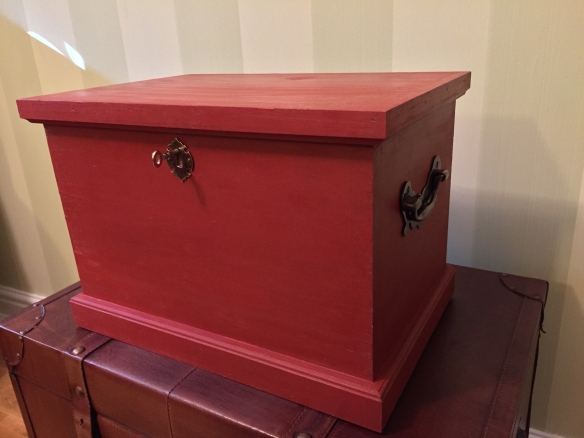
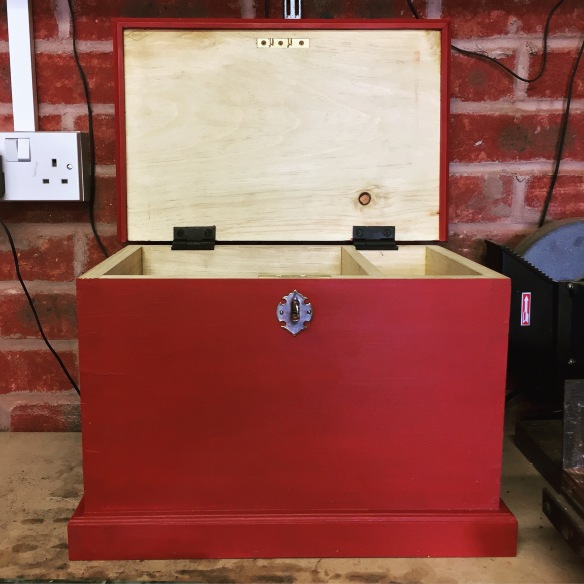
Ninety-three years after Moxon published the complete Mechanick Exercises, a young Kentish joiner named Benjamin Seaton was building a chest to hold his tool kit. Seaton’s tool chest, built in 1796, is the most complete surviving example of an eighteenth century joiner’s tool kit, and is currently maintained by the Guildhall Museum in Rochester, Kent. Seaton’s chest is also of interest because the tool kit was assembled at a time when the first chip breakers (referred to in the Seaton inventory as “double iron”) were first coming into use, and Seaton appears to have bought the more traditional planes as well as planes fitted with chip breakers. The Seaton chest contains seven bench planes – two jack planes, a fore plane, a try plane, two smoothing planes, and a jointer. The pairs of jack and smoother planes include one example of each with a chip breaker, and one in the more traditional single iron format. If we discount the duplicated planes, Seaton therefore considered five bench planes to be necessary. One word of caution is that Seaton did not purchase the tools himself, nor were the tools purchased as they were needed. Instead Benjamin’s father, a successful cabinet maker, bought the tools as a complete set, and it is quite possible that a wealthy father might have bought a more extensive kit than was strictly necessary for a favoured son. Still, the contents of the Seaton chest are very useful in understanding the typical tool kit of the eighteenth century furniture maker, particularly as the planes are of similar dimensions to their modern equivalents.
The classic coffin smoother by Philly Planes
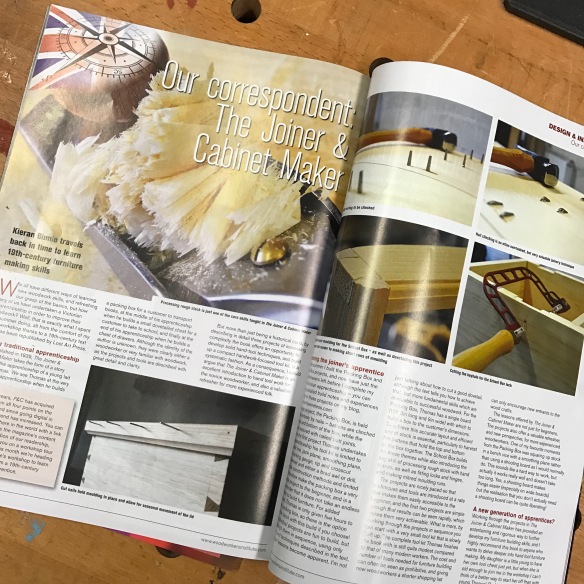
The Joiner and Cabinet Maker
Forty-three tears after Joseph Seaton bought Benjamin his tool kit, The Joiner and Cabinet Maker was first published. The author of the story about a fictional young apprentice is unknown, but they were clearly very familiar with woodwork and were perhaps a woodworker themselves, given the level of detail given about workshop practices. Despute being a work of fiction, The Joiner and Cabinet Maker can therefore be taken to be an accurate account of the ninetheenth century professional workshop. In the text, the apprentice Thomas makes use of a smoothing plane, jack plane, and jointer (referred to in the story as a “try” plane). The length of size for the planes is not given in the text, but as the story unfolds and describes Thomas’ work, it is clear that the author considered these three bench planes to be sufficient for the professional woodworker.
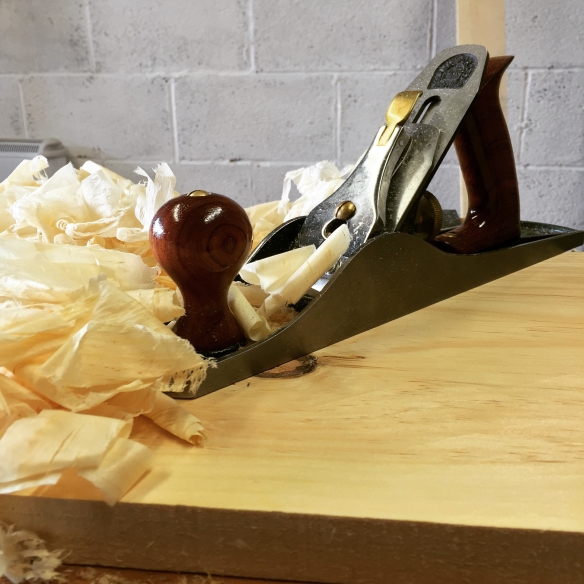
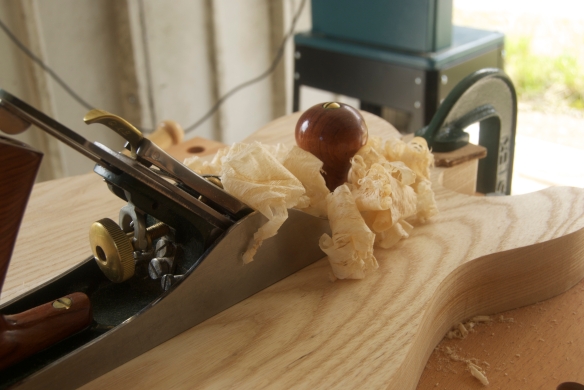
Using a jack plane to rapidly remove material from rough stock
Step 3 – Curing plane addiction
Hopefully this post, together with the supporting cast of historic woodworkers, has shown that there is no need to amass a large collection of bench planes, and that high quality work can be achieved with a limited set of just three planes. While it is not possible to direct a woodworker to the specific size of plane they need, narrowing the choice to the three key tools based on their intended function will make the final choice that much easier. Although I have focused on the numbering system used for metal-bodied planes, the same approach can be applied to wooden planes.
The smoothing plane excels at leaving a perfectly clean, finish ready, surface
The Secret Fourth Option
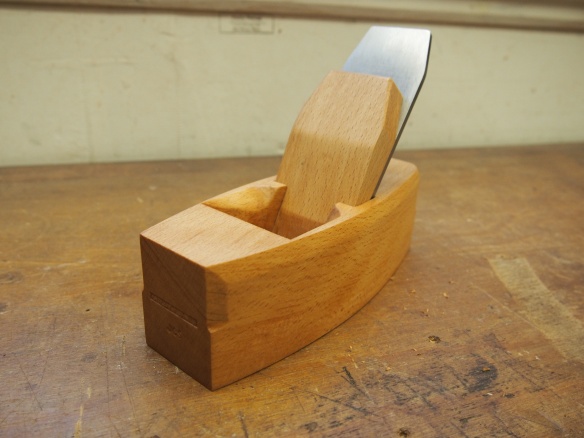
So far I have focused on how to go about selecting bench planes for your tool kit. But there is one other plane which I genuinely think no woodworker should be without, and that is the humble block plane. None of the historical sources discussed above make mention of a block plane, nor did it feature in the tool chest of Benjamin Seaton. This is primarily because the block plane has traditionally been viewed as a carpentry tool rather than something that the furniture maker needed. However, the block plane is a remarkably versatile tool, which is likely to become invaluable once you have spent some time using it. Likely uses include dimensioning small stock, chamfering edges, acting as a very small smoother, trimming end grain – particularly on runs of narrow moulding, and shooting small pieces to size. In many ways it could be seen as a smaller successor to the “strike block plane” Moxon described. As with bench planes, there are endless iterations of the block plane available, from the tiny 101 apron plane, to Karl Holtey’s incredible 983, as well as a choice in bedding angles for the blades.

So how do you go about deciding what block plane to use? Again, this all depends on what the scale of your work, your hand size, and what you might use the block plane for. The one feature which I think is indispensible is having a low bedding angle for the blade as this makes trimming end grain much easier and less likely to tear out. But beyond that everything is personal preference. The main thing is that you give the block plane a chance, and include one in your tool kit.