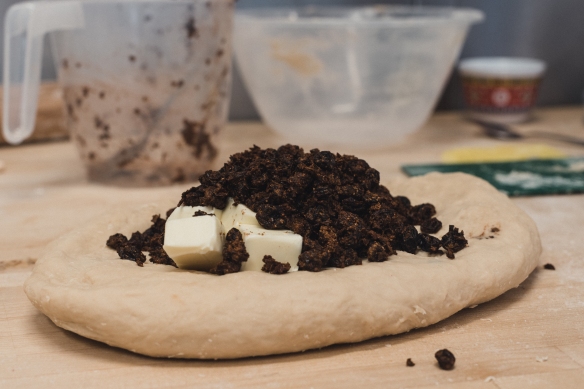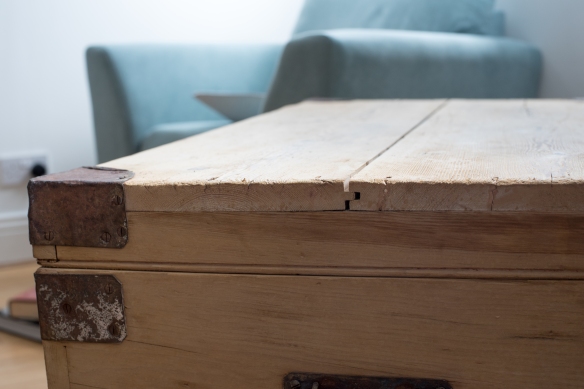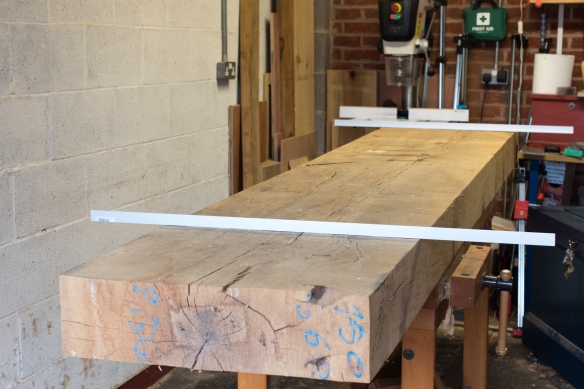
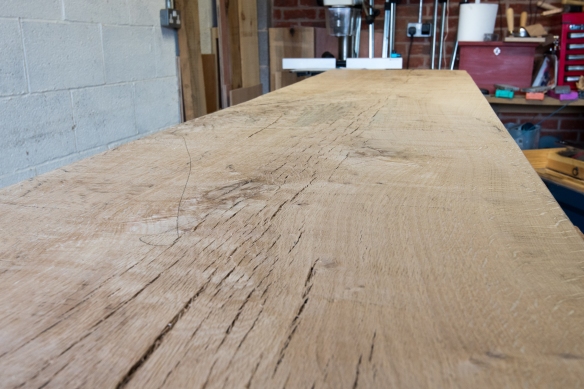
The slab in the rough
After working on my article for Mortise and Tenon over the past few months (a piece I really enjoyed building) it feels good to be returning to the Roubo bench build. Having built the undercarriage, save for the leg joinery, it is now time for a stage of the build I’ve been simultaneously anticipating and overawed by – processing the slab top. There are no two ways about it – this is the single largest piece of timber I’ve ever worked on, and although I trust in my core skill set, tackling something of this size is a little awe inspiring.
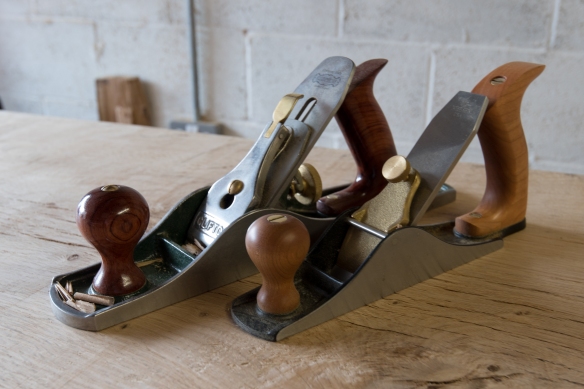
The No5 and scrub did all the heavy lifting on this stage of the build
The first challenge is how to move and set up something this size for working. Over this year I’ve been brainstorming workholding solutions, and finally it was a conversation with Mark Hicks (who builds these for a living) that convinced me I was overcomplicating something that was very simple, and that I should just put the slab on my existing workbench. It turns out Mark was right on the money – while the slab overhangs my Sjoberg bench by several feet at each end, the sheer weight of timber keeps it in place. Getting it there looked like a bit of a challenge, but I was able to call upon the assistance of my father and a couple of friends. Between four of us, the lift was manageable and we got the slab into position with a minimum of salty language.
Chamfering the far side to avoid spelching
Processing the slab is just like flattening any other board, only much, much bigger. I decided to flatten the underside first, as the top does not need working until the bench is assembled. The key to working timber of this size is limiting the number of rotations or lifts you have to achieve. Roubo suggests that the slab should be orientated heart-side up so that it tightens around the leg joinery as it dries out. My slab has some pith at one end (pictured above) but as I’m finding, one of the key mindsets for this bench is to use the material you have available, and do not worry about any imperfections (mainly because it is nigh on impossible to get timber of this scale which does not have knots, checking, or some pith).
Before reaching for my planes, I checked the slab for twist and was very pleased to find that there was only minimal twist at the very ends. If I scooted my winding sticks in by a couple of inches, the twist all but disappeared, and as the slab is currently 8″ over length, I’ll be able to trim off the twisted ends. A quick check with a straight edge showed that the slab was broadly flat across the length, and had a bit of gentle cupping consistently across the width.
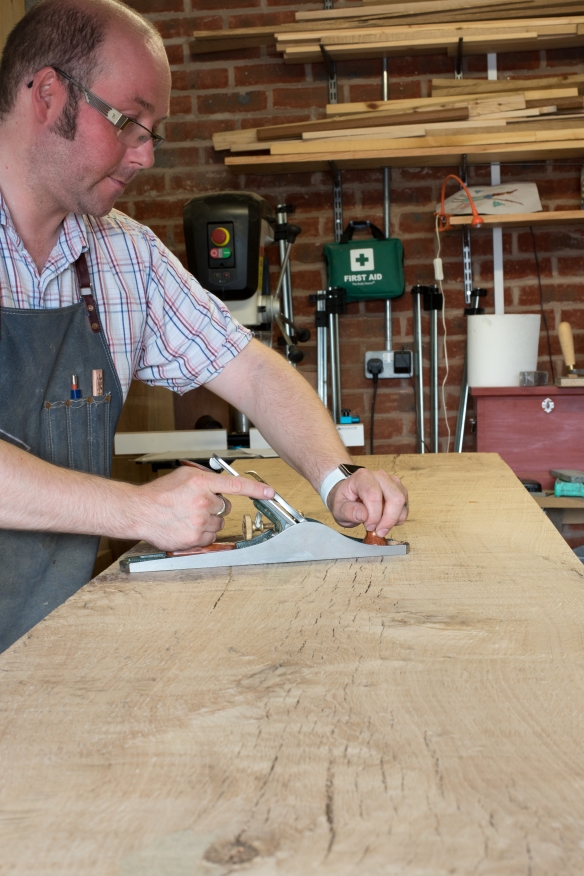
Traversing the grain with the No5
Just as lifting the slab is not a job for one, I decided to call in help for flattening the underside. My father was kind enough to join me in the shop today, and we had some long-overdue father-son time working some orney oak – he with the Lie-Nielsen scrub plane and me with the No5. The combination of scrub and jack worked very well – some of the knots which repelled my jack were easily dressed by the more aggressive (3″ radius) blade on the scrub. After planing a healthy chamfer on the far side of the slab, we traversed the grain until the surface was deadnuts flat across the width, with only mild undulations along the length. I then followed by traversing with the No8 jointer, skewing the plane to 45 degrees in order to remove the highspots along the length. The result is a slab that right now is flat (it will continue to move with seasonal variations in humidity for a while, but I can keep the top flat as it does). A few solitary low spots remain, but these are cosmetic rather than anything else, and as it is the underside of the bench I don’t see any merit in removing a lot of material to dress those divots. I would much rather keep the material on the bench, and have a few rough sawn patches where no one can see.
The next task will be to assemble my merry band of helpers to rotate the slab onto its edge, and dress the show-face so that it is straight and perpendicular to the underside. I also need to trim 8″ off the ends, which I will do once the reference edge has been trued up.
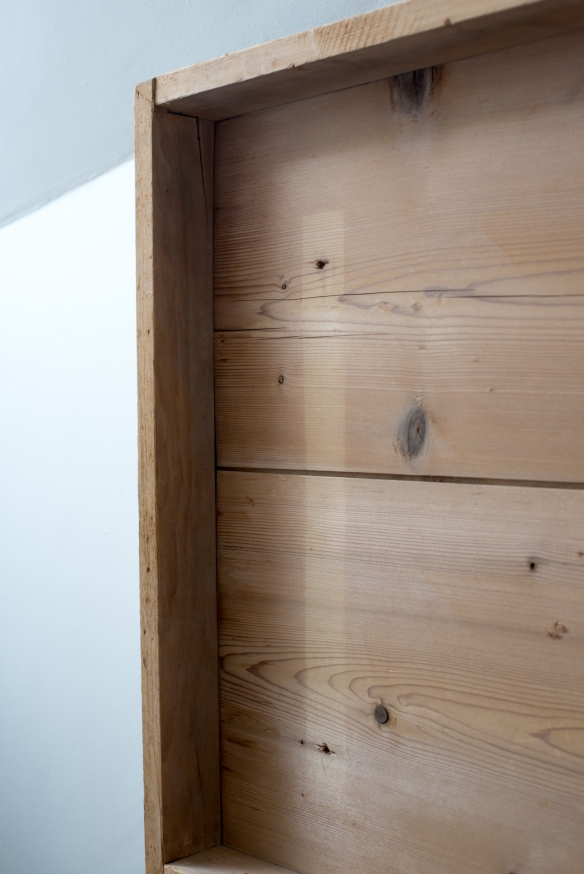
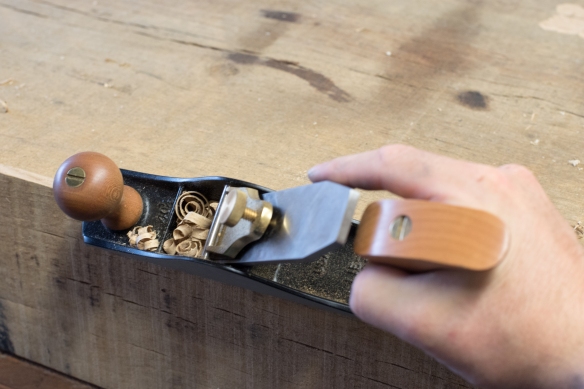
The flattened slab