An Unusual Retirement

In 2015 I spent several days interviewing plane maker Karl Holtey for a profile which would be later published in the June 2016 issue of Popular Woodworking. That piece is one of the articles I’m most proud of. At the time of that interview, Karl had announced his impending retirement. He and I stayed in touch, and occasionally discussed doing a “post-retirement” follow up. The December 2020 issue of Popular Woodoworking is now available digitally, and carries the post-retirement interview with Karl, including discussion of his new plane – the 985 smoother.

Straight Shooting

IMG_7355

Everything you need for a rock solid shooting board.

Before I could finish dimensioning the shelves and sides of the boarded bookcase, I needed to build a new shooting board for squaring the component ends. I ordered the Veritas track and fence hardware earlier this year, and it has been sitting on the side in the workshop waiting for me to get round to it. I finally had an opportunity two weeks ago to go on a supply run to my local timber yard and pick up some plywood for the deck of the shooting board. Although I was after a half-sheet of 3/4″ baltic birch, there was limited stock to choose from – I believe due to Covid-19 disruption to their supply chain. Fortunately I managed to snag three pieces of 1/2″ ply, all 24″ square. This would do nicely.

IMG_7490

Laminating the cleat

The first stage of the the build was to laminate layers of ply to form the deck. While Veritas provide suggested dimensions and minimum thickness in their instructions, given the material I was able to pick up, I decided to overbuild this shooting board. Two layers of play were laminated together to provide the base of the shooting board, with the third square offset by the width of the track. I had some PU glue leftover from the express lathe stand build last year, and while it’s not an adhesive I would use for furniture building, it is perfect for jig building as it is water resistant and won’t degrade in my unheated workshop. PU is very slick and can encourage glued components to skate around, so I glued the laminations over a couple of days to make clamping sheets of ply which wanted to slide around more manageable.

DSC_2845

Preparing the maple fence with the Lie-Nielsen No62

Once the deck had been laminated, I rummaged through my scrap pile and found a length of 2″ wide 3/4″ ply which I cut into two 24″ lengths, which were then laminated to form a 6/4″ thick cleat on the underside of the rear edge of the shooting board deck. The cleat will allow me to hold the shooting board in place with the leg vise, or to simply brace it against the edge of the workbench. Shop jigs are a great way to use up scrap, and I also rescued a piece of maple for the sacrificial fence.

DSC_2843

Removing the foamed and hardened PU squeeze-out

PU might be convenient for ‘shop jigs, but the squeeze-out foams up and makes an awful mess. Fortunately, the Benchcrafted skraper is an excellent tool for removing stubborn dried glue, and cleaning up the squeeze-out horror show was a quick and easy job.

IMG_7499

Preparing finish with a magnetic stirer. No more endles shaking jars waiting for shellac flakes to dissolve for me

Before installing the hardware, I also applied a simple finish to the deck. In the spirit of useing scrap, I mixed some old shellac with a little pumice powder. Brushed on, this provides a slightly grippy surface (which is beneficial for jigs where a slick finish would make holding the workpiece tricky) which will provide protection from glue and moisture – a finish recipe I learned from Derek Jones. I’ve just picked up a cheap magnetic stirrer for mixing shellac, following Chris’ recent post, and it worked well mixing the pumice power into the shellac solution.

DSC_2844

Calibrating the fence with the Vesper 10″ square

Once the shellac dried, it was then a case of installing the hardware. Veritas provide very clear instructions, although it is a shame that there is no initial diagram specifying what each of the fence components is. Nonetheless, the instructions were easy to follow and I had the hardware installed pretty swiftly. The fence feels rock solid when locked down, but also offering a significant level of adjustability for different common angles as well as fine tuning the position to get the required angle bang-on. I calibrated the 90 degree setting with my Vesper 10″ square which functions as a master square in my shop.

DSC_2847

The finished shooting board and Lie-Nielsen No52, ready for action

Unfortunately, I ran out of time to test drive the shooting board, but my Lie-Nielsen No52 runs sweetly in the track, and the 24″ square plywood deck will facilitate working on boards upto 15″ wide, while providing plenty of support to the workpiece. I’m looking forward to testing out the new shooting board in earnest over the coming week.

A Spot of Pre-Flight Dovetail Practice

IMG_4348

A wide chisel helps to locate the tail board for transfer to the pin board

I thought I would get some dovetail practice in before I fly out for the Kentucky Dovetail Death March ™ later on this month, and this presented a perfect opportunity to start making drawers for the express lathe stand. The inclusion of drawers was a key part of the original design for the lathe stand, as not only will drawers provide a home for lathe tools and other small items (a workshop can never have too much storage!), but using the lathe stand as a storage unit also adds mass, which keeps things stable when turning larger workpieces. Originally I had intended to domino drawers out of ply – a construction method that is quick, efficient and perfect for a workshop storage unit. But as I wanted to do some dovetailing in preparation for my trip, it made sense to dovetail this round of drawers at the very least.

IMG_4359

Chamfering the leading edges of the tails for ease of assembly

So far I’ve made three drawers of varying depth and tail spacing – changing the dovetail spacing for each drawer offered some good practice after a few months of cutting only bench-sized joinery. One drawer will hold my lathe jaws, allen keys, and smaller tools which become indespensible when you use a lathe. The deepest drawer will hold my scorp, splitting wedges, and a few other chair making tools which need a separate home to my Anarchist’s Tool Chest. The final drawer is much shallower than the others, and will house story sticks and patterns accumulated from past projects.


IMG_4361

A sharp block plane is a wonderful thing for cleaning up joinery

I cut the dovetails the same way I’ve cut every dovetail joint (and the way we will be doing it next week). After a year of mainly working on bench-sized oak timber, the 3/4″ pine for the drawers worked ike a dream, and it was nice to work at a different scale and tolerance. Once the glue had dried, I cleaned up the dovetails with a sharp block plane to see how the joints had turned out and was quite pleased. Once I am back from Kentucky I will clean up the rest of the surfaces with a smoothing plane, fit ply bottoms to each drawer, and give them a lick of paint (probably the green I used for the saw cabinet). With some clutter out of the way, it will then be back to the Roubo bench build. The autumn promises some enjoyable woodwork!

IMG_4369

Three drawers. They need a final clean up, but the joinery is strong and these will provide plenty of storage in the lathe sand

On a separate note, I will be at the Lie-Nielsen event at the Lost Art Press storefront on Saturday – if anyone finds themselves there, then do say hi (I’ll be the jetlaged Englishman).

Apron Maintenance

201702A7-649E-4230-957D-B6DCF67B2D35

Before – nearly three years of accumulated grime

My Texas Heritage ‘shop apron has seen a lot of heavy use in the nearly-three years I’ve been wearing it. And with my class at the Lost Art Press store front now imminent (I fly out in just over a week’s time) I thought it was about time I gave my apron a bit of a clean. I discussed the best approach with Jason, who was able to give some helpful pointers.

3B6CE072-5C38-4F86-8230-89088D1DEFB1

After brushing and using an air gun to remove dirt

The first stage of clean up was to gently brush the apron down to remove the bulk of the grime. I then used an air gun, fed with 20psi from a compressor, to remove any stubborn dirt particles that had become embedded in the fibres of the apron, as well as removing the inevitable detritus from within the pockets.

IMG_4303

Hosed down

With most of the dirt removed, I hosed the apron down with cold water, being sure to empty the pockets out afterwards to avoid stretching as the apron dried (the waxed canvas pockets are very effective as water collecting vessels!). The canvas cleaned up quickly and very well, with just some stubborn patches of PU glue remaining (that stuff will likely survive the apocalypse), and while it is looking cleaner it still shows signs of being worn and used. Which is exactly how it should be. I fully expect that this apron will outlast me, which is a testament to the quality of Jason’s work.

76BFEBD5-AD92-461C-B5ED-269C1127584B

Cleaned up


The Final Piece of the Puzzle

IMG_3342

Holdfasts have been central to the way I have worked over the past four years, and they are a critical workholding strategy for the Roubo bench. A hefty bench, such as my oak Roubo build, deserves a big hefty holdfast. The distintive holdfasts detailed in With All the Precision Possible are much larger than many modern designs, and I wanted something which would fit the overbuilt vibe of the bench. Specifically, I wanted a Crucible Tool holdfast, or one of Peter Ross’ amazing full scale “Roubo” holdfasts.

Unfortunately Crucible do not ship internationally, but a tip-off over Instagram led me to Hyvlar – a Swedish tool seller who stock Crucible tools and are happy to ship across Europe. My Crucible holdfast arrived today, and while I do not yet have any 1″ diameter holes to test it in, it appears to be an impressive tool. The design is very similar to the engravings in Roubo’s manuscript, and the large size and rough cast texture will complement the oak bench nicely. Of course, none of that matters unless the holdfast can steady workpieces, but everything I have heard from folk who use these holdfasts is that they hold like the dickens. I’m looking forward to putting this holdfast through its paces, and will report back once the Roubo bench is in use.

I’ll be keeping my current 3/4″ holdfast, and may well bore a 3/4″ diameter hole in each of my saw benches to assist with holding stock in place.

A quick lathe stand (and a cautionary tale)

IMG_0905

The lathe fits nicely on the Jet stand, but there’s no way to attach the stand extension if you hjave the extended lathe bed!

Last October I ordered a new Jet 1221vs lathe and bed extension. The Shopsmith had been a great first lathe, but I was after something more compact, and also at a much more comfortable height. After much indecision I decided to order the stand and stand extension Jet make specifically for the lathe – while it was extra financial outlay, I’m time pressured in the ‘shop at the moment, and building jigs or shop fixtures is something I generally don’t enjoy that much. So I decided to take the quick option and get a stand which I assumed would be good to go after following the assembly instructions.

IMG_2380

That turned out to be a bigger assumption that I realised, because Jet have at somepoint in the past couple of years changed the design of their lathe stands, and neglected to inform Axminster (with whom I placed the order), or in fact any of their other UK stockists. After a frustrating evening of picking through the various parts, and reviewing conflicting sets of instructions, it turns out that Axminster stock the “new” style Jet stand, but the “old” design of the stand extension (and the stand extension is an essential purchase if you have the bed extenstion for the lathe). Rather unhelpfully, these two design iterations will not fit together without drilling and tapping new holes, which is not what I want after spending a decent amount of cash on a readymade solution. To be fair, Axminster were fantastic and kindly arranged for a courier to collect the stand and provided a full refund within days of my initial query. But that left me with a lathe and nowhere to put it. I called round every other UK Jet stockist, and they all reported the same stock issue, so this may be a consideration if you’re thinking of ordering a Jet lathe.

IMG_2429

Dry fitting the internal dividers before assembling the stand

After several months of resting the lathe on my saw benches, I’ve got to the point where I need to reclaim some floor space for working on the larger elements of the Roubo bench. I played around with several ideas for suitable lathe stands, and while Rich was visiting for the Midlands Woodworking Show, we got talking about solutions. The key criteria for the lathe stand were that it had to offer mass and rigidity (no one wants a lathe dancing across the floor), to provide storage for my Dewalt thicknesser and other workshop kit (you can never have too much storage), and be quick to make.

IMG_2415

This build is held together with a bucketload of PU glue and 10mm dominos

We quickly came up with a 34″ high, 60″ long and15″ deep cabinet which could be made by laminating two layers of 3/4″ ply to achieve suitable rigidity, and the following weekend I found myself ordering more sheet material than I’ve ever bought in one sitting. There is nothing elegant about this build, but it has been a quick and effective way of solving an immediate storage problem. The ply was laminated using a bucketload of PU glue (horrible stuff, but perfect for this application), and the casework was then assembled using 10mm wide dominos. While I prefer handtools, the Festool Domino is a wonderful machine – intuitive to set up, dirt simple to use, and super effective.

IMG_2483

Cutting the domino slots for the dividers

To reinforce the casework and prevent the top sagging, I fixed horizontal backboards of 3/4″ ply to the rear edge of the top and bottom, again using dominos. A base of 1×2″ pine was rescued from my scrap pile, and fitted using more PU and a pneumatic nail gun (another great problem solver for workshop fixtures and DIY).

IMG_2513

Fitting the base – more PU and a nail gun

The build only took a few evenings, and the most painful stage was actually decanting half of the workshop so that I could move the rubber flooring out of the way of the cabinet. The lathe fits comfortably on the stand, and so far there is no sign of any sag or movement under the weight of the machine. Storing the Dewalt in the cabinet adds further mass, and the two narrower compartments will be fitted with shelves and drawers on an as-needed basis. The only remaining work will be to clean up and paint the cabinet, and to drill mounting holes so that the lathe can be bolted to the top. I’ve not yet decided whether to fit a pine face frame – it would smarten the unit up plenty, but also add a reasonable further time investment to what is at the end of the day a workshop fixture. If you have strong opinions on face frames, then cast your votes in the comments!

IMG_2525

A Gift for the Apprentice

_DPP8072

The Apprentice’s very first tool

As I’ve written about before, I don’t always find it easy to navigate the tension between the (deeply rooted) need to stand at my bench and make things, and with the desire to be the best father I can be. Family time is the most important thing in the world, and even though I make sure that I prioritise being with the Apprentice and Dr Moss, there are definite moments when I feel guilty for being at my workbench. I’m also realistic enough to know that not pursuing woodwork (which feels more of a vocation than a pass time) is not a viable choice, and so I carve out pockets of time to be in the ‘shop and am grateful for a supportive and encouraging spouse.

While I was at the Midlands Woodworking Show I also decided to use woodwork trips as an opportunity to do something tangible for the Apprentice. She has been showing an increasing interest in the workshop, and really enjoyed helping me on the boot bench last autumn, and so I’ve resolved that everytime woodwork takes me away from home I will pick up a tool for the Apprentice to use in the ‘shop with me. The criteria are that the tools need to be high quality, and ones which will last for a lifetime, or at least as long as she’s interested in using them. I’d been giving thought to the most appropriate starter tools, and Mortise & Tenon Issue 5 had a very helpful article on exactly this subject. So, for her first tool I picked up this delightful spokeshave by Lee Valley – it is perfectly sized for a soon-to-be-four year old, very safe, and I knew that she’d like the look of the decorative casting. After honing the iron, and sanding some flashing from the inside edges of the handles, it was ready to go.

IMG_2300

Making shavings with the Apprentice

Last weekend the Apprentice ventured into the ‘shop to use her spokeshave for the first time, and we spent some very happy minutes rounding the edges of a piece of scrap pine. I’ll never pressure her to come into the workshop, or to do woodwork, but the door will always be open to her, as will a small collection of her own tools. This moment probably meant 10,000% more to me than it did to her, but I confess that I was a very proud dad. So I’ll take that as a win.

The Only Bench Plane You Need?

The following is based on an article originally published in Furniture & Cabinetmaking Issue 280.

2

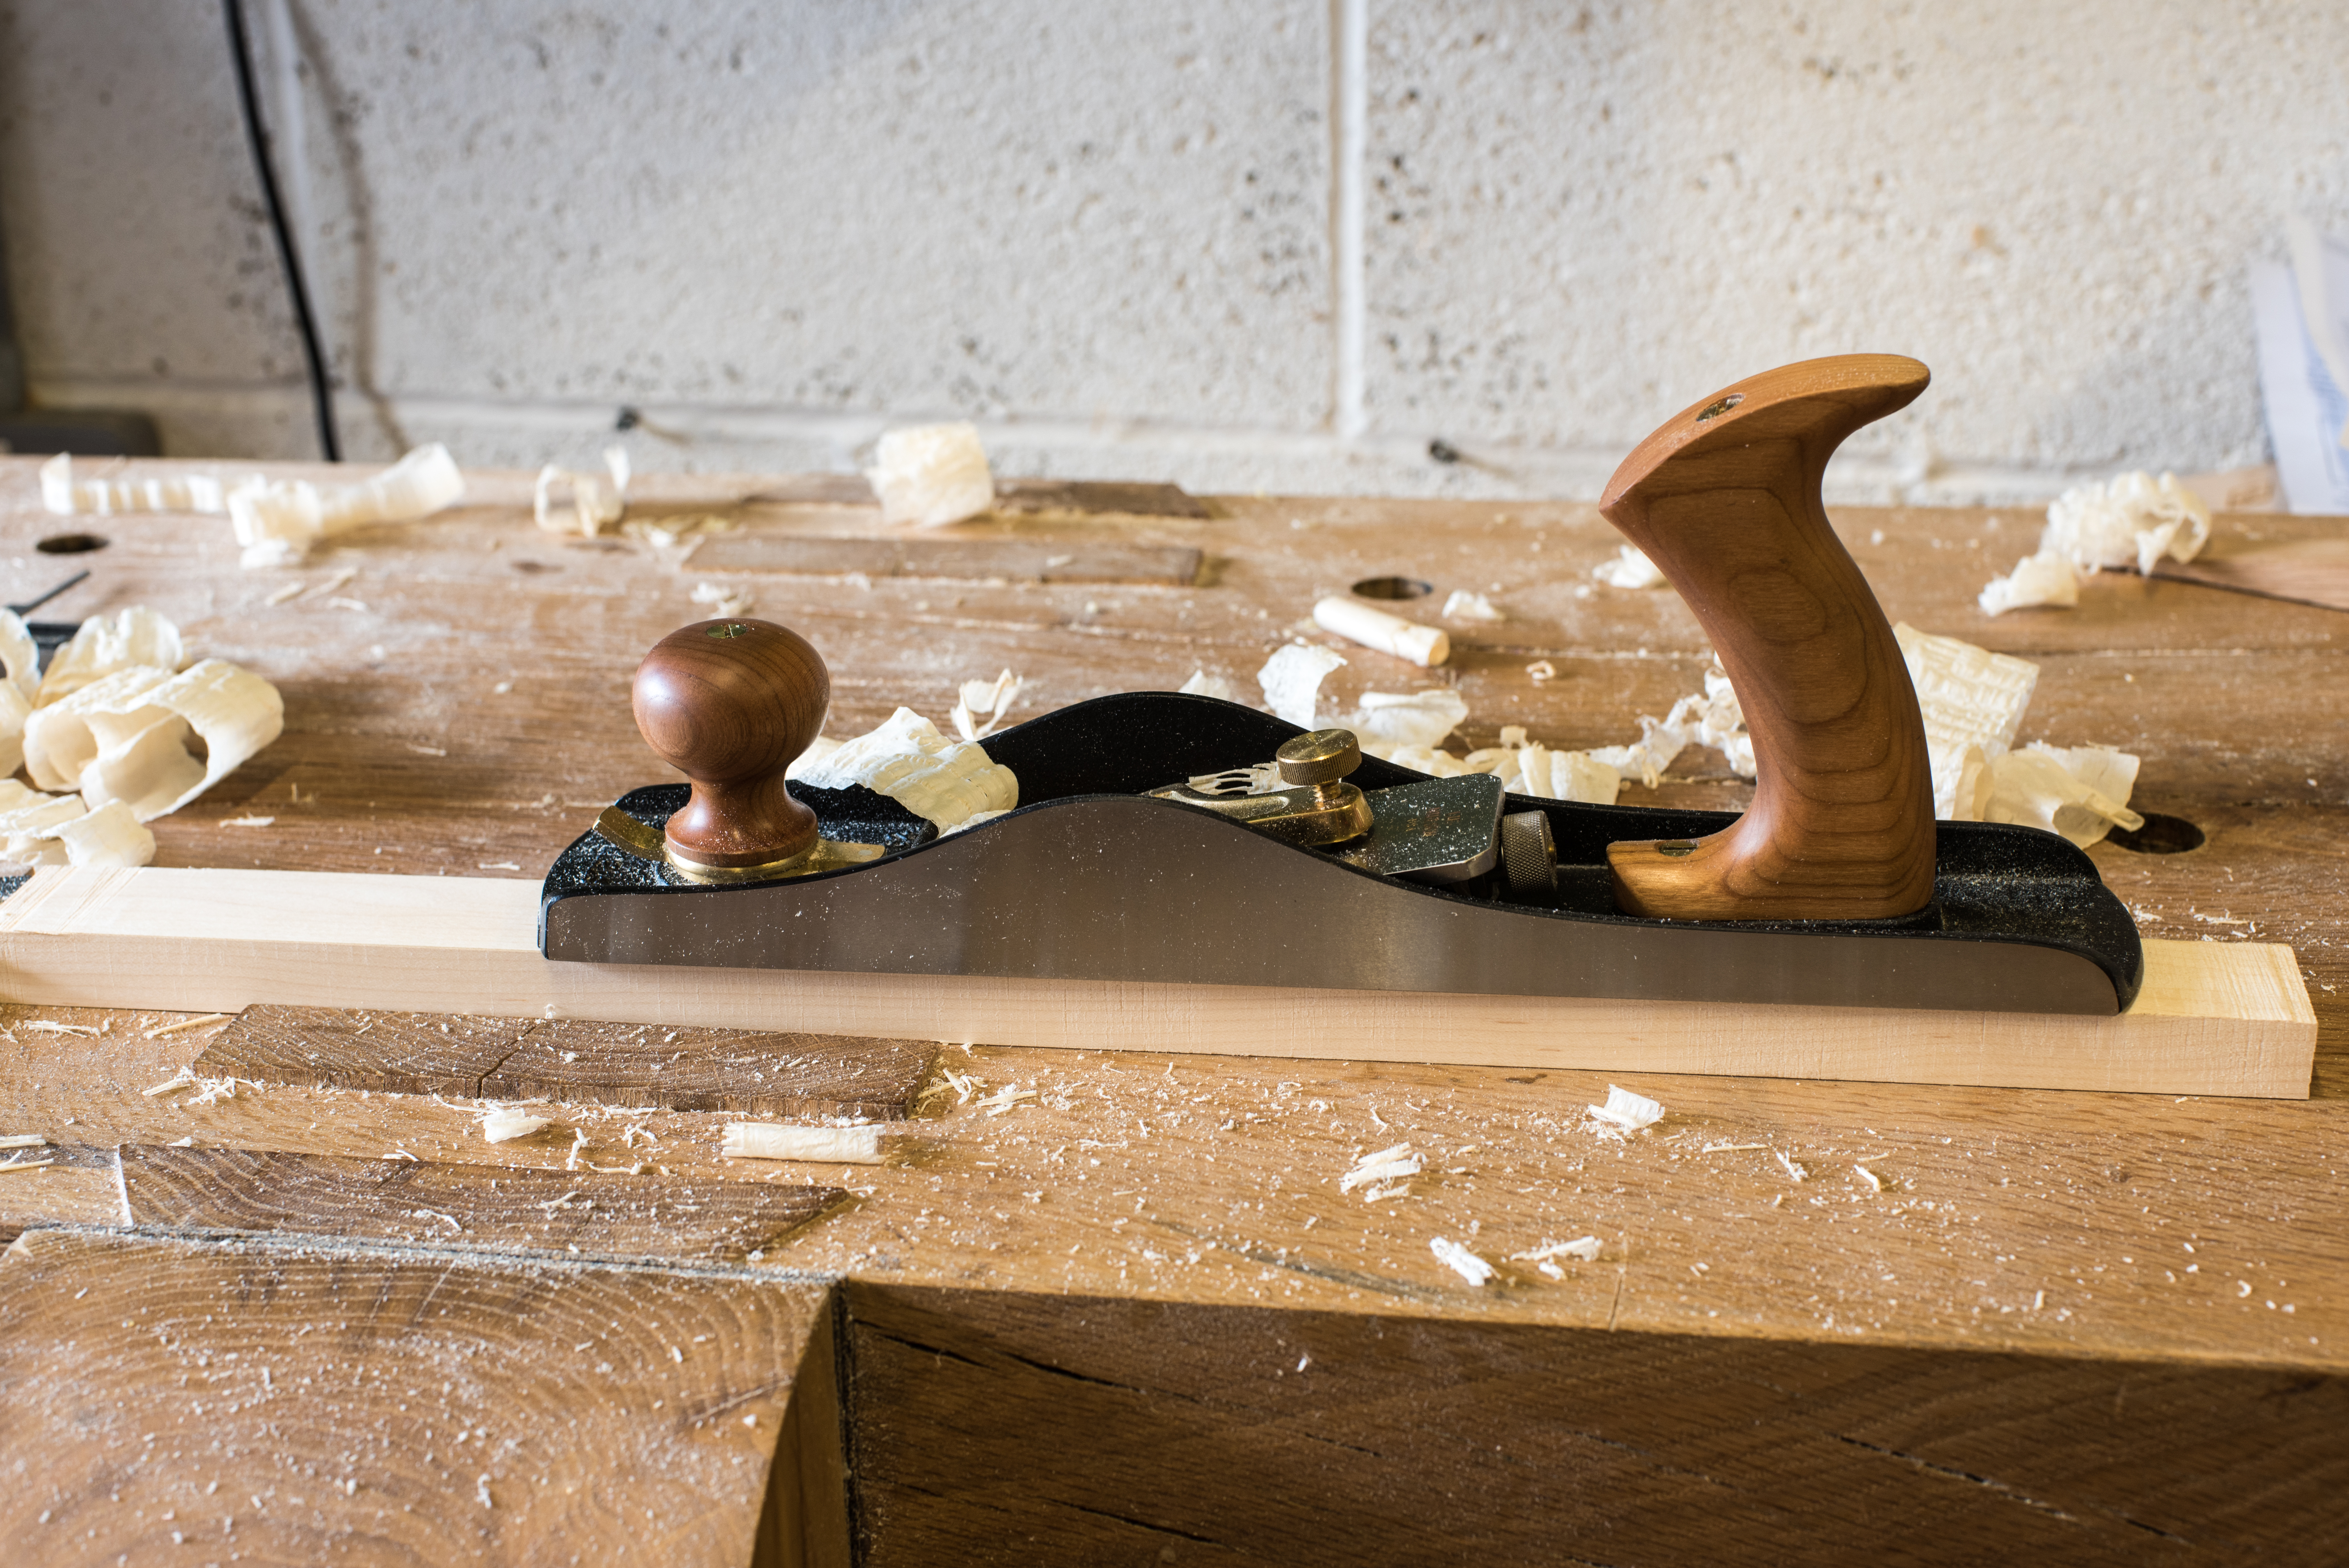
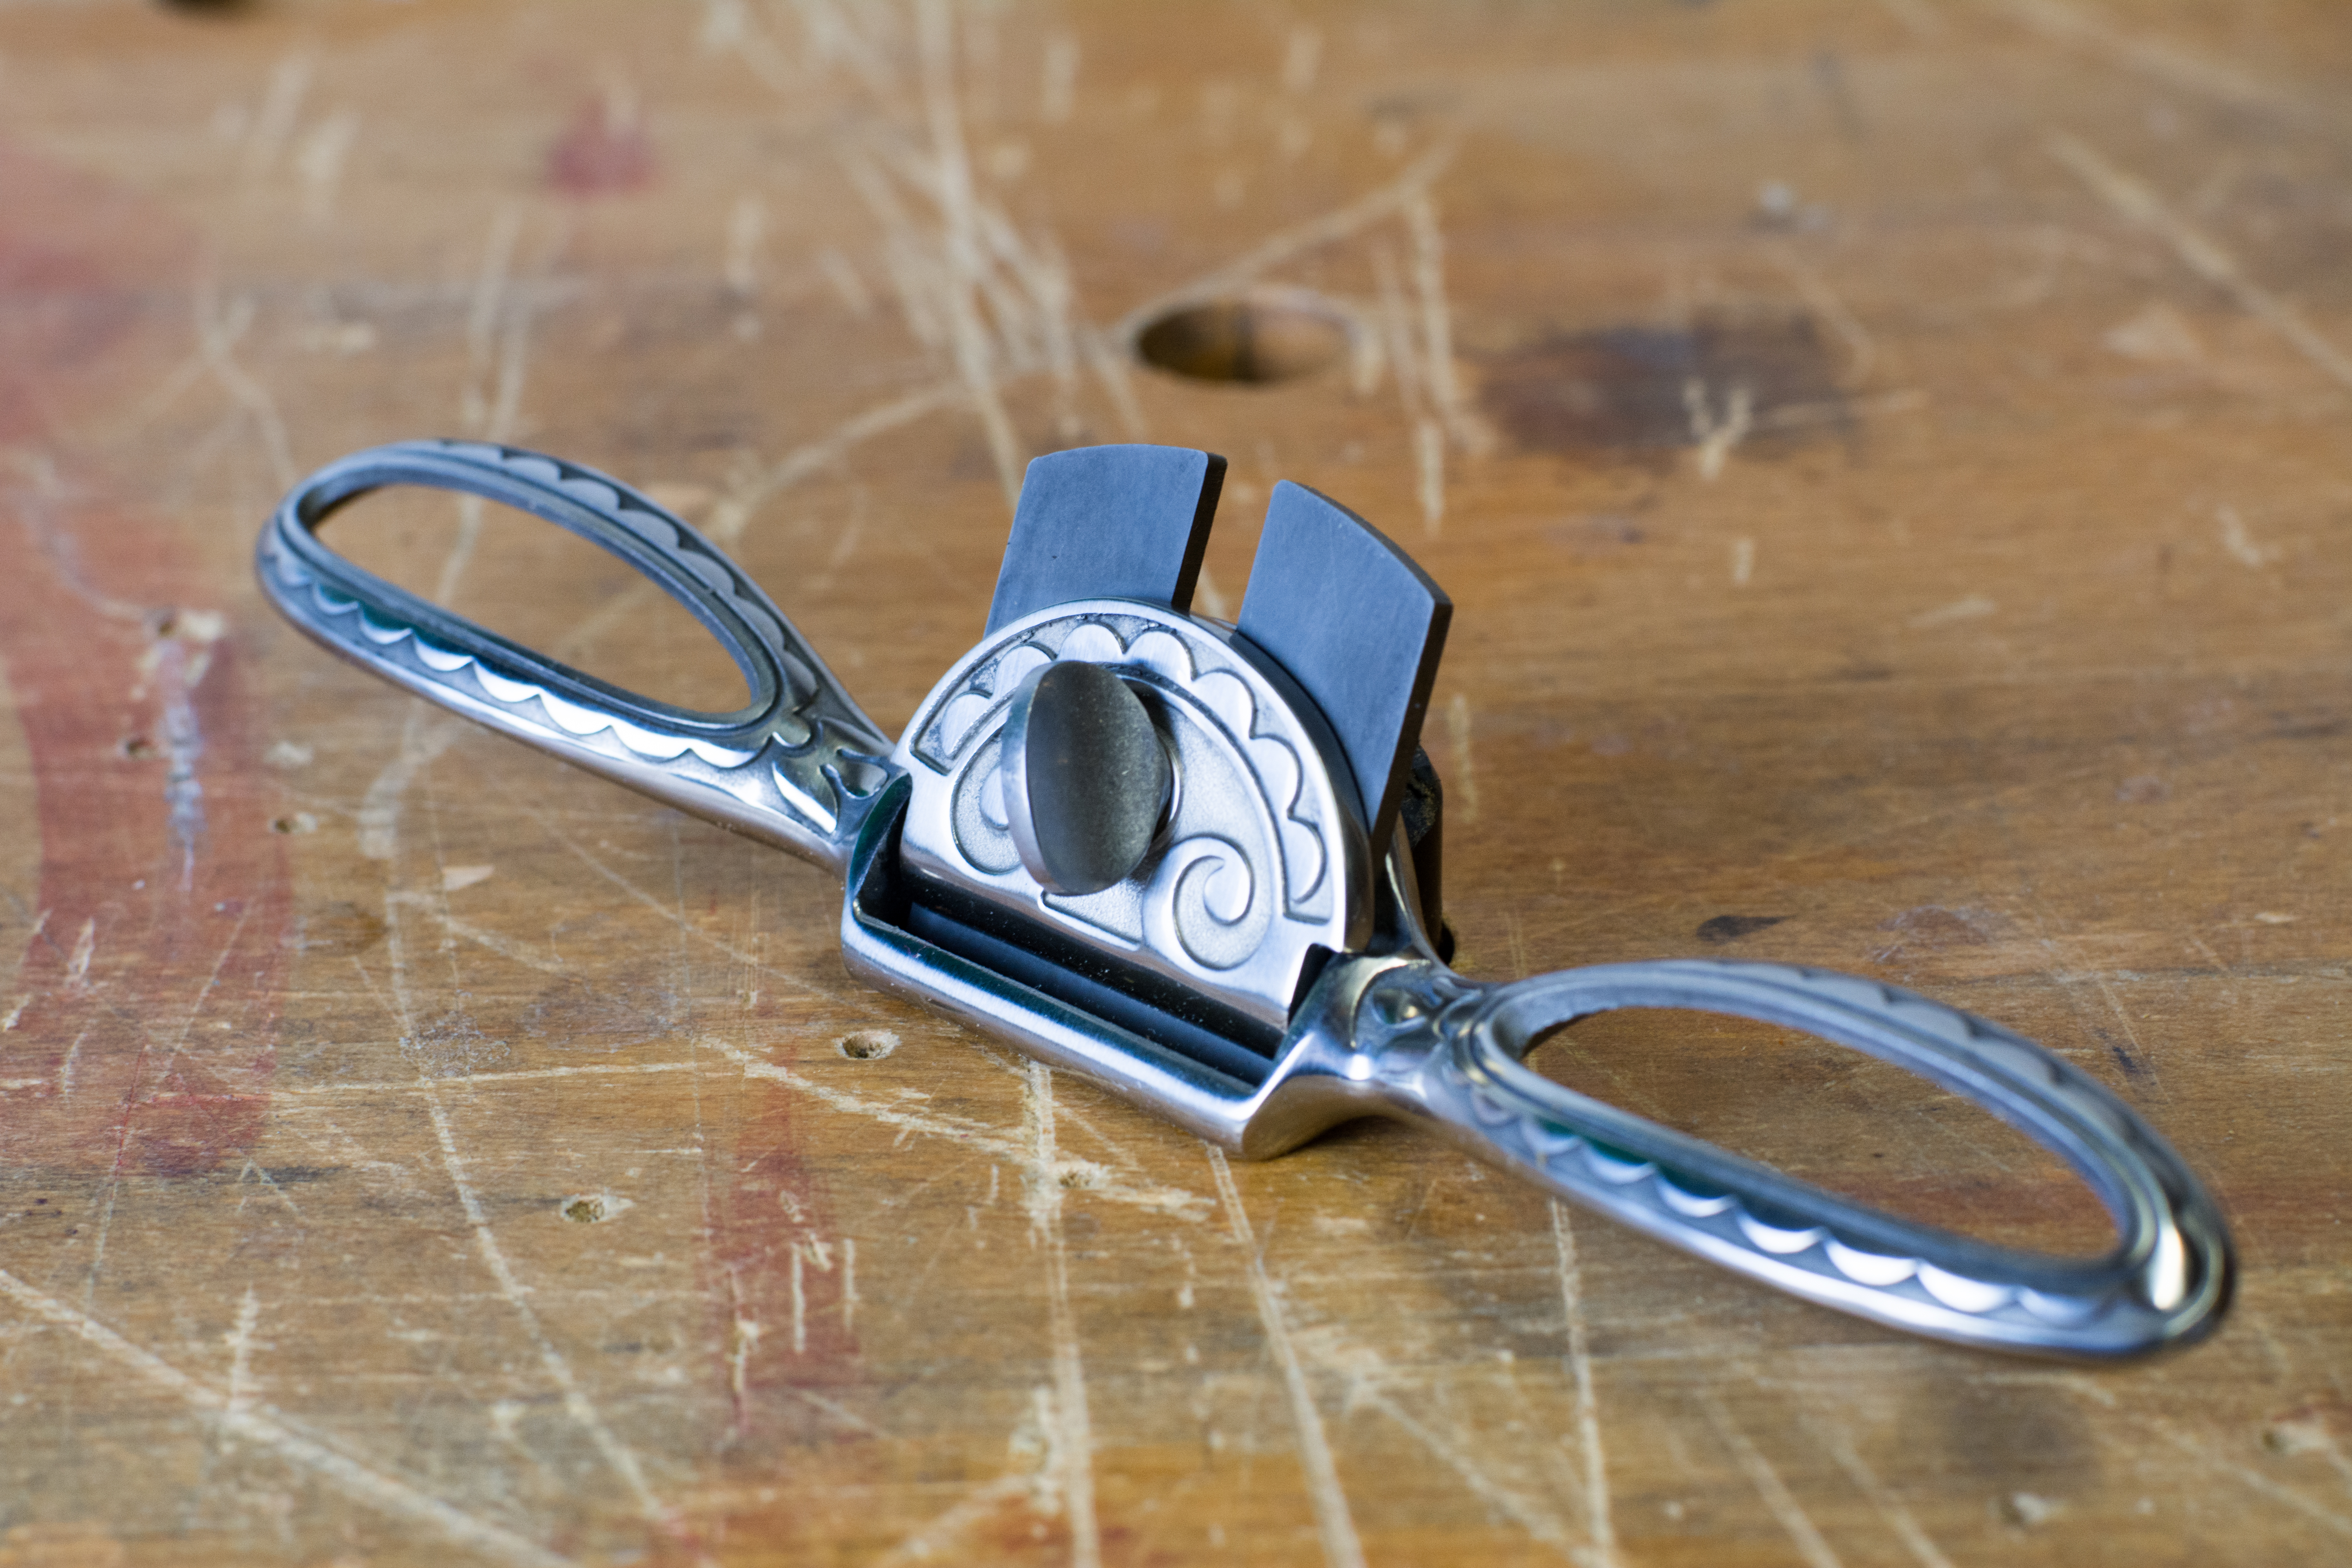
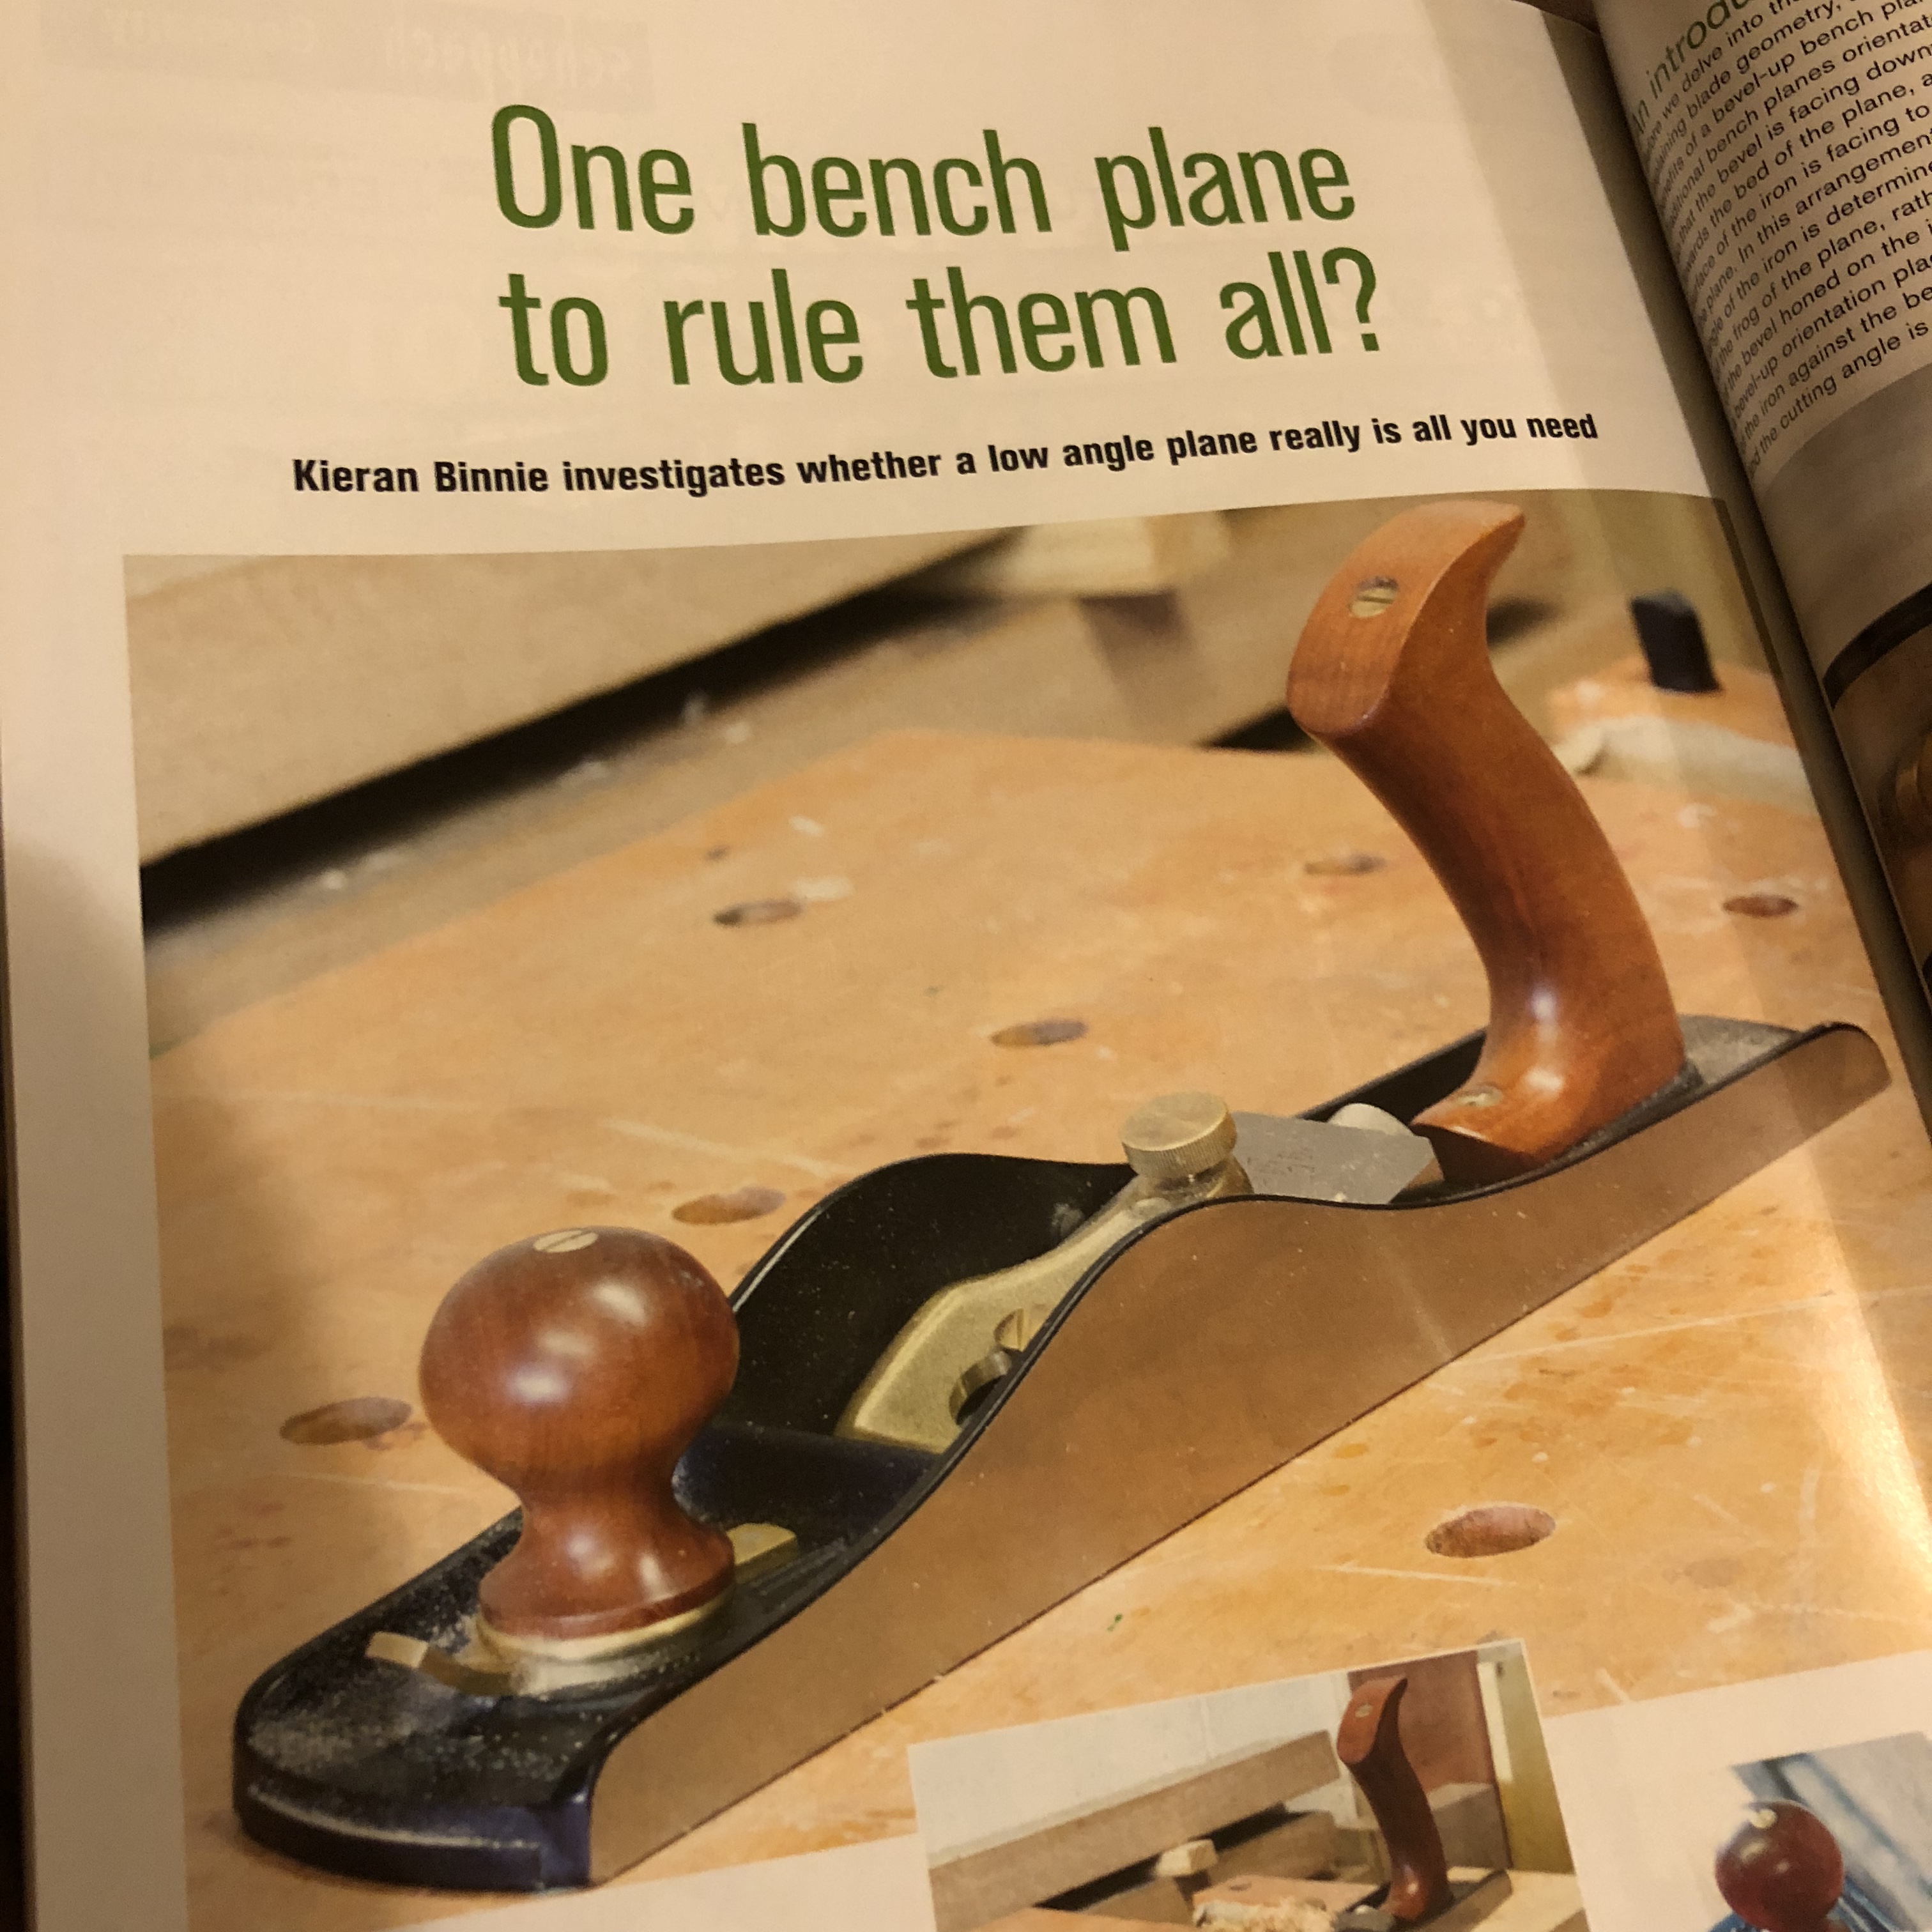
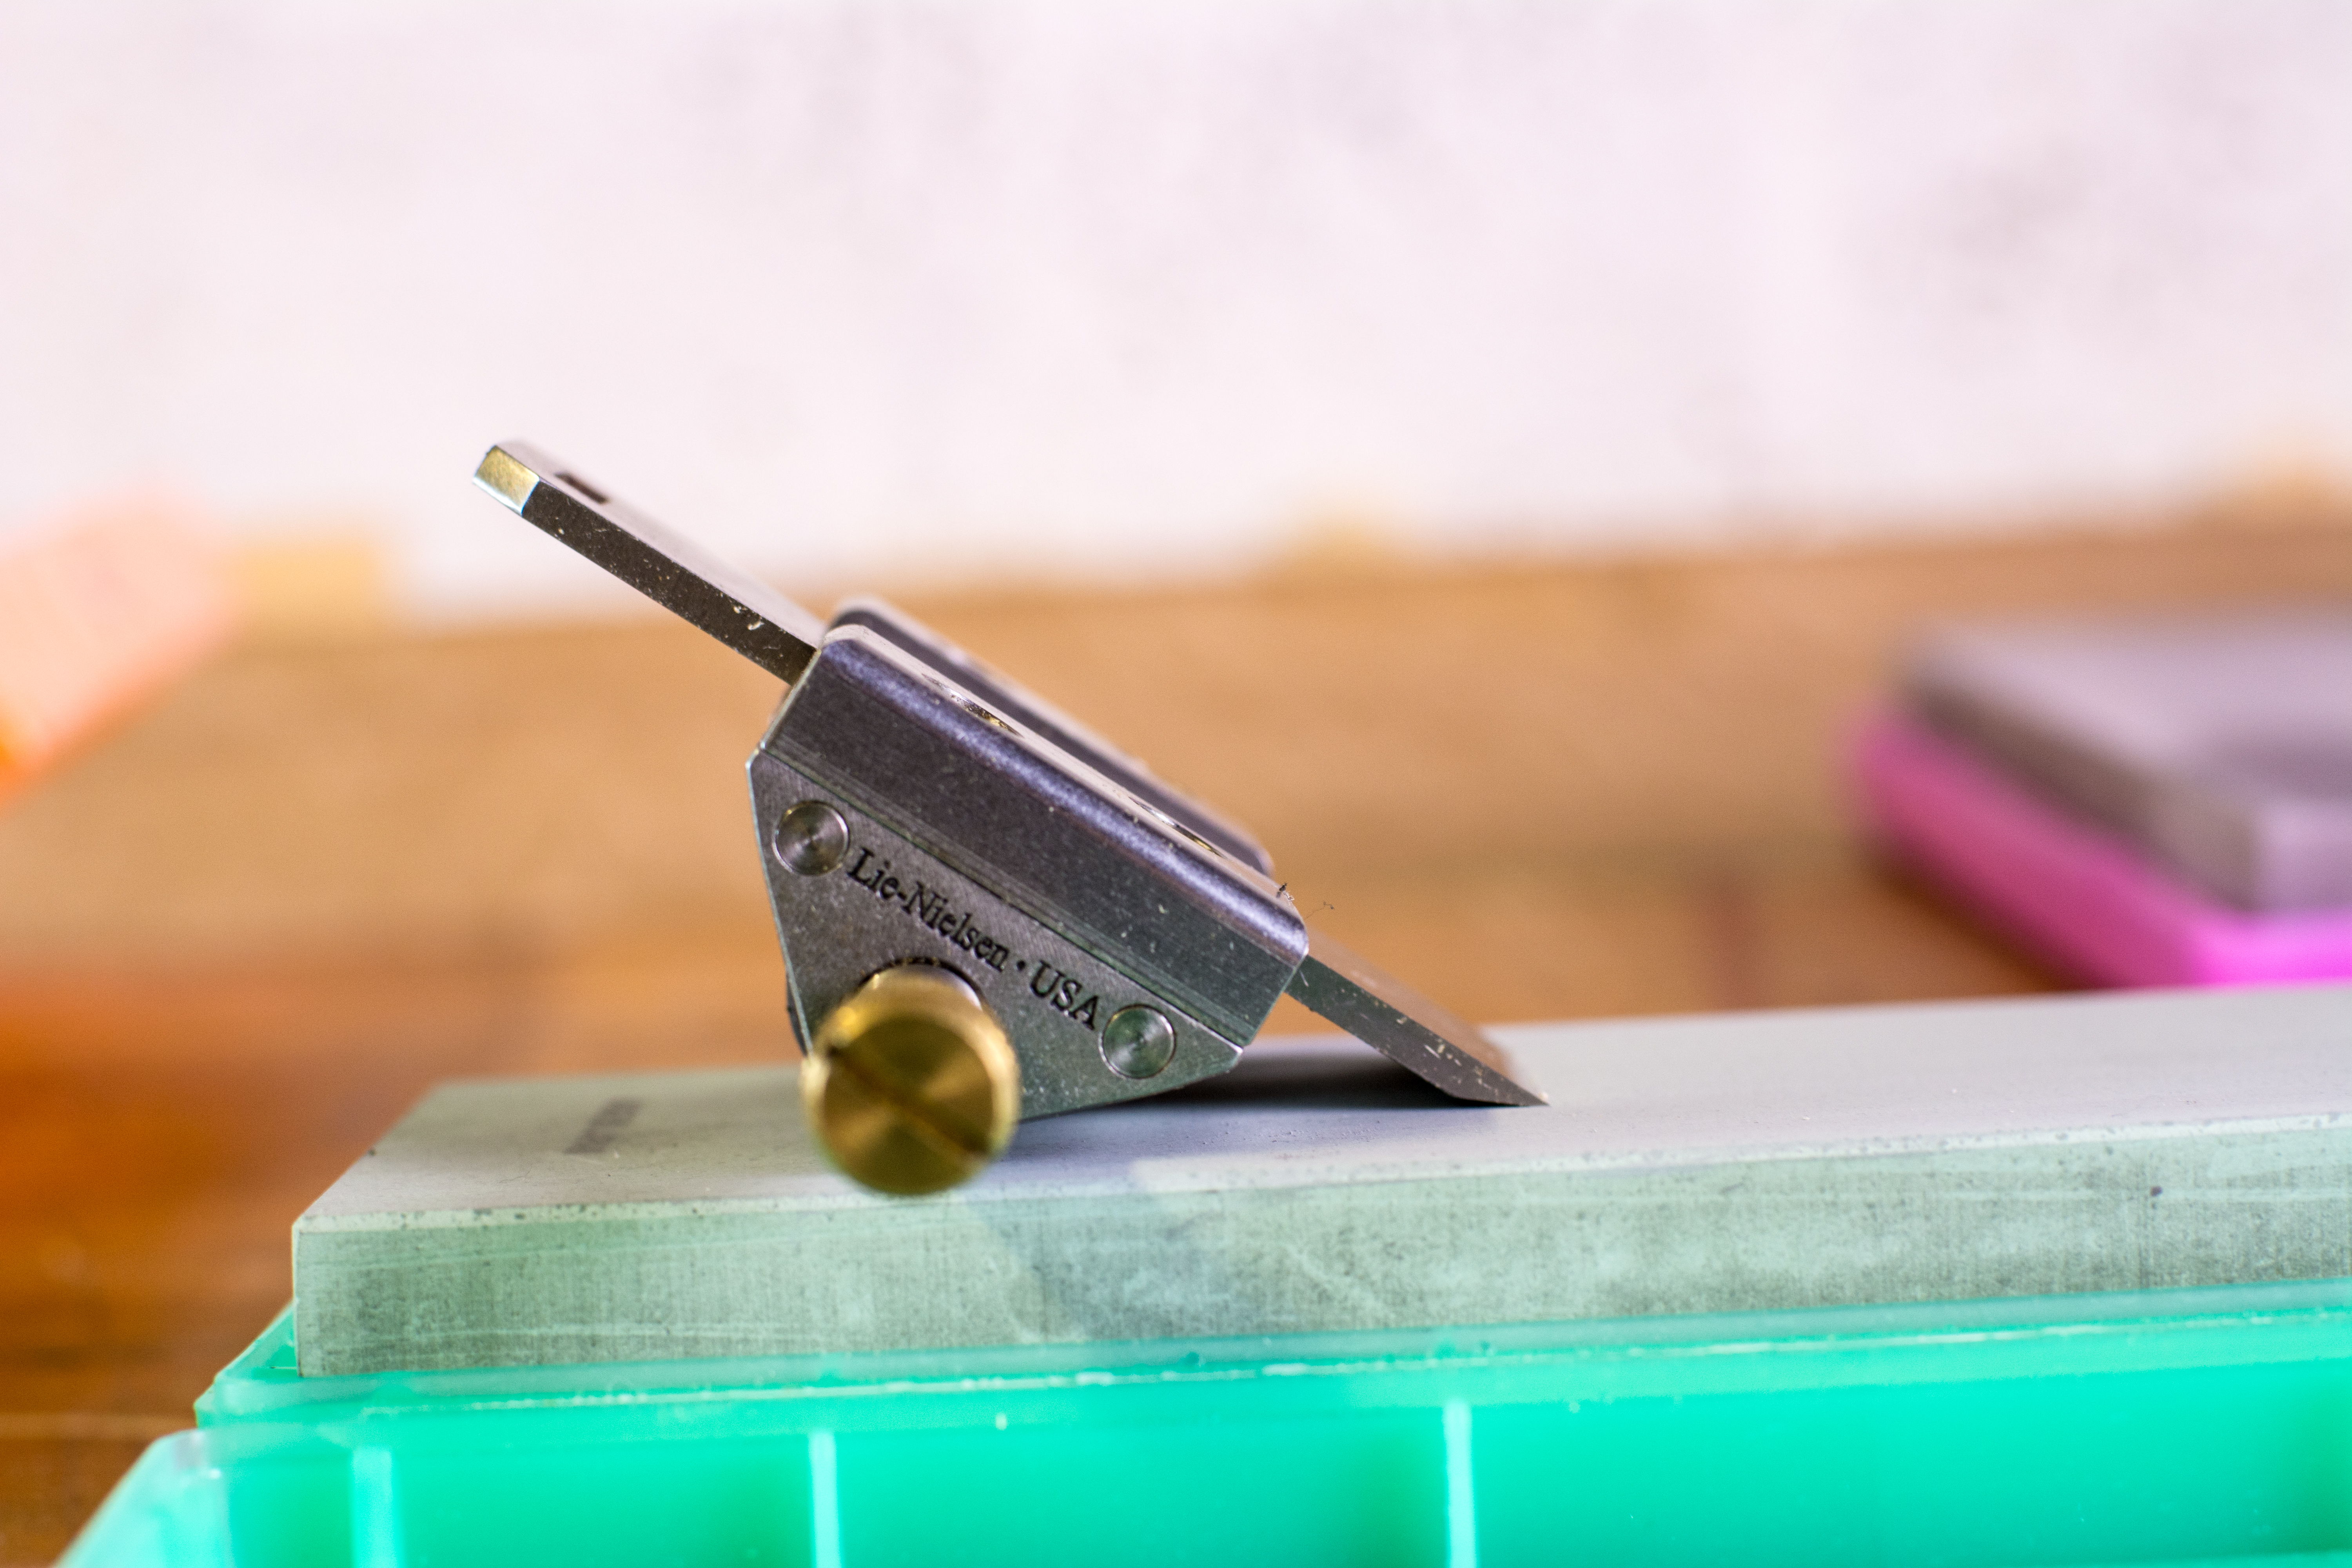
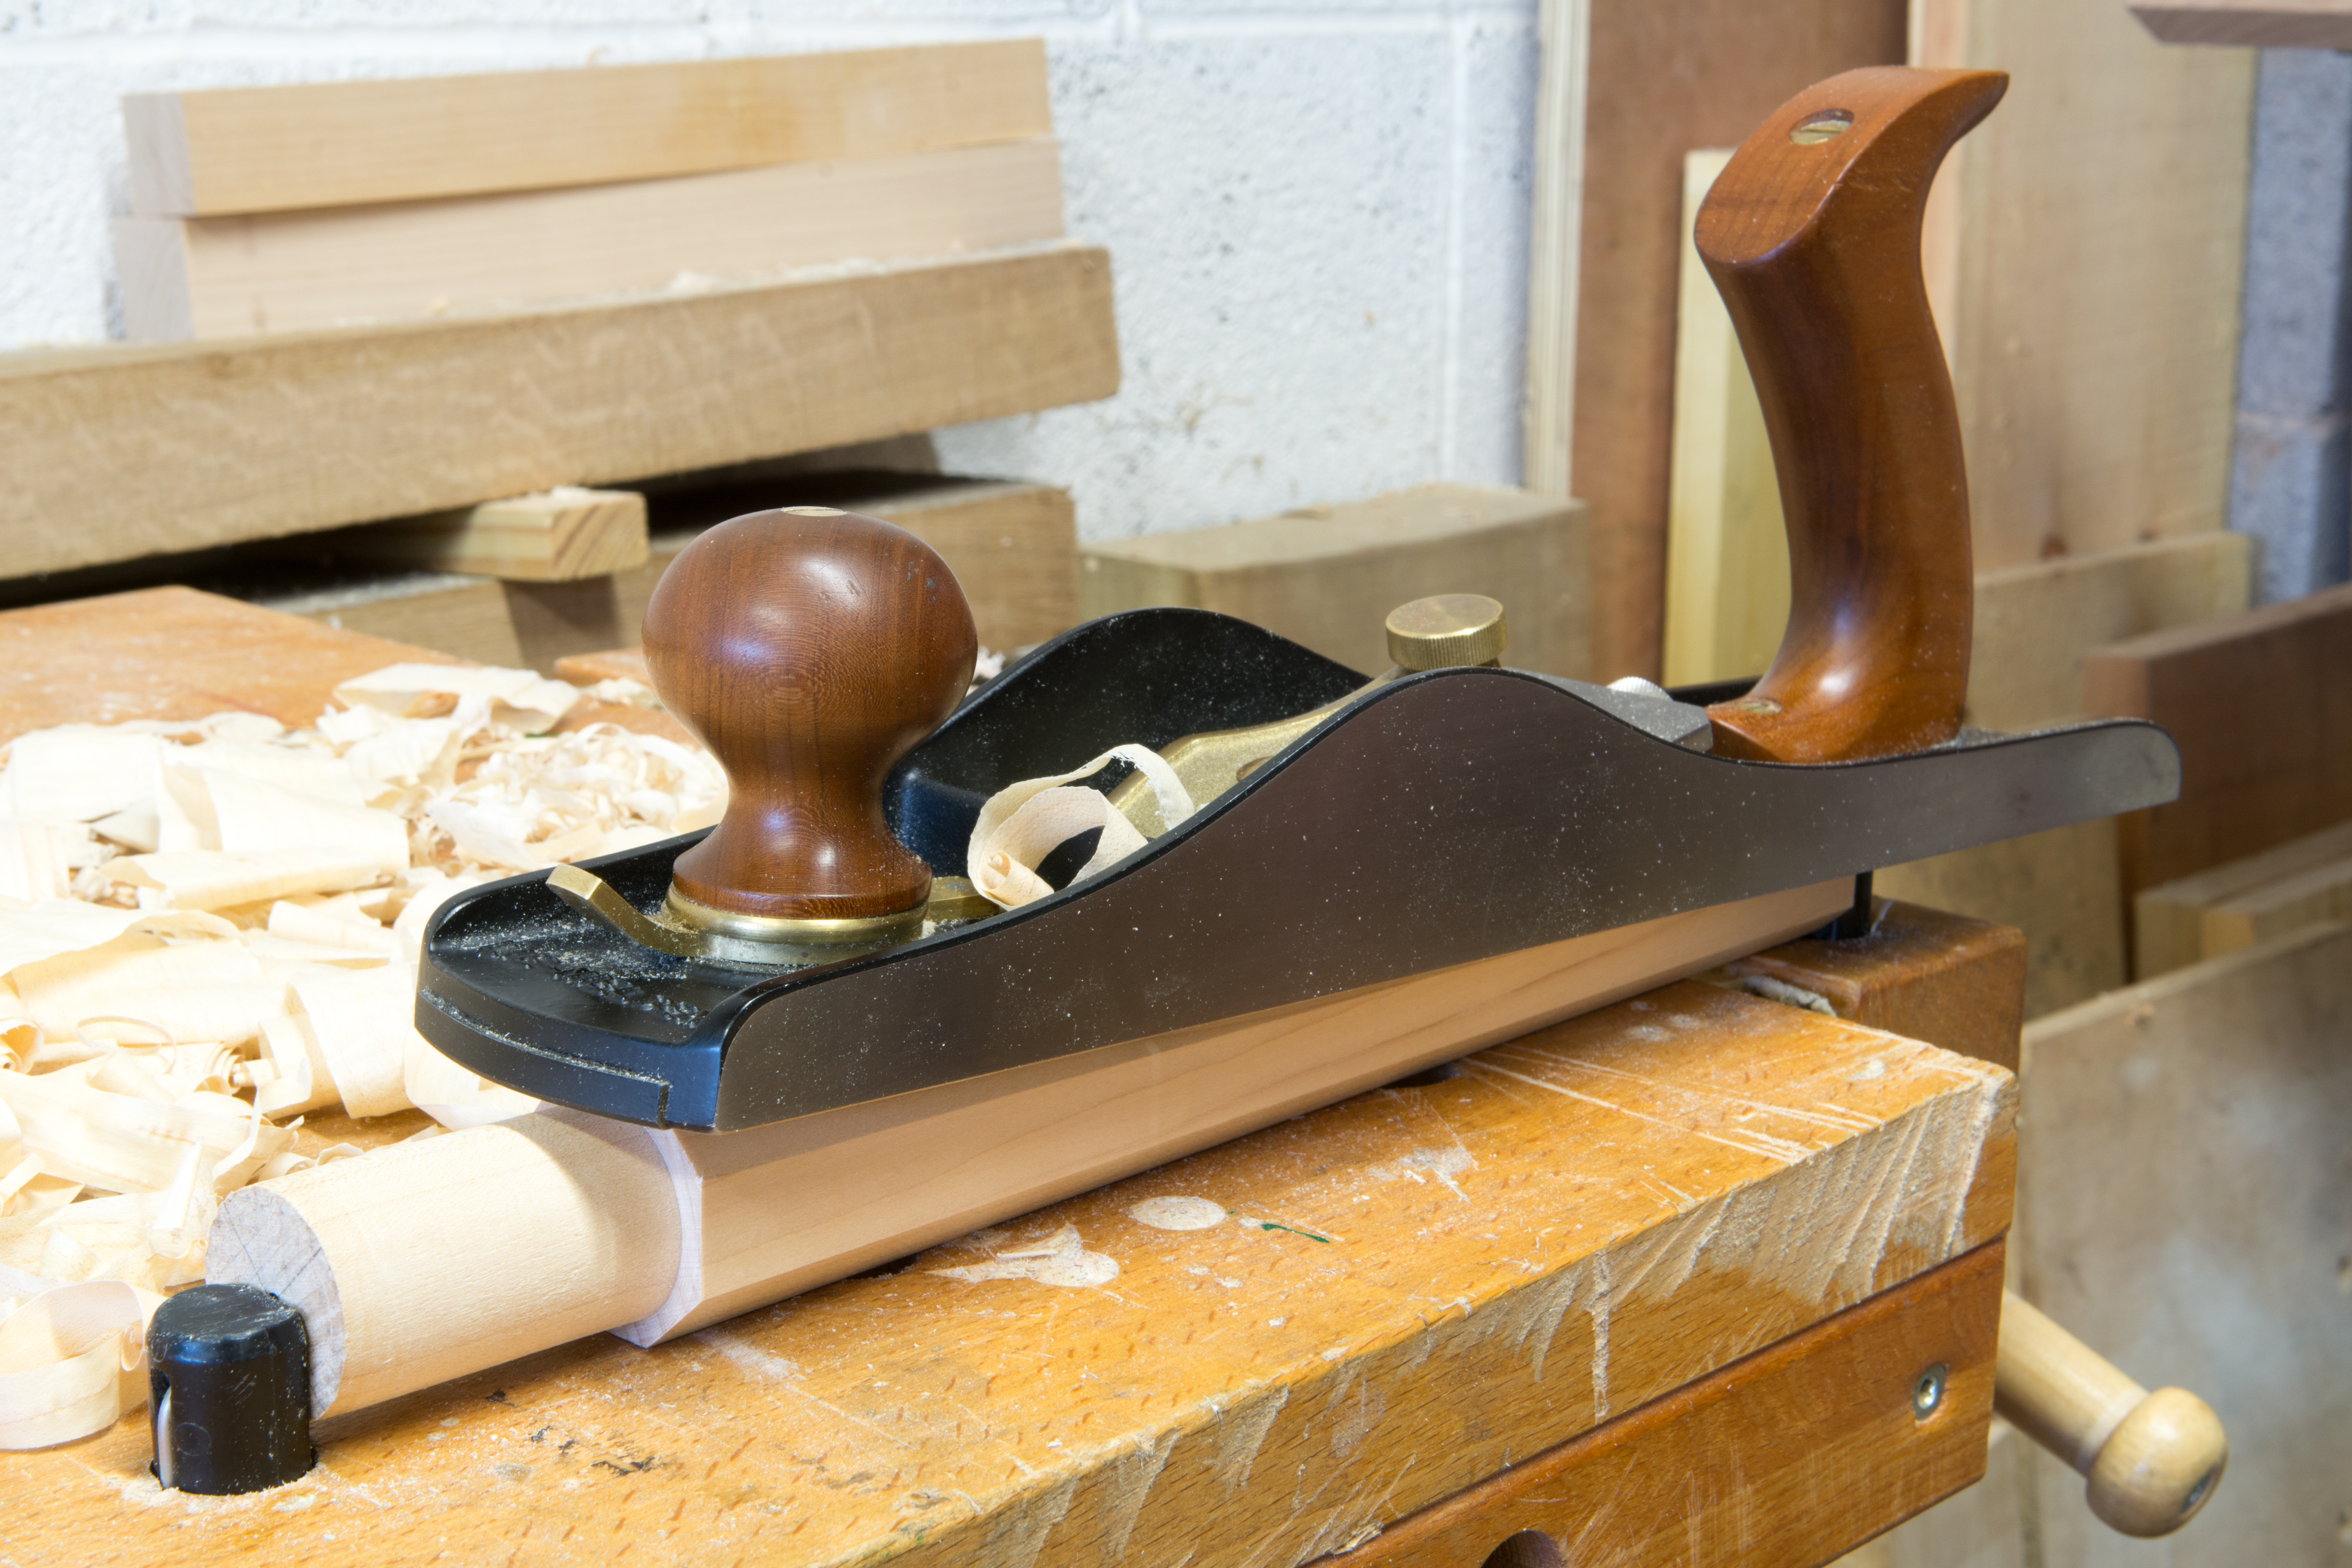
The Lie-Nielsen No62

When it was first unveiled in 1905, Stanley’s No62 bench plane must have caused quite a commotion. Looking like nothing else in production, the No62 married the bevel-up blade orientation of a block or mitre plane to a bench plane sized body, measuring 14” long by 2” wide. While Stanley ceased manufacturing the No.62 in 1942, bevel-up bench planes have enjoyed something of a modern revival, thanks in large part to Karl Holtey’s revolutionary No98 smoothing plane, which prompted a reconsideration of bevel-up designs as being highly practical instead of an evolutionary dead end. So popular has the bevel-up concept become that premium plane manufacturers Veritas and Lie-Nielsen now manufacture a whole range of bevel-up smoothing, jack, and jointer planes. Returning to the plane that started it all, there are woodworkers who claim that the No62 is so versatile that it can replace the full set of traditional bevel-down planes. Never one to shy away from a challenge, I decided to test this claim by putting away my usual set of planes and spend several months using just a No62.

An Introduction to Blade Geometry

Before we delve into the test, it is worth explaining blade geometry, and the claimed benefits of a bevel-up bench plane. Traditional bench planes orientate the iron so that the bevel is facing downwards towards the bed of the plane, and the back surface of the iron is facing to the front of the plane. In this arrangement the cutting angle of the iron is determined by the angle of the frog of the plane, rather than the angle of the bevel honed on the iron. In contrast, a bevel-up orientation places the back of the iron against the bed of the plane, and the cutting angle is derived from adding the bed angle to the angle of the bevel.

3

Jointing oak

Blade orientation itself does not affect the performance of the plane – the wood does not care whether your plane is bevel-up or down, all it sees is the cutting angle. But different cutting angles will have different effects on the planed surface, and this is where the benefits of a bevel-up plane become apparent. A low cutting angle of 37 degrees is effective for cutting end grain, while a high cutting angle of 62 degrees will help to smooth difficult interlocked or figured grain. Because the cutting angle of bevel-down planes is determined by the frog angle, changing the cutting angle requires fitting a new frog, or honing a back-bevel to the plane’s iron. In contrast, the cutting angle of a bevel-up plane can be adjusted by honing a different bevel angle to the iron, or keeping a set of irons with different bevels for different tasks. Woodworkers enamoured with bevel-up planes suggest that having a single plane and collection of irons to achieve different cutting angles saves both space and cost when compared to a set of traditional bench planes, and by swapping out the irons, can achieve the same level of utility as a set of three bevel-down planes.

The Challenge

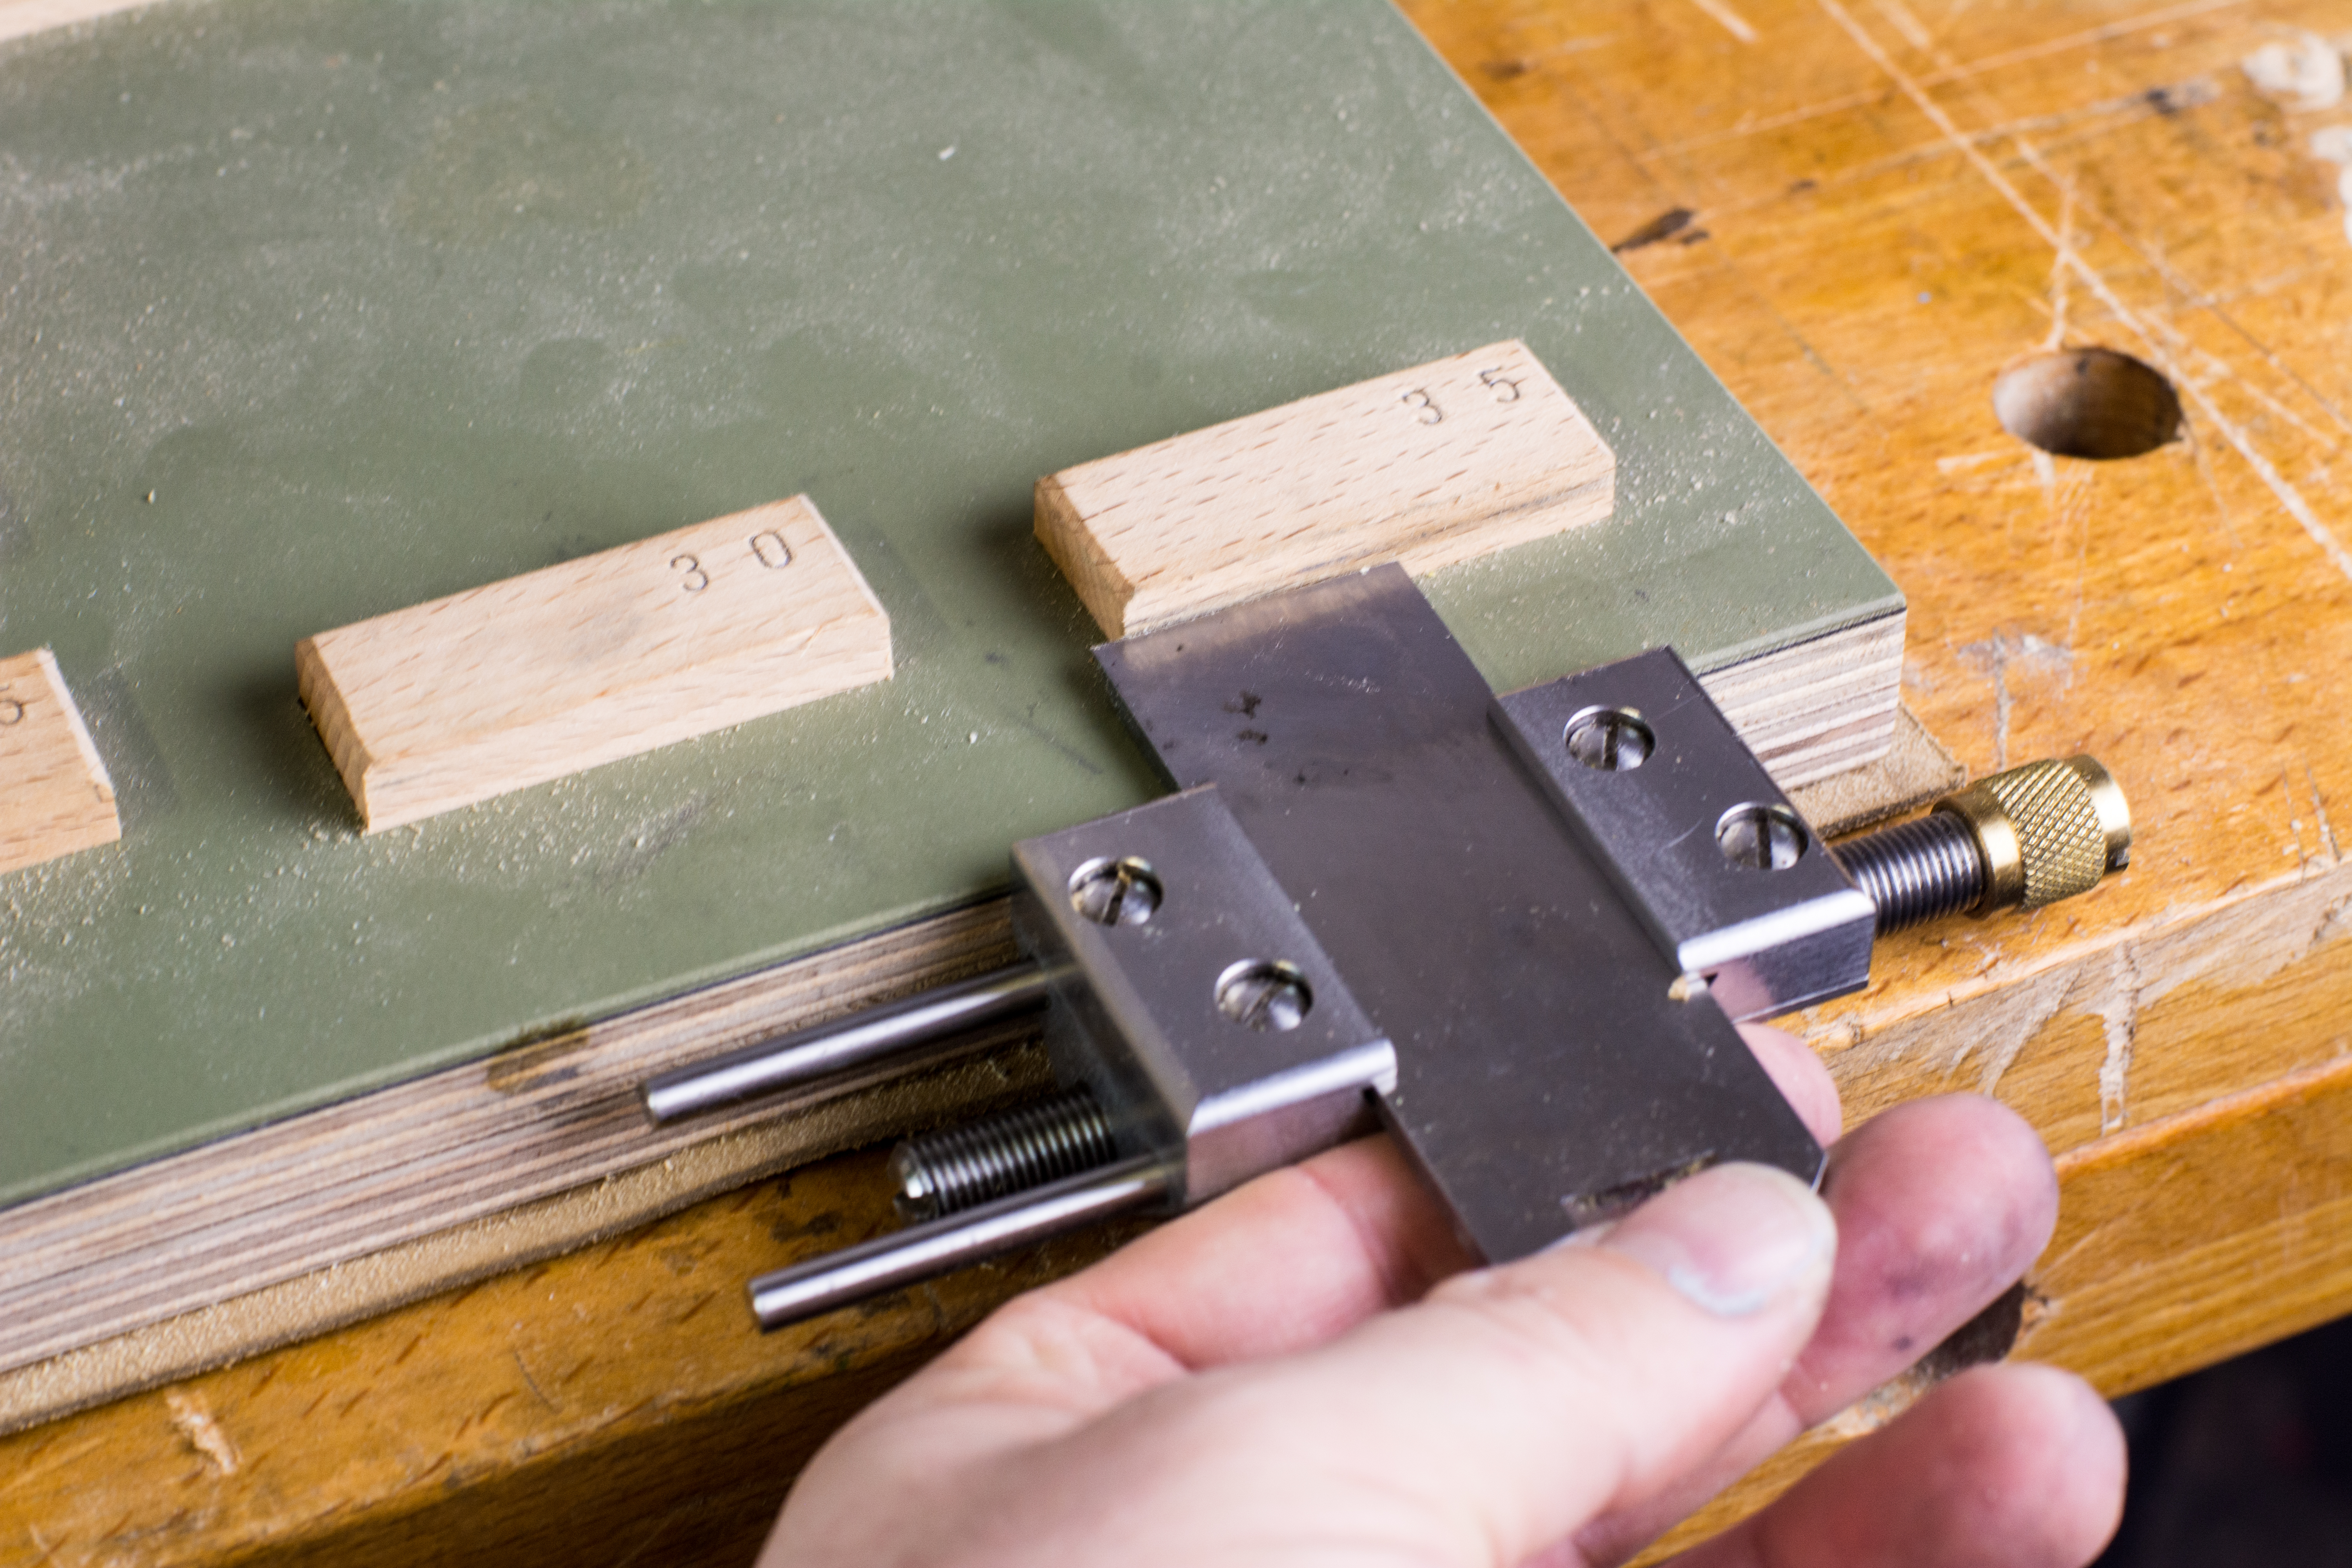
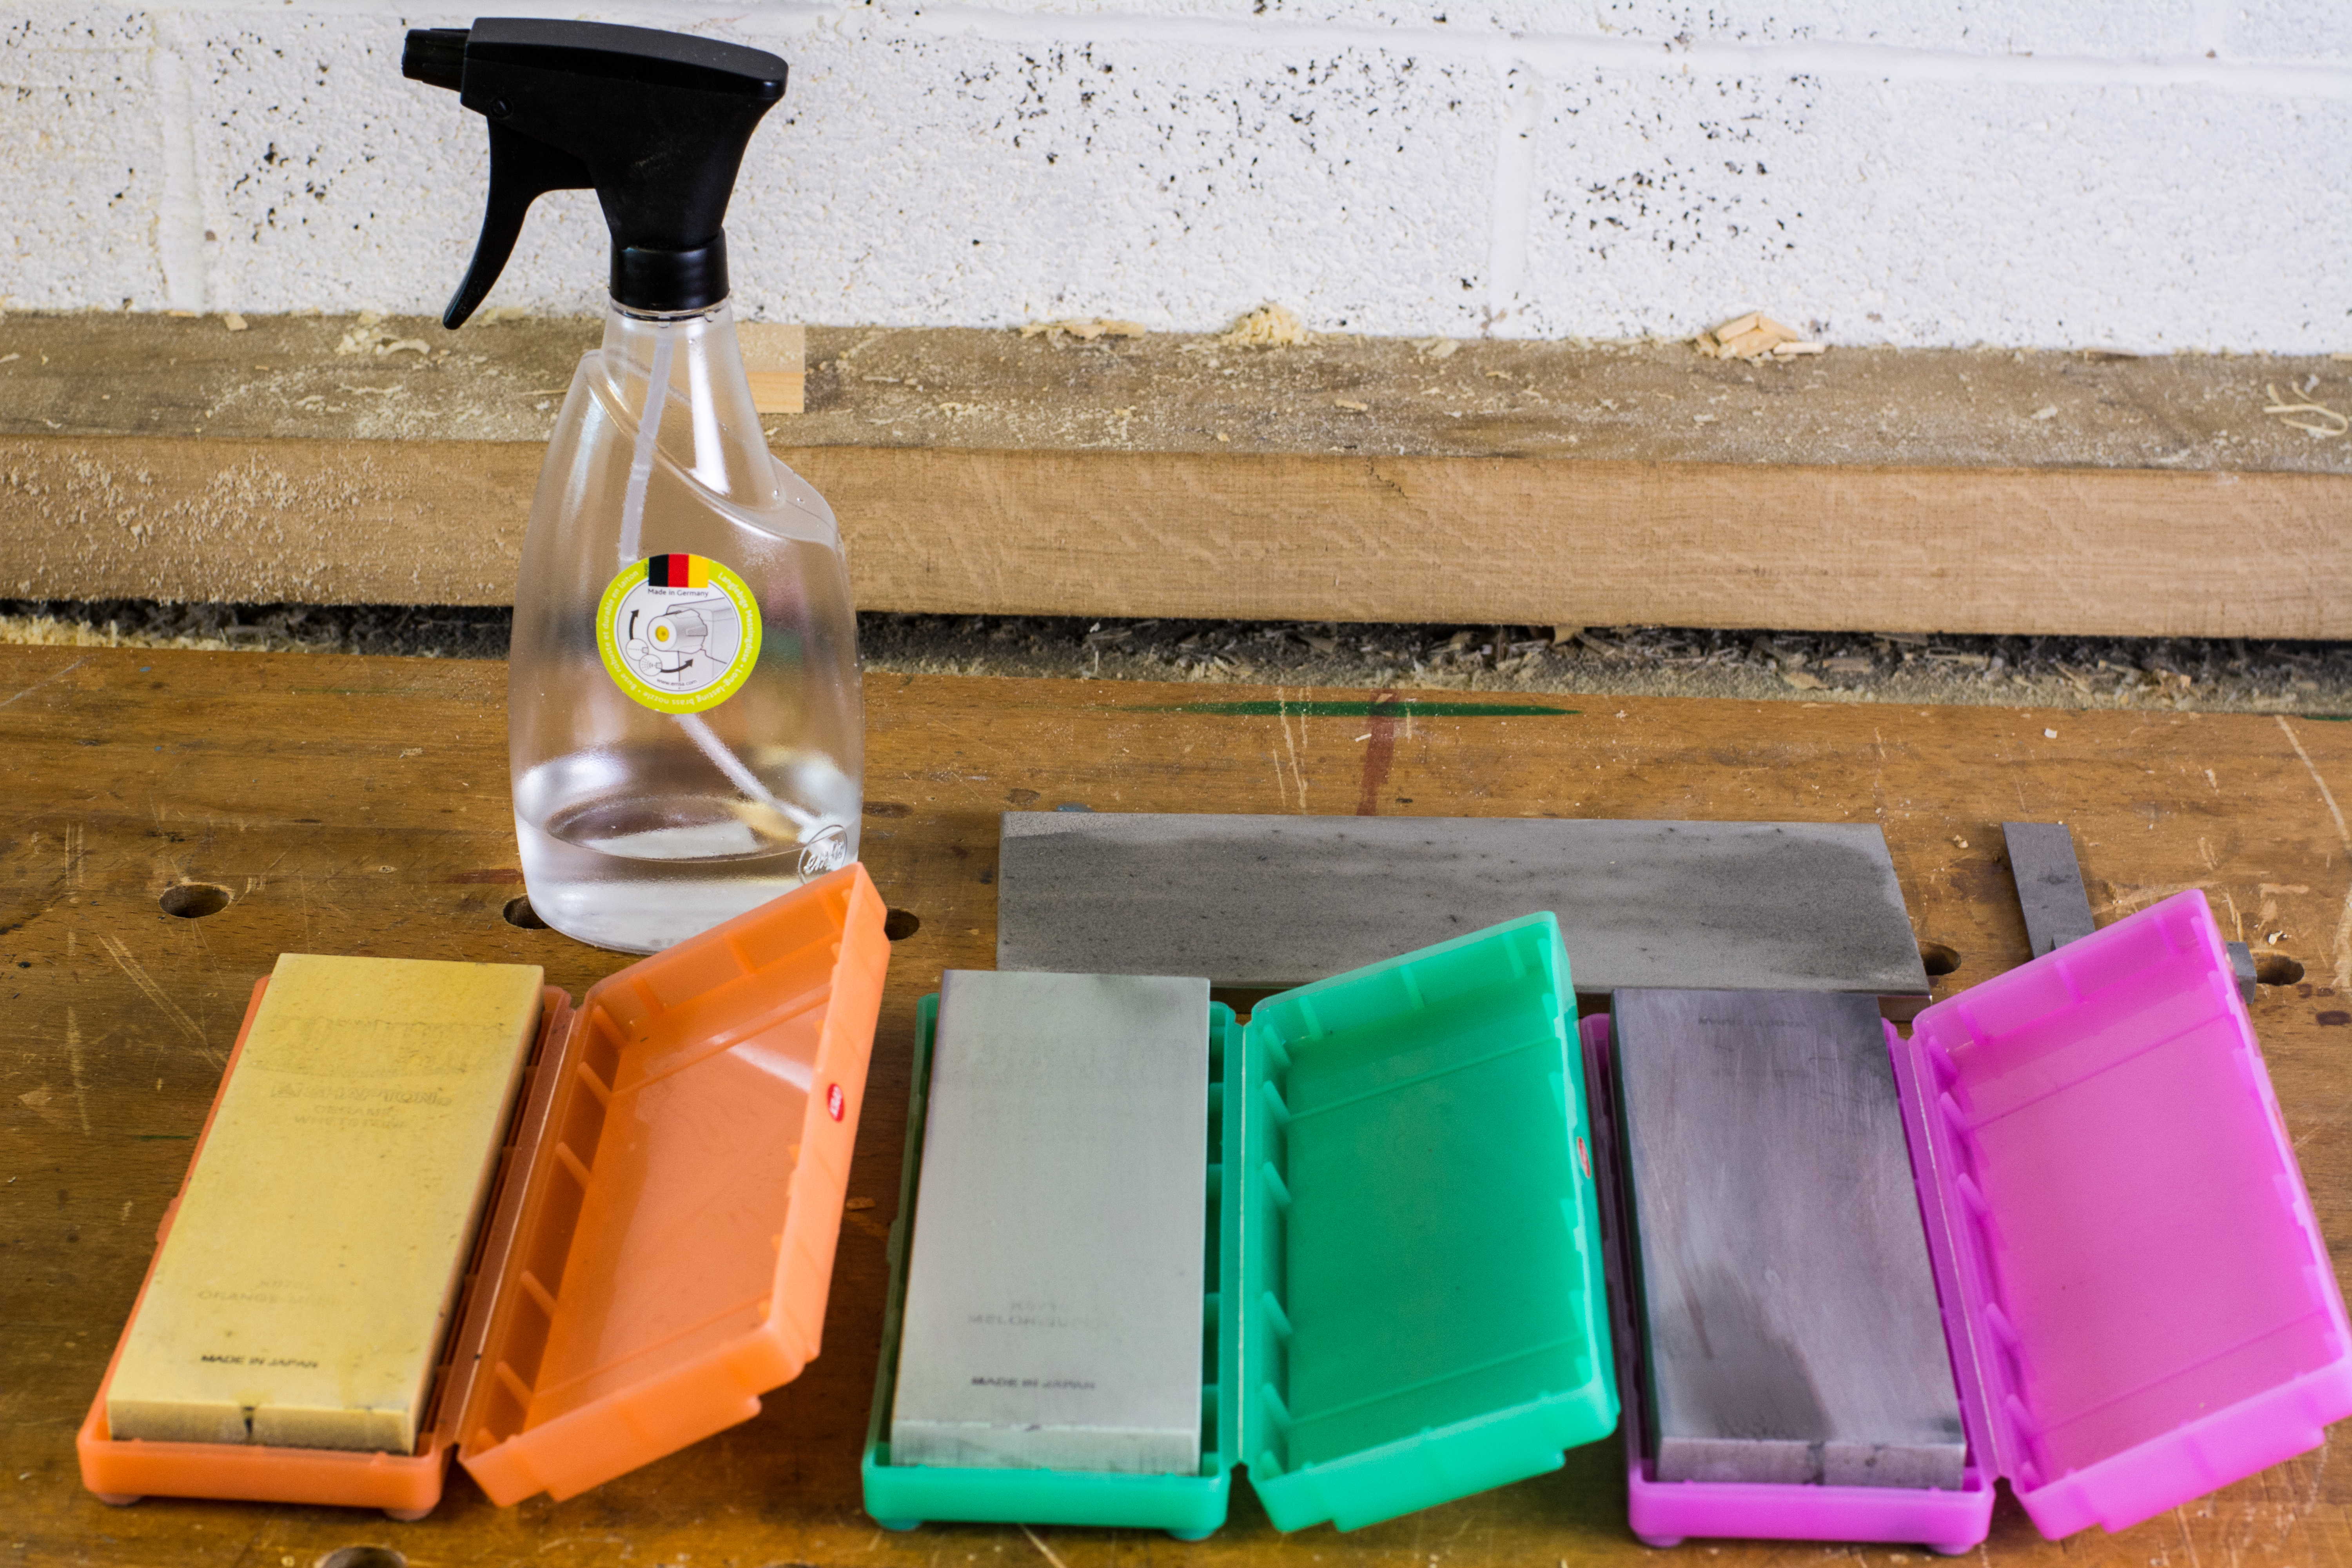
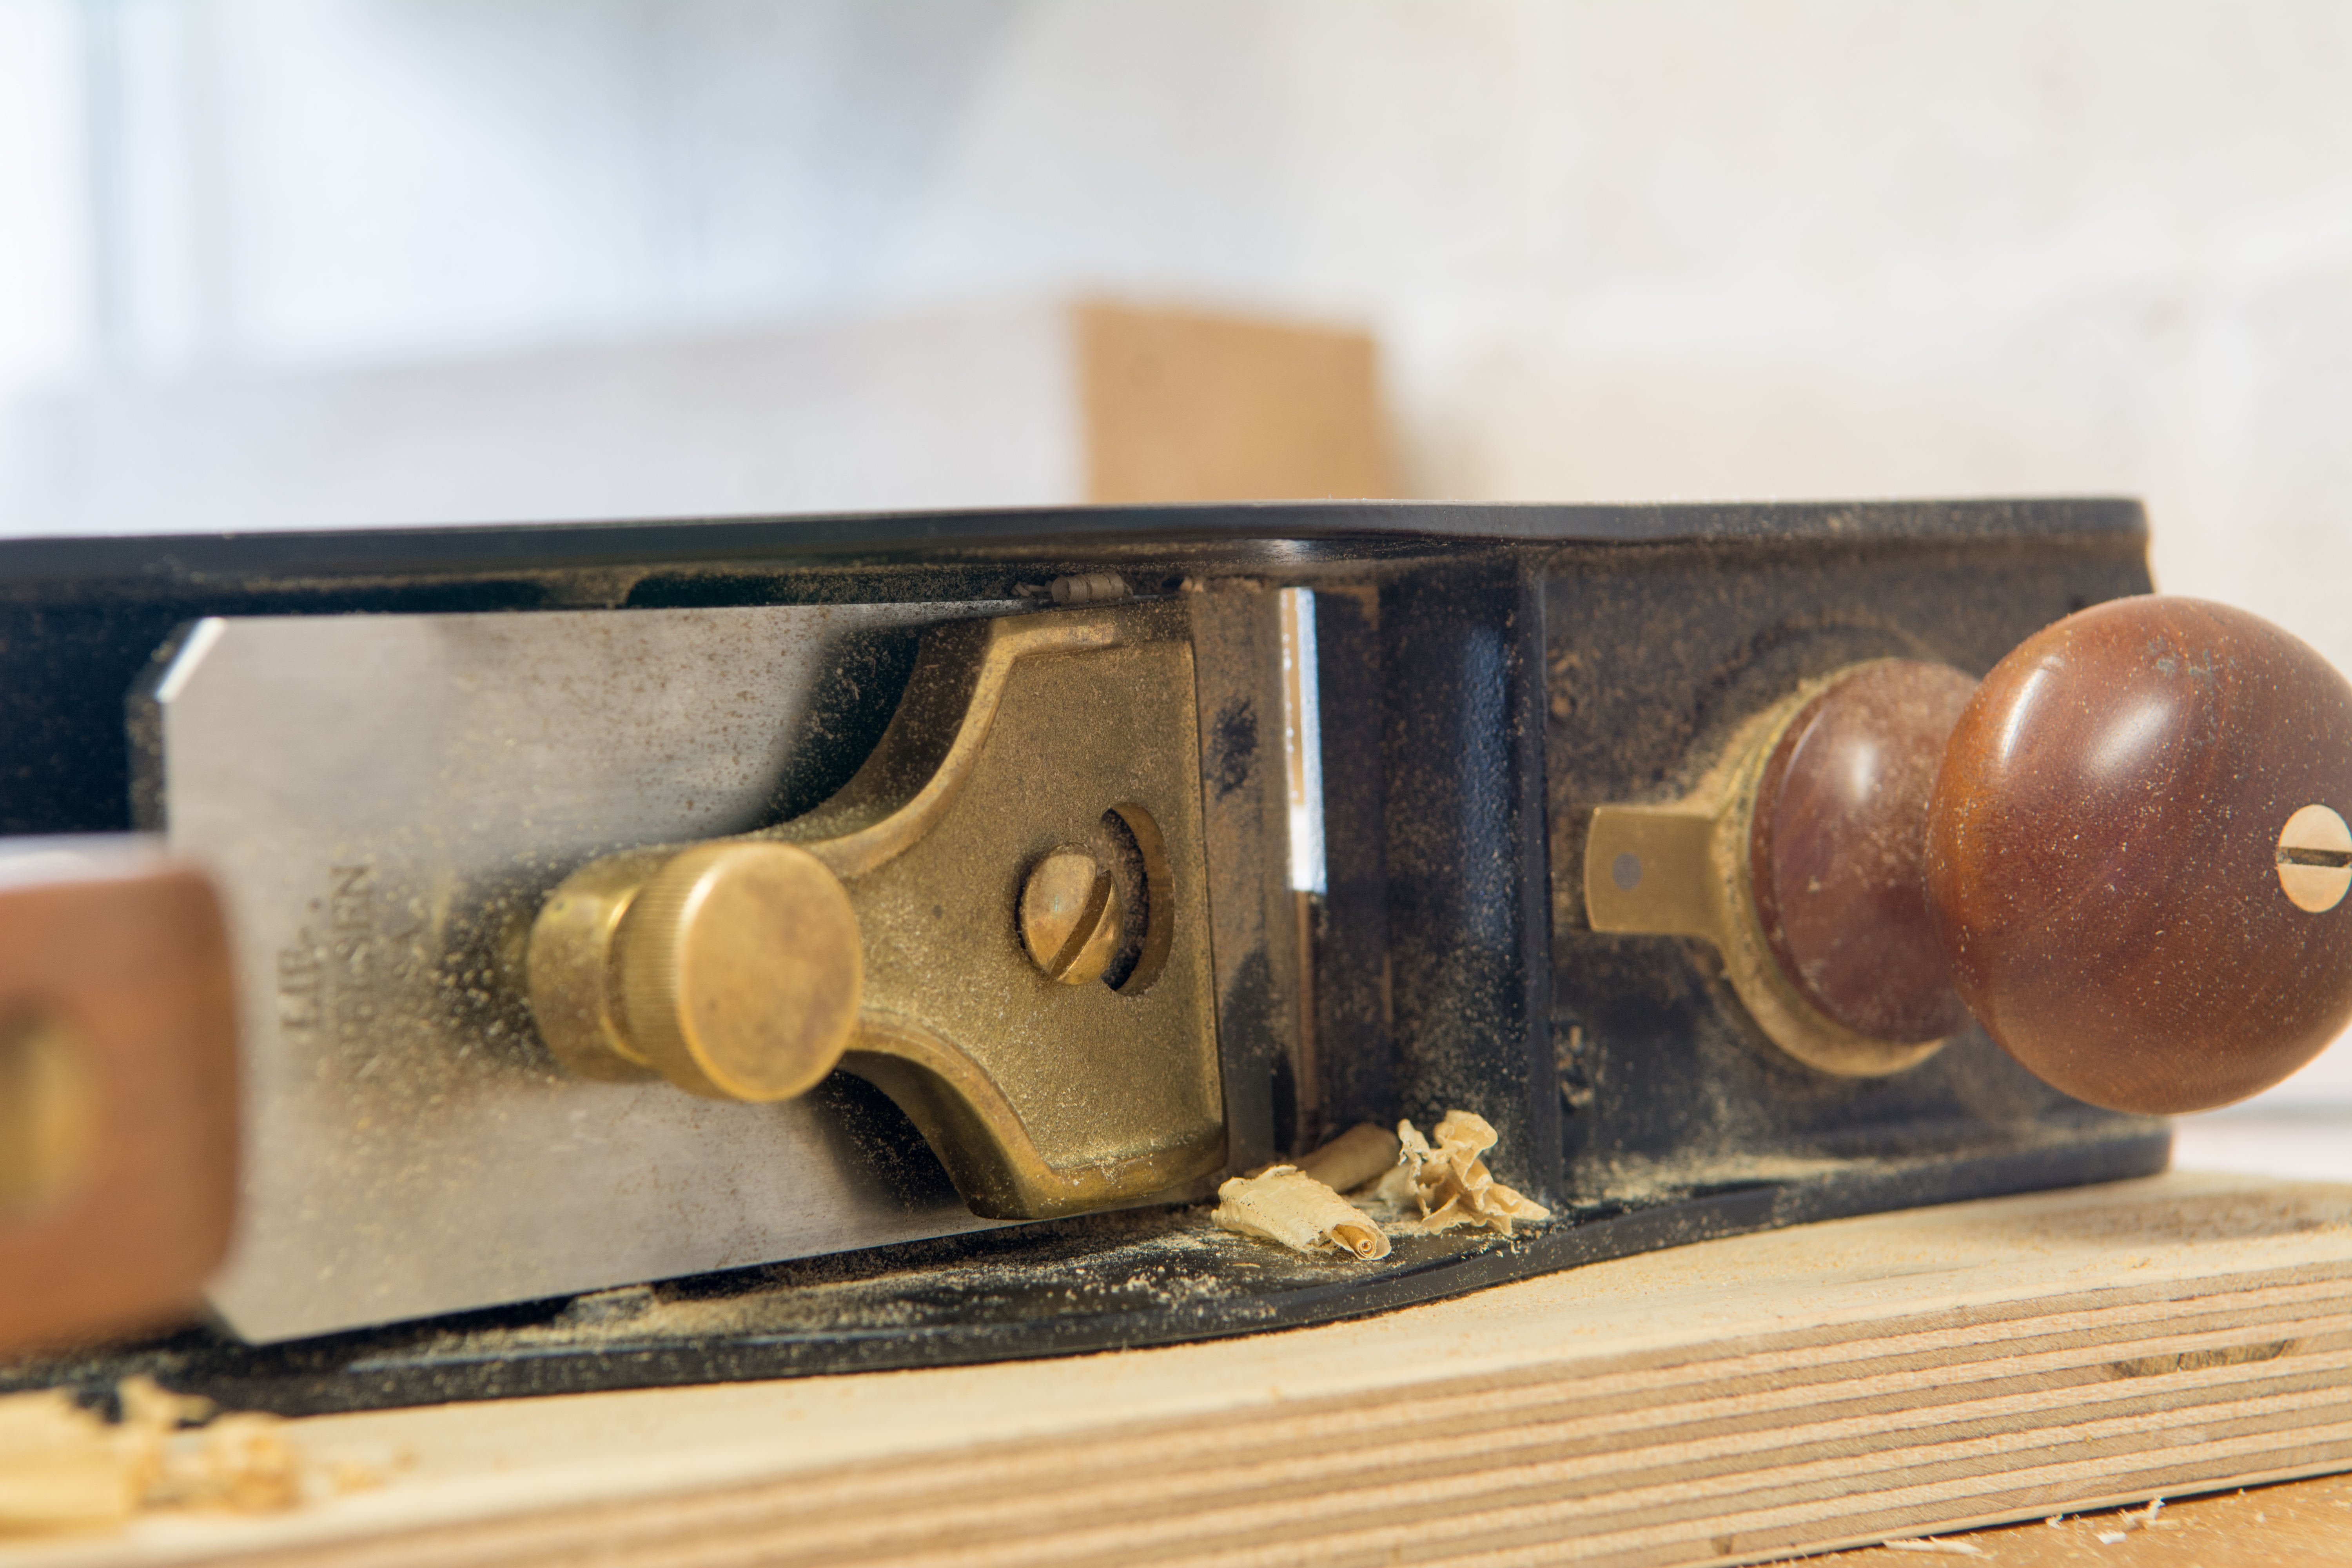
My usual stable of planes consists of a No.3 smoother, No5 jack, and No8 jointer – see “Curing Plane Addiction” for a detailed explanation of how to select a set of bench planes, and the purposes each one fulfils. Replacing those planes was a Lie-Nielsen No62 kindly loaned to me by Classic Hand Tools. The Lie-Nielsen plane is of comparable dimensions to the Stanley plane on which it is based, and the same size as a No5 bench plane – 14” long with a 2” wide iron. The mouth aperture is easily adjustable by twisting the front knob to allow the front plate to be slide forward or back for a tighter or more open mouth. The bed angle is 12 degrees, which means that honing a 35 degree bevel (as I do for most of my planes and chisels) achieves a 47 degree cutting angle very close to the “common pitch” cutting angle of most bevel down planes 45 degree. This low bed angle also explains why bevel-up planes are also commonly referred to as “low-angle planes”. Honing a primary bevel of 25 degrees results in a cutting angle of 37 degrees, which gives excellent results on end grain, and a 50 degree bevel results in a 62 degree angle for smoothing tasks. A 90 degree bevel effectively converts the plane into a large scraper.

So much for the theory, but what I wanted to know was would the No62 be able to discharge all of the tasks I used my familiar set of planes for?

6

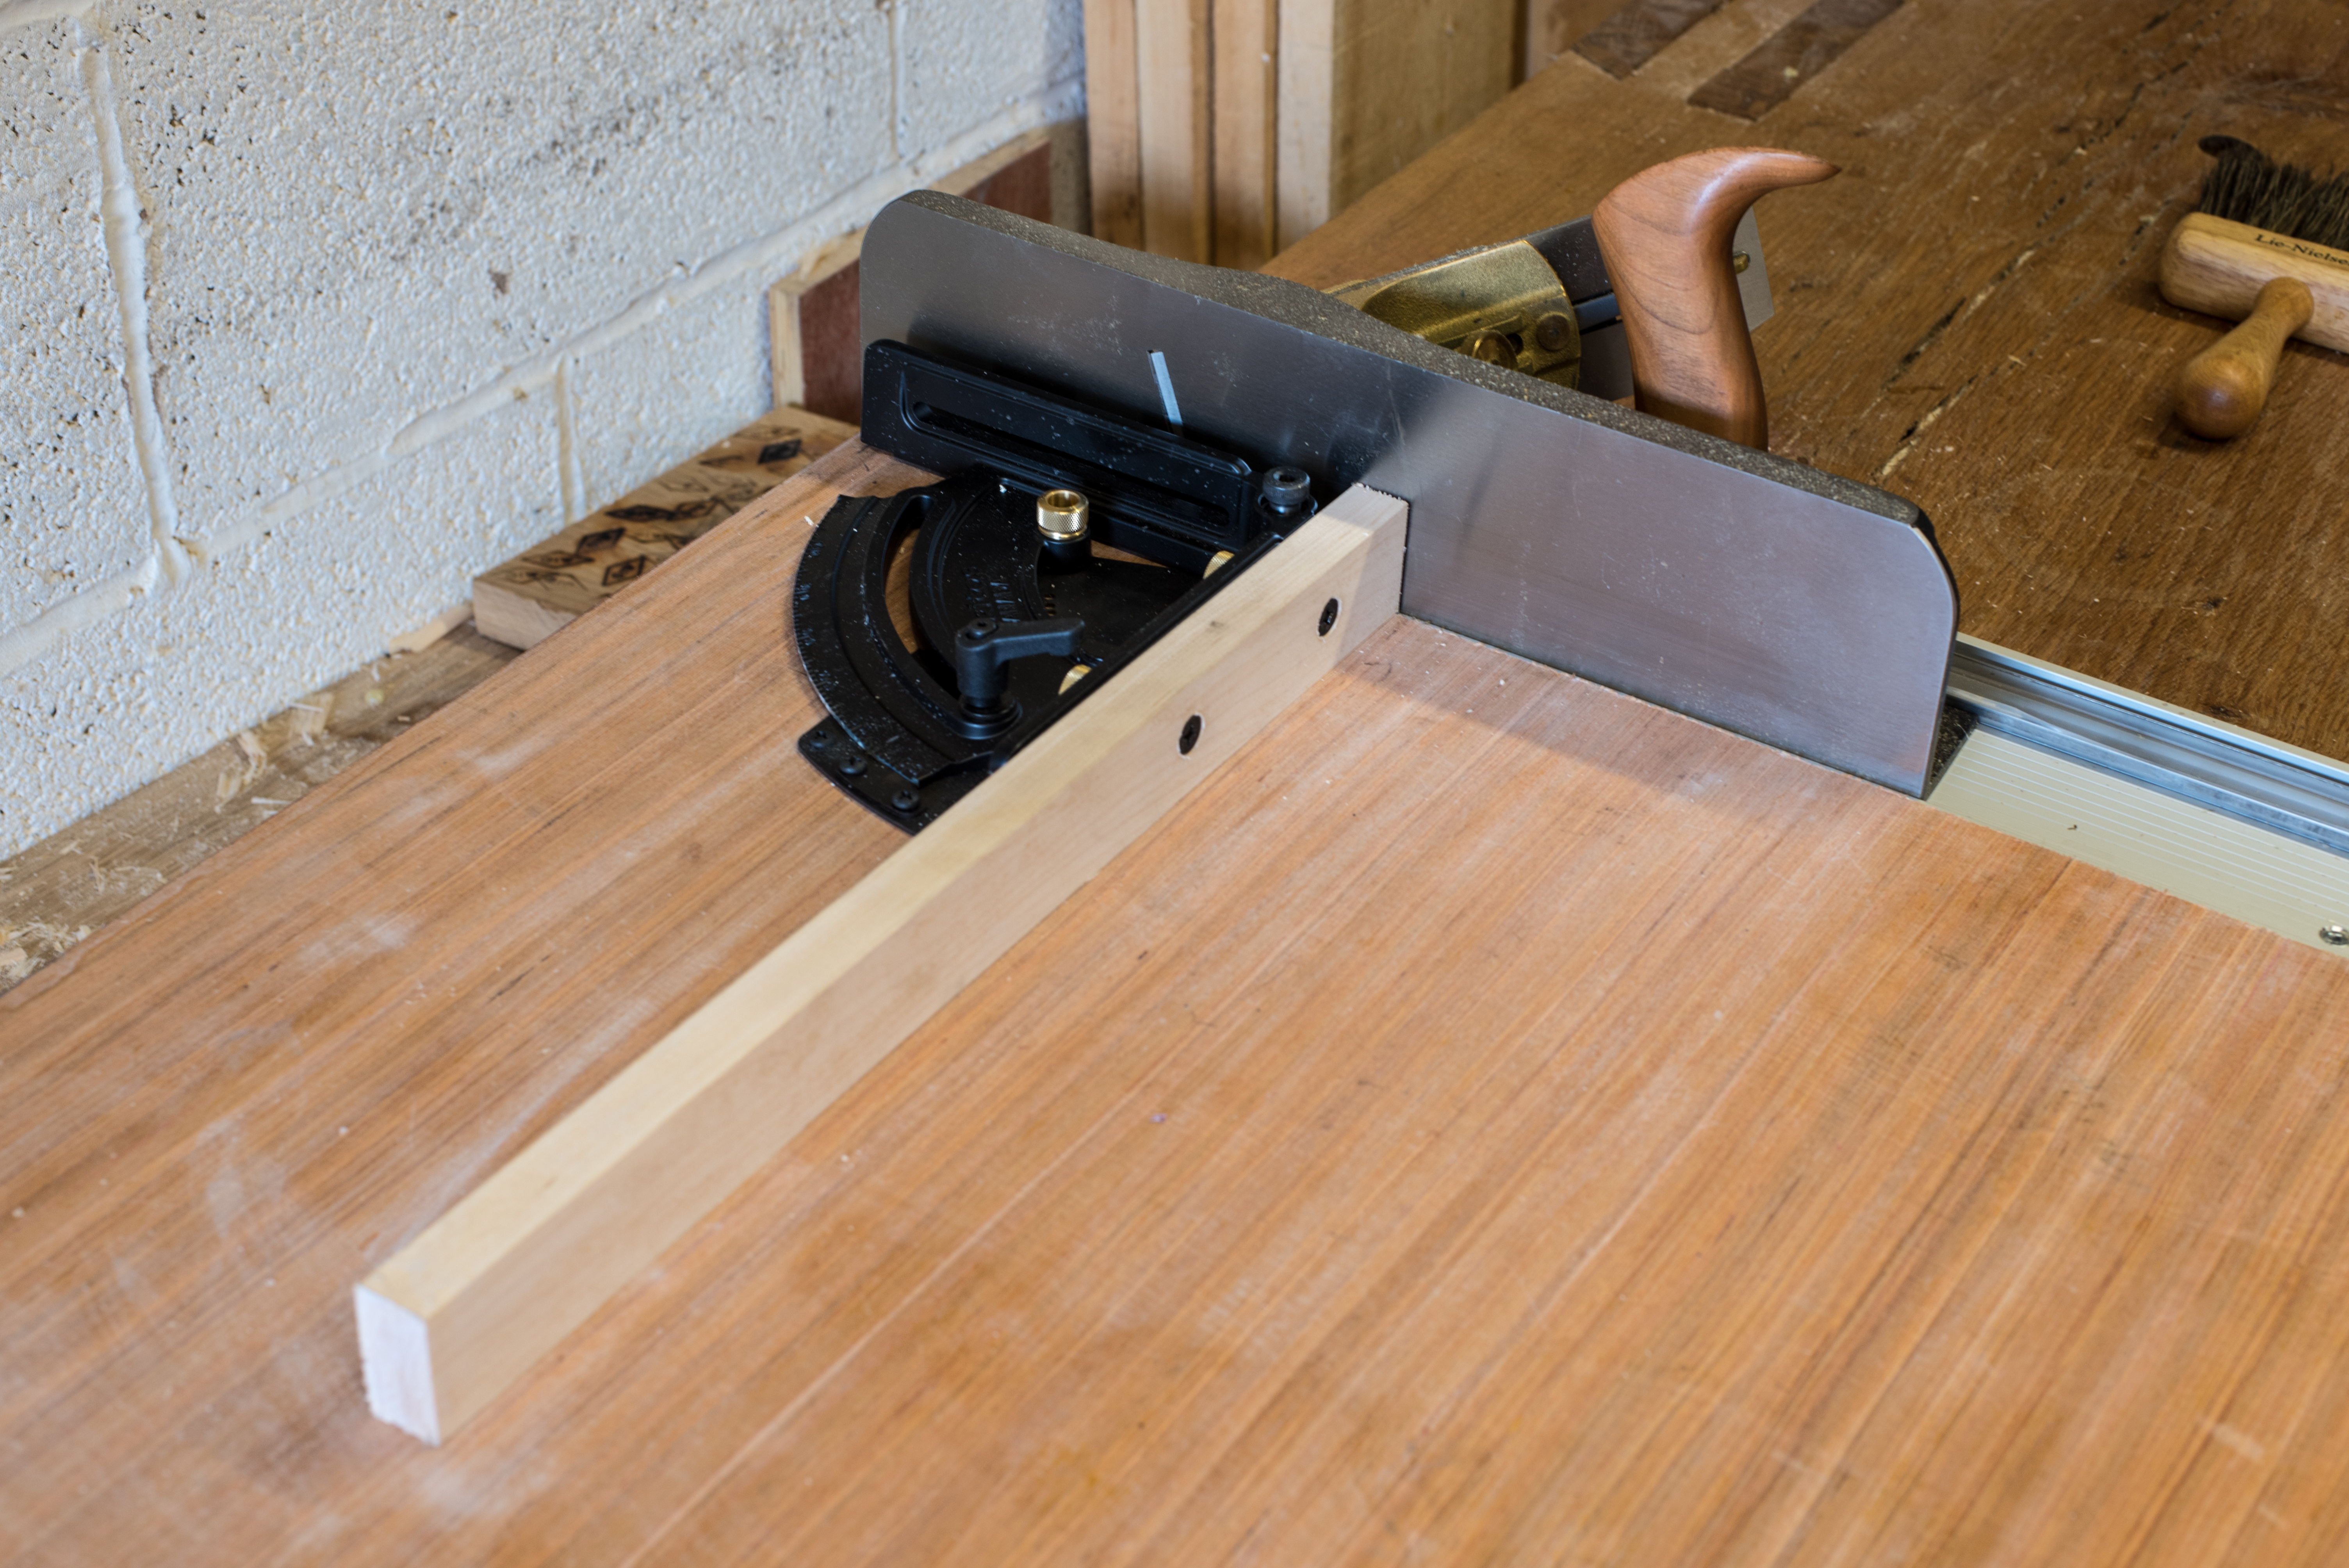
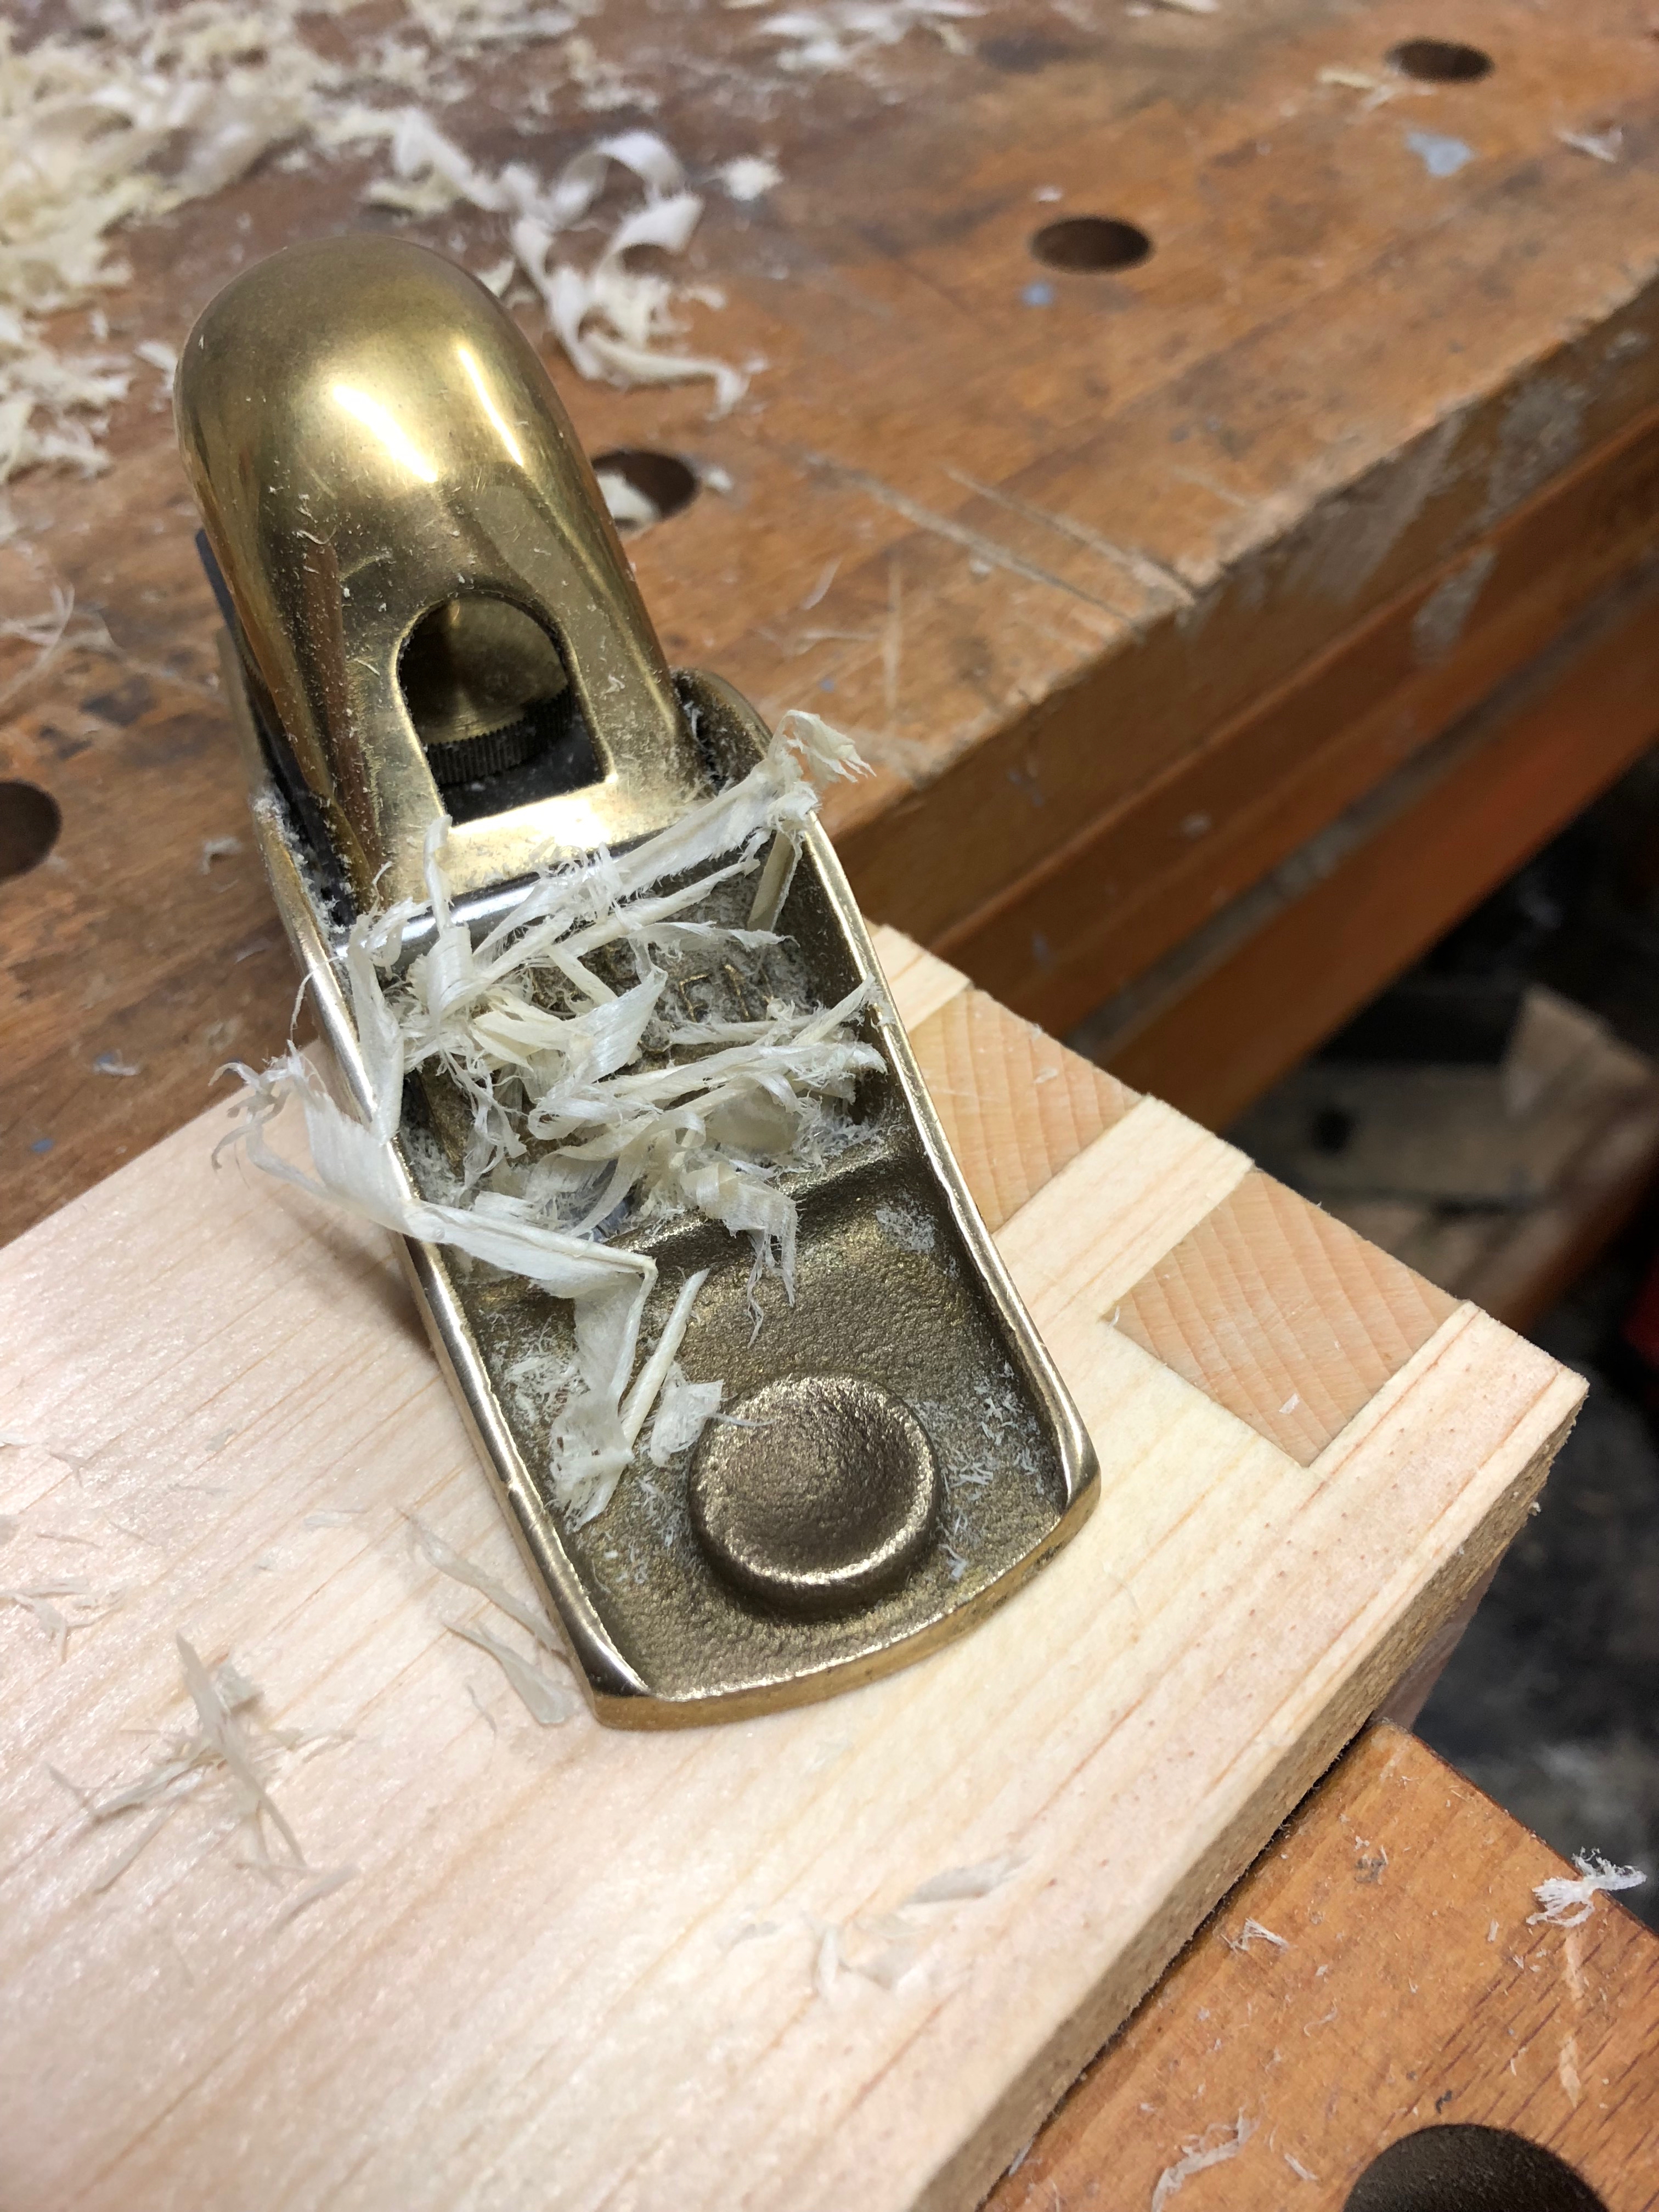
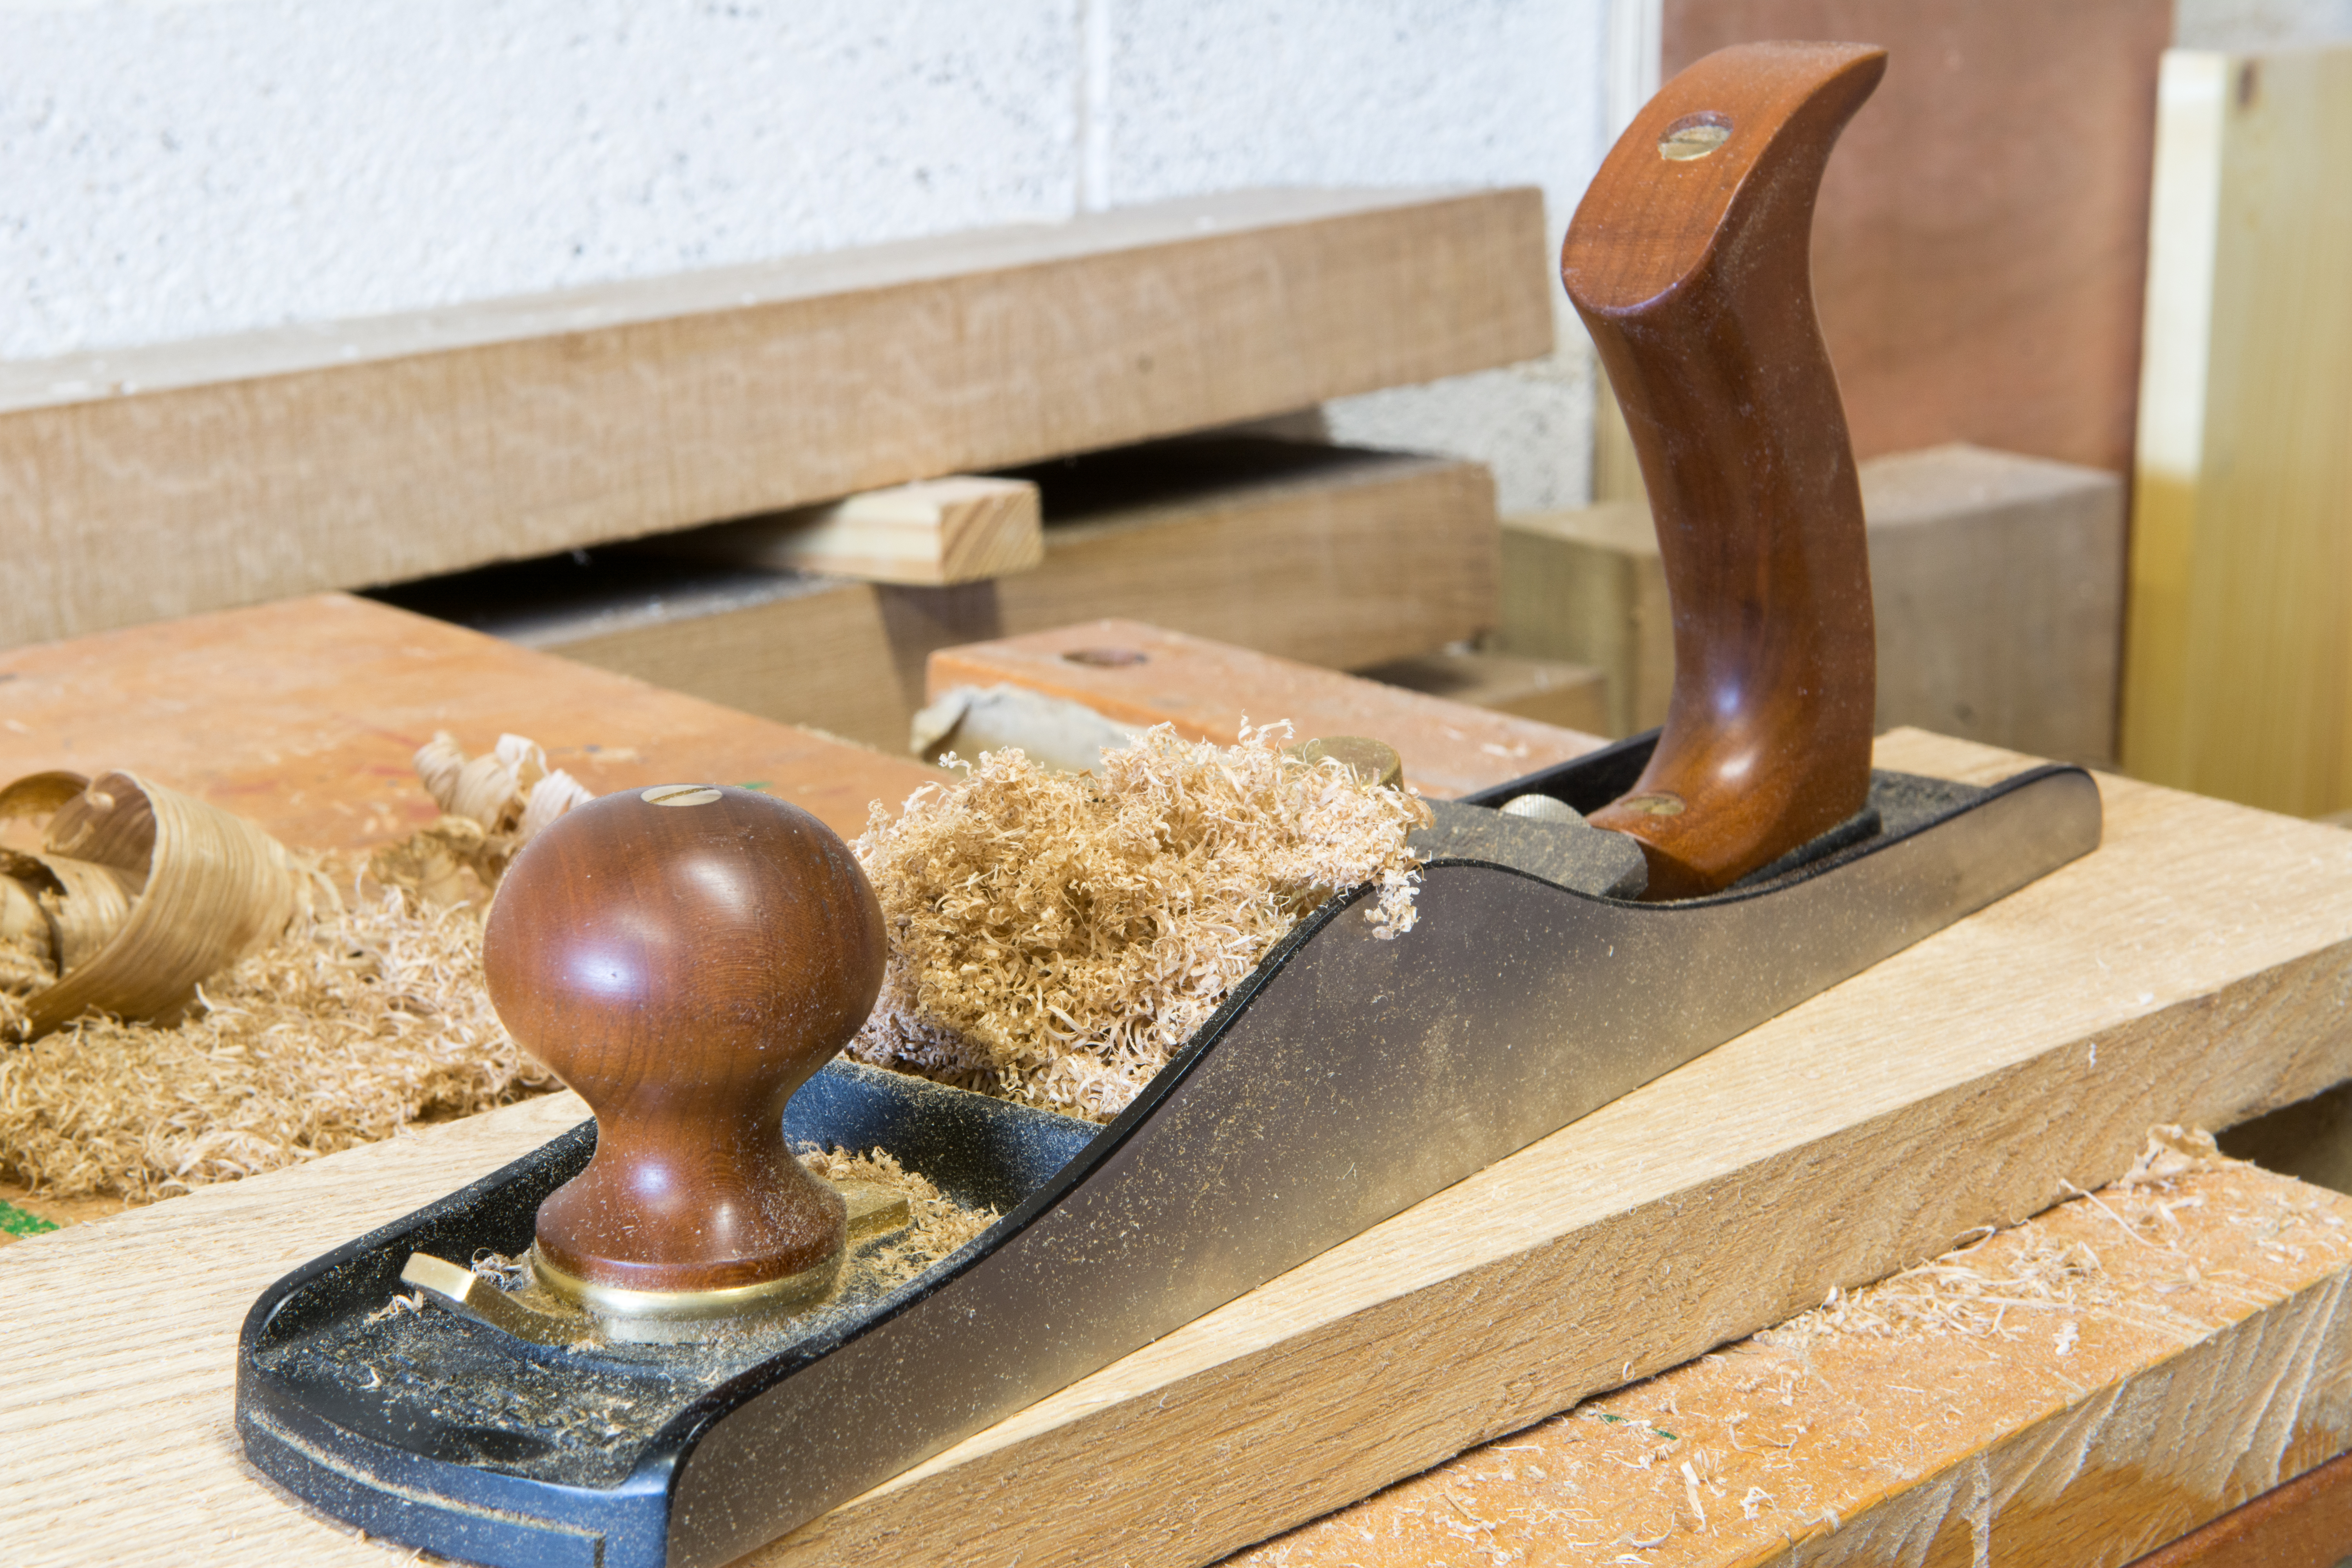
The No62 works well as a jack plane, although you need to hone a significant camber into the iron to get it performing sweetly in this role

In Use

Broadly speaking, bench plane work falls into three categories – coarse, medium, and fine work such as flattening rough stock, jointing edges for gluing, and smoothing surfaces for finishing (see “Coarse Medium & Fine” ). In order to give the plane a thorough test I needed to press it into service on all three categories of work. Fortunately, I was about to start building a child sized stick chair in hard maple, as well as preparing larger sized stock for the Back to the Bootbench project, and a bookcase in maple. Between these projects, and working on an oak chair I was finishing off, the No62 would get plenty of use across a number of different operations.

First up were the coarse operations – flattening hard maple for the seat blank, and the larger pine and maple boards. Opening the mouth wide and setting the iron (honed with a 35 degree bevel) to a rank cut, I found that the No62 works as a respectable jack plane to hog off material and flatten rough stock. As with a bevel-down jack plane, a cambered blade makes processing rough stock a more efficient experience. The toothed blade definitely helps tame difficult grain at a “common pitch” cutting angle, and would be invaluable if rosewoods or heavily figured maple were part of your daily workflow. As it was, flattening stock was a straight forward process for both maple and pine, and I didn’t miss my usual Clifton No5 jack plane in the slightest.

4

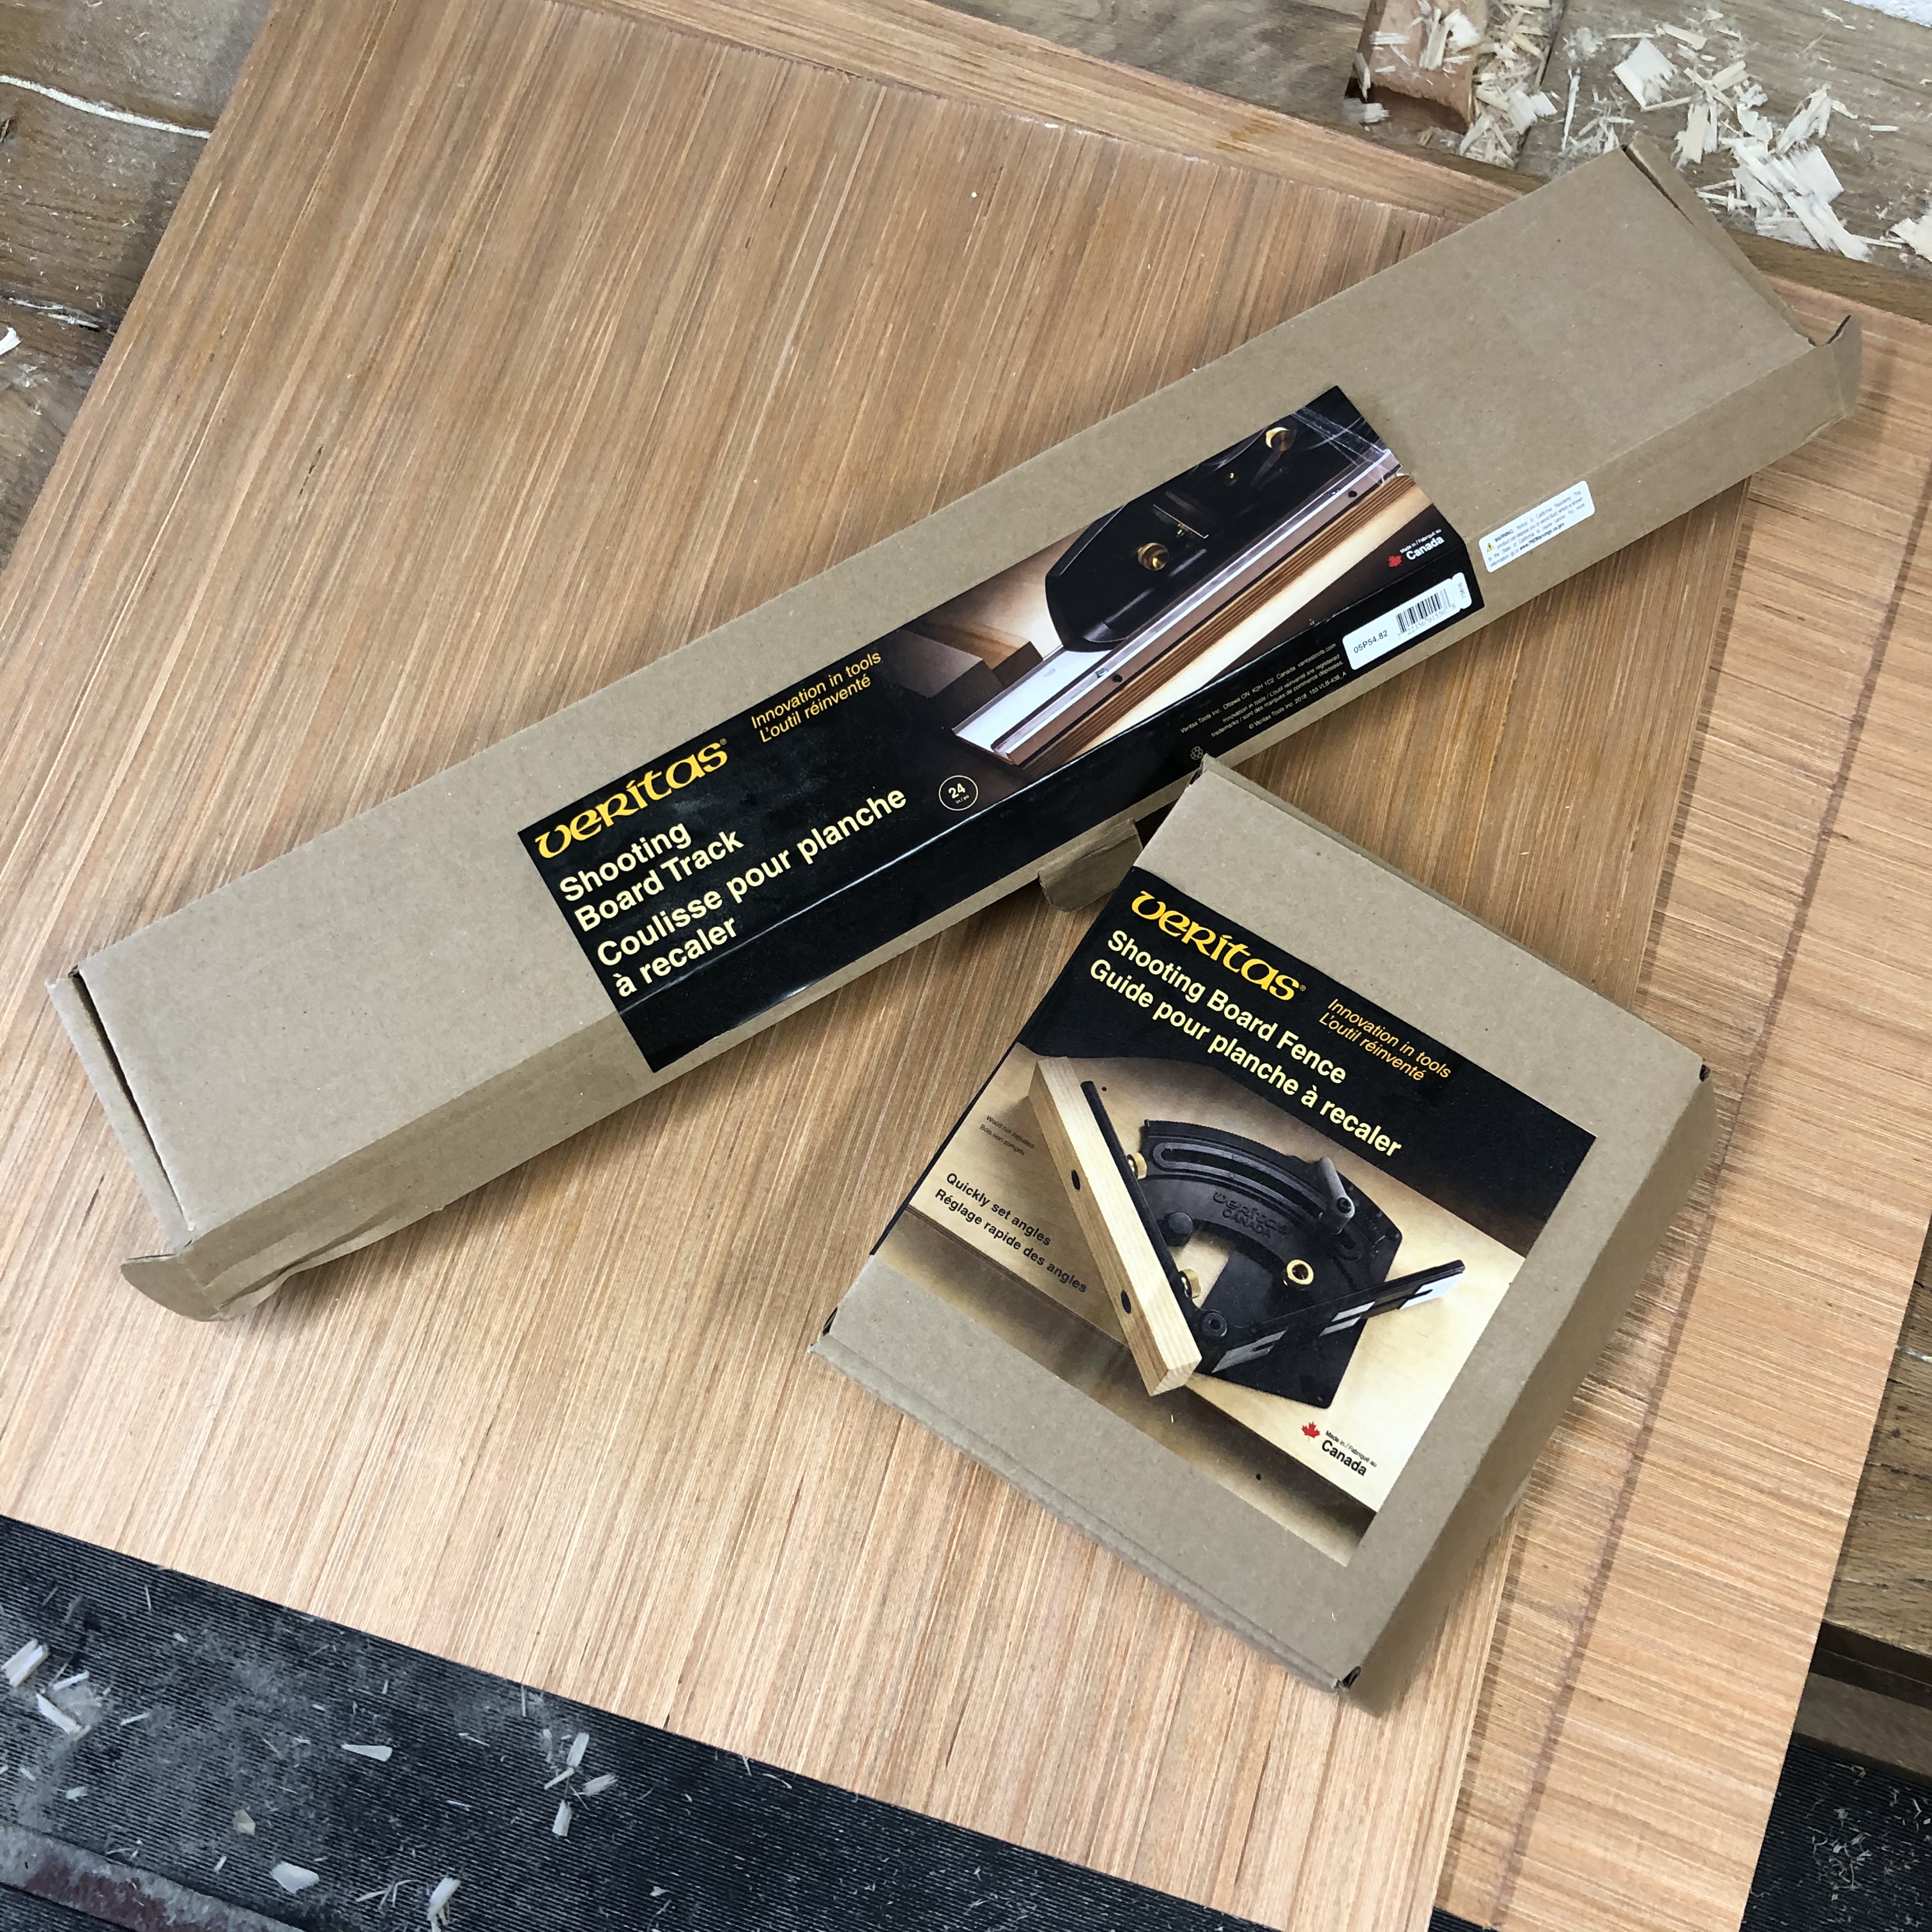
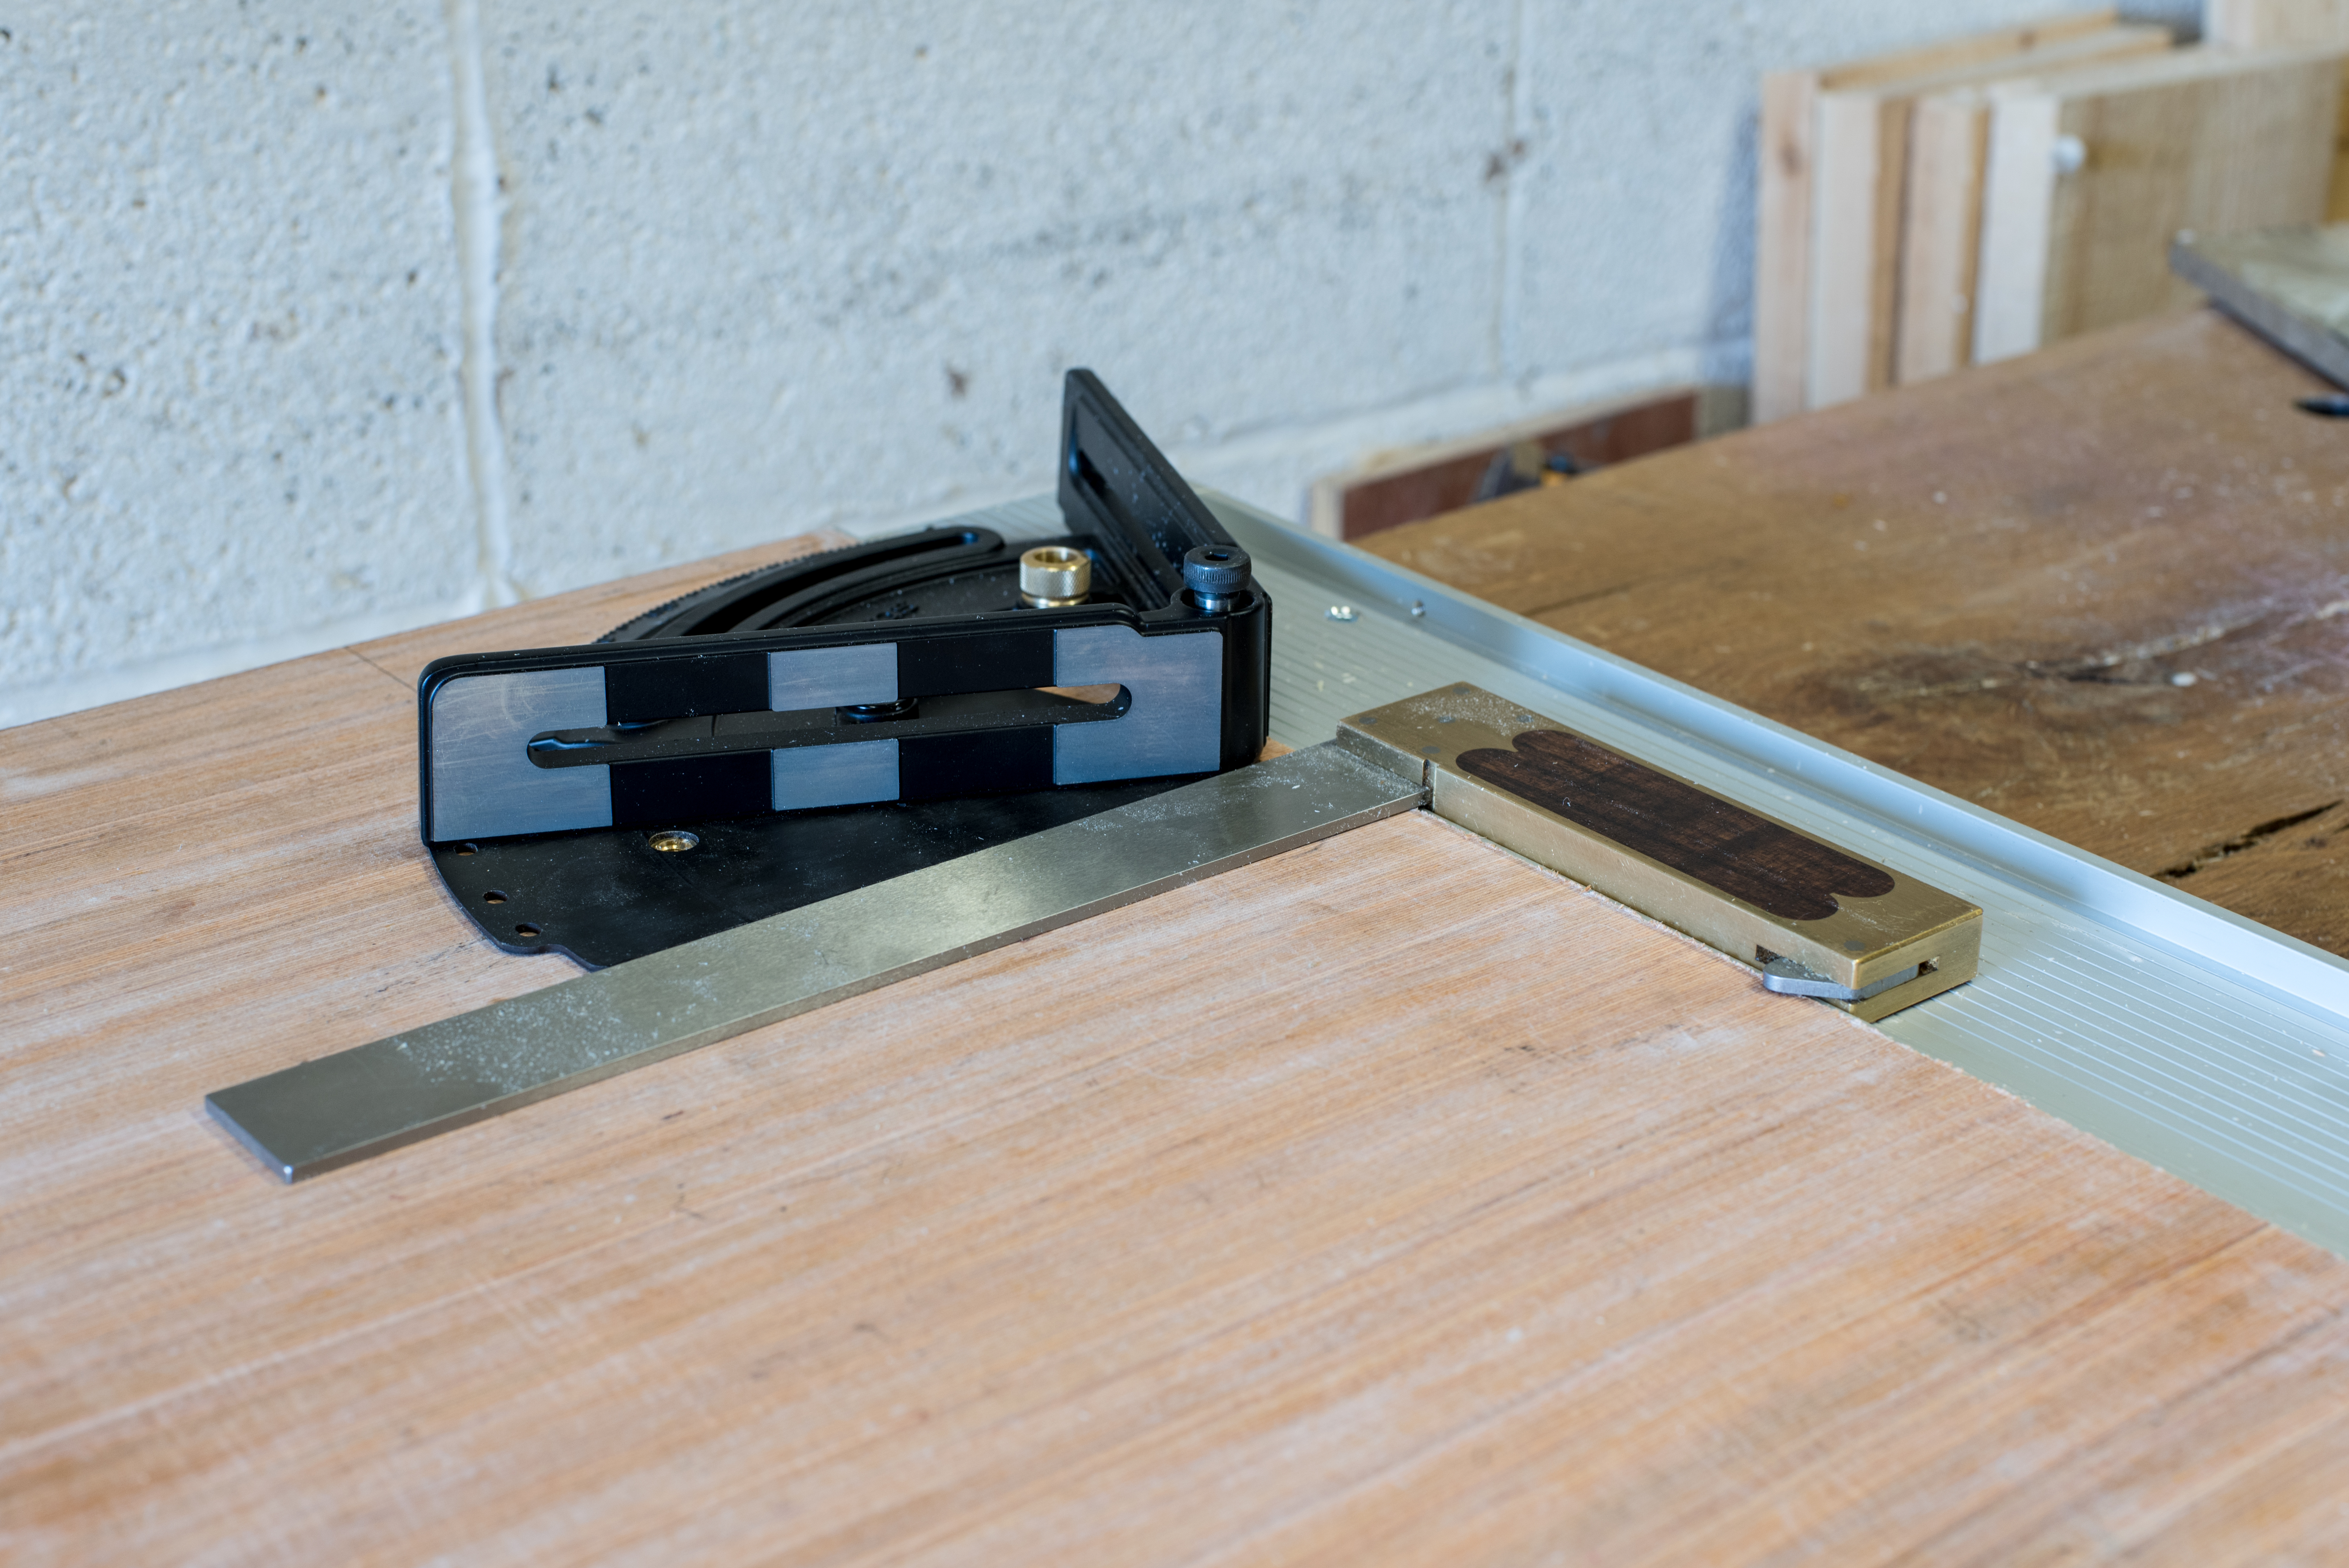
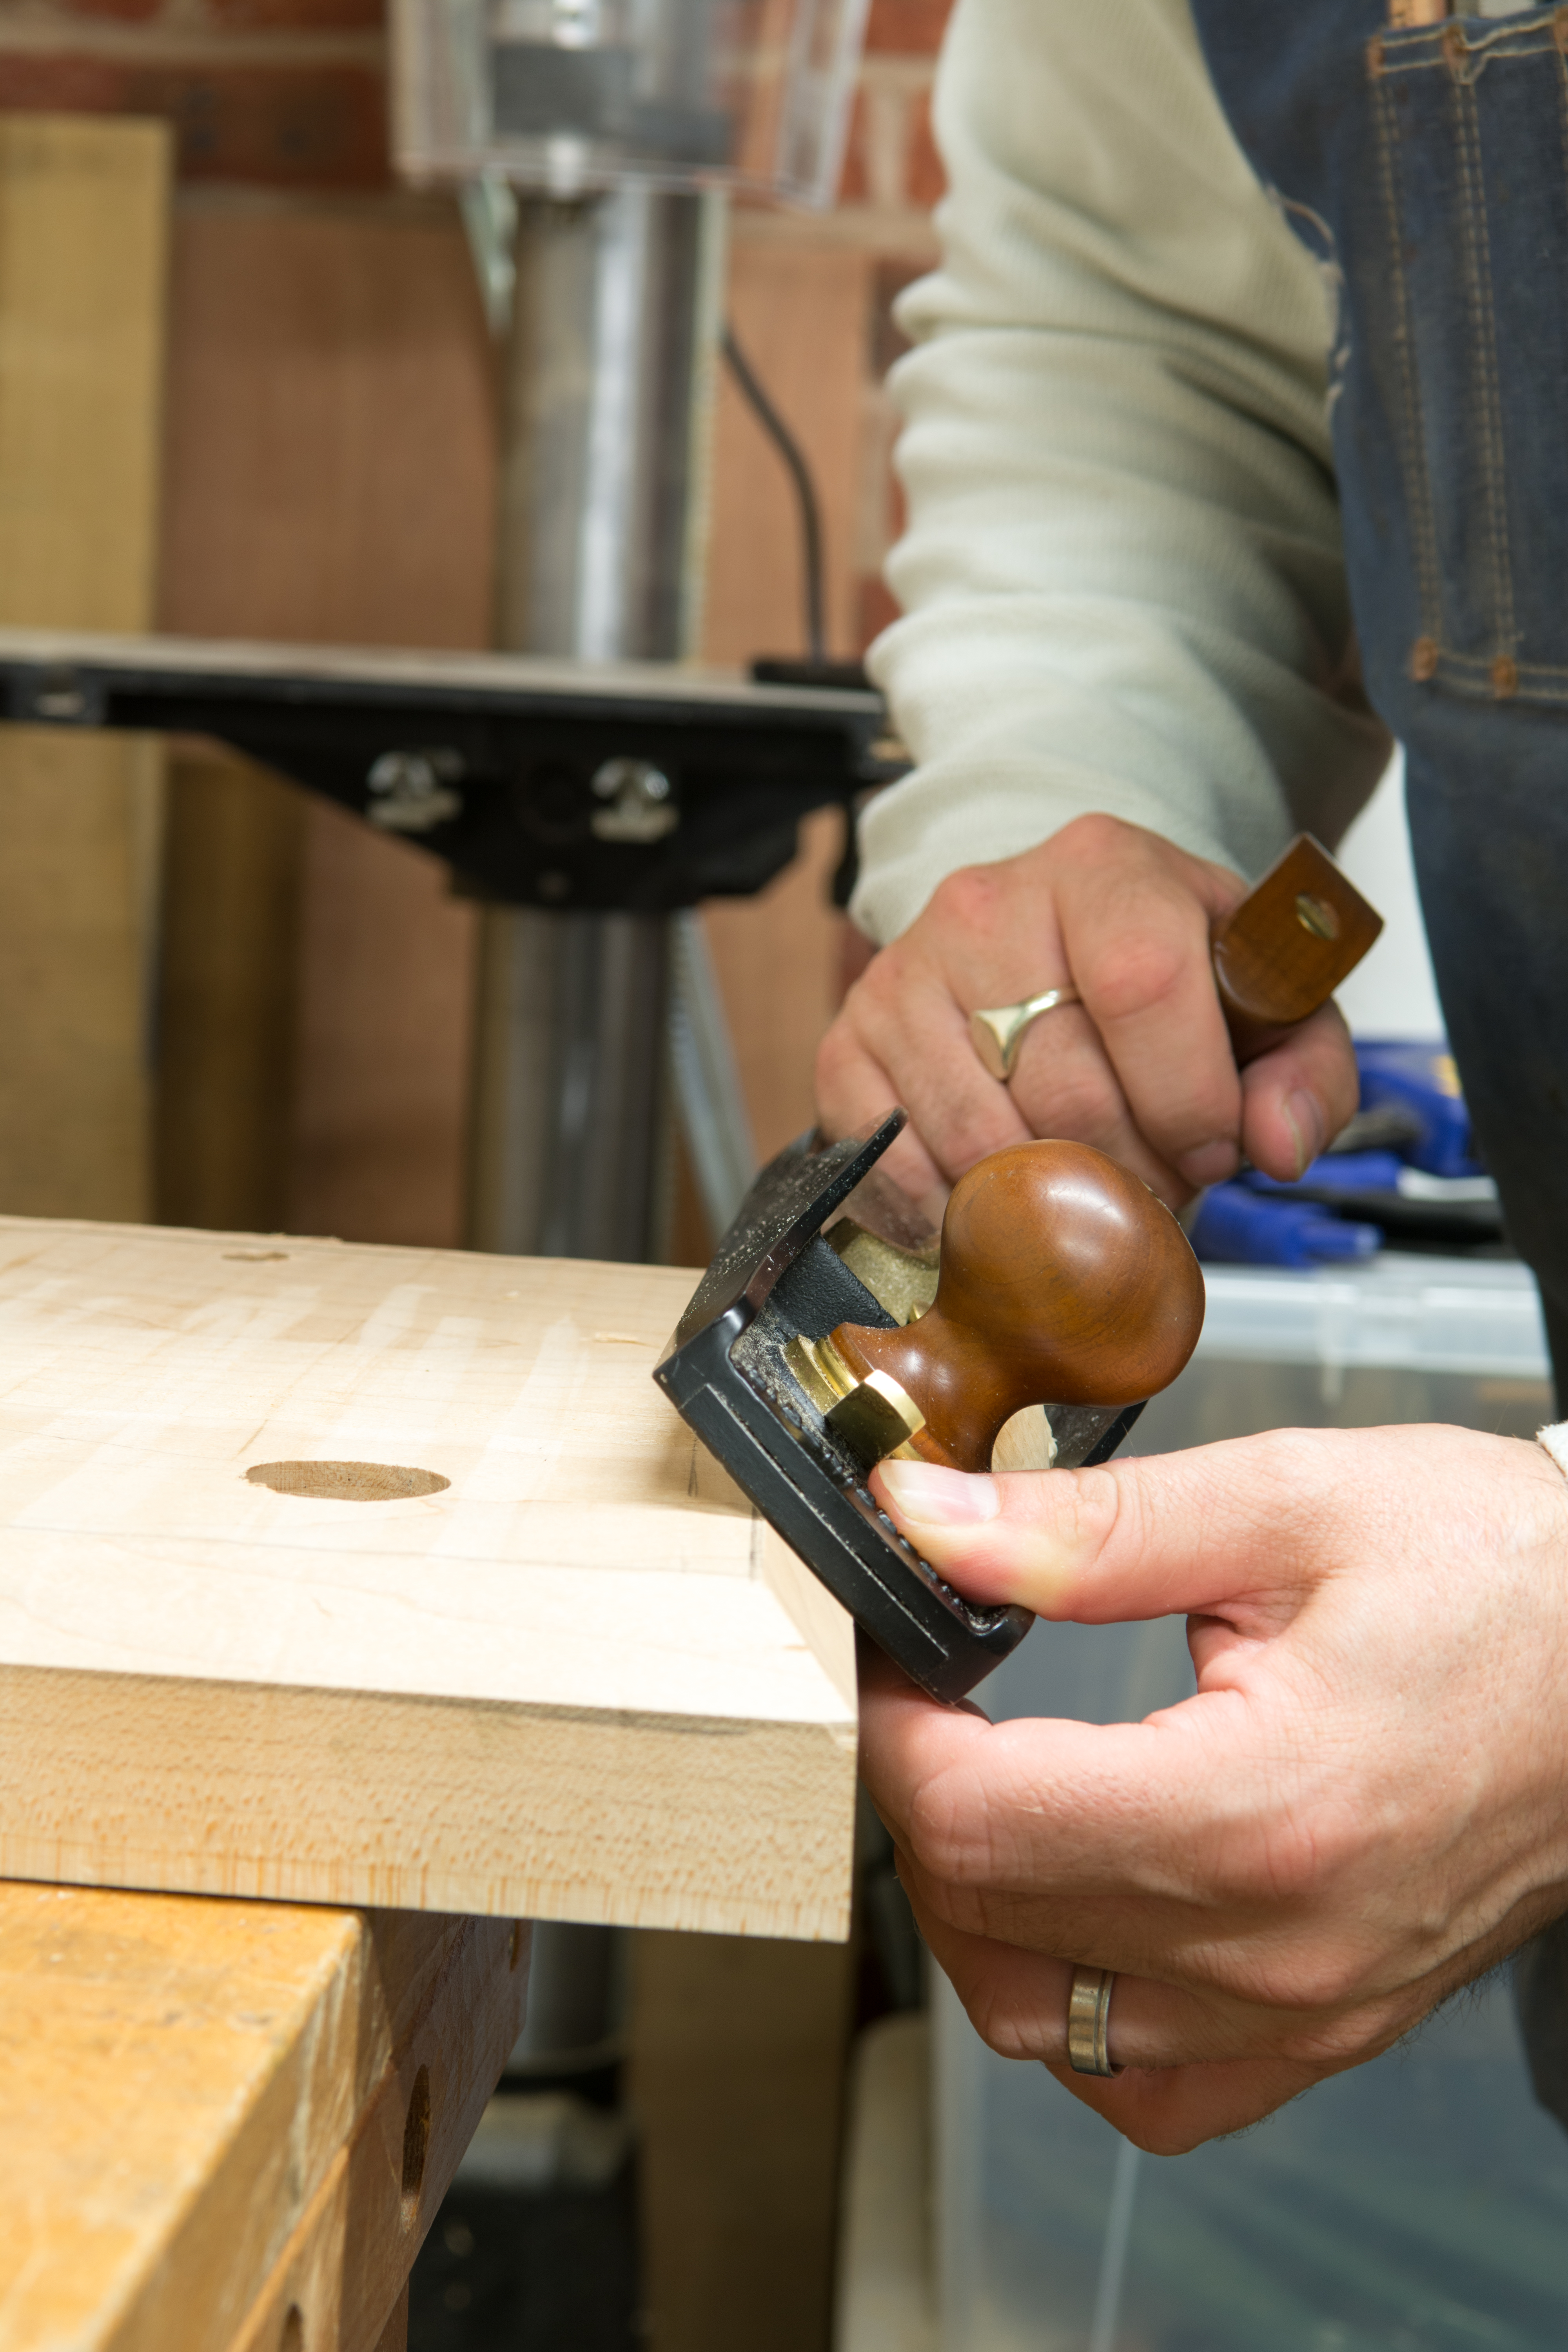
Italso functions well as a shooting board plane

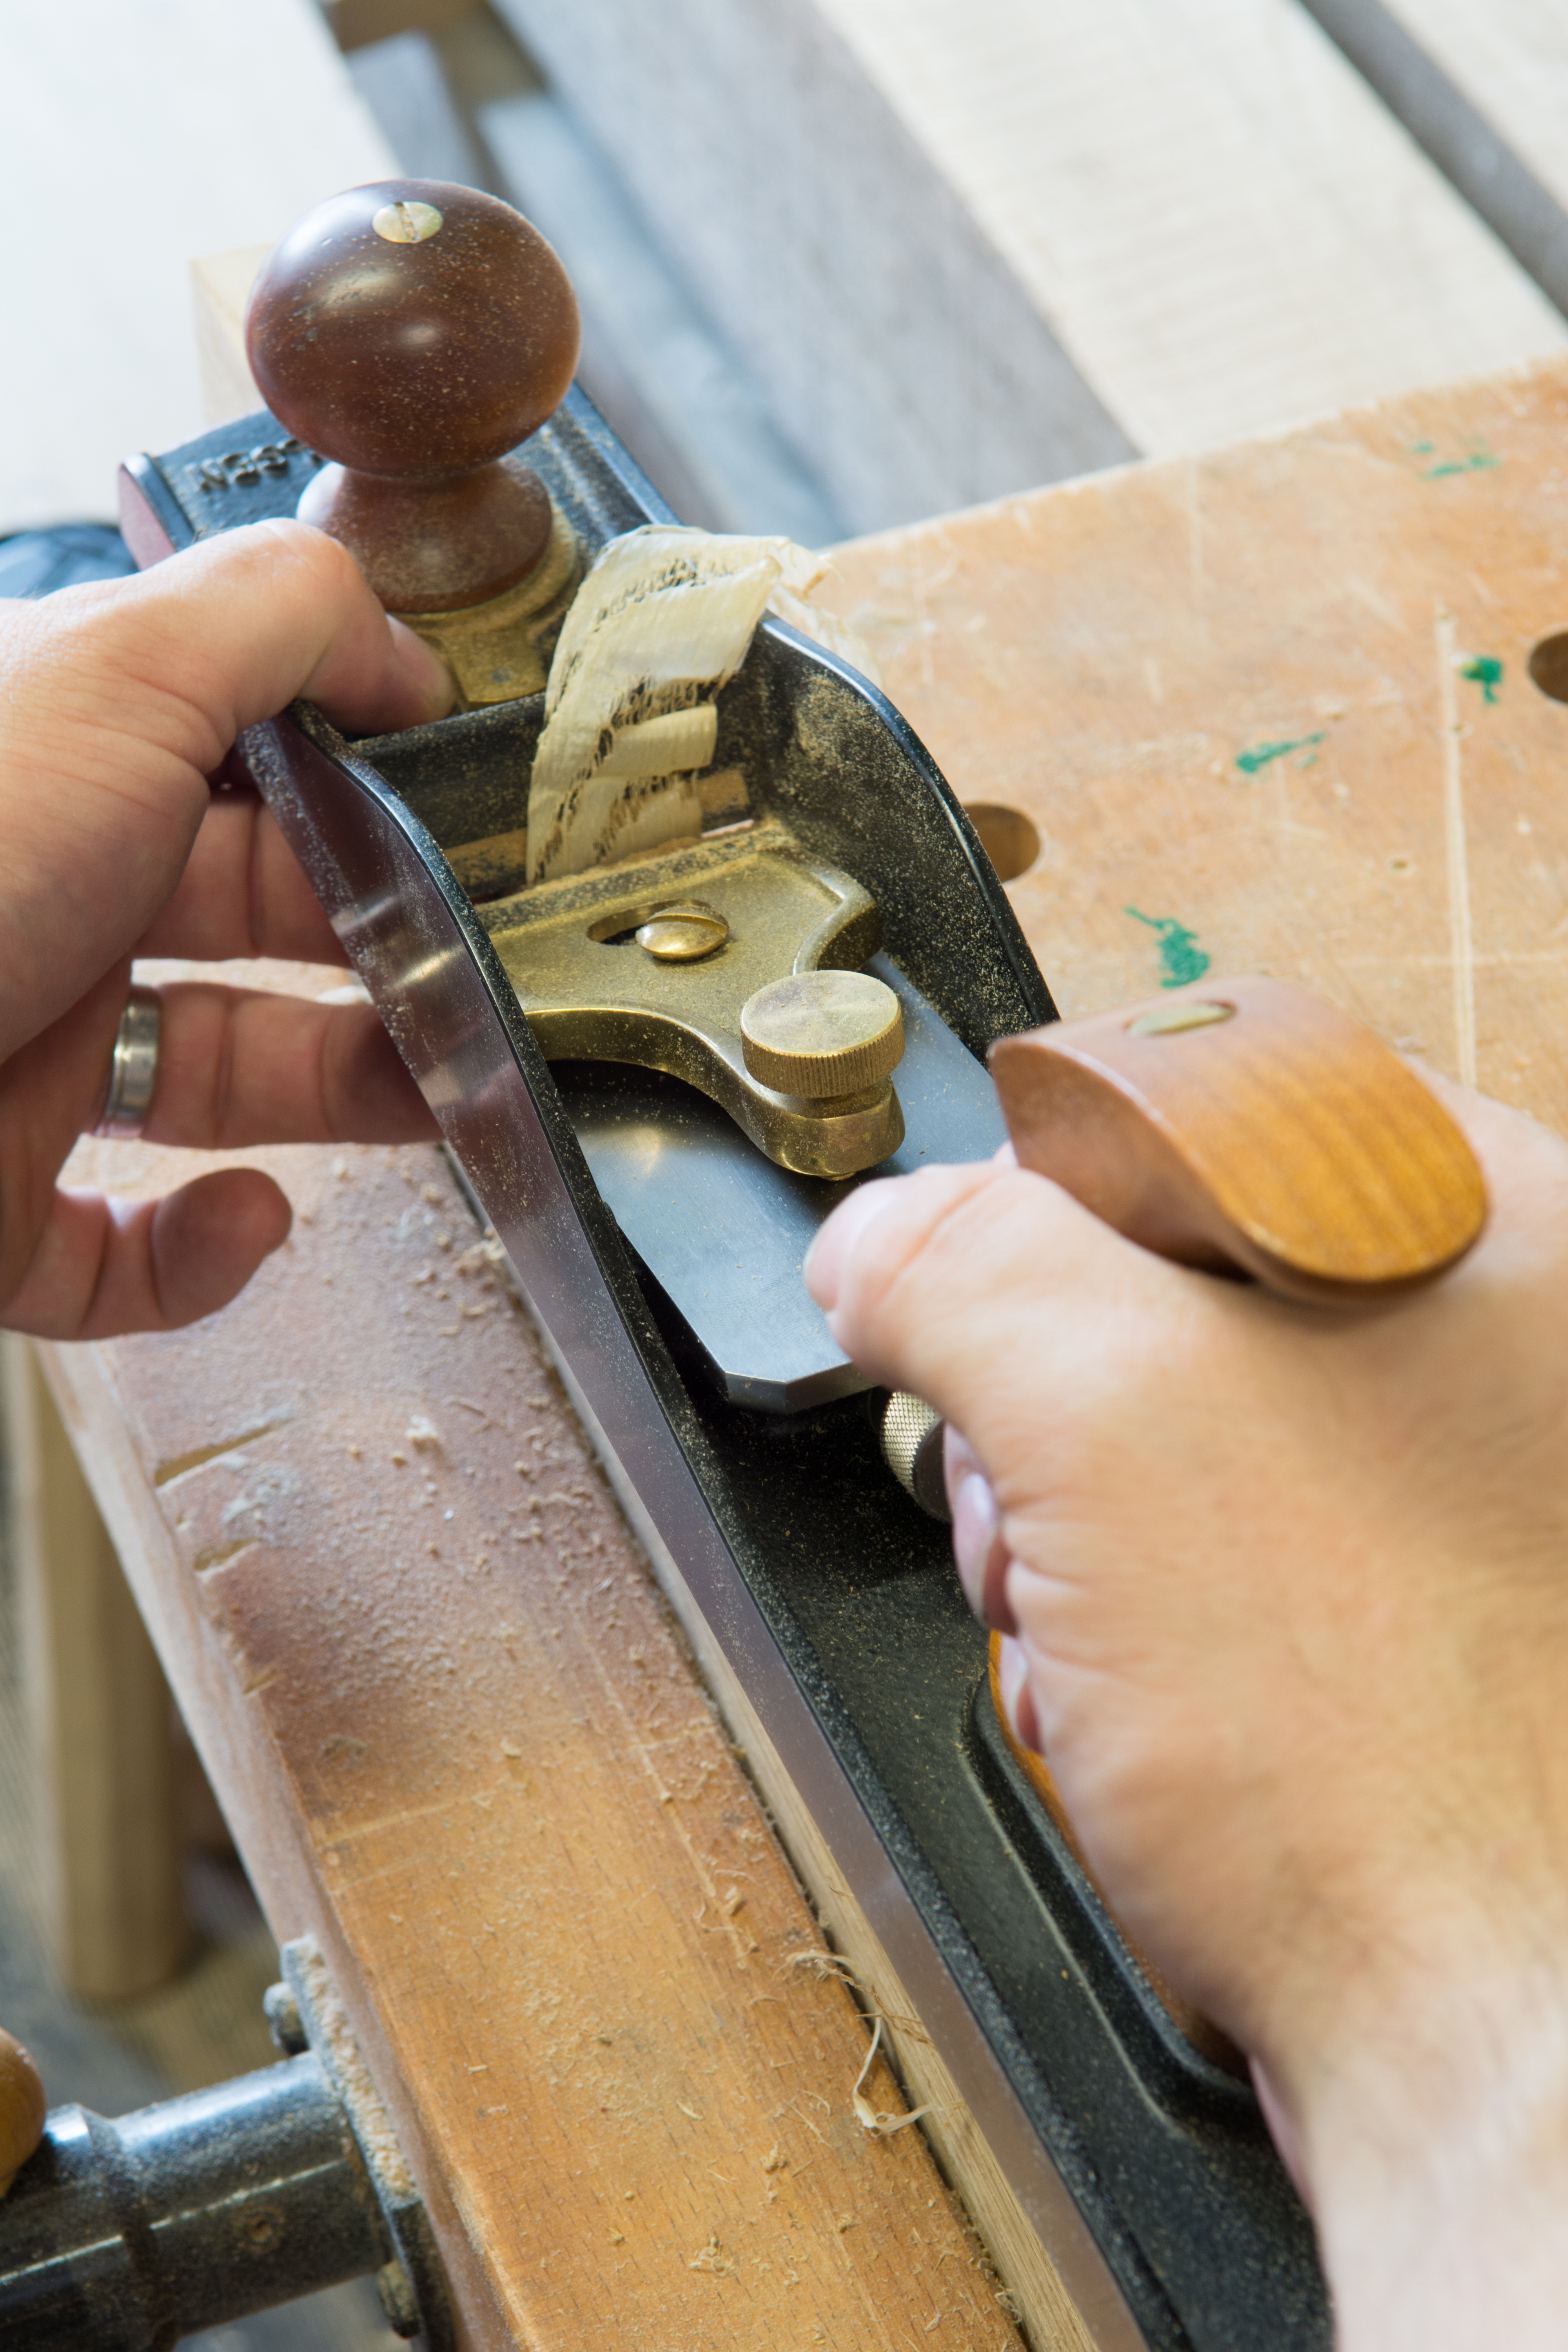
Next came the “medium” work. Jointing the maple seat blank was also straight forward, closing the mouth and using the same “common pitch” cutting angle iron made short work of getting a square and straight joint on 2” wide, 17” long boards. At 14” long, I found the No62 a bit too short to use as a dedicated jointer plane on larger stock – the bookcase required 42” long edge joints to blue up panels, and while it is certainly possible to do this with a shorter plane, I did long for my 24” long No8 jointer for this work. One advantage of the No62 over my usual planes was the centre of gravity. The lower angle of the iron together with the lack of frog, means that the centre of gravity of the No62 is lower than for a bevel-down plane. While not critical for many operations, this lower centre of gravity was a real boon when planing 45 degree chamfers around the perimeter of the chair seat – a task I find can be awkward with a bevel-down jack plane.

8

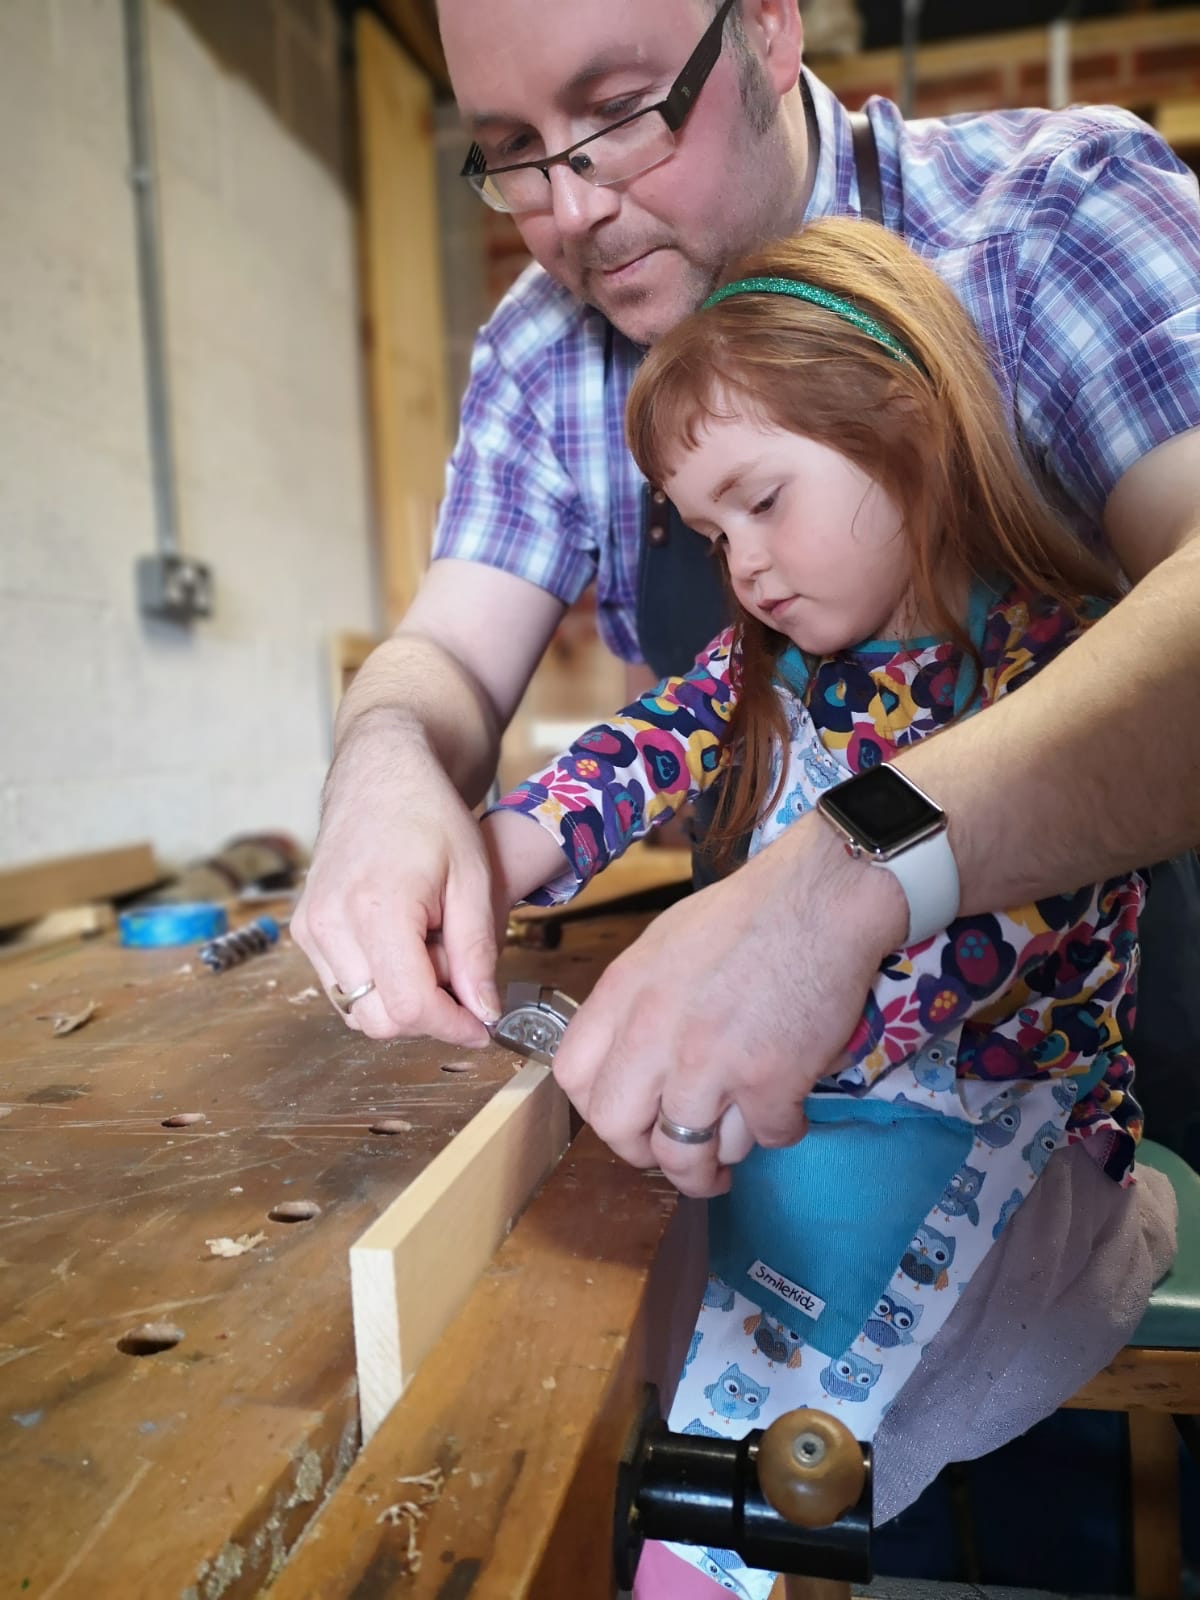
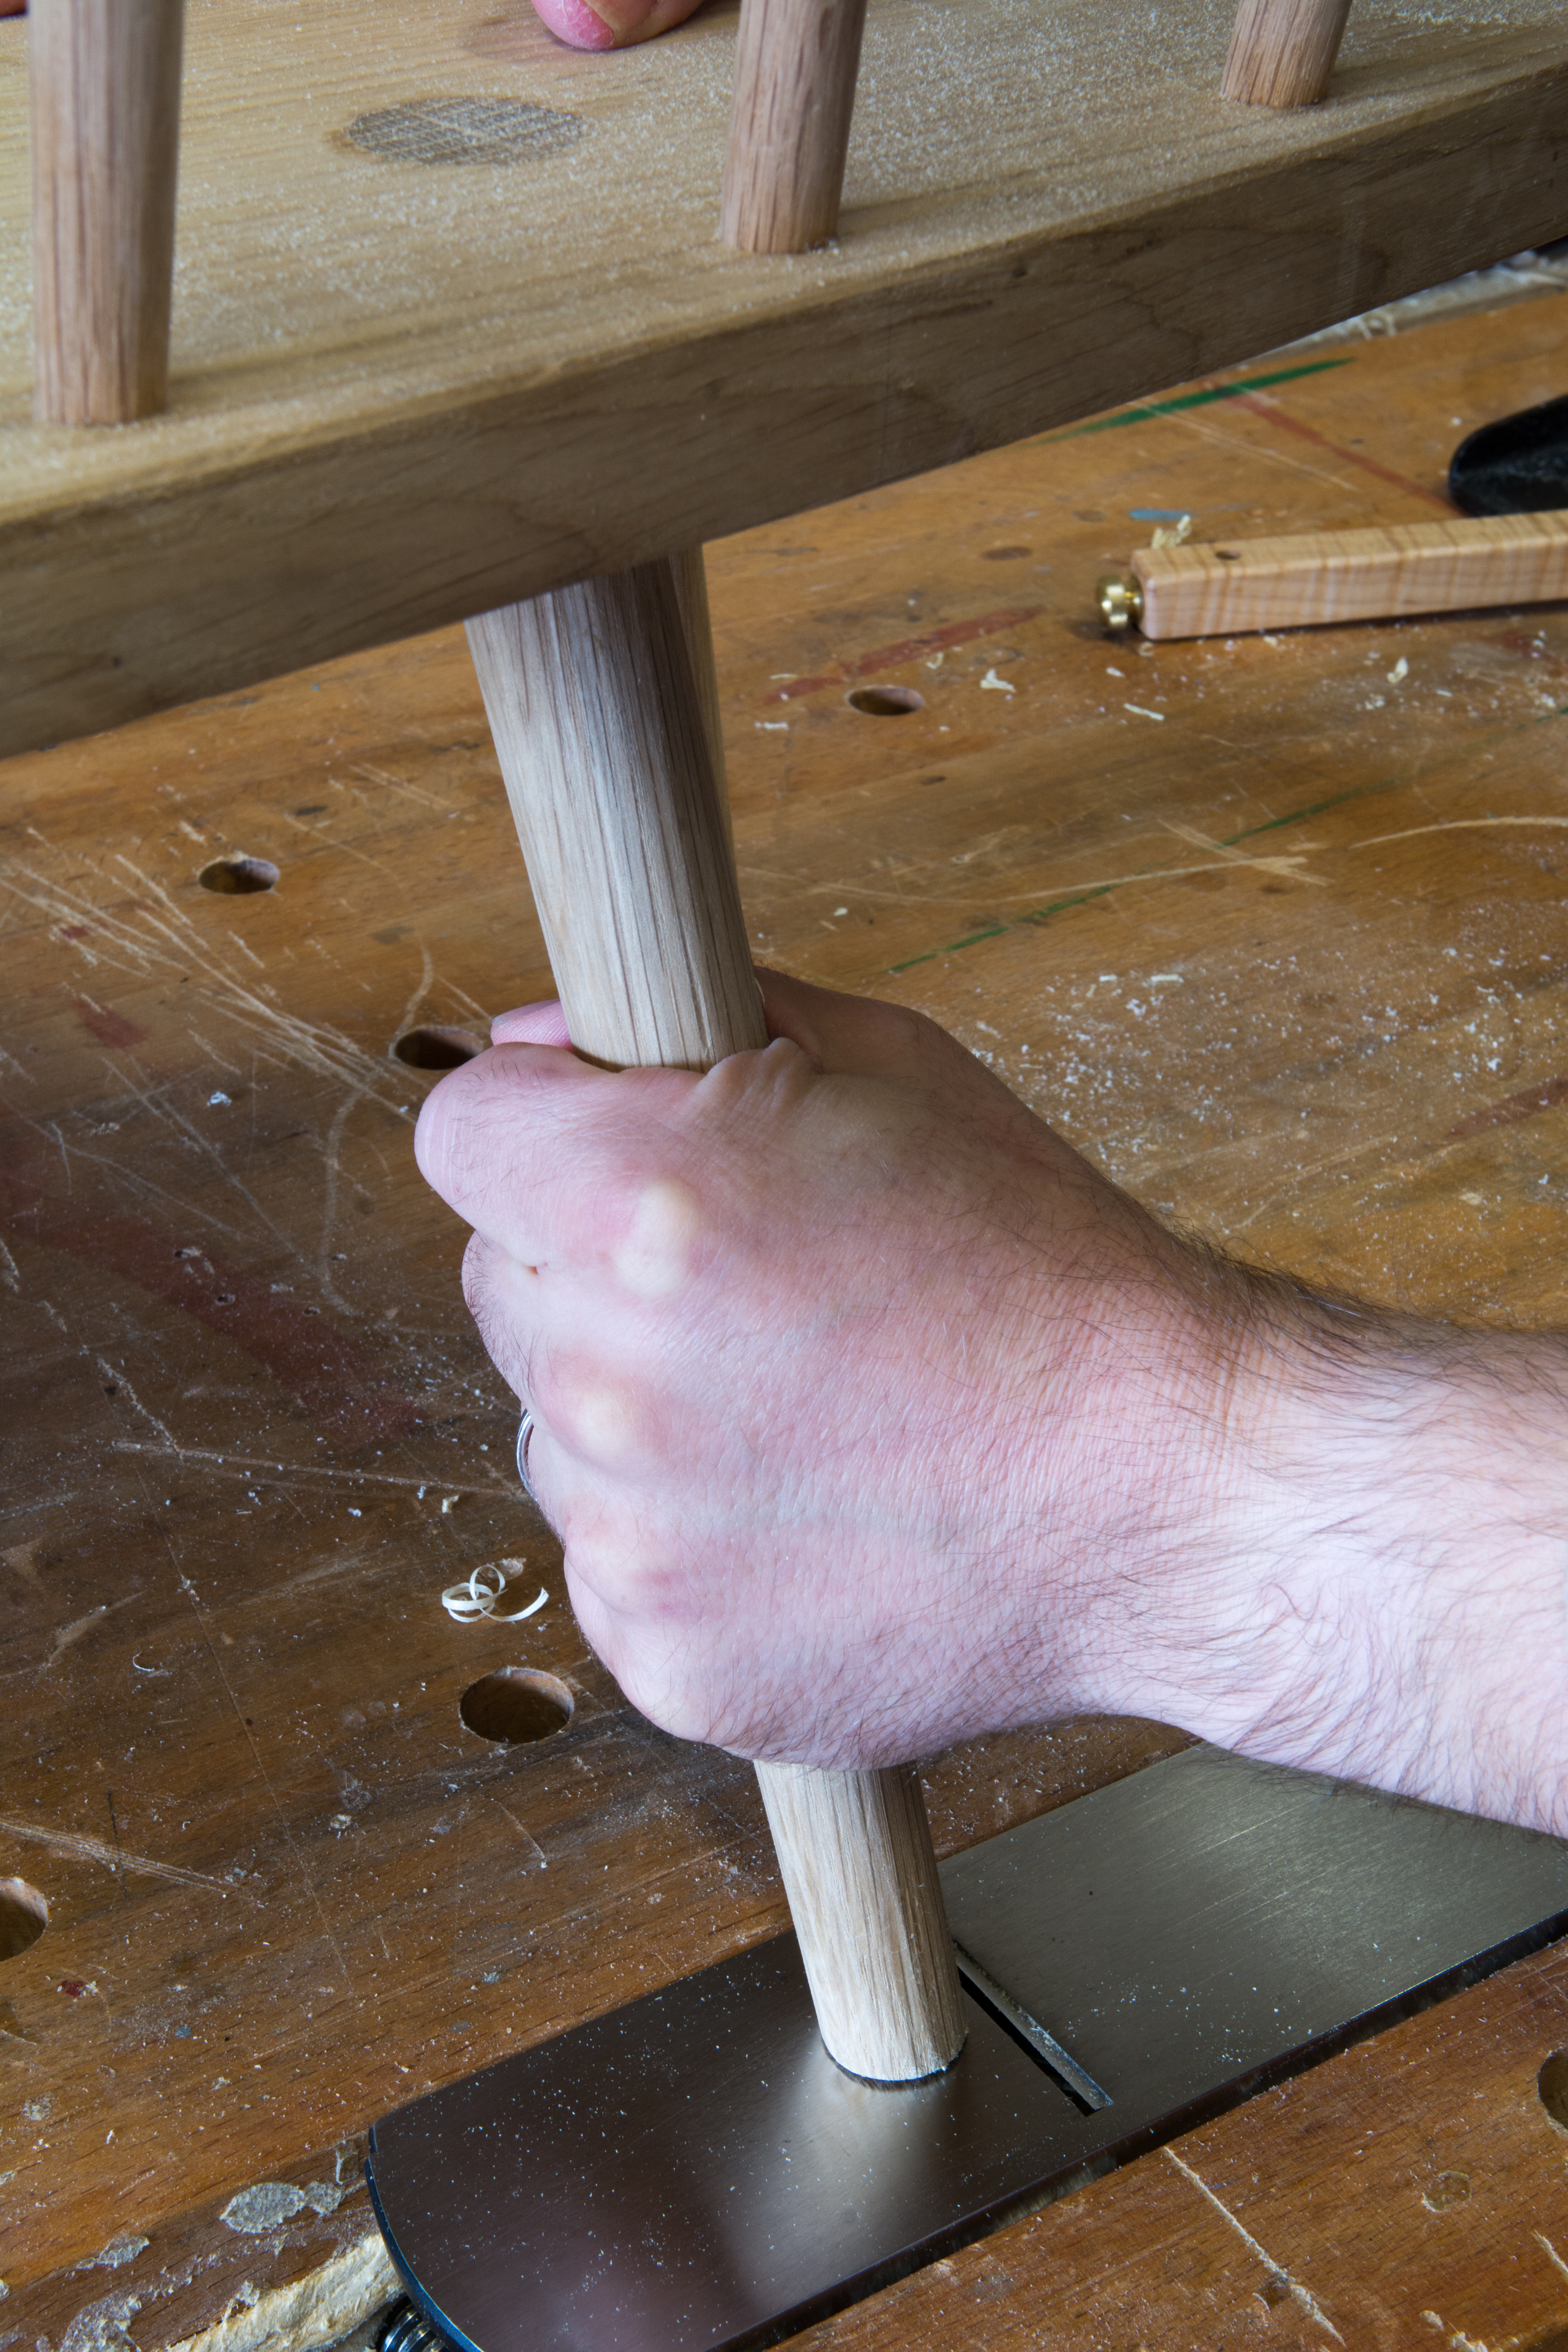
The low centre of gravity is an excellent attribute when planing chamfers

Finally was the “fine” work, and it was when shaping the chair seat and legs that the No62 really came into its own. The seat is trapezoidal in shape, with nearly 12” of end grain on each side to plane. I smoothed the top of the seat with an iron honed to 50 degrees, and quickly achieved that familiar glassy surface that can only be the product of a really sharp smoother on hard maple. Switching to a 25 degree bevel angle rapidly cleaned up the large expanse of end grain and left a very clean surface behind. The lower centre of gravity was also really beneficial when shaping the legs into tapered octagons, as it was easier to balance the plane on the narrow faces of the workpiece and plane at a consistent angle. Smoothing the larger pine and maple panels was an equally satisfying experience, and the No62 worked really well as a large smoother.

The Only Bench Plane You Need?

So, is the No62 truly the only plane you need? To be honest, given the variety of approaches to woodwork, this is an almost impossible question to answer. But here is what I found during my two months spent using only the No62. It performs well as a jack plane, and excels at planing end grain and working as a large smoother. The ability to swap out blades to make an immediate change to cutting angle is very effective, and certainly represents a cost-effective way of adding smoothing and jack planes to your tool chest. The No62 does handle a little differently to bevel-down planes, particularly the tote angle and the location of the adjuster (which I found less intuitive). If unsure which you prefer, I would recommend testing a No.62 before purchasing. Once I had got used to the feel of the plane compared to my regular jack plane, I enjoyed working with it and found it very easy to use.

9

Levelling a chair leg with the plane held in the vice. This is a trick I picked up from chair makers Peter Galbert and Bern Chandley

At 14” long the No62 is larger than I would really want for a smoother to follow my hand planed surfaces, and a bit too short to serve as a dedicated jointer for furniture casework. Ideally a smoother should be small enough to reach any subtle hollows in a hand planed surface, and a long smoothing plane will remove the top of any undulations, requiring more passes before it can reach the low spots. This is less of an issue for stock that has been machined straight and flat, but makes the No.62 a little less efficient as a smoothing plane for a woodworker who wants to do all of their own planing. The toothed blade was very helpful for dealing with truculent interlocked grain, and would be invaluable if working difficult exotics was a daily part of your workflow (I have a toothed blade for my No5 for exactly this purpose).

In short, if I had a machine shop to flatten, thickness and joint rough stock, then I could easily see the No62 being my most used plane. Similarly, if most of my work was building chairs or musical instruments, then the No62’s ability to handle both end and difficult grain would make it a key tool. I would not want to be without a full-sized jointer plane for jointing long pieces, but again, if you had access to a jointer machine this would be less of a drawback.

10

The low centre of gravity is also helpful when planing tapered chair legs

As it is, the No.62 has definitely earned a place in my tool chest (particularly for chair making where it really excelled) but wouldn’t tempt me to sell my existing smoothing, jack or jointer planes. For the machine-based woodworker who is looking to add a quality hand plane to their set up, a No62 would be just the ticket.

First article of 2019

img_1571

Over the autumn I put my regular bench planes away, and put a Lie-Nielsen No.62 through its paces to test whether a low angle jack really is the only plane you need. Issue 280 of Furniture & Cabinetmaking is now in print, and contains a four page article about that test, and my conclusions. So if you were wondering about the utility of low angle planes, it might just be worth a read.

Sharp Fixes Everything

IMG_0065

Writing about sharpening has always felt pretty redundant to me, simply because everything that needs to be written about how to sharpen has already been written – read “The Perfect Edge” by Ron Hock, the “Sharpen This” series by Chris Schwarz, and then get back to making your nicely sharpened edge tools blunt again (that’s the fun part!). So, over the five years of the blog I’ve always resisted writing about sharpening.

But this year a number of factors caused me to re-examine my sharpening routine and to change my system. So after getting acquainted with my new approach to sharpening, I thought a brief blog post was in order. I want to be clear though, there are many sharpening systems out  in the world, and all work providing you spend enough time to understand them. I”m not saying my current system is “best” (whatever that means), just that right now, it satisfies my needs. At Totness we used a Tormek followed by a fine water stone, finishing with a leather strop. After Totness I used oil stones for quite a while, because that’s what my Grandfather used. And for the past six years I’ve used Scary Sharp film on a sheet of 10mm thick float glass, lubricated with Liberon honing oil. All of those systems achieved a razor sharp edge, and I put in enough hours on each system to understand how to get my edge tools sharp. Each sharpening medium has different foibles, and there is always a period of familiarisation, which is why flitting between different systems is a recipe for blunt tools and frustration.

_DPP5871

Shapton Pro water stones – 1,000, 2,000 and 5,000 grits (top to bottom)

Scary Sharp worked really well, and the cost of admission is very low (£20 for an A4 sized piece of float glass, and a couple of pounds for the film itself). For those on a tight budget, or who are just starting out, it is an excellent system. So why did I make the switch? Parly because the Apprentice is starting to come into the ‘shop with me, and shows an interest in doing some basic tasks. It’s going to be a good few years before she’s sharpening edge tools, but with her being in the workshop I wanted to reduce the number of unpleasant chemicals splashing around. So honing oil was out.

The other factor that started to grate on my with Scary Sharp was the need to replenish the film every so often. Peeling off the old film, scrubbing away the residue and dried swarf with a meths soaked rag, and then applying the new film, all of this takes time. No one sharpens as often as they should, and anything which presents even a minor barrier to sharpening is less than ideal. Added to this is the fact that the film sharpens very nicely when new, but then cuts slower and slower as the abrasive is worn away. Which is not to knock Scary Sharp as a medium – if you have the patience and discipline to change films often, and if this doesn’t interrupt your workflow, then it is an excellent system.

_DPP7287

Setting the correct amount of projection to hone a 35 degree bevel, thanks to the angle block by Derek Jones

So a sharpening medium that can be lubricated without oil, and has a sustainable and fast cutting action? My solution was a set of Shapton Pro water stones (available in the UK from Knives and Tools). This isn’t a cheap option by any means, even using a minimal set of 1,000 grit (Orange), 5,000 grit (Pink) and 8,000 (Green). Adding a flattening solution to keep the stones true (I went with a DMT Dia-Flat plate) also adds to the cost. But after 6 weeks or so of using this system in the shop, I’m very pleased. Using a gentle spritz of tap water from a plant spray meets my criteria of having a non-harmful lubricant. And the Shapton stones cut very quickly, helping to achieve a keen edge in very little time. The faster it is to sharpen, the more often I sharpen. Flattening the stones with the Dia Flat is also a very quick process – the stones don’t dish particularly quickly, which means that minimal flattening is needed after each use. So right now this system works for me, and I am staying sharp.

_DPP7285

Honing the bevel

The rest of my sharpening kit is very simple. Honing guides are a whole other topic (and one I want to write about even less than I want to write about shaprning). After using a couple of different guides over the past six years, I’ve spent the past 3 being monogamouse to the Lie Nielsen honing guide, which holds blades firmly and allows a consistent bevel to be honed with ease. Again, it’s not better than the others, but it works for me. Derek Jones makes a very nice angle block for use with the Lie Nielsen guide, and that has been my go to for over 18 months now. I also keep a small engineer’s square in my sharpeng kit to check for square cross the width of the blade. The only thing I need to get now is a tray to hold the stones on in use.

_DPP7292

My simple, but effective, sharpening kit