Over the past couple of weeks I’ve written a fair bit about the maple component of the Autumn of Maple and Pine, but not much about the pine. Until now.
Making out dados while in the throws of Vesper Fever
As I mentioned previously, the pine is for a variation on the Policeman’s Boot Bench for our hall. Our shoe storage needs are slightly different to the client I built the original Boot Bench for, and so while I have retained the overall dimensions the interior will have a slightly different configuration. So instead of four full-length shelves, we have three shelves of greater depth which extend for three quarters of the length of the casework, and a vertical partition which leaves a full-height section for wellington boots. At the top of the partition is a drawer for post, house keys, and all of the usual clutter that accumulates beside the front door. The pine will be milk painted, most likely a sage green to compliment the yellow walls of our hall.
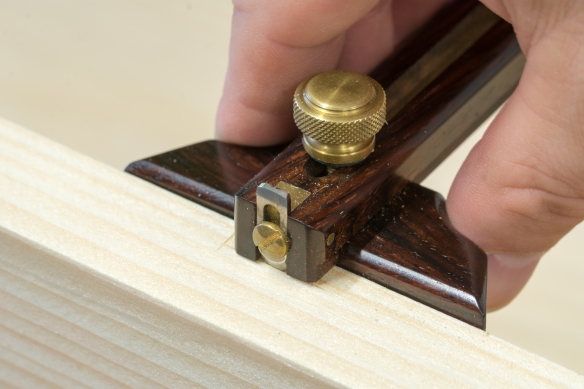
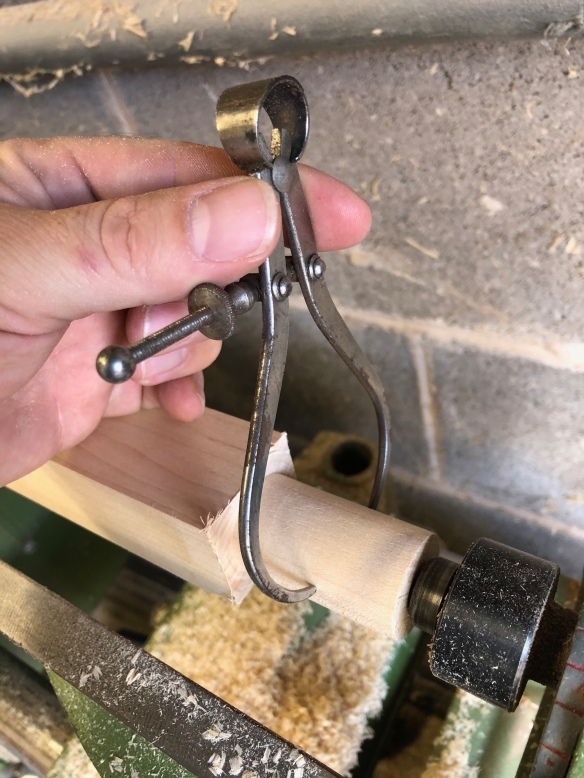
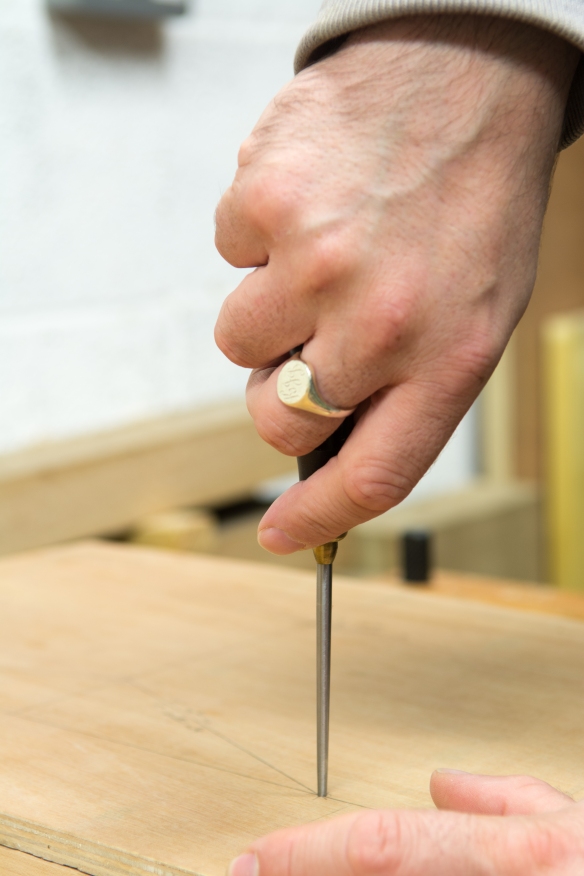
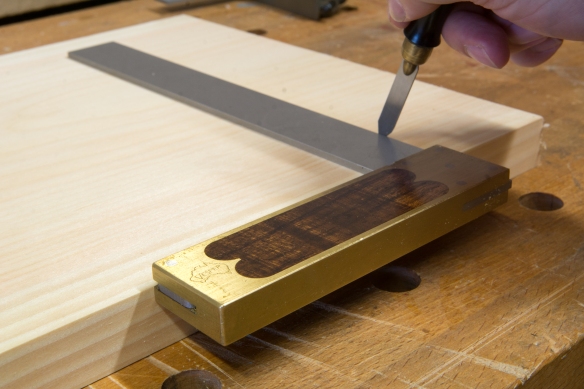
Laying out the dados with my Hamilton Tool Works small marking gauge
This is the first piece of furniture I have built for a communal area of the house, and I’m looking to solving the shoe storage problems which the Policeman discussed when collecting his boot bench. This will be a piece which we use every day, and which will be the first thing we see when we walk in the front door.
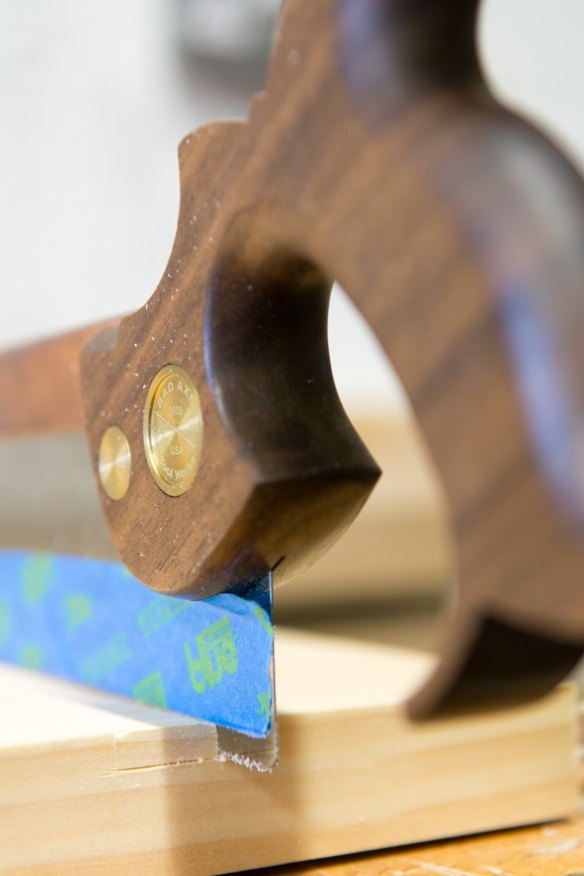
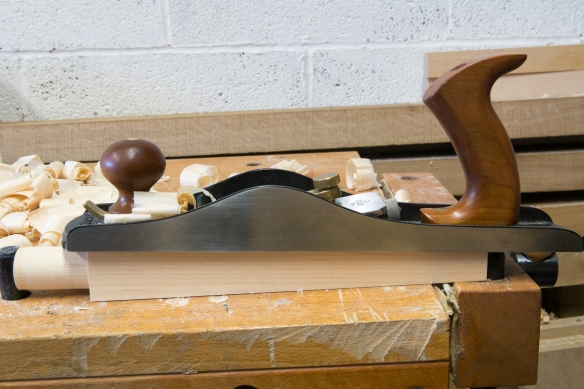
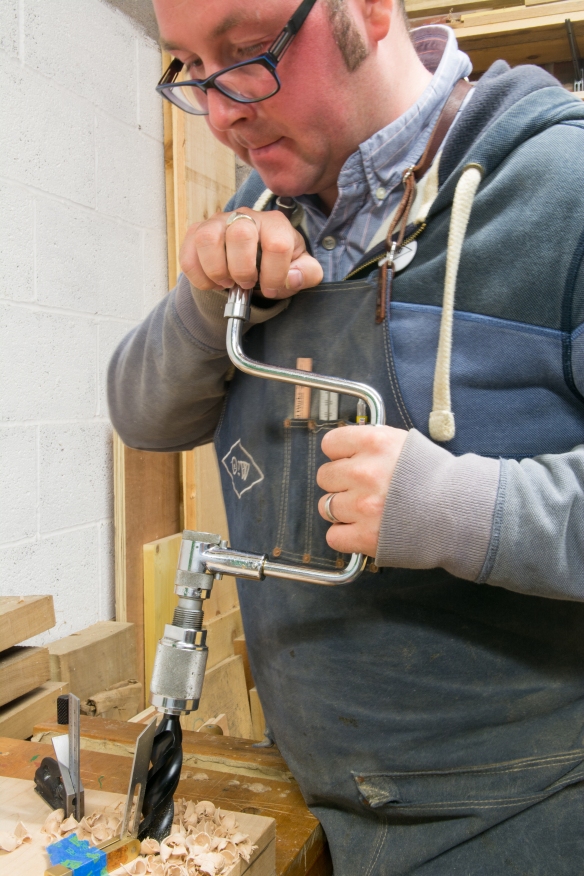
The Bad Axe Bayonet is still my favourite way of cutting dados
The construction methods of our piece will be the same as for the Policeman’s Boot Bench – dovetails, dados and rabbets abound. I will also be using cut nails to further secure the shelves to their dados. I wrote extensively about the process for making the Policeman’s Boot Bench at the time, so I don’t intend to go into the same level of detail this time around. But that is not to say that the blog will be silent on this project, instead I’m going to focus on the differences from the previous build, which I think will be quite interesting.
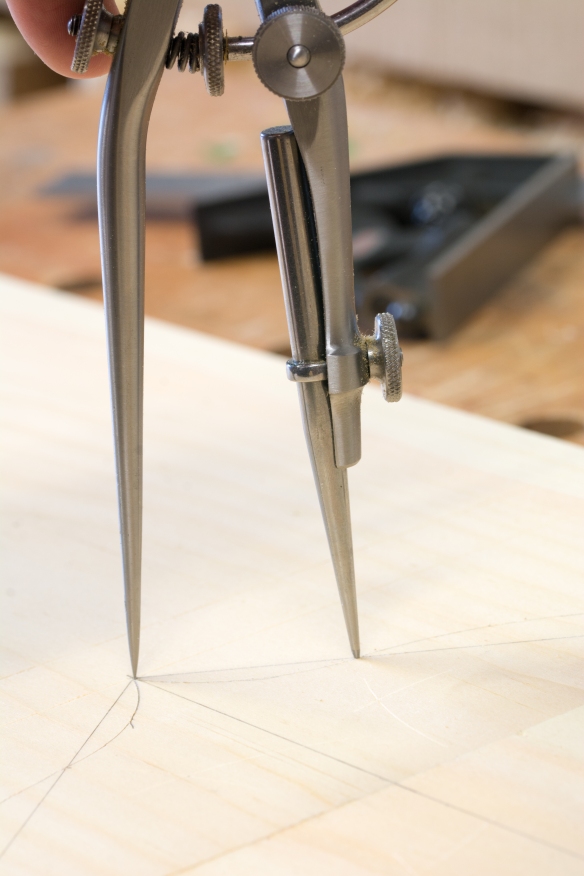
Laying out the foot detail with some pre-industrial geometry
So far I’ve been approaching this build in several discreet stages. The top, bottom shelf, and sides, form the main casework into which the partition and internal shelves will fit. I processed the outer components as a set, cut all of the rabbets and then laid out the foot detail. But before cutting the feet, I turned my attention to the dados for the shelves, divider, and drawer.
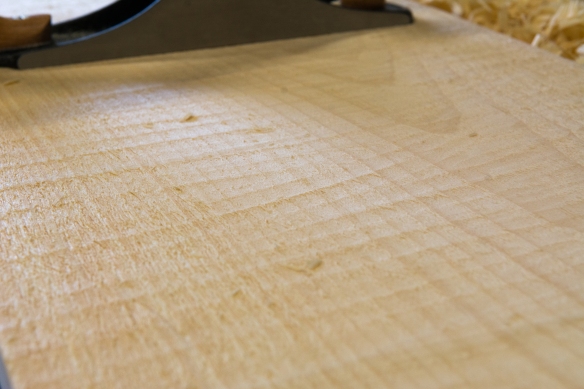
The underside of all of the shelves will be textured
Laying out the position of the shelves was causing me a headache until I abandoned numbers and used my dividers to step off proportionate locations. The bottom shelf is 3″ from the floor to allow space for the foot detail. I knew that the gap between the bottom and the middle shelf needed to be greater than the shelves in the Policeman’s Boot Bench to accomodate my Dr Marten boots, but laying the shelves out with numbers resulted in a clunky and awkward spacing. Instead, I divided the space between the bottom shelf and the top of the casework (less the thickness of the two higher shelves) into 9 equal units. The middle shelf was positioned four units above the bottom shelf, and the top shelf was positioned 3 units above the middle shelf.
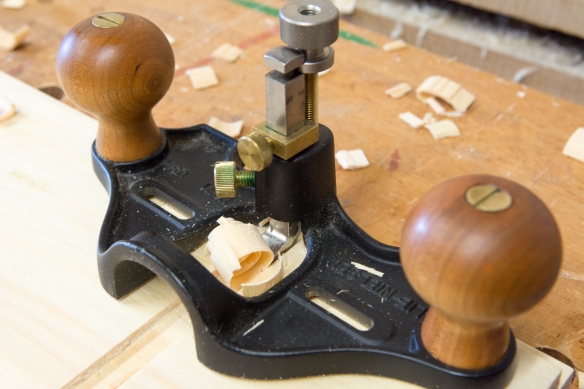
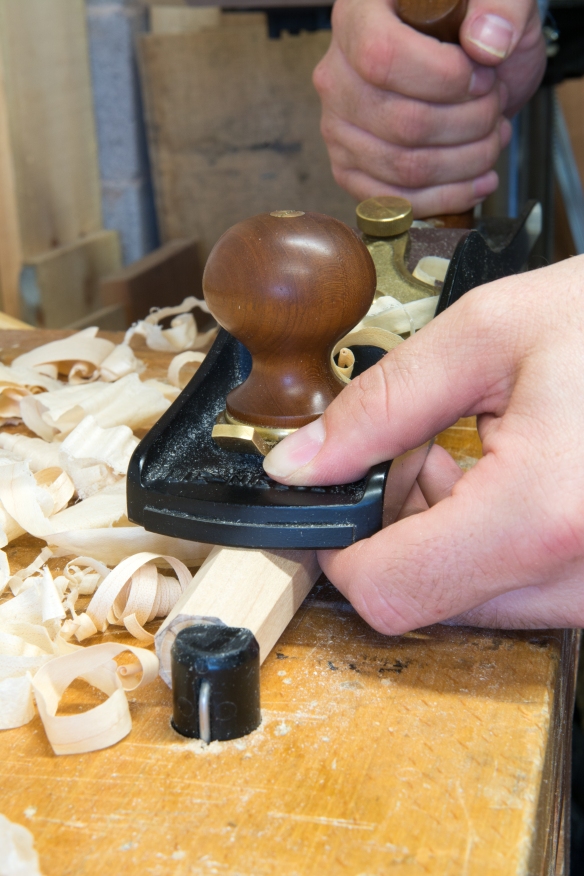
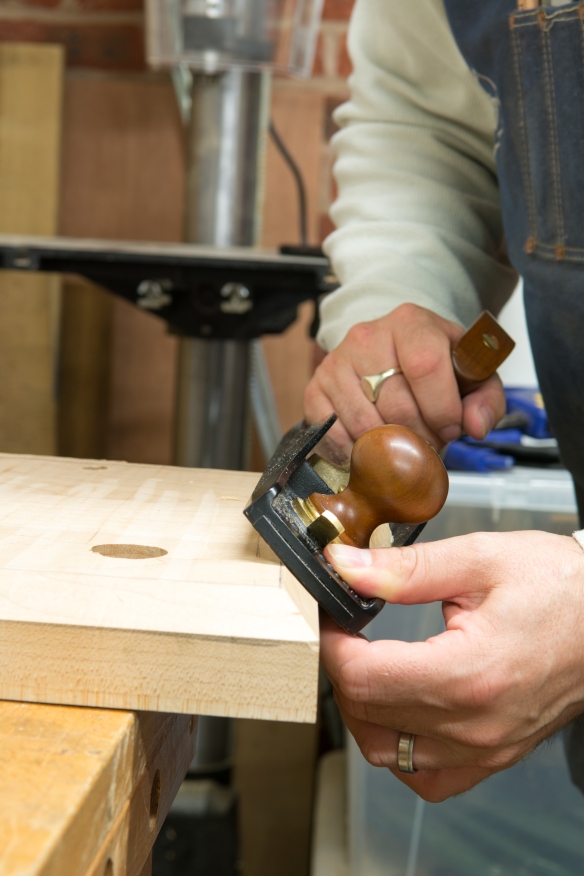
Cleaning dados with a router plane
I have no idea what the measurement of those 9 units is, but it doesn’t matter. The resulting spacing looks a lot more pleasing than any configuration I could devise using fractions of inches, and will accomodate a wide range of footwear. There is also a single dado in the bottom shelf, and the underside of the top, to take the divider.
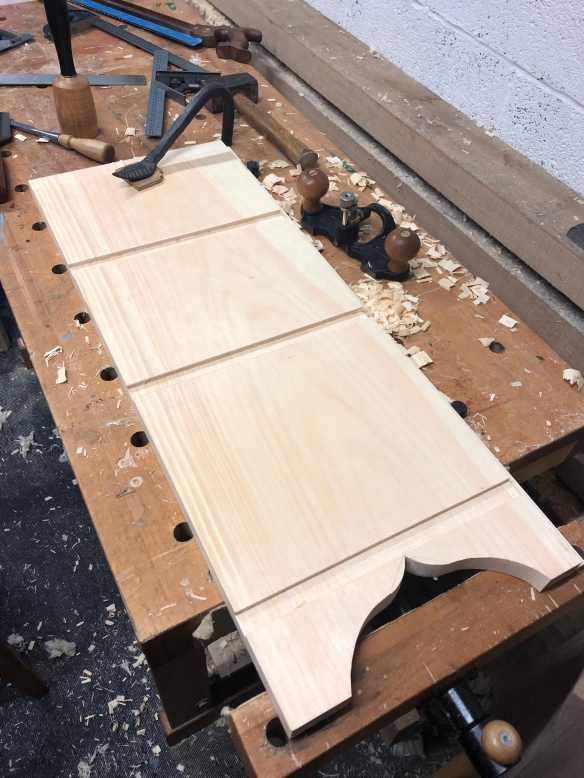
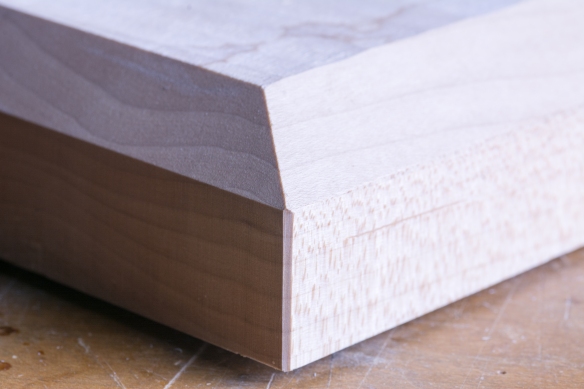
Dados and the foot detail
Once the dados were cut I cut the cyma reversa foot detail with a coping saw, cleaning up the curves with rasps. I fitted the bottom shelf by planing the underside with the scrub plane until the shelf was a snug, but not overtight, fit in the dados. The next task will be to dovetail the top and sides, and then start work on the internal fittings. This project is shaping up quite quickly, and I’m hoping to have it complete before our annual Christmas house party at the begining of December.

Test fitting the sides and bottom shelf.