Roubo Is Coming… Part 22

I never get much work done during the festive break as my focus is always on spending quality time with family.

That being said, I did manage to steal some time away in the shop this week to tick off a few outstanding elements of the Roubo bench build, the first of which was installing the brass plaque Jenny Bower engraved for the bench earlier this year. As the bench is now functional, if not yet complete, this seemed like a good opportunity to mount the plaque. After a final test fit in the recess, I put a thin film of adhesive on the back of the plaque and gently clamped it in place underneath a block of scrap.

Plate 11 shows a tool holder mounted on the rear edge of the benches. I’ve admired the Saddle Bags made by Jason Thigpen for some time, and so this was a perfect opportunity to order one. I find that shavings and other detritus tend to fall over both sides of my bench, but not over the front end, and so I mounted the Saddle Bag on the left-hand end of the bench, using dividers to centre it on the width of the bench top. The Saddle Bag will hold all of my frequently used layout tools within easy reach, so that I only need to get them out of my tool chest at the very start of the day.

The final task removed from my to do list was installing the Benchcrafted Swing Out Seat hardware. I still need to turn the seat itself, but mounting the hardware on the bench leg was straight forward and the seat moves very nicely.

After the Christmas break I will return to the Roubo bench build in earnest, and aim to have it completed by mid-February.

Roubo Is Coming… Part 21

DSC_1721

This weekend saw another major milestone reached for the Roubo bench build. The benchtop is completely flattened, and I’ve applied a finish to the bench (more on that later). While there is plenty left to do before the bench is complete, it is now functional as a workbench, which means that I can use the bench to finish the last elements of the build.

DSC_1722

This benchtop really does dwarf the No3 smoother

As predicted in my last post, jointing the bench top did not take too long, and the top is (for now at least) flat to 0.005″ over 24″ in any direction. Which is plenty flat enough for my work, and gives me a good basis for flattening the top when it moves in six months or so. After jointing the top I smoothed it with my No.3 smoothing plane. Keeping track of which elements you have worked on such a large surface area can be challenging, and so I hatched across the entire bench top with a lumber crayon. Overlaping strokes with the smoothing plane removed the crayon, and so I knew at any time where I still needed to plane. For each complete pass with the plane, I re-hatched the top, and worked the whole surface again.

DSC_1723

Flat

Te middle of the slab contains some pith, and the grain direction changes on each side of the pith. I therefore found it necessary to work in opposite directions from each side. The purpose in smoothing was mainly to remove the tool marks from the previous flattening operations – you could potentially skip this step if you wanted. While I wanted to remove most of the tearout, I’ve been pragmatic and not worried about removing every last spot as that would require taking a vast amount of material off the top and risks taking it out of flat. And after all, it is a workbench which will take a lot of abuse over the coming decades.

DSC_1730

Chamfering the corners of the top with the Philly Planes chamfer plane

Once the top was flat and smooth, I prepared it for applying the finish. This consisted of a number of small tasks. First I chamfered the top corners of the slab with my Philly Planes boxwood chamfer plane. Secondly, I taped up the two areas I do not want to get finish on – the top of the leg vise, as I will be gluing crubber to the vise jaws, and the recess where the plaque engraved by Jenny Bower will be glued. I also vacuumed any debris lodged in the splits in the top, so that these did not absorb finish. As a final step, I did a sweep around the undercarriage joinery to remove any squeeze out that had survived gluing up the bench last month. The Benchcrafted Skraper is perfect for removing dried glue without damaging the underlying surface.

DSC_1741

In the white and awaiting oil

With the bench prepared, I ragged on a coat of Boiled Linseed Oil. This is a good solution for finishing benches, as it is dirt simple to apply, does not create a slick surface (I want my workpieces to stay still, thank you very much), is easily applied and maintained, and will prevent glue from sticking to the benchtop. Thirty minutes later I wiped off the excess, and now the bench will sit over the Christmas break while the oil cures. The only jobs left to do before the new year are to fit the plaque and also install the Benchcrafted Swing Away seat.

DSC_1743

Oiled! I did apply finish tp the whole bench, even though the mixture of lighting sources (natural light and overhead fluorescent) makes it look like only some components were oiled.

Roubo Is Coming… Part 20

DSC_1674-2

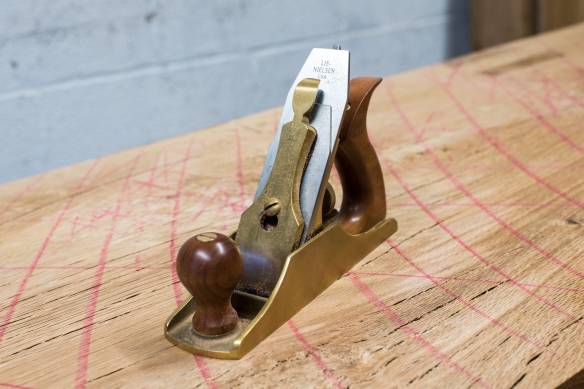
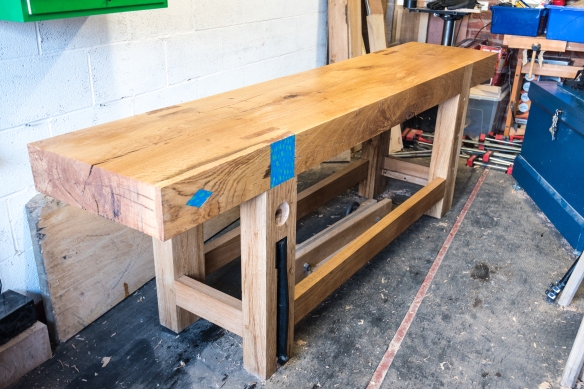
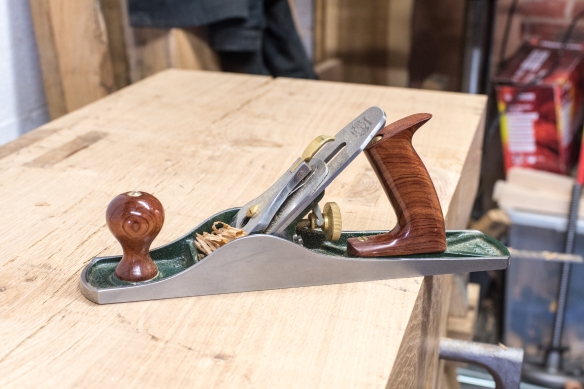
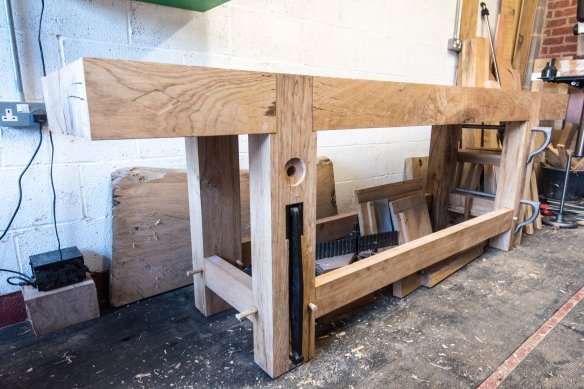
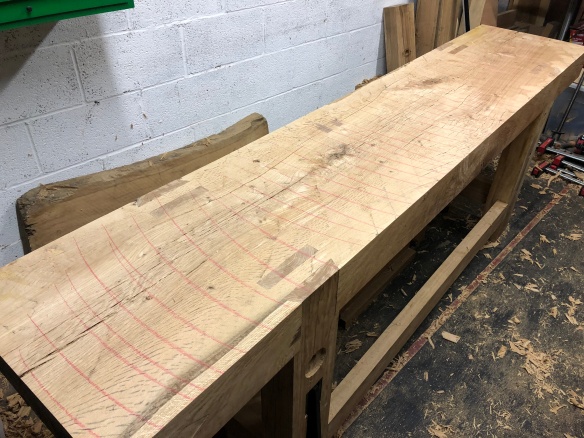
This is how the front end of the benchtop looked before traversing with the jack plane

I’m going to be honest with you, dear reader. Flattening the bench top has been the single most challenging aspect of the Roubo build. Not the large-scale joinery (which is where I expected the challenge to come), but getting the bench top flat and true. Why is that? I flatten every component of every build. And while that may be true, at 102″ x 21″ the bench top is the single largest surface area I’ve tackled, and the only project which has truly dwarfed my big No8 jointer plane. That being said, with perseverance and trusting fundamental handwork techniques, even a large surface area like this can be tamed.

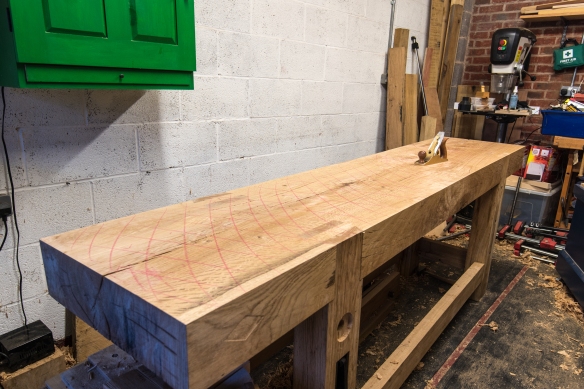
At the end of my last blog post the back half of the slab had been traversed flat across the width. Since then I have traversed the front half, and then did some measuring with the straight edge to build up an understanding of the topography of the slab. A couple of truculent knots, and some pronounced cupping, meant that the slab had quite a lot of variation before being traversed. There was also a stubborn low patch along the rear edge, between the two legs.

IMG_5104

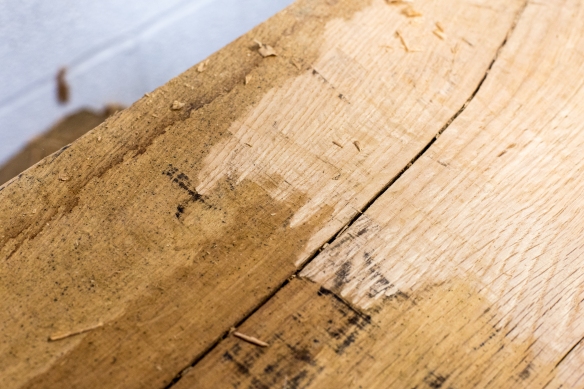
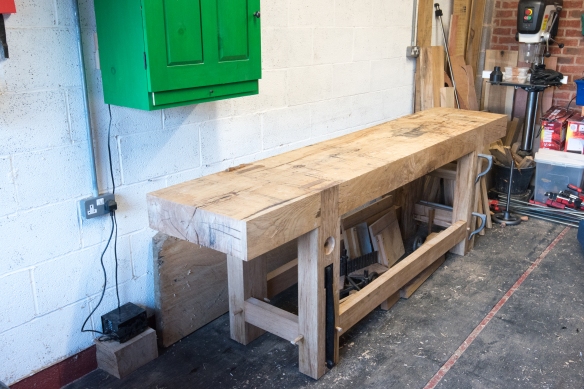
Traversed, but with some stubborn low patches remaining. These will come out as the benchtop is flattened

After traversing, the next step is to work down the length on a 45 degree skew, working in one direction and then the other. The basic premise is that each process removes the variations of the one before, finishing with jointing along the length. I started working on the skew, and found myself chasing my tail, introducing a fall-off on the far edge where it had previously been flat, and generally making no progress. That’s ok – it’s wood and it hates you, and sometimes things don’t go quite to plan. My preferred solution in such circumstances is to take a break, preferably for a day or so, and return to the task fresh. I also took the opportunity to correspond with Mark Hicks, who kindly gave me some helpful pointers on how to tackle flattening such a monstrous piece of oak.

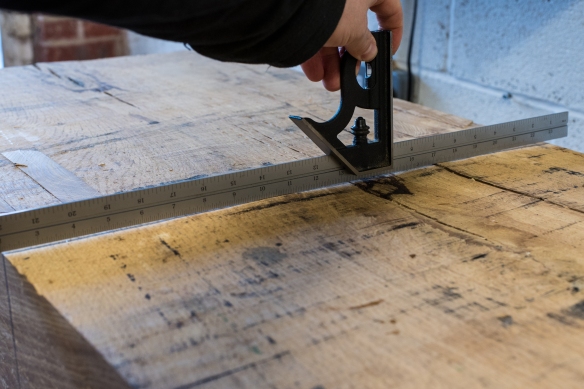
My first step when returning to the workshop was to sharpen my No5 and No8 planes, and to undertake a hard reset of the slab by traversing it flat again. This didn’t remove too much material, but did give me a solid reference surface from which to work. One of the interesting questions with flattening benchtops is “how flat is flat?“. You can work until you’re getting full width shavings off the plane, but after my recent frustrations I decided to be a bit more scientific about the process. So, I dug out my feeler gauges and traversed the bench until the entire top was flat to 0.005″ over a 24” length. I found that marking the high spots with a red lumber crayon helped to identify the key areas to work.

IMG_5163

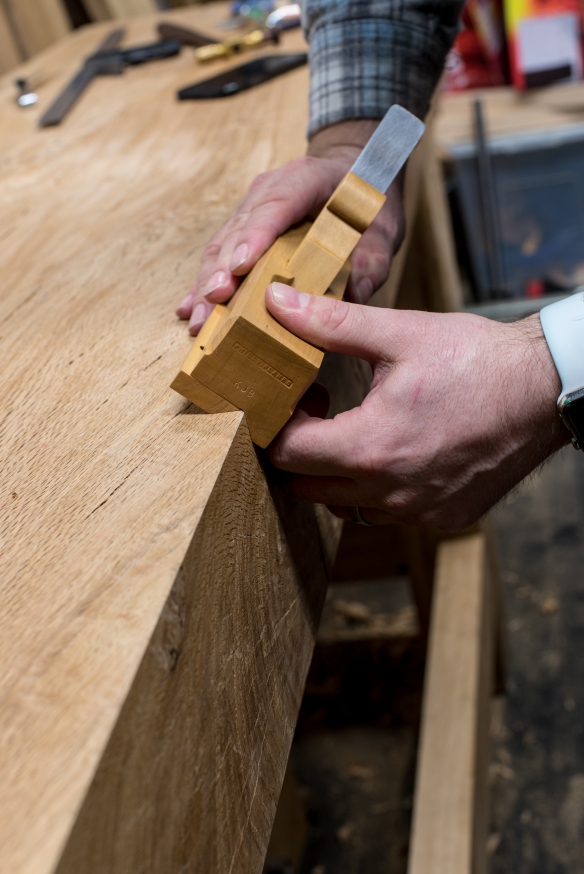
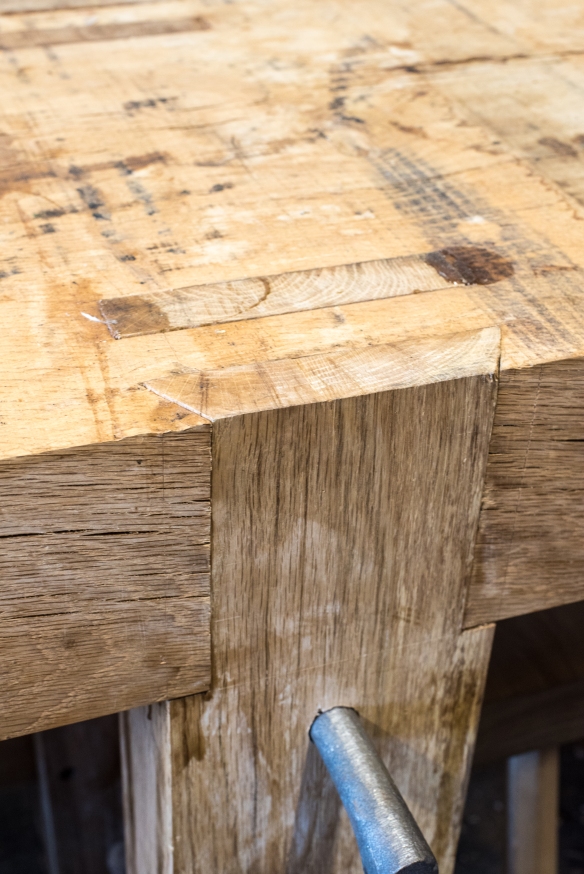
Working the benchtop on a 45 degree angle removes variations from traversing. Shading the benchtop with lumber crayon helps to identify when the whole surface has been worked.

Once the benchtop was traversed flat, I went back to working at a 45 degree angle with the jointer. This can be an awkward stroke as the plane ends up being extended far in front of you, which for the heavy No8 can introduce a nose-dive, rounding over the far edge of the workpiece. Paying attention to body mechanics, and being careful to end the stroke with pressure applied to the heel of the plane, is essential. I also measured the bench top every few inches with my straight edge and feeler gauge, marking off the high spots to ensure that the plane was removing material where it needed to. After six passes down the length of the bench top in each direction, the surface was flat to 0.005″ over 24″ on both the diagonal and across the width. Which seemed like a very good place to stop for the day. The length is a bit lumpy, but not more than 0.008″ on 24″ for the majority of the surface, and jointing will remove that in relatively short order.

070364D8-9901-4228-8C08-E3981529746D

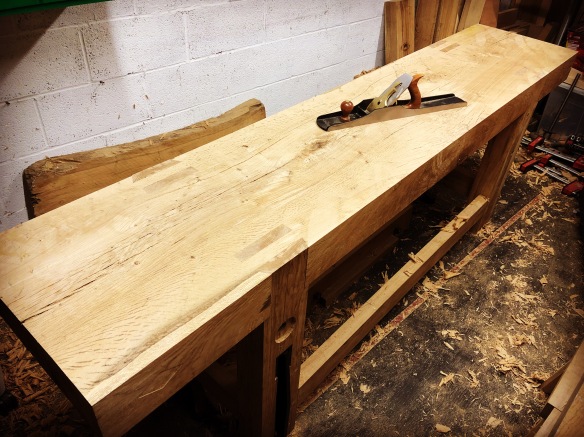
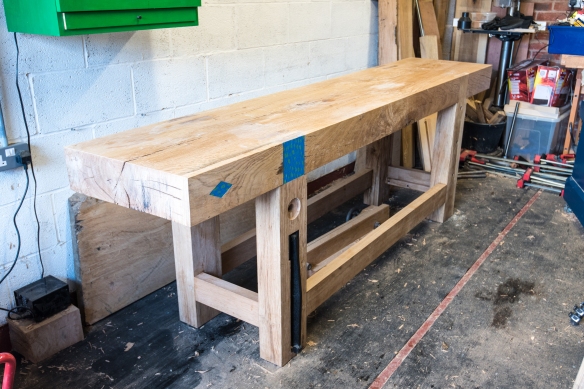
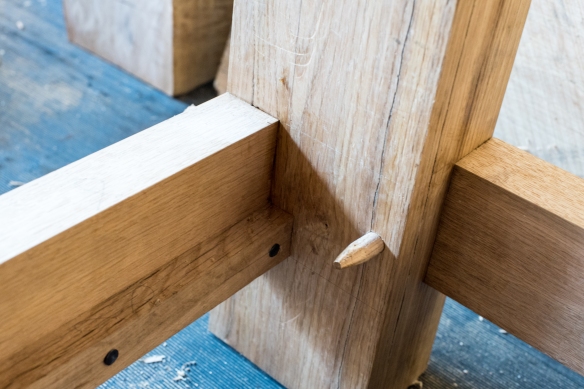
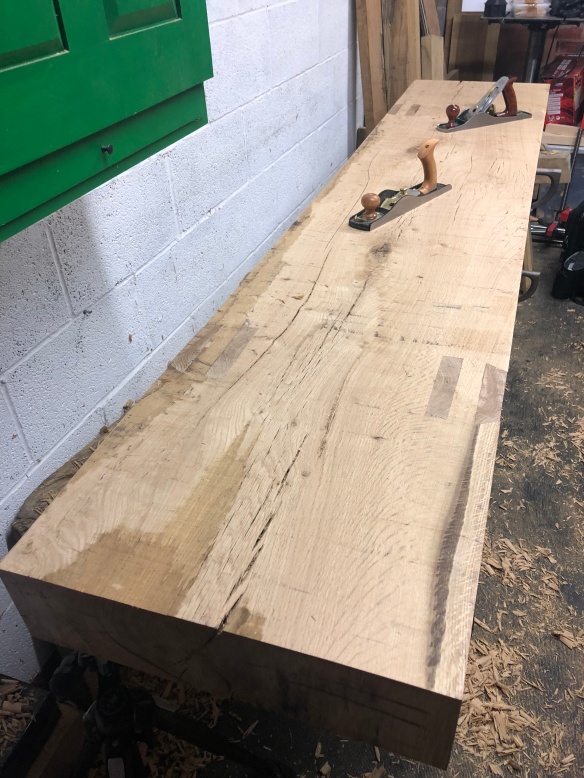
Flat across the width and on the diagonal. Only jointing the length to go now

Flattening the benchtop has been humbling for sure, but moving through those difficulties and getting it to a state where is pretty much finished is very gratifying.

Time for Tea

The latest issue of Popular Woodworking landed on my doorstep yesterday. I’ve been looking forward to this particular issue because it includes an article I researched and wrote at the start of the year about the restoration of the iconic Charles Rennie Mackintosh designed “Willow Tea Rooms” in Glasgow.

Following PopWood’s entry into a Chapter 11 bankruptcy protection earlier this year it wasn’t clear if this article would ever see the light of day. Fortunately, with Active Interest Media’s purchase of PopWood, the magazine seems to be in better shape.

I’m grateful that this article is now in print, as it examines a painstaking (multi-million pound) restoration of a hugely important Mackintosh landmark, and shows the very finest of contemporary Scottish craftsmanship. It is a breathtaking project, and I hope readers will find it as interesting as I have.

Roubo Is Coming… Part 19

DSC_1662

Trimming the drawbore peg with a flush cut saw

With the Roubo bench now in position in the workshop, the finish line is starting to come into focus. That being said, there is still plenty left to do, including flattening the bench top, shaping the vise chop, cutting the planing stop mortise (and fitting the planing stop), abd drilling the holdfast holes. I’m hopeful that the bench will be in use by the end of the year, even if there are a few things left to finish off in January.

DSC_1665

Paring the peg flush

The first thing I did to the assembled bench was to trim the drawbore pegs flush on both the external and internal faces of the legs, cutting the waste off with a flush cut saw. Flush cut saws always feel like a compromise tool to me – in theory they should do the job perfectly, but in practice it is very easy to find them marring the surface of the work. To avoid this, I gently angled the saw just a hair away from the surface of the leg. On the show surfaces I then pared the remaining waste flush with a paring chisel. On the internal surfaces of the legs, I left the pegs as they were cut off the saw.

DSC_1667

Looking clean

Now that the bench was looking less like a well staked vampire-Roubo, it was time to start flattening the bench top. This will need to be done periodically as the slab moves, although my expectation is that after the first year or so the slab will move very little. The first flattening takes the most work, as the top side of the slab had not been dressed before assemling the bench. This is critical work, as I want a flat surface to work on free of twist or undulations, and so I decided to pace myself across several sessions rather than rush to get it done in one go.

DSC_1669

Checking the top for twist

The first step was to get an understanding of the topography of the bench, using winding sticks and a 60″ straight edge to identify where the main bumps and hollows were. The top was roughly “m” shape in cross section, with low points along each edge, and two bumps separated by a hollow in the centre of the top. Traversing the top with a jack plane (my normal method for heavy stock removal) is ideal for getting the bench close to flat, as the plane will skim the tops off the bumps and bring them down to the level of the hollows. I divided the bench length into two sections, and focused my initial efforts to the rear half.

DSC_1671

Flushing the tenons with a No62 low angle bench plane

Before traversing, I decided to flush up the end grain of the leg tenons, as these were protuding through the bench top in a number of spots. That sheer mass of end grain is not much fun to plane with a bevel-down hand plane, although it can be done. Fortunately, I had recently invested in a Lie-Nielsen No62, which as a bevel-up plane works wonderfully on end grain, and flushed the end grain rapidly leaving the bench top ready for traversing with the Clifton No5. The No62 is not essential for this task, but having it to hand did make tackling the slab much more pleasant, including on some harrowing knots which the low angle blade geometry cleanly slices through where my No5 wanted to ride over.

DSC_1672

Planing across the grain allows you to remove more material quickly, and flattens out any bumps and hollows

I left the bench top with the back half traversed flat. When I am next in the workshop I will traverse the front half flat, following which I will then joint it so that there are no bmps or hollows along the length.

DSC_1673

The transformation when planing rough stock never fails to amaze me

Roubo Is Coming… Part 18

DSC_1648

The top is not yet flattened, but this joint looks ok

Glue-up is often the most stressful element of a build, even when it goes smoothly. So glue-up of a piece that cannot be easily disassembled in the event that something goes wrong, and in the presence of other folk? I’m going to be honest and say that I wasn’t much looking forward to assembling the Roubo workbench. That being said, all of the work fussing the fit of the joints, and mentally rehearsing the sequence of assembly countless times, paid off. The glue-up went without incident and I owe a debt to my team of helpers.

DSC_1654

Drawbore pegs, which I will trim next time I’m in the ‘shop.

The set-up for assembling the bench was quite simple. I had three portable heaters running for a few hours before hand to get the temperature to hide-glue friendly levels (I used Titebond Hide Glue for this assembly as it has a lower working temperature than Old Brown Glue), a bucket filled with boiling water to keep the glue bottles warm and to help with clean-up, a pair of lump hammers, and solder brushes for glue spreading. No need for clamps for this glue-up!

DSC_1650

Underneath the bench top – shelf supports and the other end of the drawbore pegs

The first stage of the process was to glue and assemble the undercarriage. We made two sub-assemblies each of a pair of legs joined by a short stretcher, then inserted both long stretchers into one sub-assembly and manouvered the second sub-assembly onto the opposite end of the long stretchers. At this stage the stretchers were not clamped in, nor were the drawbore pegs inserted, as I wanted to allow the undercarriage to flex a little when the legs were inserted into the top. After a quick clean up of squeeze out with wet rags and toothbrushes, we then painted the double tenons on the legs with glue, and moved the slab top onto the legs. This was the moment I have been simultaneously looking forward to, and dreading. The slab settled nicely about three inches onto the tenons just under its own weight, and gentle hand pressure moved it slightly further along. To drive the tenons the rest of the way through, we lifted each end of the bench (by the short stretcher) in turn, and dropped it from about 6″ off the ground. The shock of the legs hitting the floor drove the slab deeper onto the tenons, and after three drops per end it was fully seated.

DSC_1655

The bench in situ, ready for the top to be flattened.

As a final step we then inserted the drawbore pegs to achieve a completed clamp free-assembly. The pegs were covered in glue and then driven home with a lump hammer, after which we did a thorough clean up of squeeze out and drank a celebratory beer while feeling quite satisfied with life. The fit of the tenons in the top looks ok, and there were only a few gaps big enough to drive wedges in. That may change as the bench settles and I flatten the top, but I have plenty of wedges prepared (all cut from an offcut of a stretcher) so can gap fill as necessary.

IMG_4991

Richard, Dad, me, Dan, and Hanu (l-r) after assembling the bench

The workshop was feeling quite cramped wih two benches in situ, so a few days after we had assembled the bench I reconfigured the ‘shop layout. The Sjoberg bench is now at the end of the ‘shop where it will serve as my shapening station, replacing the temporary sharpening table I set up when I moved into the workshop 5 years ago. With the Sjoberg relocated, I was able to move the Roubo into position 6″ out from the left hand side wall, and re-hang the saw cabinet on the wall. It’s funny, but now that the Roubo is in position it looks a lot less monolithic than when I was working the slab over the past few months. At 102″ long it is going to be a very useful work surface, and I can’t wait to finish the bench and start making furniture on it. The next tasks will be to trim the drawbore pegs flush to the legs, and then flatten the top,. Roubo is not here quite yet, but the end is now in sight.

DSC_1657

In situ. I really need to sort out the timber storage corner next to the drill press. That will be the next job once the bench is finished.