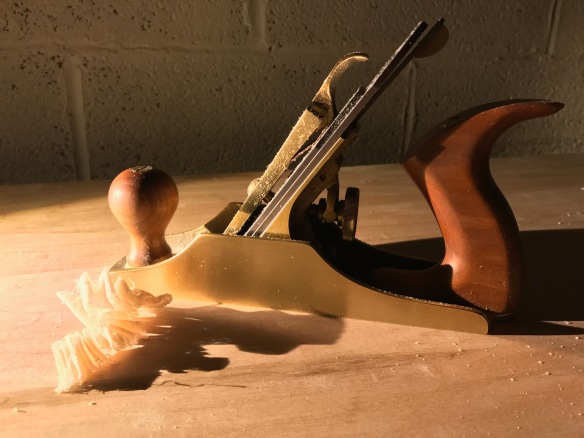
A sharp No.3 smoothing plane and raking light. One of the greatest pleasures imagineable.
After several months of working on the individual components of the staked work table, it was time to assemble the whole piece. Well, almost. The final task before I warmed up the hide glue was to finish surfacing the top – this is a task more easily accomplished while the top was on the workbench instead of on its own legs.
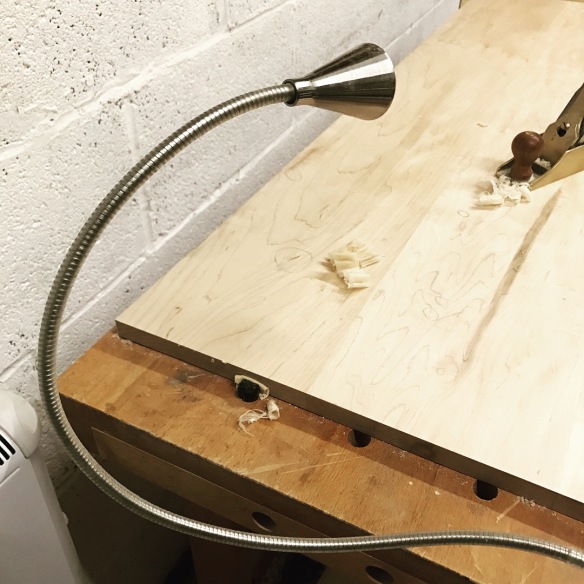
This goose neck lamp from IKEA is perfect for adding raking ligght exactly where I need it.
Flourescent lights flatten details and make it hard to spot surface imperfections. So when it comes to surfacing I kill my overhead lights and rely on raking light – either from the up-and-over door at the end of my workshop (if it is a sunny day), or an IKEA goose-neck LED lamp which handily has a clamp at the end. Clamping the light to some stout scrap in my vise provides all of the raking light I need, meaning that I can easily zero in on tool marks or the last remnants of tearout. With the smoothing plane freshly sharpened and set to a fine cut, I cleaned up the table top, finishing with a cabinet scraper to remove any stubborn spots or stray plane marks.
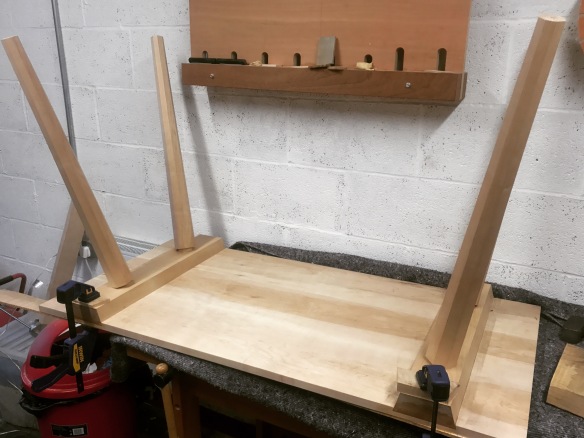
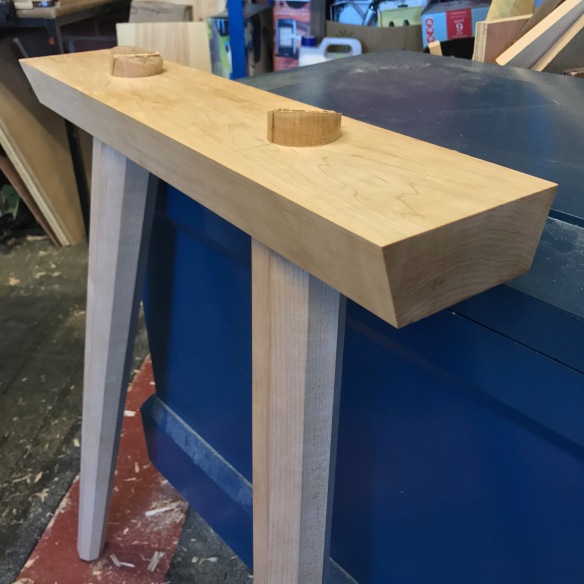
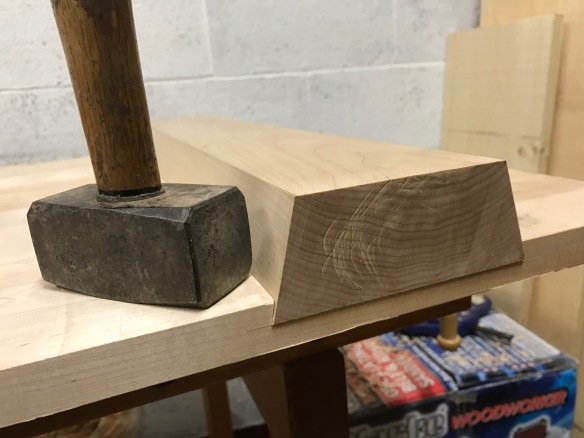
The desk assembled and clamped while the glue cures
And then, it really was game time. I drove both leg assemblies into their sockets with a lump hammer, and then treated the front inch of each socket with a coat of warm hide glue before driving the battens into their final position. This will hold the battens in place, but still allow for any wood movement (which gluing the full length of the batten would prevent). A pair of clamps on the front edge of the table top held the battens in position for good measure, although the tight fit of the battens meant that these were probably overkill. Jim suggested to me that glue-ups were a bit like a first date, which had me wondering if folk date differently in North Carolina. Most glue ups definitely get the heart racing, and language can get a bit salty, so I dig Jim’s analogy. But this was one of the most straight forward glue-ups I can remember, probably helped but having only two components to glue and easy clean-up. So I’ve definitely had worse first dates (not that those are stories I’ll ever tell on this blog).
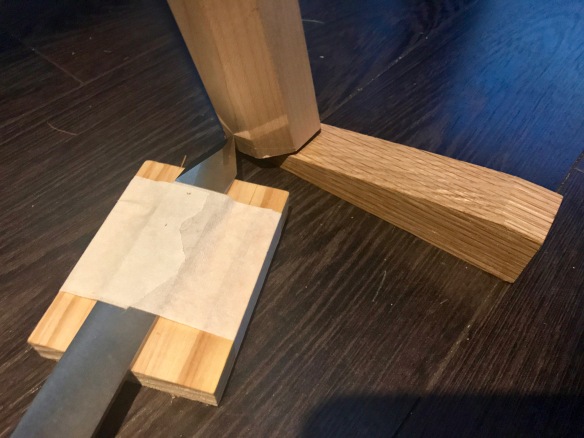
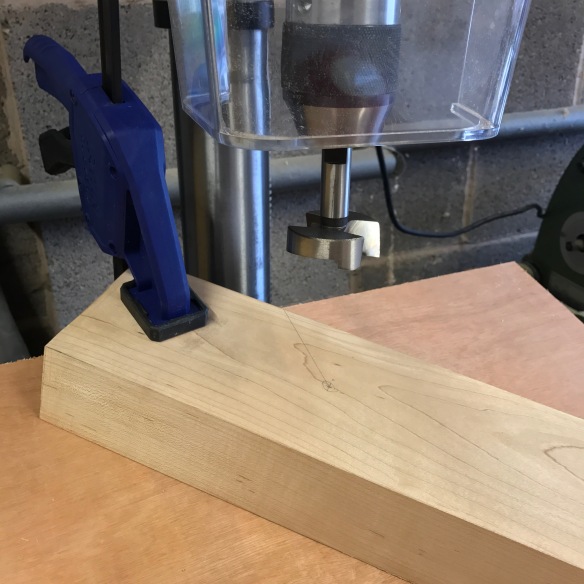
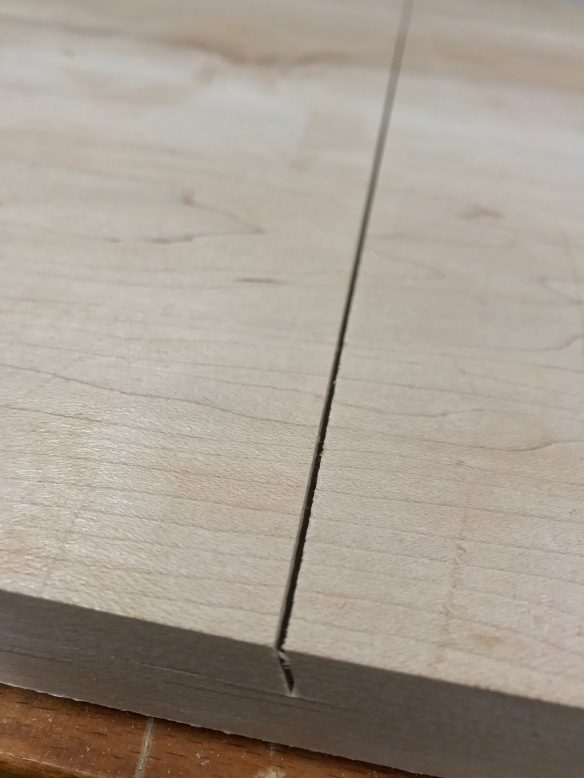
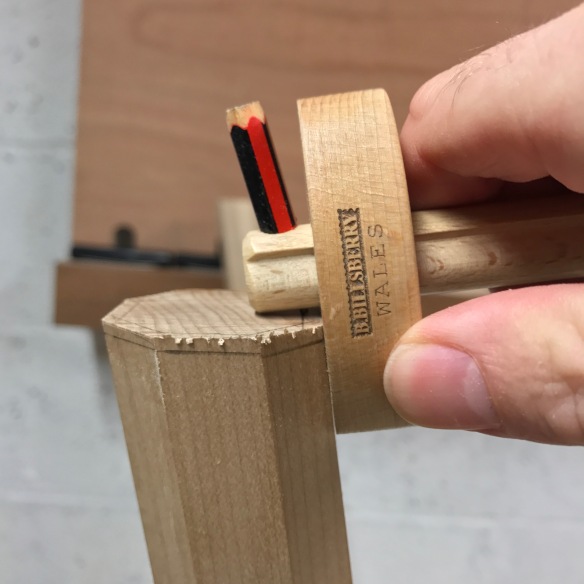
Marking off the foot height. Wedges and a knife taped to a 1/2″ block make this an easy task.
One of my favourite stages of working on legged pieces is levelling the feet. Once the glue had cured on the desk I moved it inside for this stage of the build – my workshop floor has a pronounced slope and getting anything level in there can be a real bind, so I decided to level the desk in the dining room, which has a much more level floor and plenty of room to work in. I used a series of fine oak wedges to get the desk level front to back and side to side. Three of the legs were in very good order, and the fourth leg was just short enough to encourage a bit of a rock. With everything wedged up and stable I measured the table height on all four sides which showed that I only had to remove 1/2″ from the legs to get the 30″ final height I was shooting for. Digging in my scrap bin revealed some 1/2″ thick southern yellow pine, to which I taped a
Hock Tools marking knife. These knives are sold without handles, with the intention that the user fits their own handle. I have deliberately left mine without a handle, specifically for table and chair leg levelling. Thick blade is good and rigid, and it takes a very keen edge. As a result the knife is perfect for making off legs as all I have to do is tape it to a block of the appropriate height.
Marking off the dimensions of the chamfer
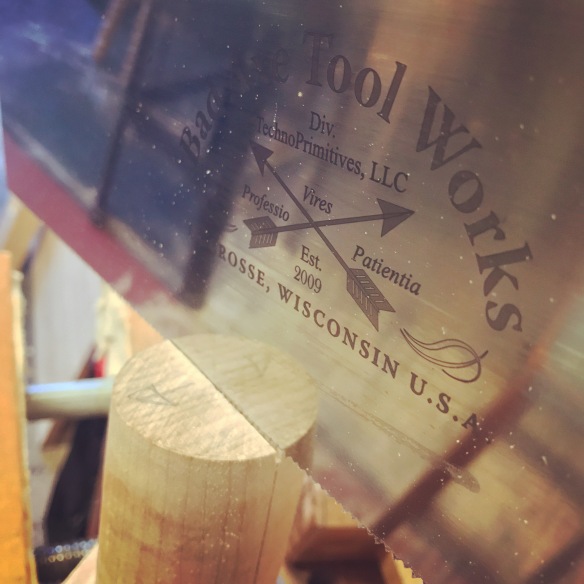
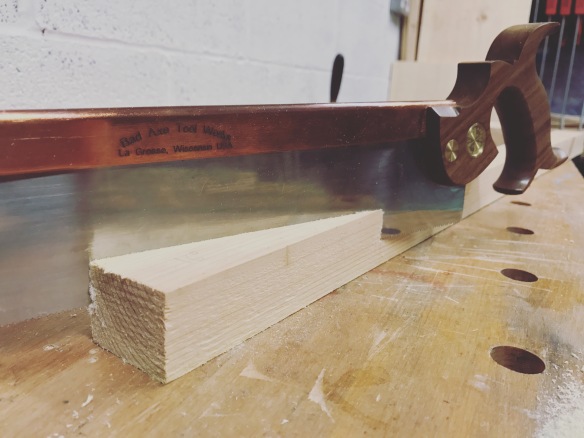
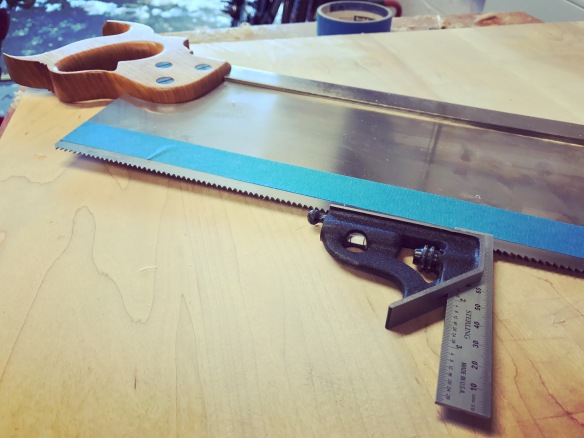
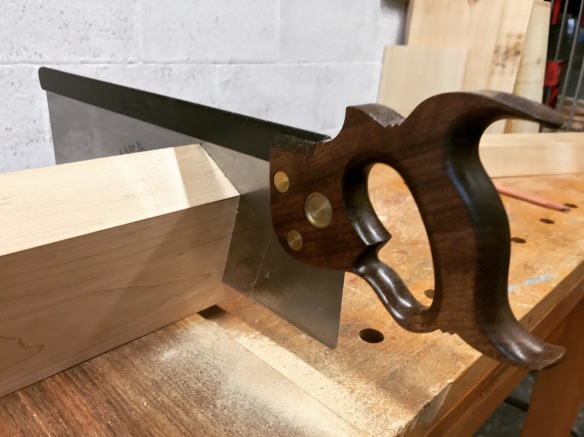
With the final height of the feet marked, the desk went back into the workshop. I really enjoy cutting the feet – at first the compound angles all look a bit screwy, but there is a real pleasure in letting go of the fact that you’re not cutting at 90 degrees, and just following the layout lines. With careful body positioning you can sight down 3 of the 8 facets on a leg, which gives plenty of visual guidance when making the cut. I use my
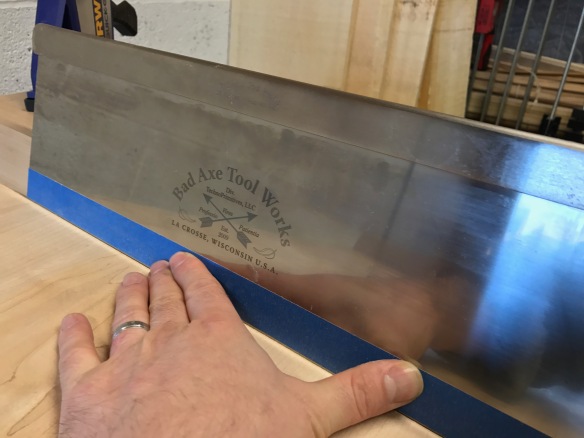
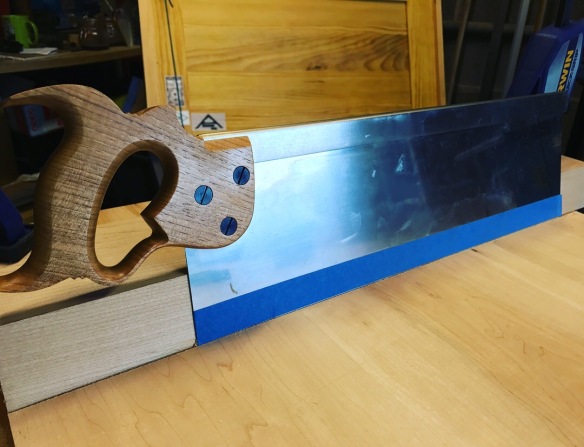
Bad Axe 12″ carcase saw for these cuts – this a very precise saw which leaves a fine finish behind and is easily handled at unusual angles (unlike a larger tenon saw). Having trimmed the feet I righted the table and was pleased (relieved?) to find that it was rock solid with no hint of rocking.
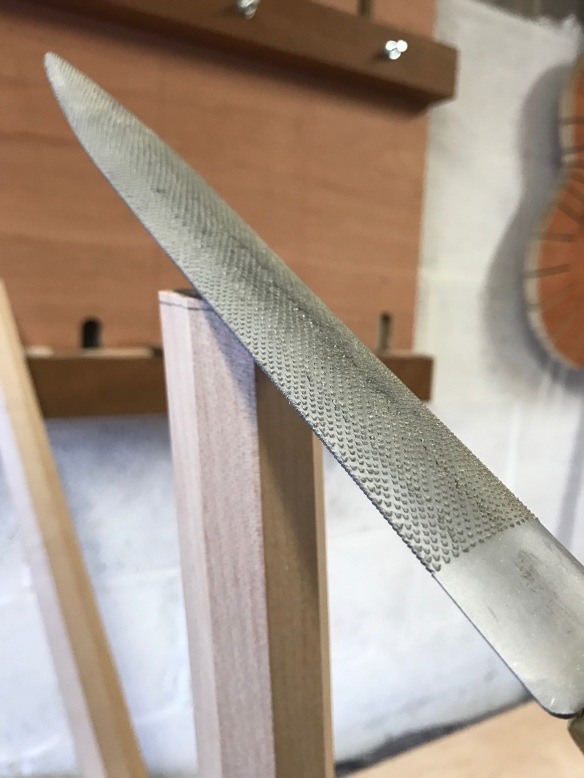
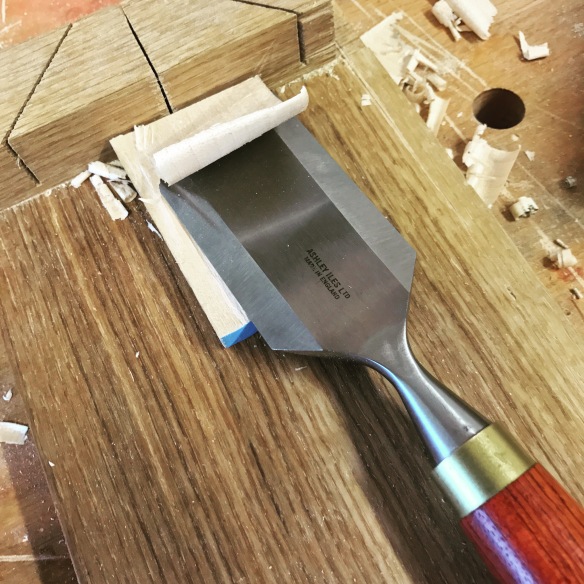
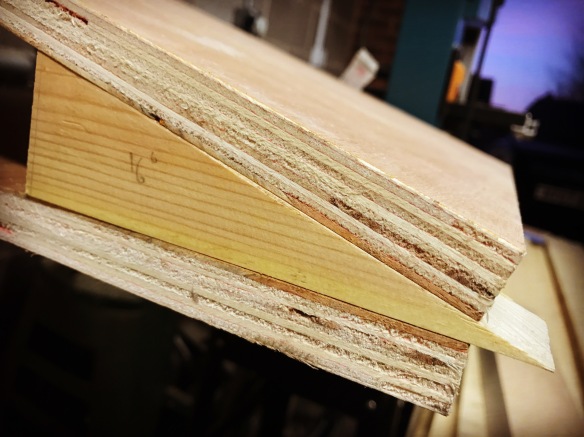
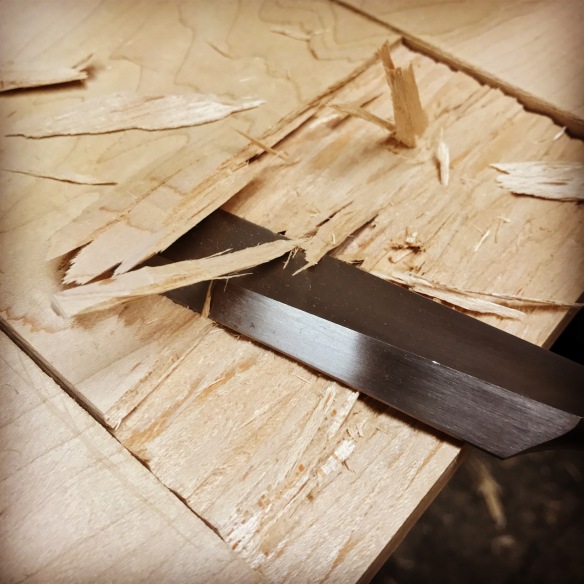
Chamfering
The final foot detail was to add a chamfer to stop the corners chipping out when the desk is moved. Maple takes details like this really nicely, and some time with an Auriou 9 grain cabinet maker’s rasp left crisp chamfers on each facet of the legs. The chamfers are parallel to the floor, and thanks to the splay of the legst the chamfer becomes progressively wider for each facet towards the back of the leg. It’s just a small detail, and one which probably no one will ever notice, but it pleases me.
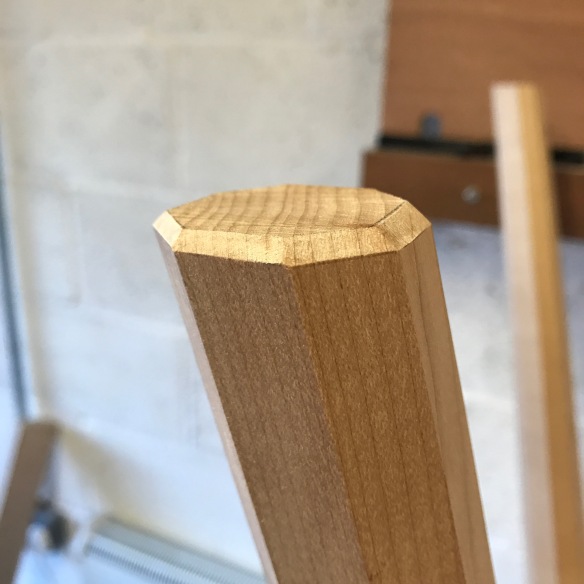
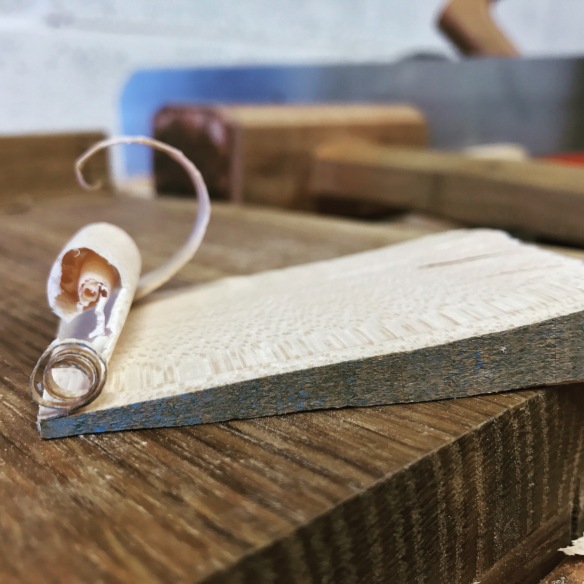
Facets on facets.
This build is drawing to a close, and all that is left to do is final making pretty and applying the finish. More of which next week.