The End of Year Round-Up: 2015 edition

Is December already drawing to a close? I can scarcely believe that it is now time to start penning the end of year review, list my favourite albums of the past twelve months, and compile the traditional end of year mix cd. 2015 has genuinely disappeared in the blink of an eye. I suppose this is to be expected given all that has happened; the relocation from Bristol to Birmingham, buying and decorating a new house (phase 1 of the decoration saw 5 rooms decorated and completed, and phase 2 will be commencing in January), and becoming a father. I’d like to think that the above constitutes a reasonable level of activity.

IMG_2213

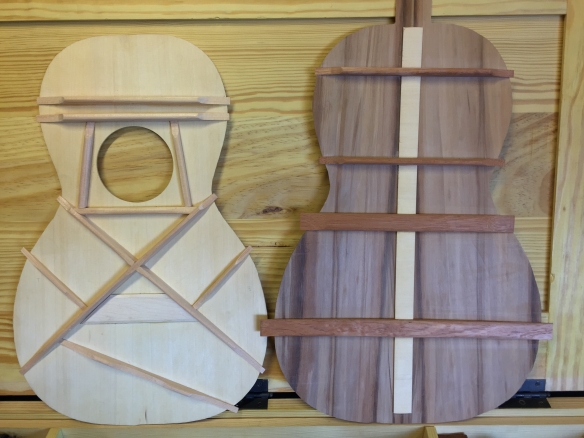
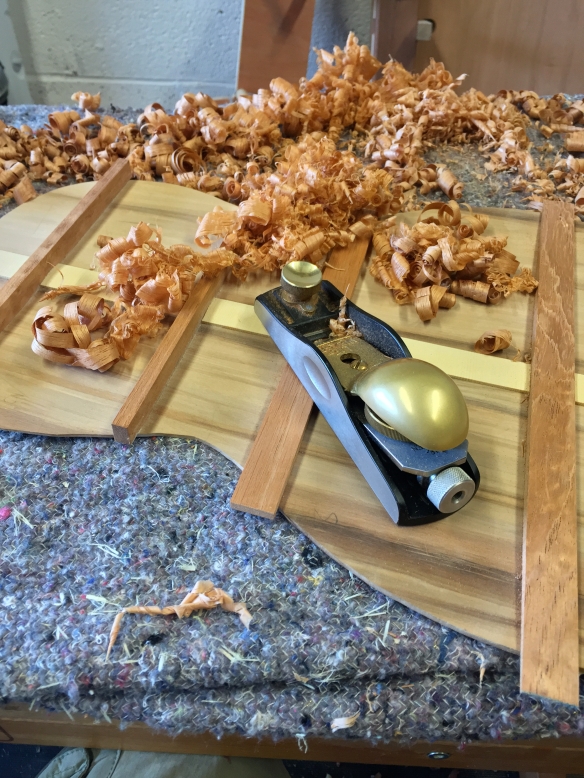
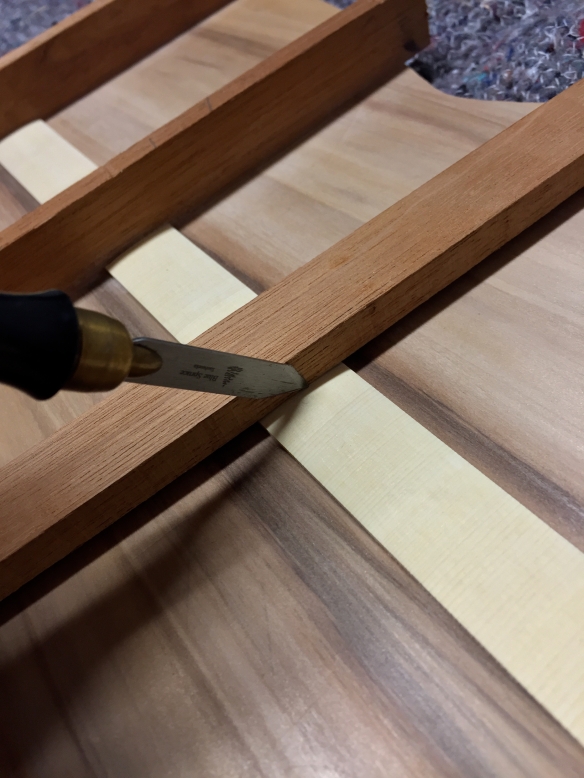
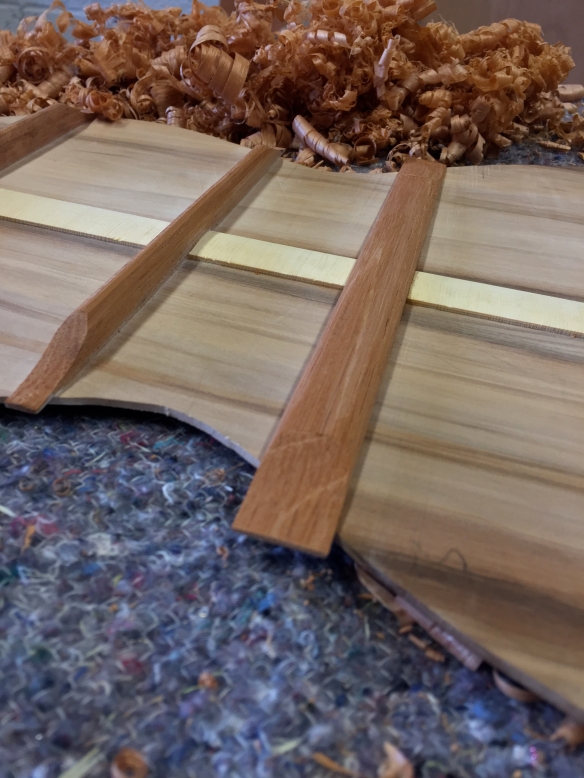
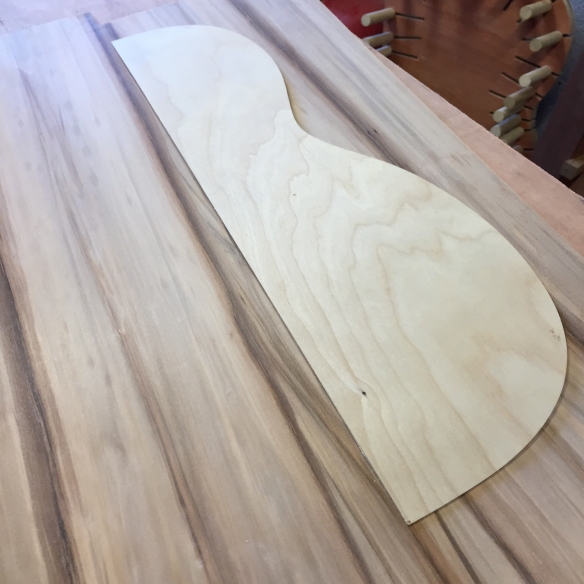
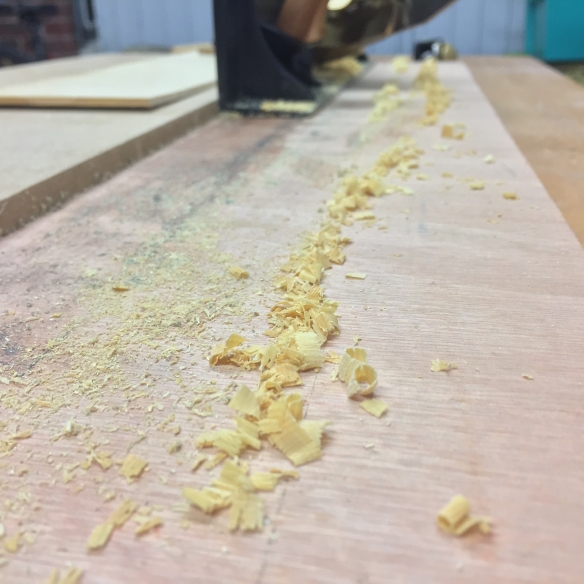
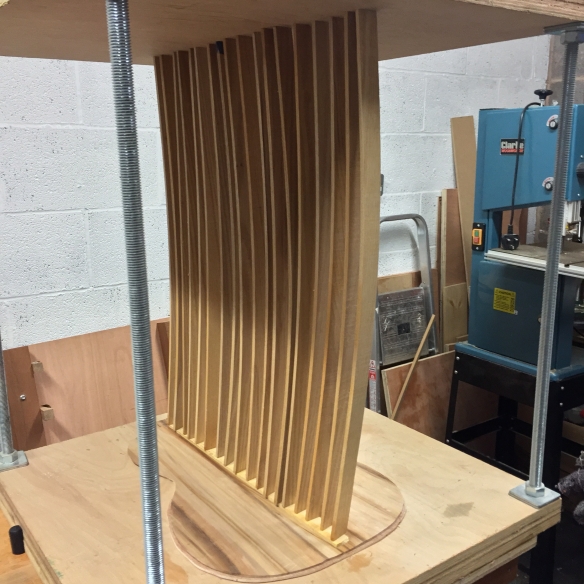
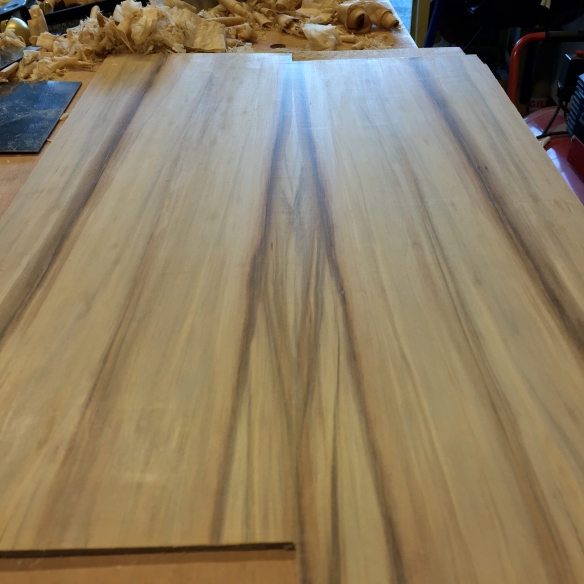
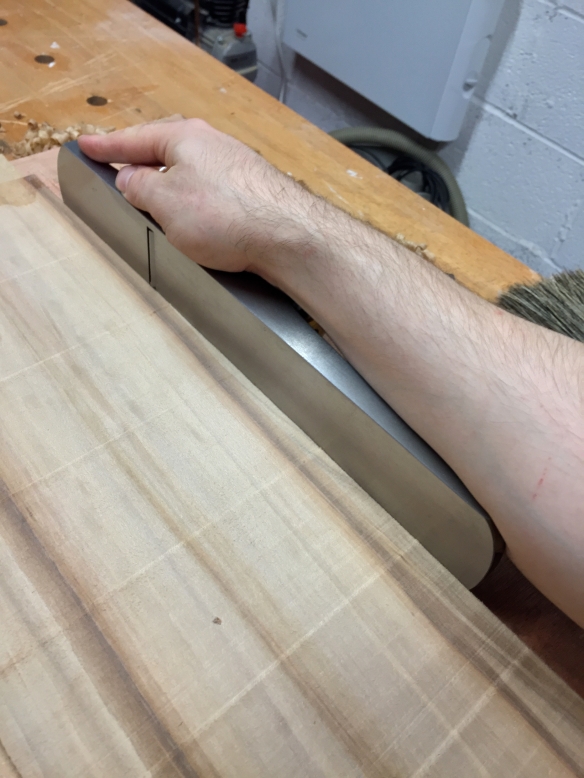
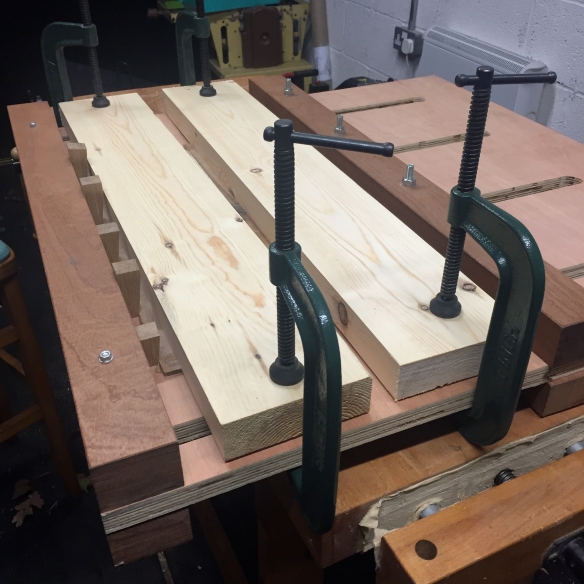
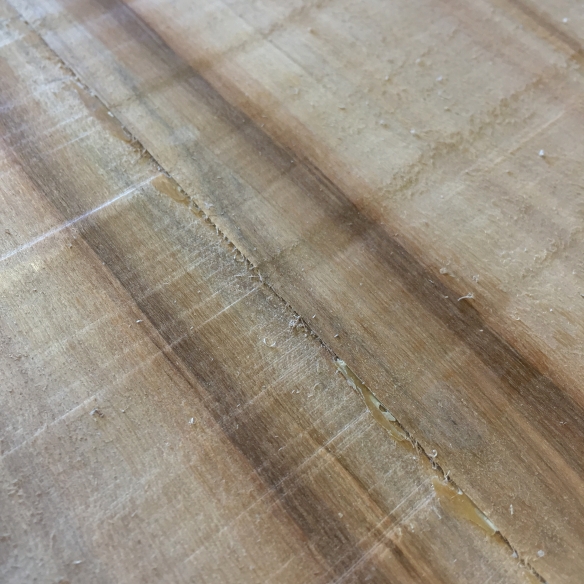
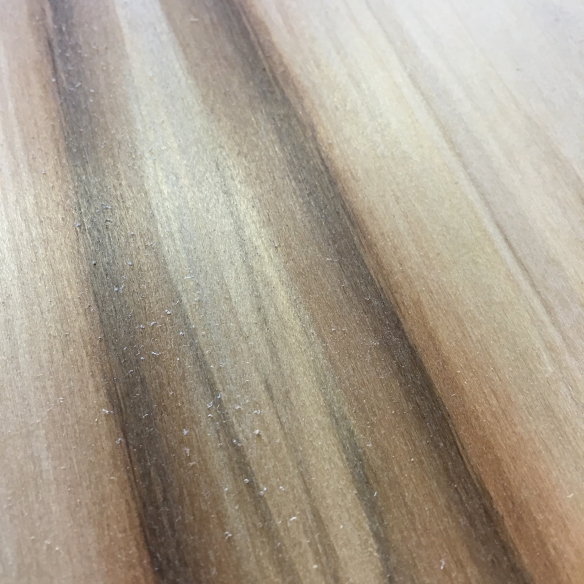
The parlour guitar build has been the main focus of 2015

Amongst all of this, I also found time to set up a new workshop, make some shavings, and keep writing. The new workshop has turned out to be ideal, and having given myself some time to settle into the new space I have made a few changes and additions since my original workshop tour, which I will write about separately. In terms of projects completed, 2015 is a little thin on the ground, although a lot of progress has been made on the parlour guitar, and I should be in a position to assemble this guitar in the next couple of months. I also managed to secure a new paying commission (the Mystery-Caster) and came close to bagging a paying commission from one of my favourite musicians (in the long term I’m hoping this one will still come to fruition).

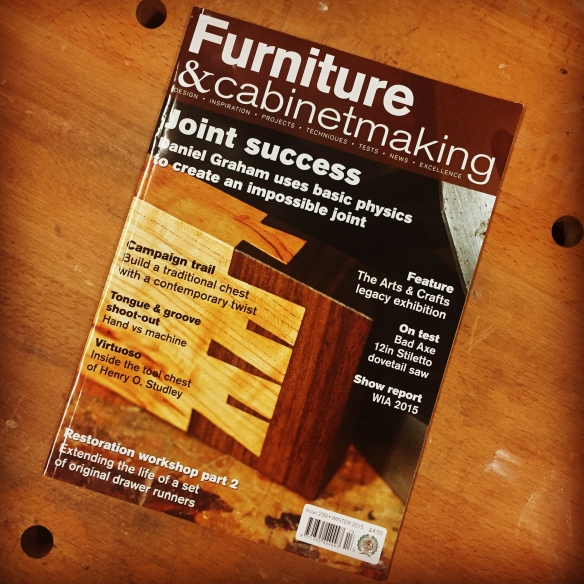
2015 saw seven of my articles published in Furniture & Cabinetmaking, and the blog has had nearly twice as many views when compared to 2014, as well as introducing the new “Getting to Know…” feature (which I hope to continue into 2016).

IMG_0809

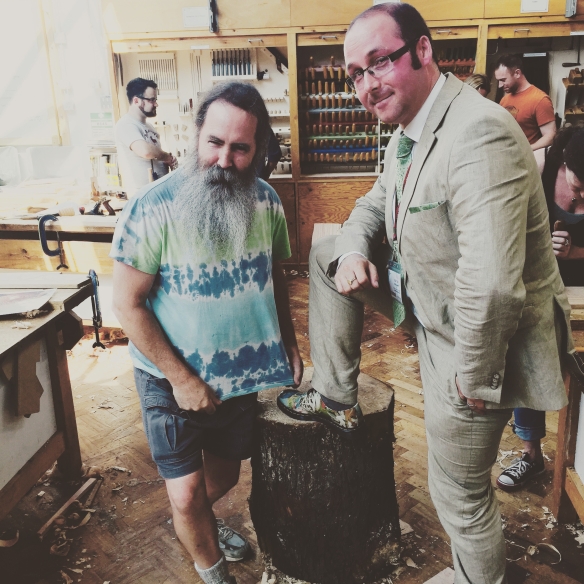
Peter Follansbee contemplates swiping my Hieronymus Bosch print Docs…

I had the pleasure of meeting both Peter Follansbee and Tom Fidgen, as well as taking Roy Underhill’s Woodworking with Thomas Jefferson class. Learning from Roy for a week was an incredible experience, and helped to develop all manner of parallel skills. Peter, Tom and Roy are not only incredibly knowledgeable, but also very generous with their knowledge, and I highly recommend taking a class (or simply just chatting with them) if ever the opportunity presents itself.

IMG_0882

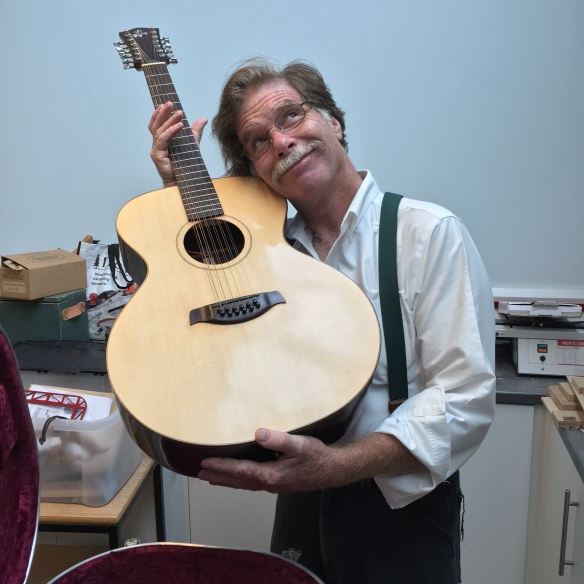
Roy and Esmerelda become acquainted.

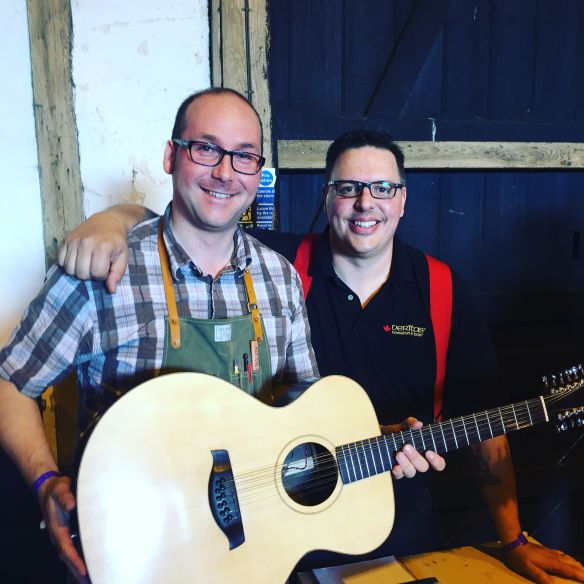
The other highlight of the year was of course exhibiting at the European Woodworking Show in Cressing Temple, and it was wonderful to get to meet so many inspiring makers and tool manufacturers, as well as people who read the blog (or my articles), and to spend two days chatting about woodwork face to face. Thank you so much to everyone who came and said hello during the two days.

Chris Schwarz

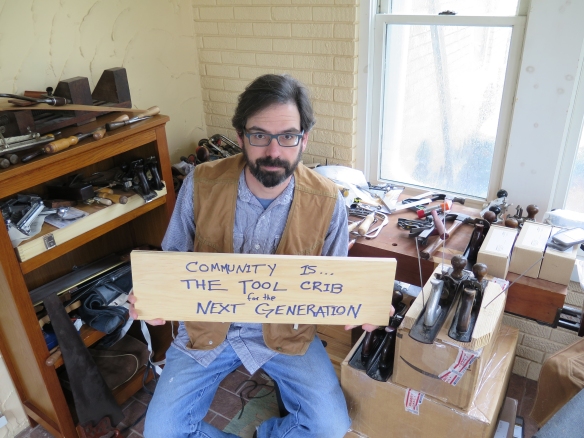
The “Community Is…” project in many ways defined 2015 for me. Thanks to all the contributors (including Chris Schwarz – pictured here)

And this very neatly brings me to the real highlight of 2015. Which is not projects built or achievements unlocked, but rather the sense of community in the woodcrafts. Lutherie always used to be a very solitary activity for me, but particularly over the past 12 months the online community through Instagram and the blogosphere, then reinforced through events such as EWS, has meant that I find myself within a wider community of craftspeople. And this has had the effect of enriching my time in the workshop, situating my work within broader practices and traditions, and providing new opportunities to learn and question. The community is made up of so many wonderful craftspeople that mentioning individuals seems like a foolhardy endeavour. However special mention must go to James McConnell whose Daily Skep blog debued this year, and is rapidly becoming one of my favourite woodwork blogs(seriously, I read James’ blog and wonder if there’s any point in me writing anything ever again). Again, EWS provided a wonderful opportunity to put faces to names and to connect with members of the woodworking community in person.

IMG_1422

Finally meeting Vic (Minimalist Woodworker) in person was one of the highlights of EWS

Looking forward to 2016, there will be more articles in Furniture  Cabinetmaking, in addition to which I hope to be able to announce a very special article for another publication in the coming months. In the workshop, my focus will be on finishing the parlour guitar, and also building the Mystery-Caster, both of which will be covered in detail on this blog. A number of teaching opportunities have presented themselves, and consequently there is also the possibility that I will be let loose on unsuspecting woodwork students – more details to follow once I have them. So plenty to keep me occupied, and 2016 is shaping up to be a very exciting year!

And to finish where we started, my top five pick of new releases from 2015 (in case anyone was wondering) in order, are:

  1. Banditos – Banditos
  2. Nashville Obsolete – Dave Rawlings Machine
  3. Edge of the Sun – Calexico
  4. Meta-Modern Sounds in Country Music – Sturgil Simpson
  5. No Cities To Love – Sleater-Kinney

Happy New Year, dear reader, catch you in 2016!

The Justin Timberlake Edition – Bringing Bracing Back

The pop culture puns aren’t getting any better, but they are definitely here to stay. I am so terribly sorry, gentle reader.

IMG_2198

The final stage of work for the parlour guitar back was the bracing. This guitar has a 4.5mm curve across the length, which works out to a little over 16 foot radius. As with the soundboard, I don’t curve each brace by the full extent of the curvature, or even by the same amount. Instead, I mark the full curve on the bracing plan for the back, along with a flat centreline. The point at which the top edge of each brace intersects with the centreline and curve line indicates the level of curve needed for that brace.

The parlour guitar is something of a departure for me, as previously all of the back braces would be the same dimensions for a given guitar. However, the 19th centure parlour guitar on which this current instrument is based had two different sized sets of back braces. So (counting from the heel of the guitar) the first two braces were 8mm wide, while the third and fourth braces were 20mm wide. It is always good to experiment, so I decided to stay true to the original and follow those dimensions rather than do what I have always done before.

I use cedrella for all of my back bracing needs, and once I had milled the stock to the required dimensions it was then a simple job of shooting the correct amount of curve using my No.5 bench plane and the “magic point” method I wrote about previously.

IMG_2179

Marking the back edge of the slot based on the width of the actual brace material – no rulers needed!

Before I could fit the braces it was necessary to bring the cedar reinforcement strip on the back joint down to height, and also cut the slots for the braces. A low angle block plane made short work of planing the reinforcement strip down to 2mm heigh, and also introduced a gentle camber across the width of the strip which was a pleasing visual touch. To slot the reinforcement strip for the braces, I measured off the front edge of each brace from the plan, and kerfed this line into the reinforcement strip with my marking knife. Where a snug fit is required, I prefer not to rely on measurements of workpieces, and instead let the work itself determine the width of the slot. To do this, I hold the marking knife in its kerf and place the brace against the flat of the knife blade. The marking knife can then register against the back edge of the brace to mark out the correct slot width. The two knife kerfs are deepend with a 1″ chisel, and the waste removed with a sharp narrow chisel. This method allows for any minor variatons in the width of the braces and ensures that I get a good tight fit everytime (it also means I don’t have to worry about too many numbers, which is always a relief).

IMG_2183

And clearing the waste with a 1/4″ chisel

Because the braces were of differing heights, I decided to do the glue-up in two stages. It is possible to shim lower pieces on the go bar deck, but it adds another variable not to mention unwelcome faff. So I took the easy route of doing a two stage glue up. A bracing cradle was made out of ply shims, as I did for the soundboard last month, and the thin protective ply mat was placed between the cradle and the back to prevent the cradle denting the show surface of the back. The first set of braces were then glued in and left overnight, before adjusting the ceiling height of the go bar deck and gluing in the second set of braces.

Once the glue had cured for all the braces, I bought them down to height using my Lie-Neilsen low angle block plane. The narrower braces offered a good balance of stiffness verses resonance at 13mm heigh, while the two wider braces were reduced to 7mm in height. Assessing the correct height was (as always) a case of flexing the back gently and listening to the tap tone change as the bracing height reduced. My new Sterling Tool Works depth gauge is rapidly becoming indespensible for checking brace height accurately and swiftly. I then profiles the braces using a combination of block plane and the small (25mm) thumb plane. The narrow braces were given a domed profile, while the two widers braces have a gentle camber. Each end of the bracs was then scalloped over 35mm of length, bringing them all down to a height of 1.5mm.

IMG_2207

Here you can see the difference between the narrow (tall) and wide (squat) back braces

Comparing the tap tone of the back to that of the soundboard suggested that some fine tuning of the soundboard would be beneficial. I increased the amount of curve on each of the lower X brace legs, by 1.5mm, and reprofiled both legs. The scallop in the middle of the tone bar was also deepened by around 0.5mm, and this minor work livened up the soundboard sufficiently.

The back is now complete and can be put aside until the guitar is assembled in the new year.

IMG_2213

The lid of my Anarchist’s Tool Chest makes for an ever-present photograph backdrop

Back to Work

IMG_2071

Marking out the body shape

Having surfaced the Red Gum for the parlour guitar back, my next task was to cut it to shape. I cut acoustic guitar backs 6mm oversized, to account for the thickness of the sides (plus a litte spare for good luck) when gluing the body together, and so I marked out the shape of the back in two stages. The first stage was to trace around the plywood body template with a pencil, to establish the size and shape of the soundboard. I then traced around the template again, this time using dividers set to a 3mm spacing. This created a fine scratch line in the surface of the work 3mm outside the pencil line. I cut to this scratch line with a fretsaw, resulting in a back the same shape as the soundboard, but oversized as intended. I also left a large square tab at the end of the upper bout, so that the back forms an integral heel cap with continuous grain.

IMG_2109

Thicknessing the back

Thicknessing the back was very much the same process as it was for the soundboard. I used calipers to mark off the thickness of the work every inch or so, and then planed down the highspots using a combination of my No.8 jointer to remove the bulk of the material, and then a low angle block plane for fine tuning, until the back was a consistent thickness of 2.95mm.

IMG_2117

End grain shavings from the yellow cedar reinforcement strip

It is common to reinforce the glue line of acoustic guitar backs by using an off cut of the soundboard, orientated with the grain running from side to side so that the grain acts as stitches across the joint. I shot the first edge of the yellow cedar reinforcement strip before I had cut the strip to size, as the large off-cut from the soundboard was easier to hold than a small strip would have been, particularly as a narrow strip is likely to deflect under pressure from the plane. This also gave me an opportunity to try out my new Lie-Nielsen No.51, which predictably excelled at shooting the end grain of the cedar (although it was ridiculously over specified for such a simple task – I’m looking forward to trying it out on some much more demanding furniture work soon). With one edge straight, I then cut the strip slightly over width, and shot the other edge straight until the strip was 20mm wide. To prevent the narrow strip from deflecting while shooting the second edge, I clamped the remaining soundboard off-cut to the shooting board and trapped the reinforcement strip between the larger off-cut and the plane.

IMG_2102

The surfaced and thicknessed back

The reinforcement strip will ultimately be planed down to 2mm in thickness, but for ease of workholding I glued it to the back while it was still at full thickness (around 5mm thick). The strengthening strip was glued in using go bars – I always love how for this operation the line of go bars look like the line of a sail!

IMG_2128

Fitting the reinforcement strip using the go bar deck

The 100th Post Extravaganza

So this is my 100th post on the blog. I didn’t really expect anyone to read this blog when I started writing nearly two and a half years ago. Nor did  I really think about whether I would reach 100 posts and still be going strong. So 100 posts feels like a milestone worth celebrating. Maybe there will be whisky.

IMG_2067

The surfaced Red Gum back for the parlour guitar

With the parlour guitar soundboard braced, I’ve now turned my attentions to the back of the guitar. I am using a very nice set of American Red Gum, purchased from the nice chaps at Brook Guitars, for the back and sides of this guitar.

The process for gluing and surfacing the back plates is the same as for the soundboard (which I have written about previously). So, jointing the plates on a long grain shooting board, gluing them in the thin panel jig, and then surfacing with a bench plane set to a fine cut. But just because you have carried out a certain process before doesn’t mean that you shouldn’t give it serious consideration the next time you come to it, as there are always ways to improve either the end result, or the efficiency in reaching that result.

Jointing the soundboard and back for the parlour guitar are a case in point. Ordinarily I use my No.5 bench plane for preparing this joint, but for the soundboard on this guitar I decided to experiment by using the No.8. It is after all a jointer plane, so this sort of work is what it excells at. As a comparison, I jointed the back plates with my Clifton No.5. Surprisingly, I found it a faster process to get a solid joint with my No.5 than the longer No.8. There are, I think, several reasons for this. Firstly is that the joint on a soundboard or back is determiend by the grain pattern, and consequently is rarely perpendicular to the top edge of the plates. For this reason, I use a slightly different technique for shooting the joint than I would for, say, shooting the end grain of furniture pieces square and straight.

IMG_2055

This grip is how I joint soundboards and backs using my No.5 bench plane

When shooting the joint for guitar plates, the fingers of my right hand are imediately in front of the mouth of the plane, while my forearm rests along the side of the plane. The egde of work piece hangs over the shooting board. When shooting the joint I attempt to plane a concave curve, with pressure in the first section of the cut being exerted by my fingers. The latter half of the cut is then made with the pressure coming through my forearm to the heel of the plane. This is contrast to an end grain shooting board, where the raised edge of the shooting board would guide the plane to a cut that is square to the top edge of the workpiece.

The smaller body of the No.5  is much easier to steer with the forearm compared to the No.8, and I achieved a solid joint in slightly less than half of the time taken for the soundboard. It was then a matter of clamping the jointed and glued plates in the thin panel jig. The No.8 is a wonderful tool, and one which gets a lot of use in my workshop, but for this specific task the No.5 remains my go to solution.

IMG_2060

The Red Gum back in the thin panel gluing jig

Cleaning the glue line on a soundboard or back is simultaneously thrilling and a little terrifying. When first out of the jig the squeeze out and rough sawn timber gives the glue line a decidedly rough appearance which doesn’t provide any hint as to how good the joint itself is. As the workpiece is surfaced, the glue line is cleaned up and starts to reveal whether the joint is good and tight or whether there are any hidden voids.

IMG_2066

The glue line before any clean up.

This particular set of Red Gum was interesting to work with, as the plates needed to be offset in order to match the grain. However, the timber cleaned up very nicely straight off the plane blade, and the grain is really striking. Next time around (on post 101!) I’ll look at cutting the back to shape and thicknessing it.

IMG_2070

The same glue line after clean up. There is no visible line, and the only way to spot the joint is to count the grain on either side.