
Issue 291 of Furniture & Cabinetmaking is now on sale, and features (amongst other things) the next part of my Roubo bench build series.

Issue 291 of Furniture & Cabinetmaking is now on sale, and features (amongst other things) the next part of my Roubo bench build series.
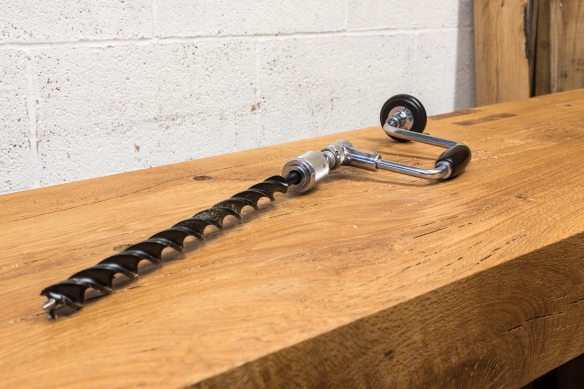
WoodOwl ship’s auger and 1920’s (pre-Stanley takeover) North Bros brace
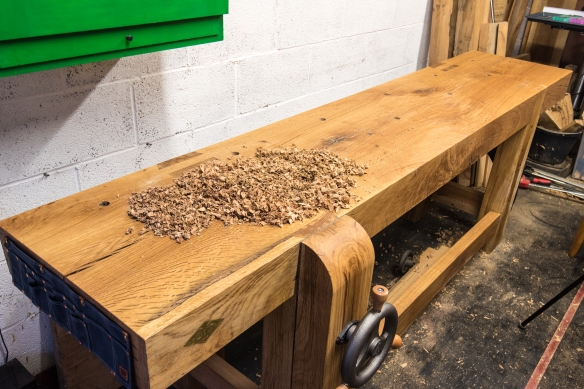
After a few days of building up the courage to start boring holes in my newly flattened bench top, the holdfast holes are all now bored. Truth be told, it wasn’t that terrifying a proces after the first hole, even if perforating a newly flattened bench top does feel counter-intuitive.
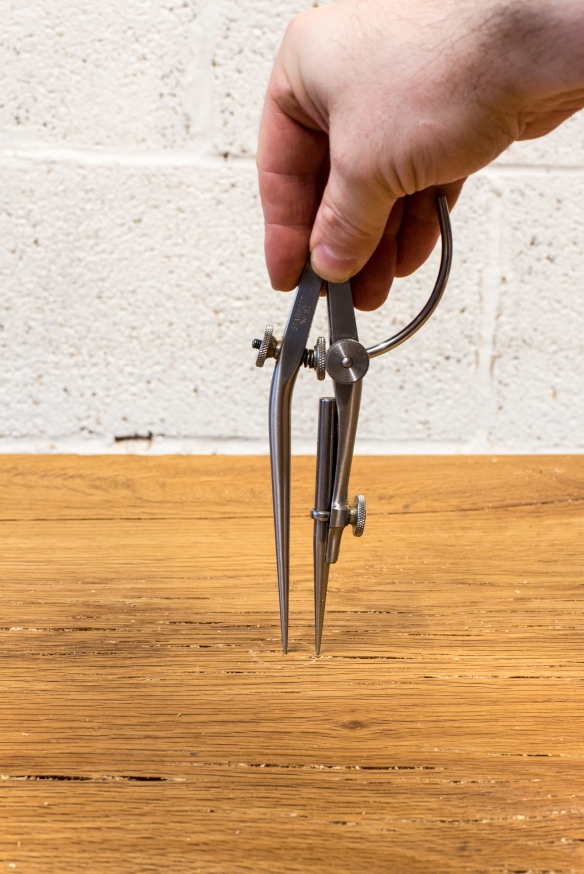
Scribing the hole diameter helps to line up the drilling jig)
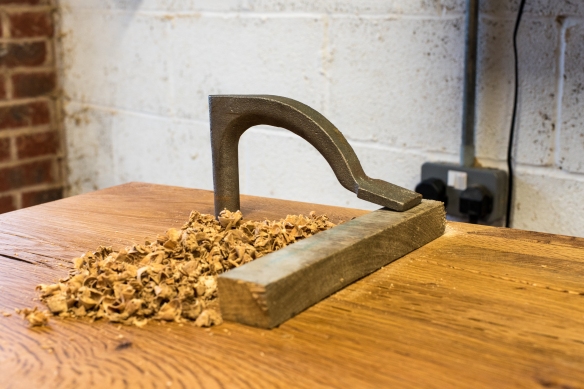
I don’t tend to make many jigs, partly because I don’t find jig-building all that satisfying (I’d rather be building furniture or musical instruments). But when it came to boring the holdfast holes in the bench top I did decide to make a simple jig which would also be useful for cutting the planing stop mortise. This jig is essentially a 2 1/2″ high piece of hardwood glued to a 3/4″ thick plywood base. The face of the jig is at 90 degrees to the base, so that it can be used as a guide block for a timber framing chisel when paring the mortise walls. A 1″ diameter hole was bored through the jig to provide a perfectly plumb guide for boring the holdfast holes – this is critical if the holdfasts are to function properly. The plywood base is deeper and longer than the hardwood, which allows it to be clamped in position. The whole thing took probably 30 minutes to make, and won’t win any beauty prizes, but it has proved to be very useful.
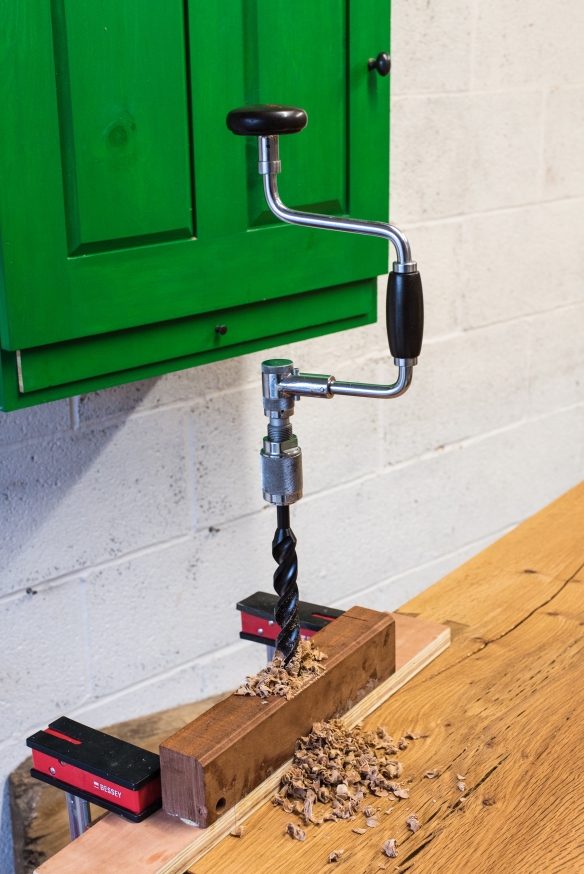
Boring a holefast hole with the drilling jig – dirt simple and effective
I started boring the holdfast holes with the rear-most row first, working from the front end of the bench to the back, and then in the opposite direction for the second row. The holes were bored with a 18″ long, 1″ diameter ship’s auger by WoodOwl, driven by my 1920s North. Bros brace. The additional length of the ship’s auger makes it easier to see when the bit is plumb, and also facilitates the use of my simple drilling jig, where the standard bits are too short.
Before clamping the jig in place, I scribed a 1″ diameter circle around the location of each holdfast hole with a pair of dividers – this made it easy to see when the jig was lined up properly on the centre point. The jig was clamped in place and I started boring out the hole. Once the auger bit screw had engaged with the bench top I checked alignment with a 10″ square as a safety check, and made any minor adjustments to keep the hole plumb to the surface.
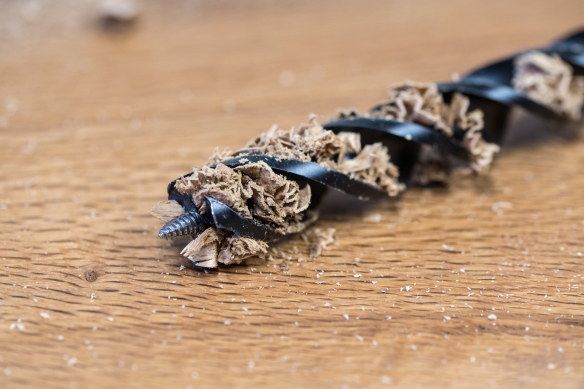
The process is very simple, but even with the fast cutting WoodOwl bits, boring 5 3/4″ thick oak felt a little bit like work and 10 holes took a while. The WoodOwl bit cuts very nicely however, and left wonderfully clean holes which look very neat on the benchtop. The length of the plywood base for the jig worked nicely, as I was able to span the jig across the width of the bench, and also on the diagonal where necessary to avoid the bench legs.
Testing the Crucible holdfasts
Once the holdfast holes were bored, I did a test fit to check that the holdfasts fitted and gripped properly. The Crucible holdfasts grip like the absolute dickens with only a sharp tap from a lump hammer, so the workholding on this bench will be spot on.
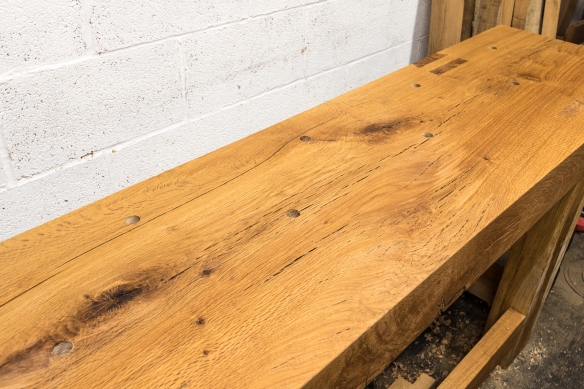
The completed holdfast layout
With the holdfast holes bored, I was able to check the location of the planing stop mortise, and decided to scoot it back 2″ closer to the front end of the bench, so that there is room to fit a long batten across the width of the bench with one end secured by the planing stop and the other by a holdfast – this will help when planing long panels. The next job is to bore out and chop the planing stop mortise, and fit the planing stop.
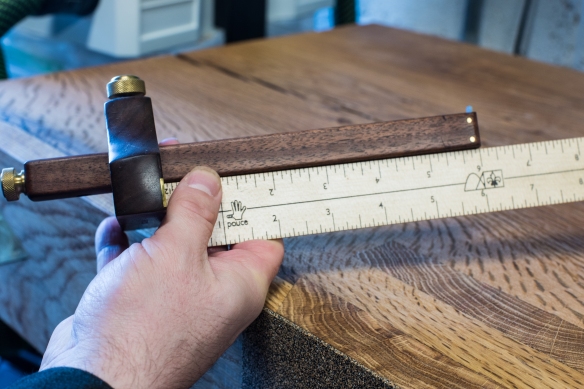
Setting the dimensions of the planing stop with the Pied du Roi ruler
Having spent a great deal of time and effort getting the bench top flat and looking good, the prospect of drilling a bunch of holes, and cutting a large mortise in it, feels very counter intuitive. The holdfast holes and planing stop are at the cornerstone of my workholding strategy for this bench, and consequently they are critical. But even recognising that, preparing to drill through the newly finished bench top is a little daunting.
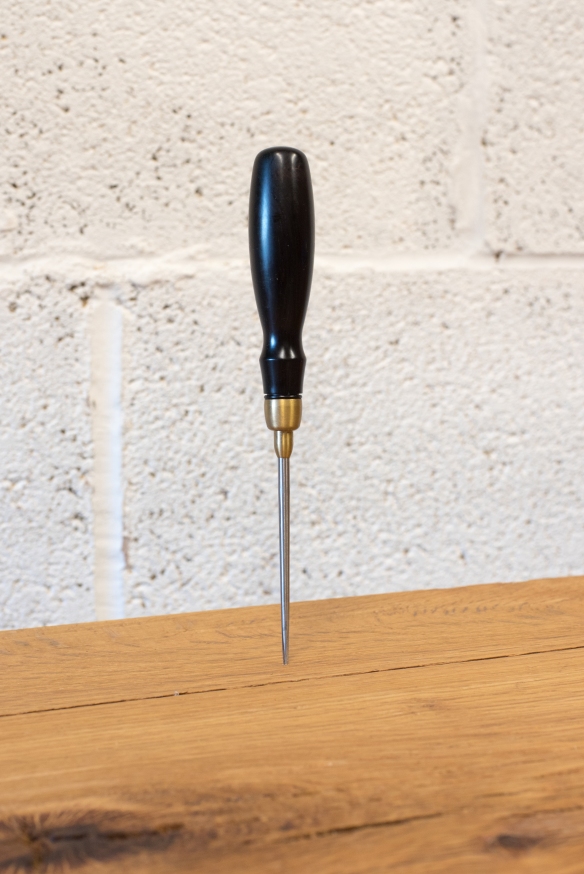
A birdcage awl leaves a clear location mark for each holdfast hole
The bench top will have ten holdfast holes – a row of six spaced 3.5 pouce from the rear edge and on 16 pouce centres, and a second row of four holes which are 10 pouce from the rear edge of the top and situated also on 16 pouce centres but offset by 8 pouce compared to the rear row. This is essentially as Chris explained on his Popular Woodworking blog a few years ago. The planing stop mortise measures 3 pouce square, and is located to the left of the front left leg, 3 pouce from the edge of the bench top.
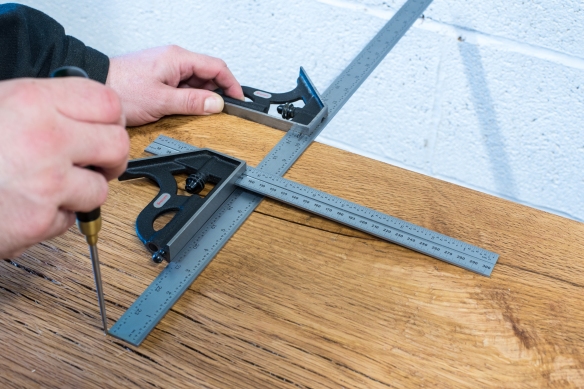
Laying out the second row of holdfast holes – one combination square sets the distance from the rear pf the slab, and the other sets the distance from the rear row of holes
While the oil was drying on the vise chop, I spent some time laying out the location of each holdfast hole and the planing stop mortise, using the Pied du Roi ruler Brendan made me. Setting all of my measurements from this ruler avoids having to do any mental conversion, and minimises the risk of any layout or measurement error. I started by laying out the back row of holdfast holes, marking the location of each hole with a birdcage awl. With the first row of holes marked out, I was able to then layout the second row by placing the holes equidistant between each hole on the first row, and and the correct distance from the back of the bench top.I found a pair of combination squares useful for this task, one set to the offset between the rear hole and the front row, and the other set to the distance from the back of the slab. The first combination square was then able to reference directly from the ruler of the second, giving an accurate and consistent way of positioning the holes each time.
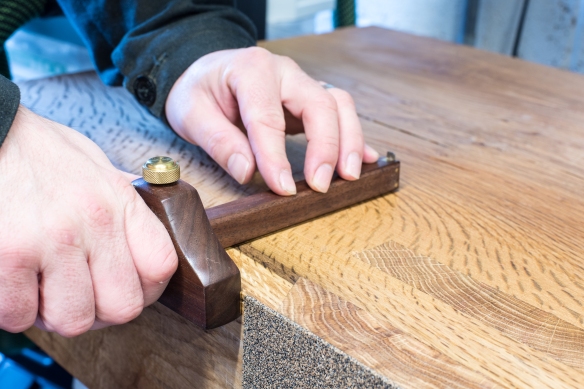
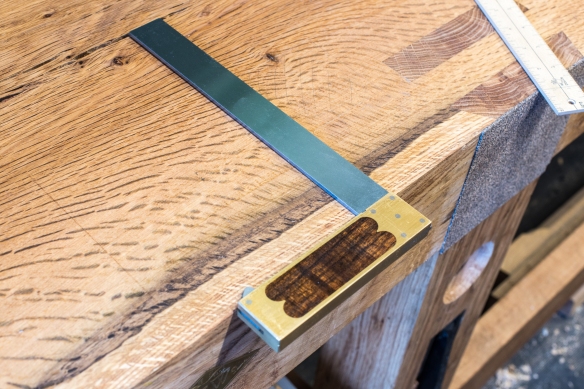
The planing stop mortise was also laid out with the Pied du Roi, this time my Hamilton Tool Works Traditional Marking Gauge stiking lines to define two sides of the mortise. The extra long beam Jeff suggested for this gauge definitely paid off when marking out the back line of the mortise. The remaining sides were marked with a Vesper 10″ square referencing off the side of the bench top.
By this time the oil had dried on the vise chop, so I did the final fettling and fitting of the Benchcrafted vise hardware. Once fully installed, the hardware moved sweetly and very rapidly. Adding the vise chop also makes the bench look a lot more “completed”. I’ll pluck up some courage and then start boring out the holes in the bench top, which will complete the functionality of the bench. The end is very, very near.

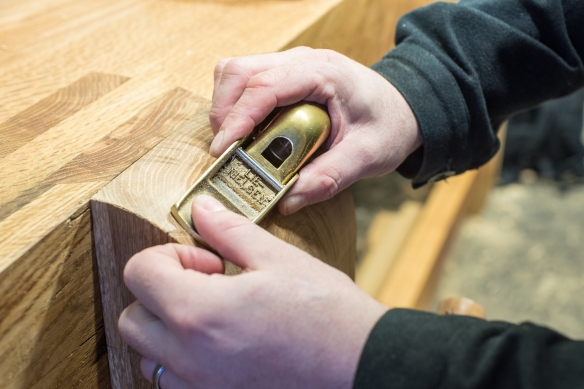
An unhandled marking knife easily marks the final length of the vise chop
The vise chop is one of the few areas where you can add an individual touch to the design of a Roubo workbench, and a Google search can show a whole gamut of different chop styles. For the chop on my Roubo bench, I decided to go for a simple round over which fit the simple aesthetic of the bench while adding a curve to a very rectilinear project.
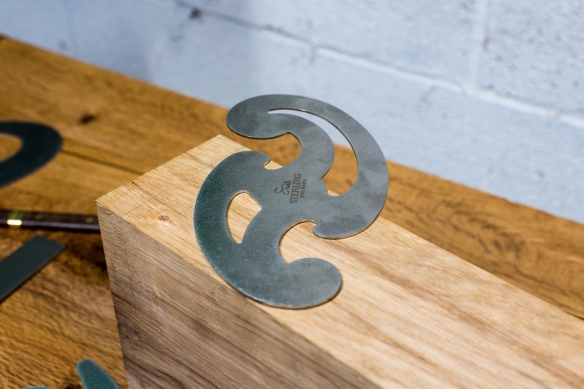
Laying out the round over with French curves
Before shaping the chop I first needed to trim it to length. I had deliberately left the chop over-long as I did not know exactly what thickness the slab top would end up once flattened. To level the chop I mounted the hardware, and then used an unhandled Hock Tools marking knife to strike a line on the inner-face of the chop, flush to the benchtop. With the final length marked out, I then laid out a curve using the “Roubo” French curves from Sterling Tool Works (let’s be honest, I had to find an opportunity to deploy the Roubo curves on this project didn’t I). Once I had a curve that was pleasing to the eye I marked this on both sides of the chop, and also struck a line at 45 degrees from the top of the chop to the face which fell just outside the arc of the round over. I clamped the chop side-down to the bench top, and cut down the 45 degree line to remove most of the waste before trimming the excess length off the chop.
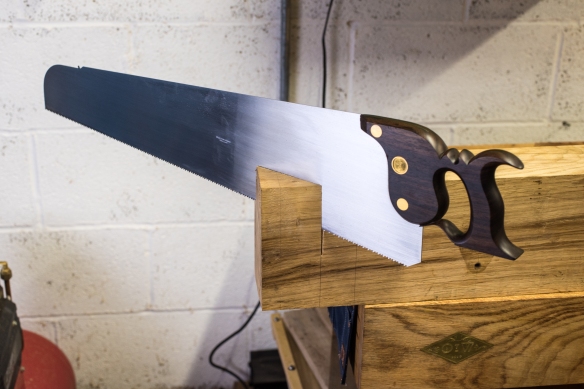
MOst of the waste can be removed with the saw
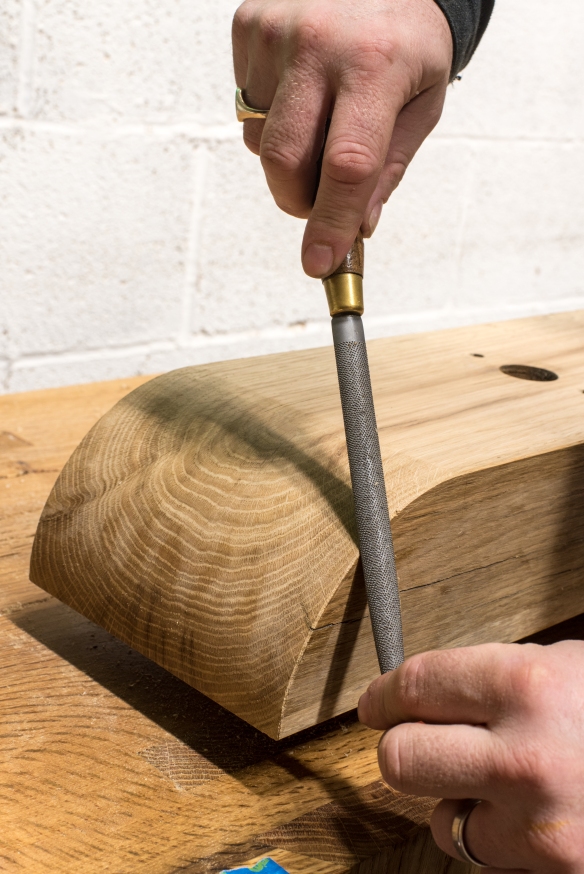
I am now at the stage of the build when I can use the bench to build the remaining components of the bench. To shape the chop I re-mounted the hardware, and sat on a saw bench, which put the workpiece at a comfortable height. There are many ways to shape a gentle curve, including with rasps or spokeshave. Given that the chop is over 6″ wide, and the round over is largely in end grain, I thought rasps might be a bit much like work. Instead, I worked across the width of the chop with a sharp low-angle block plane. This is a very effective way of working, as the low cutting angle leaves a clean surface on end grain, and removes material in a very controlled manner. I used two (freshly sharpened) block planes for this task – No60 1/2 to remove most of the material, and a No102 for the final finish cuts, although you only really need one providing you stop to resharpen before taking the finish cuts. The technique is essentially to remove the aris left at each side of the previous cut, which increased the number of facets forming the roundover, and simultaneously reduces the size of each facet. Eventually, the facets become so small that they are imperceptible. Skewing the plane, and taking a light cut, reduces the risk of spelching the far side of the workpiece.
Taking a fine finishing cut with the No102
If facets really offend you, then following up with a cabinet scraper or sandpaper can smooth the surface – I used a scraper to smooth things out, although I did not try to obliterate all evidence of facets.
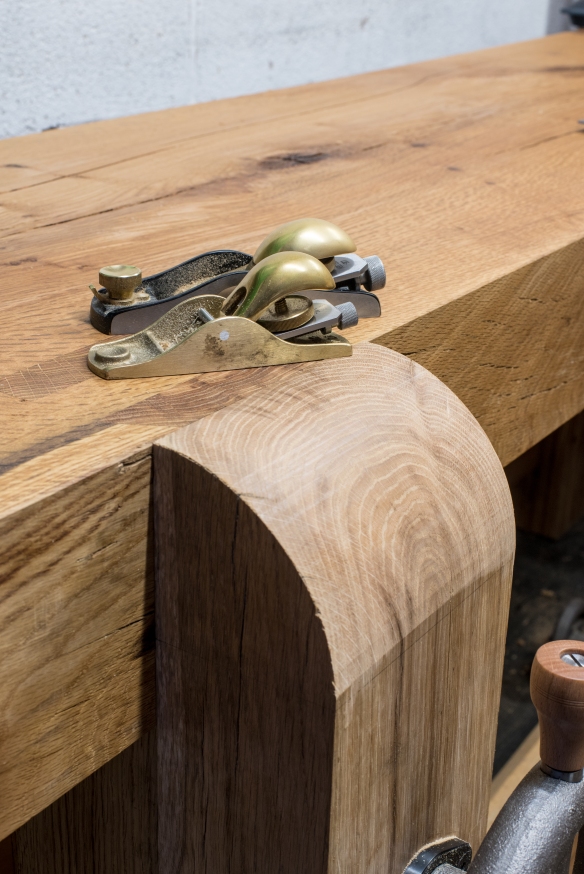
The shaped vise chop, and the two block planes responsible
Once I was happy with the round over (and this is very much a case of “if it looks good, it is good”), I removed the chop from the mounting hardware and scraped the show surfaces to remove any workshop rash, and chamfered the edges with the Philly Planes chamfer plane. To chamfer the round over I used an Auriou 13 grain rasp, although a spokeshave would also do a good job.
Chamfering the corner of the round over with a fine rasp
As a final step, I glued the crubber to both surfaces of the leg vise, using contact adhesive and clamping the vise tight together to hold the crubber in place while the glue cured. A sheet of cling film between the vise jaws stops the jaws being stuck together by any squeeze out. Once the glue has cured I will oil the vise chop, and trim the excess crubber. Then it will be onto boring holdfast holes and the planing stop mortise. At this point, completion of the bench is definitely in sight, with only a few weeks’ work left to go.
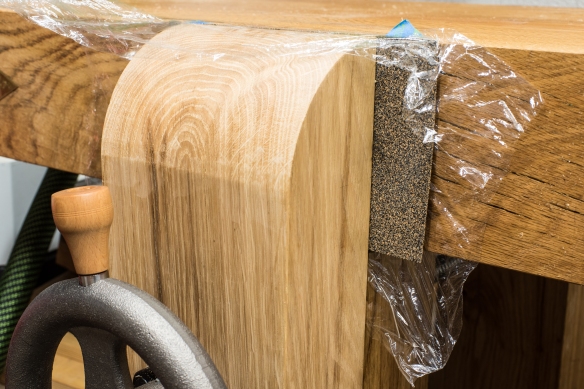
Gluing the crubber in place – cling film stops the two layers of crubber sticking to each other
As has become tradition, I thought it would kick off another year of blogging (the eighth year of Over the Wireless!) with a brief review of the past twelve months. January offers a good opportunity to review and reflect on what came before, and to think about what comes next.

Catching up with Derek Jones at the Midlands Woodworking Show
First, the most important aspect of any yearly-round up has to be the traditional list of favourite music releases. My top five new releases of 2019 (in order) were:
1. “Ghosteen” by Nick Cave & The Badseeds;
2. “Sunset Kids” by Jesse Malin;
3. “It’s Real” by Ex Hex;
4. “Human Question” by The Yawpers; and
5. “Western Stars” by Bruce Springsteen.
Closer to the workbench, 2019 saw nine of my articles in print (my first for Mortise & Tenon, one for Popular Woodworking, and seven for Furniture & Cabinetmaking), including my first multi-part project series with the Roubo bench build series in F&C. The readership of the blog continued to grow, and I had my best year in terms of readership with 51,400 views (plus those who read through an aggregator and/ or the WordPress reader service). I’m still baffled that folk read what I write, but I am very grateful to everyone who has stopped by to read a post, and leave a comment.
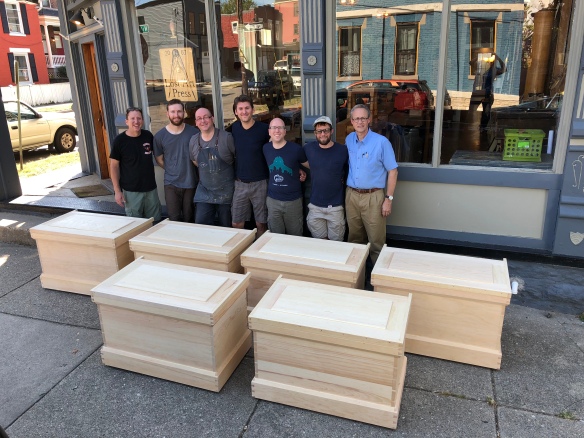
The highlight of the year was without a doubt teaching the Anarchist’s Tool Chest class at Lost Art Press in September. A great bunch of students, as well as spending time with Chris and Megan, made for a very memorable trip, and I’m definitely looking for more teaching opportunities. In other Lost Art Press related news, Chris announced The Book Book last January, and that project will be my focus for the coming year (and beyond). There was also the Midlands Woodworking Show with Classic Hand Tools (and my good buddy Richard Wile) which was a lot of fun and an opportunity to re-connect with the community.
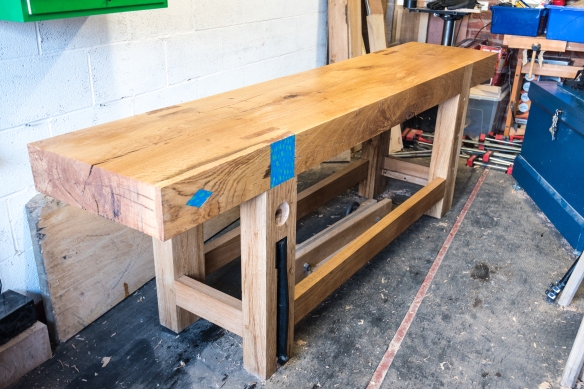
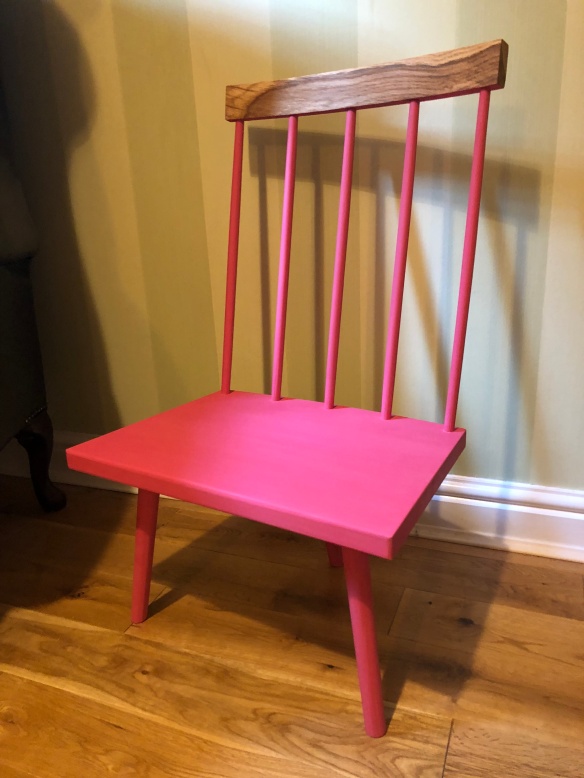
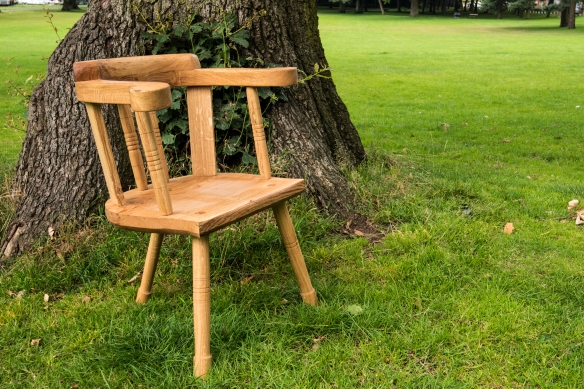
In terms of actual woodworking, most of 2019 was consumed with the Roubo bench build, which was functional if not complete by the end of the year. I am working on completing the bench, and hope to have it done by the end of February (which will mark 12 months of solid work on the project). This was a bucket-list project, so I was pleased to finally make the time and space to work on it. The pace and scale of the project was a real change to anything I’d ever built before, which was very refreshing. I also built an 18th century style Welsh Stick Chair (for Mortise and Tenon), and finished the Apprentice’s Stick Chair. So while I didn’t complete many projects, what I did build feel personally significant.
That all sounds like a pretty good year, and it was. There was also a lengthy period when I asked myself why I was working wood, and whether I should continue writing and making. I’m glad I persevered through that period of uncertainty. It is (I think) natural to have moments of self doubt in any endeavour, and the idea of not working with my hands feels about as natural as giving up breathing. Sometimes you need to knuckle through, and sometimes you need to take a break and rest up. Last year I knuckled through, and it worked – as I mentioned above, the change in pace and scale of the Roubo bench build provided much needed refreshment.
And what does 2020 hold in store? My main priorities are finishing off the Roubo bench, and getting stuck into the research for The Book Book. My next research trip is in less than a week’s time, and I will be looking at some very significant historic libraries, which will be an important step in charting the development of the humble bookcase. Expect an update on the blog soon. I try not to predict what projects I’ll be building in any year, because I seem to be incapable of accurate predictions. That being said, I really want to build a boarded bookcase from the Anarchist’s Design Book for my study (I started gluing up panels at the end of 2018 but then got diverted onto other things), and I have components for another stick chair ready and waiting. So those are likely to be my first post-Roubo projects.
