Scarf joints for guitar necks

I ended my last post by discussing the parlour guitar build, and it is the neck of this guitar which I want to write about today. As I mentioned in my last post, timber selection for the neck has very little bearing on the overall tone of a guitar, and instead the primary concern is to have a stable neck which is strong enough not to bow under string tension. Providing that any potential neck timber is straight grained, strong, and stable, the final selection can be made on the basis as to what best suits the appearance of the guitar. This is why despite having used mahogany and maple on previous necks, I chose steamed pear for the parlour guitar as it matched the American red gum back and ribs best.

Image

Rather than using a one piece neck as I did on Esmerelda (where the entire neck is cut out of a larger piece of timber, including the headstock and heel block), for the parlour I decided to block up the neck from a single board.

There are two advantages to this approach, firstly the neck can be made from a single 2″ thick board as the heel block and headstock of built up from lengths of the board which are cut off and then glued back on, where as a one piece neck is carved out of a 4″ thick board which generates a lot of waste. Secondly, the transition from neck to headstock is much stronger in a three piece board. This is because the headstock angle on a three piece neck is achieved by rotating an off cut through 180 degrees and using a scarf joint. This puts a strong glue line directly under the nut of the guitar, which is where a great deal of the string tension acts. In comparison, a one piece neck has a lot of short grain under the nut, and consequently is weakest directly at the point where most of the string tension acts against the neck. Anecdotal evidence from professional luthiers who carry out repair work shows that reattaching headstocks to Gibson style one piece necks is a constant way of life – Brook Guitars‘ blog seems to feature at least one Gibson headstock repair every month!

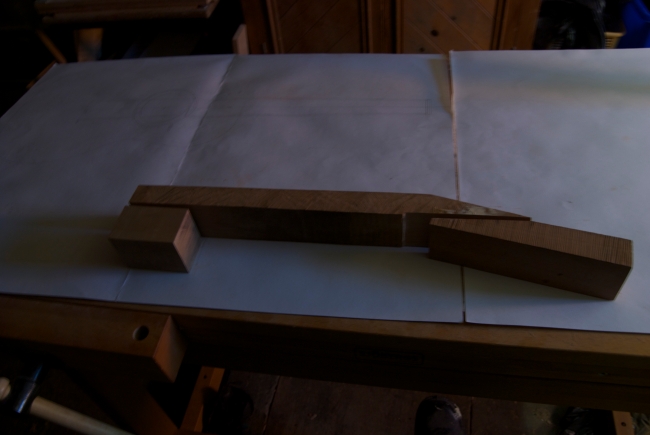
First off I transferred the 13 degree angle for the headstock from my drawing to the board. The resulting short offcut was then flipped upside down to form the corresponding half of the scarf joint. The heel block was similarly built up with a 3″ long section cut from the end of the board, with the three pieces laid out as shown in the below photo.

Image

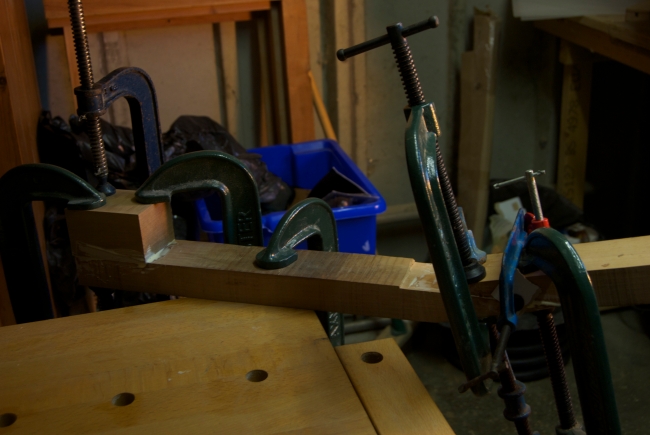
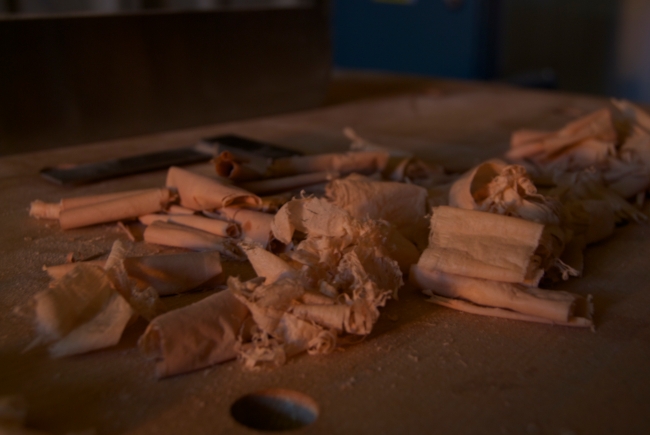
The gluing surfaces were cleaned up with my Clifton No.5 jack plane, and tweaked with the block plane where needed, before being glued with Titebond and clamped to set. This steamed pear works really well – it is hard, but cuts cleanly and produces beautiful thin shavings.

Image

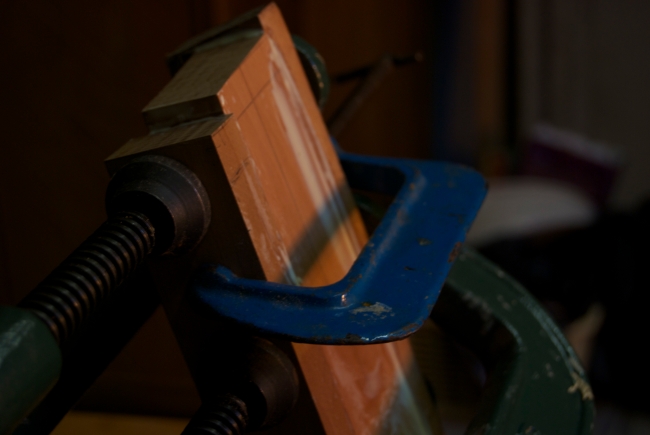
Once the main assembly had been glued up, the final step was to glue “ears” to establish the necessary width for the top corners of the classic paddle shaped headstock.

Image

No Parlour Tricks

While the lacquer is curing on the Telecaster, I’ve been turning my thoughts to the next guitar build. This build is based on a dinky little 19th century parlour guitar which came into the workshop in Totnes for repair. Compared to Esmerelda the parlour is quite tiny;  the widest measurement across the lower bout coming in at 304mm compared to Esme’s shapely 412mm. The delicate feel of the parlour guitar is accentuated by a period correct 12 fret neck to body join.

I started this build in a previous workshop before the summer-of-whiskey-and-tears (an actual period of time) prompted house moves across 3 cities and put all woodworking on ice for a spell. So now that the Telecaster is done save for levelling and polishing the lacquer and final set up, it is high time that I press on with the parlour guitar.

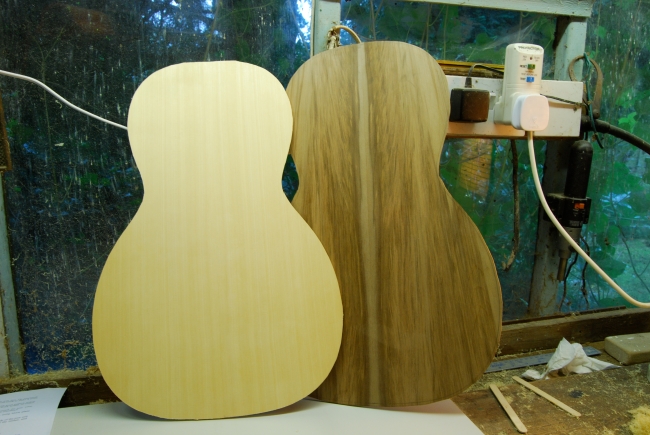
Given the delicate proportions, the parlour guitar is going to be a finger picking guitar, and I have selected timber for a warm but clear and balanced tonality. The back and ribs are a lovely set of American Red Gum (a member of the eucalyptus family, I beleve) which I bought from the very nice chaps at Brook Guitars (by any reckoning one of the best acoustic guitar workshops in the UK). Red Gum has a very clear sound similar to maple, which will be complimented by the warmer overtones of the yellow cedar soundboard.

The neck is a nice, straight grained piece of steamed pear. Ordinarily I would plumb for mahogany for acoustic necks, but the pinkish hue of steamed pear was a better match for the Red Gum back and ribs, and as neck timber contributes very little to the sound of the instrument I decided to go with what looked best.  It is the neck I have been working on recently, and which I will be blogging about in the next couple of days. But before diving into documenting this build, I thought it would be useful to introduce the instrument and outline initial design choices.

Image

Yellow cedar soundboard and American Red Gum back, photographed in my grandfather’s shed, several years ago.

The Anarchist’s Tool Chest

“The mere act of owning real tools and having the power to use them is a radical and rare idea that can help change the world around us and – if we are persistent – preserve the craft…

…I hope to make the case that most woodworkers I’ve met are ‘aesthetic anarchists’ – people who work with their hands, own their tools and seek to live in a world where making something (anything) is the goal of each day.”

– C Schwarz, The Anarchist’s Tool Chest

It is difficult to understate the impact The Anarchist’s Tool Chest had on the way I approach my woodwork. The half articulated ideas which had been slowly fermenting since the course in Totnes finally coalesced, with Schwarz filling in the gaps and signposting where the path could lead. This was an approach which meshed with my own embryonic thoughts on woodworking, another Eurika! moment.

In addition to being an important work about the ideas behind hand tool working, The Anarchist’s Tool Chest is also a fantastic project. Which is why I am very excited to have booked a place on Chris Schwarz’s first class in the UK, this July. Hosted by the New English Workshop, Chris is teaching a five day course on building the ATC.

You can expect a detailed account of the course here. Roll on 21 July!

No lacq-of spray-cess (apologies for the pun)

20140209-190852.jpg

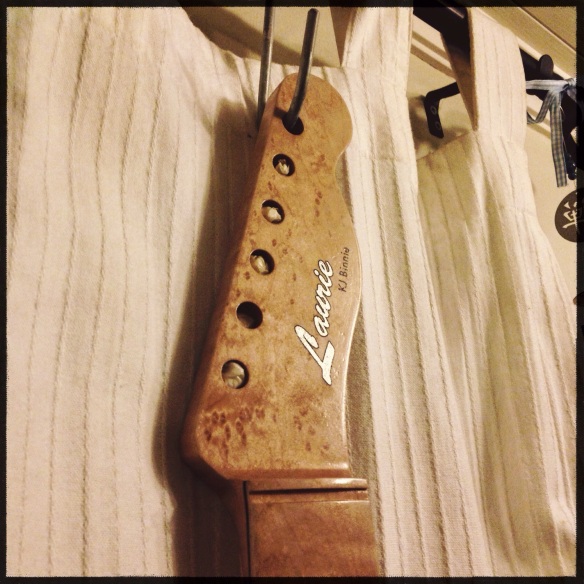
Despite the lack of a real update of late, I’ve been spending a lot of time in the workshop spraying lacquer on the Tele build. The last coat went on the neck a few hours ago (12 coats in all) and it will now hang for 2 weeks before I flatten the lacquer and buff to a high gloss.

The colour work on the body (a lovely mid-50s butterscotch blonde) is taking longer, but all being well the guitar should be ready for playing in mid March.