Spanish Slippers, part 2

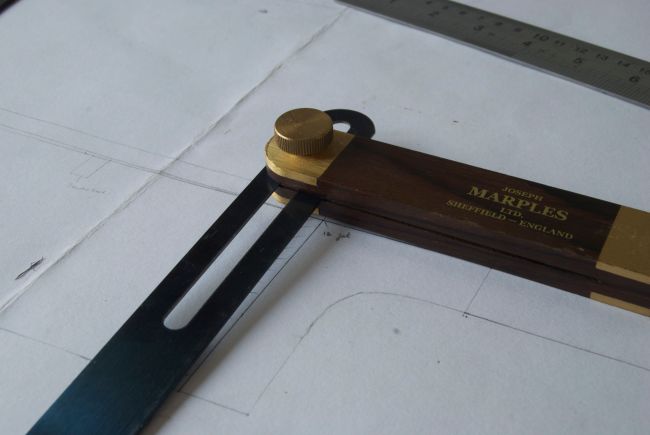
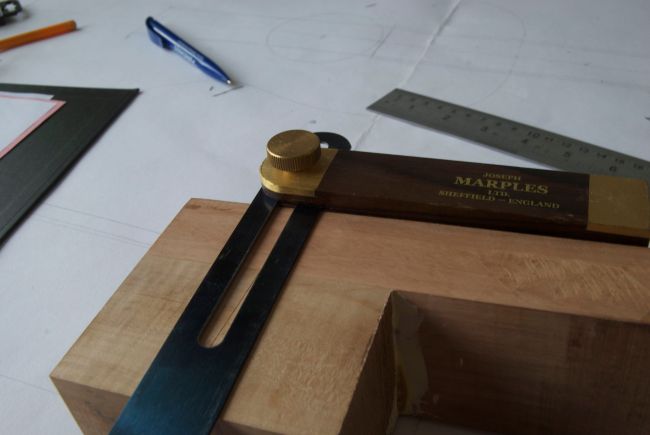
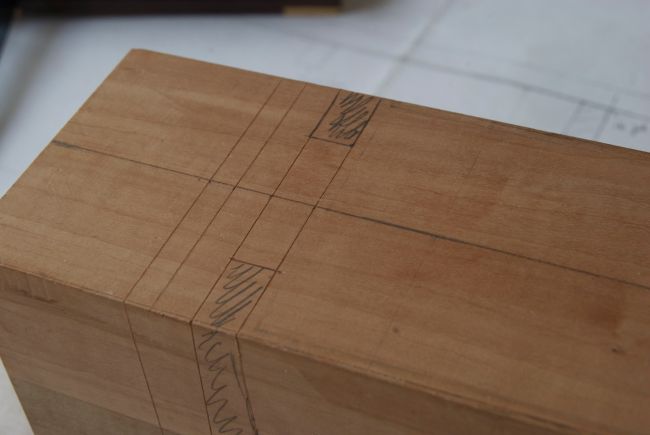
In my last post, the slots for the Spanish Heel joint had been marked onto the neck blank of the parlour guitar. The next task was to cut those slots ready to accept the guitar sides and the wedges which will hold the sides in place.

This is the specific operation for which I ordered my Bad Axe carcass saw earlier this year, as I wanted a saw which would make precise cuts which needed little clean up. The saw performed perfectly, cutting through the steamed pear swiftly but retaining control and precision, so that the cut stopped bang on the baseline. Having cut a little inside the layout lines, the waste was knocked out with a mortise chisel and mallet.

Image

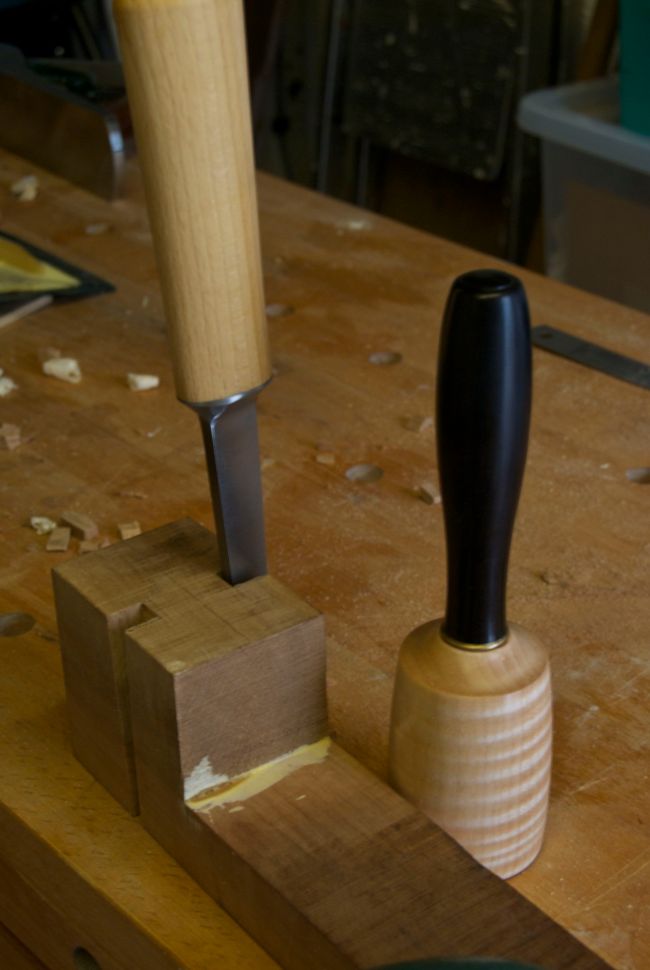
The most important, and painstaking, part of cutting the heel slots is paring the walls of the slots back to the layout lines and truing them so that the walls of the slots are perfectly straight long their length, and vertical. To do this  I use a 1″ chisel with the fingers of my right hand wrapped round the handle, my thumb pressing on the end of the handle, and my left hand pulling the blade of the chisel into the slot wall to maintain a vertical cut.

DSC_0226

I start by removing half of the waste material along the length of the slot, then half of what remains, then half again, until the chisel is sitting in the kerf of the marking knife line. Once the chisel is sitting in the marking knife kerf, I pare half an inch at the end of the slot to true. I then work along the length of the slot, using half the width of the chisel, with the other half registering against the wall of the slot already pared to true. This prevents a bulge or a hollow developing along the length of the slot.

DSC_0227

To check that the slot walls are straight in both directions (along the length and depth) I use a simple mahogany wedge which has been planed flat along two edges. In Totnes we used a metal wedge shaped straight edge, but I have been unable to find anything similar in the past 7 years (if any readers know where a straight edged wedge can be purchased, please do let me know). Any final tuning of the slots can be done with chisel, and a fine rasp (I use a 7″, 13 grain Auriou modellers rasp).

The slots are now at their final depth and shape, and are ready for the sides and wedges to be fitted when the guitar is assembled. The next work on the parlour guitar will be shaping the heel, and installing the truss rod, both of which I will cover in future blog posts.

Spanish Slippers, part one

Now that Laurie is complete, I am focusing on the parlour guitar build I last wrote about in February. When we left the parlour guitar earlier this year the neck blank had been glued up. The first task was then to true the gluing surface for the fretboard (both flat, and square to the sides of the neck blank), and to plane the headstock to the correct angle. All of this was achieved using my trusty Clifton No 5 plane (almost certainly my favourite hand tool), checking with a straight edge to ensure that the gluing surface was free of hollows or bumps. A couple of areas were also worked locally with a block plane.

Image

Once the neck had been planed true and square, I marked out the centreline, edge of the fretboard (the neck blank is at present oversized), position of 12th fret and the nut, using a making knife. The centreline was carried over the heel block and onto the base of the heel. In the past I’ve used a scalpel although I now use a marking knife by Blue Spruce Tool Works. I find the marking knife to give a clearer, deeper, line than the scalpel, and has the advantage of being less flexible than the scalpel blade (which makes it less prone to wandering). The large flat back of the marking knife blade also registers against a ruler or square better when marking round several faces of timber, which is particularly advantageous when transferring the centreline to 3 faces of the heel block.

There are a number of different ways to attach acoustic guitar necks to their bodies, and although bolt on necks are increasingly popular, I use the more traditional Spanish Heel (also known as the Slipper Heel) joint. In this joint, the neck contains an integral heel block (rather than the heel block being separate, as with bolt on necks), and slots are cut into each side of the neck, into which the sides are wedged. The soundboard and back are then glued to the neck. This provides a very stable, strong joint, although obviously does come at a cost if there is ever a need to reset the neck.

Image

Before I could cut the slots for the Spanish Heel I needed to calculate the angle of the neck in relation to the body, which would in turn dictate the angle of the heel slots. This angle is calculated by reference to the location of the neck/ body join (12th fret in this case), the neck wood being used, and the intended gauge of strings and desired playing action. Rather than manually calculating the neck angle for each guitar, I have built an Excel spreadsheet which contains the 3 formulae, into which the specific measurements for each guitar can be input (geometry not being something I want to spend anymore time on than necessary).

For this guitar, the neck will be angled back so that the top edge of the neck is 4mm below the body datum at the first fret. Having plotted the position of the neck onto the technical drawing for the guitar, I could then transfer the angle of the heel slot at the 12th fret onto the neck blank using a sliding bevel and marking knife.

Image

The heel slots are 8mm wide at the top of the neck, and 12mm wide at the bottom of the heel, with a depth of 14mm. These dimensions were then plotted out on the neck blank.

Image

The neck post will look at cutting the Slipper Heel slots to accept the guitar sides.

Growing A Nest of Saws

There is lot less sawing involved in lutherie compared to traditional joinery – I managed to build the Telecaster using only a bandsaw, a coping saw, and 10″ fret slot saw. That being said, cutting the slipper heel for acoustic guitar necks requires a good carcass saw, and given that this year’s major project will be the Anarchist’s Tool Chest, I thought it was time to grow my nest of saws. To this end, in December I put down a deposit on a 12″ carcass saw from Bad Axe Tools, which I followed with the deposit on a 10″ dovetail saw earlier this year.

Mark Harrell at Bad Axe is incredibly helpful, and when I first placed the orders he asked me for details of what sort of projects I would be using the saws on, and particularly the types of wood and timber thicknesses I commonly work with so that the saws could be sharpened to best suit those projects. Mark also asked for precise measurements of my hand so that he could ensure that the saw totes fitted my hand perfectly, and to my knowledge he is the only major saw manufacturer who offers this service.

Four months of waiting seemed like an age, although Mark kindly kept me informed throughout the build process so that I was never left wondering what was going on. The saws arrived last weekend, and I have spent the past week putting them through their paces. The wait was most definitely worthwhile, and the saws have exceeded my expectations. The fit and finish on both tools is perfect – the saw plates are dead nuts straight, the nuts fit exactly with no gaps, and the totes are comfortable. The sizing options means that the totes fit my hand perfectly, and the finish is delightfully tactile.

These are not just beautiful tools to look at though, they also perform as well as they look. I rummaged through my scraps box to find choice pieces of maple, swamp ash, mahogany, steamed pear, and pine. The saws took all of this in their stride, and even the hard maple was no problem. Mark’s reputation as a skilled saw sharpener are well deserved as these saws are razor sharp. I find that cheap saws can make starting the cut difficult, with a lot of chatter until the saw gets going. There is no such problem using either of my Bad Axe saws – both start cleanly on the first push and cut with precision.The carcass saw leaves a finished surface which requires practically no clean up, while the dovetail saw is aggressive in the cut yet wonderfully balanced and controlled.

A good tool is one which does it’s job well with the minimum of fuss. A great tool is one which does all that, and also inspires the user to improve their skill set, to use the tools, and to create. These are great saws, by any definition. And more than that, they are heirloom quality tools which I have no doubt my grandchildren will be using.

I cannot recommend Bad Axe Tools highly enough. I will definitely be adding a Bad Axe tenon saw to my tool chest later on this year.

DSC_0202

12″ carcass saw.

DSC_0200

10″ ‘Doc Holliday’ dovetail saw.

DSC_0213

There’s mojo in a pair of saws.

DSC_0211

The dovetail saw, with gunsmith niter-blued saw nuts on mesquite tote.

DSC_0208

While the carcass saw has the classic combination of brass nuts and maple tote.

DSC_0204

The inclusion of branded carpenters pencils is a nice touch, as are the included tooth guards in timber to match the totes.

DSC_0206

Wonderful etching on the saw plate.