Of all the processes for the Apprentice’s Stick Chair, shaping the sticks has been the one which has felt the most outside the my sphere of experience – the least like the lutherie or furniture making I am used to. There are no layout lines, no reference edges, just the stick in your hand and the dictat to “think round“. It has also been one of the most enjoyable elements of the build, maybe for precisly that reason.
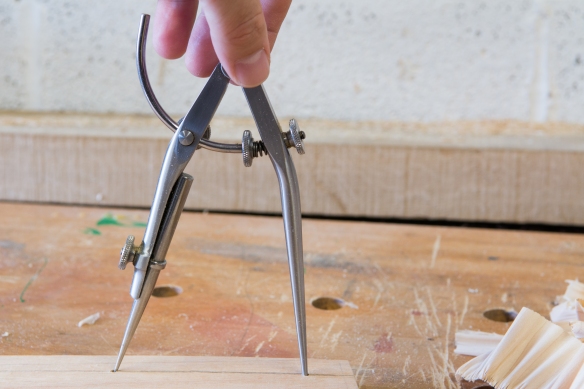
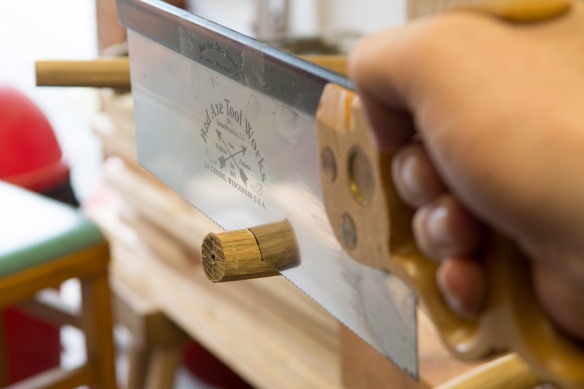
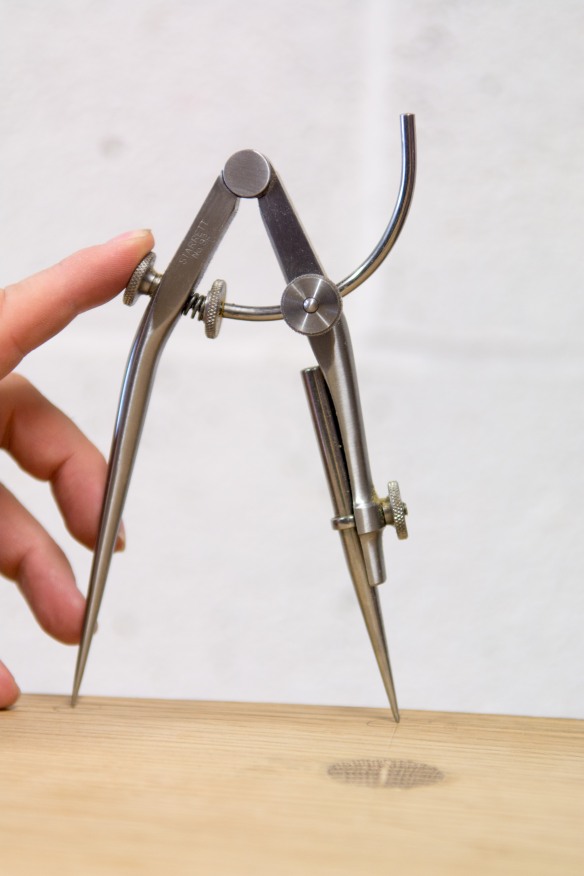
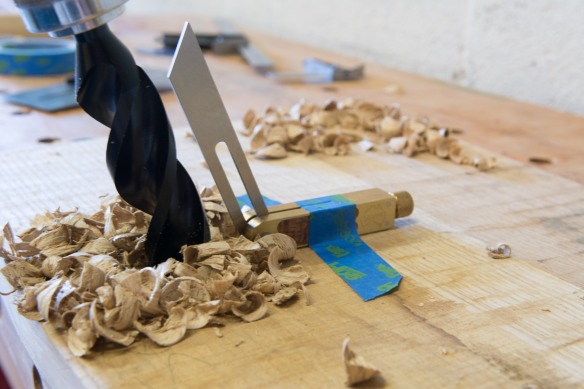
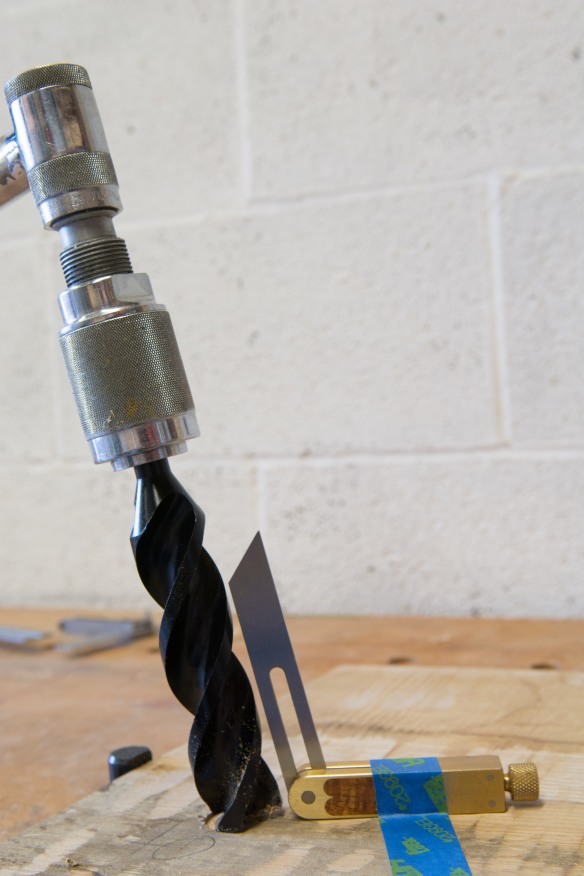
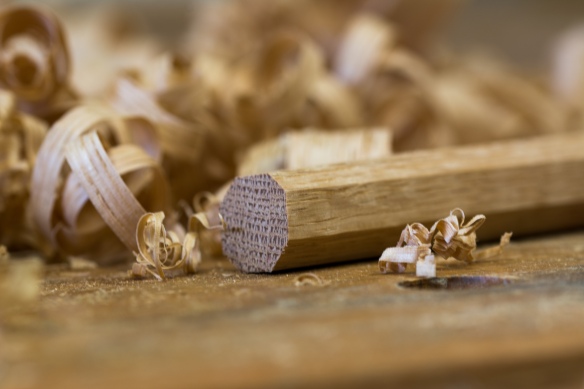
The sticks are 17 1/2″ in length, and oak (the traditional timber choice for sticks). The blanks start off at roughly 3/4″ square, before being shaved to a pleasing round profile and to the correct diameter. I drilled two holes in an offcut of oak to guide the process – one with the auger bit I used to drill the stick mortises in the seat, and the second with the 1/2″ forstner bit I will use to drill the comb. One of the things I’ve found recently is that there can be significant variations of the same size drill bit or chisel between manufacturers, so having test mortises for each drill bit I am using is essential. These test mortises tell me when the tenons are at final dimension, and avoid reaming out the mortises on the seat by testing overly large sticks.
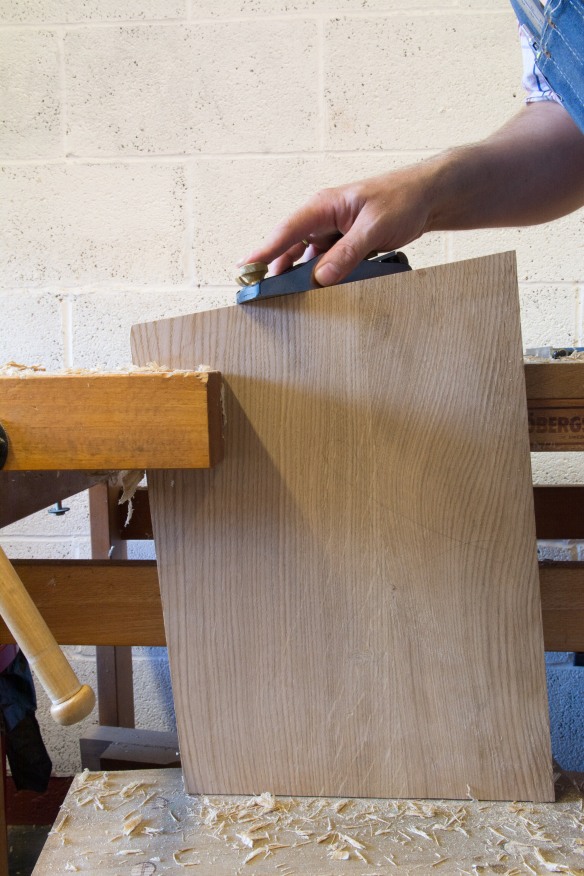
Start with a rough octagon, and then plane to a smoother cylinder
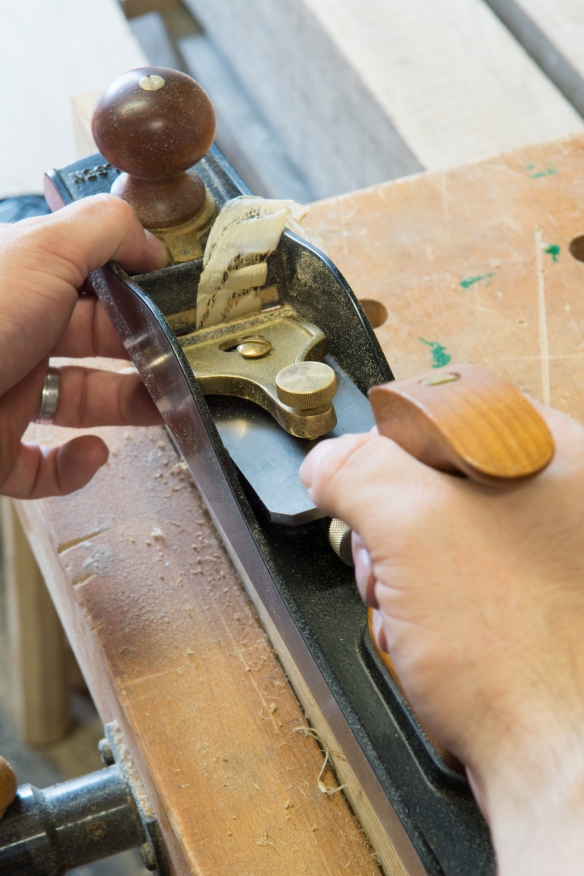
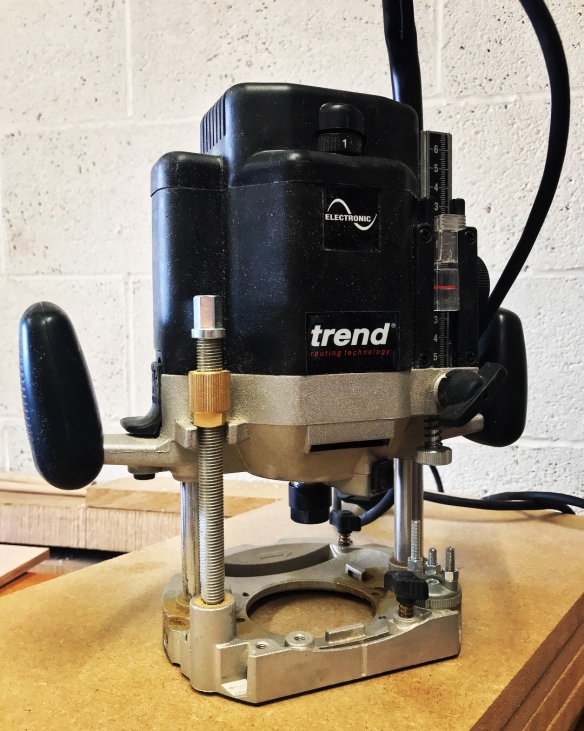
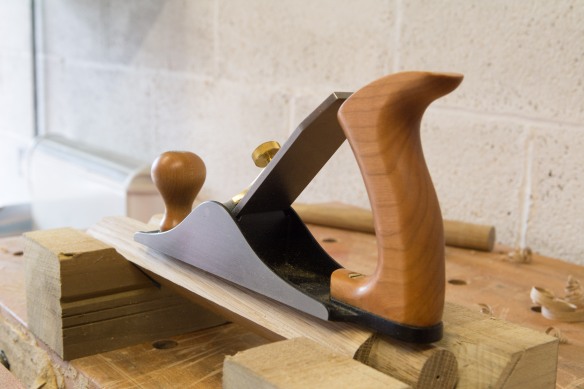
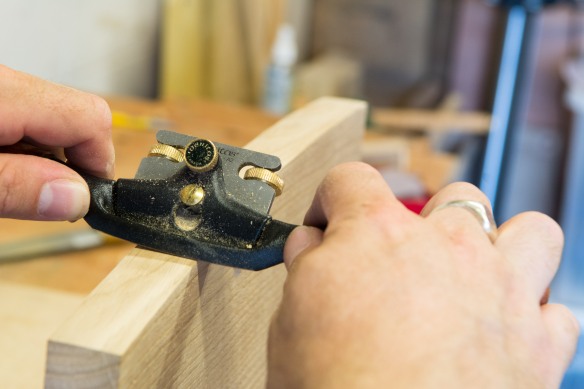
I’ve been doing all of the shaping work for the sticks with two block planes – a Lie-Nielsen No.101 and the Krenov style Padauk block plane Jim made me this summer. You could easily shape the sticks with only one plane, but when doing a mini production run of the five sticks I found it quicker to have two planes on the bench – one with a rank set iron for heavy stock removal (those corners aren’t going to remove themselves now, are they) and the other set for a very fine cut.
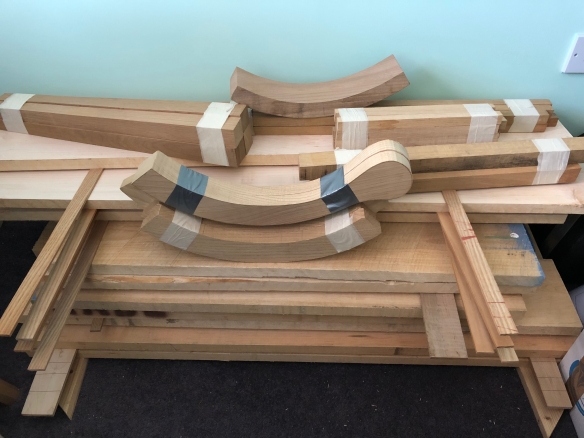
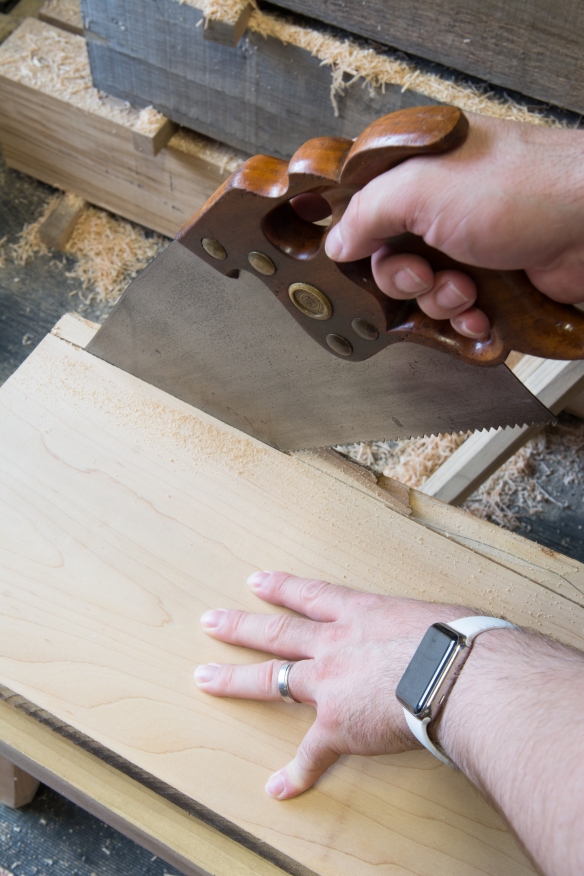
The sticks had been broken down to their rough dimension on the bandsaw when I started this build, including a couple of spares (always have spare sticks), which gave them ample opportunity to acclimatise and settle before being shaved. The first step is to bring the blanks down to a rough octagon by knocking off the corners – I do this purely by eye and without any layout lines, setting the stick against a bench dog and steadying it with my off-hand while taking heavy strokes with the block plane.
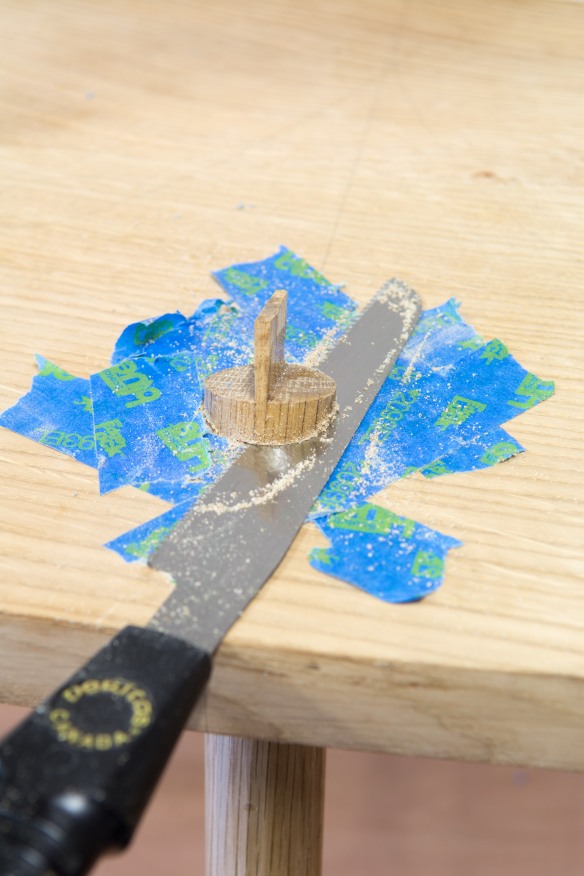
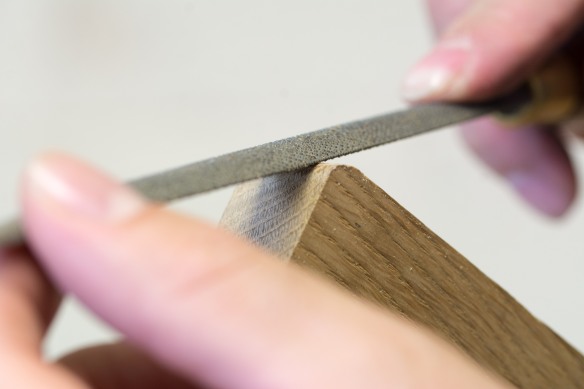
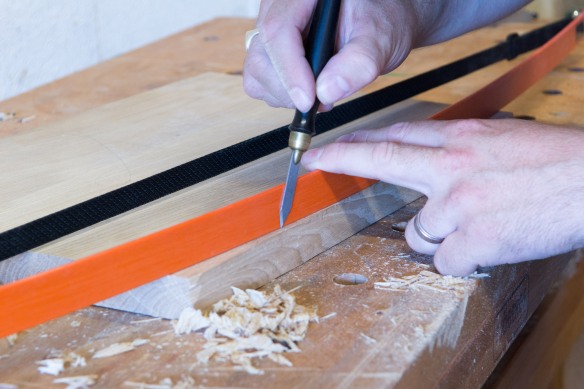
Test the stick in the mortise, and then shaving away the burnishes areas for a perfect fit.
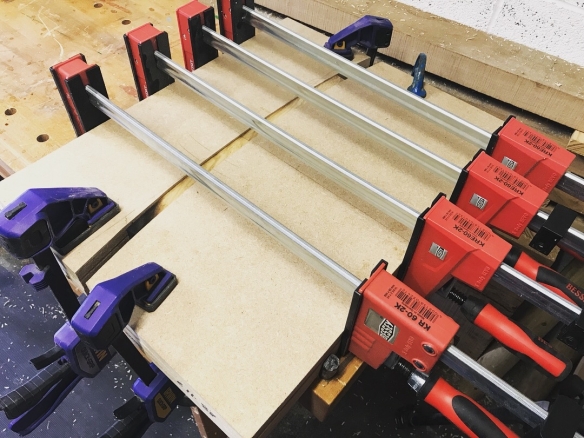
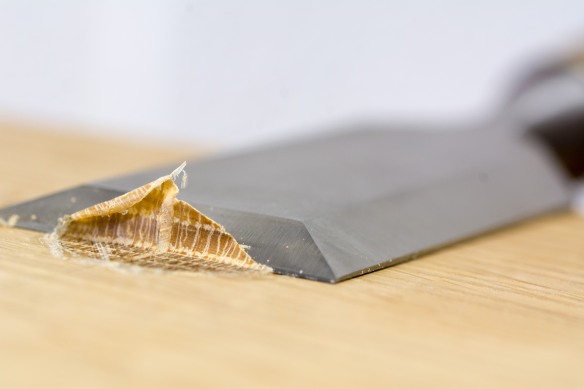
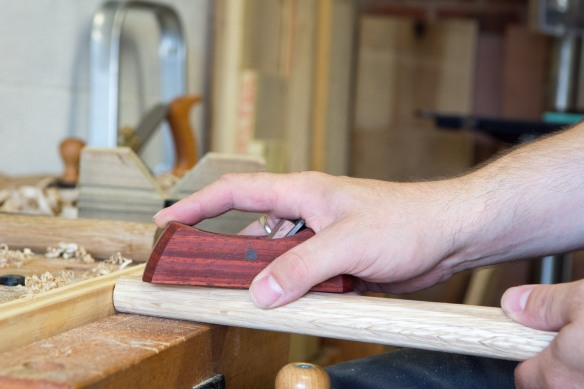
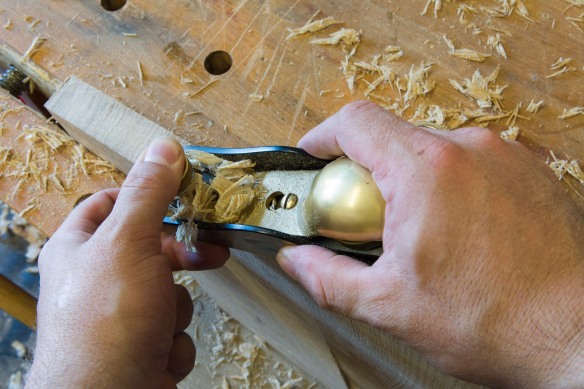
Once the corners are knocked off, it is time to round the sticks, using a similar process to how I rounded the chair legs. I set a tapered piece of scrap in the vise to act as a planing stop while supporting the far end of the stick in my hand . Being tapered in height means that as the stick comes closer to final dimension I can register the end of the stick against a lower section of the stop, rather than having to reposition the whole stop in the vise, which saves time. The far end is difficult to plane while you are holding it, so I round the stick by taking long strokes along 3/4 of the stick length, staying with the coarse set plane for now, and constantly turning the stick round. The aim is to remove the corners of facets and bring the stick into a smooth cylindrical shape.
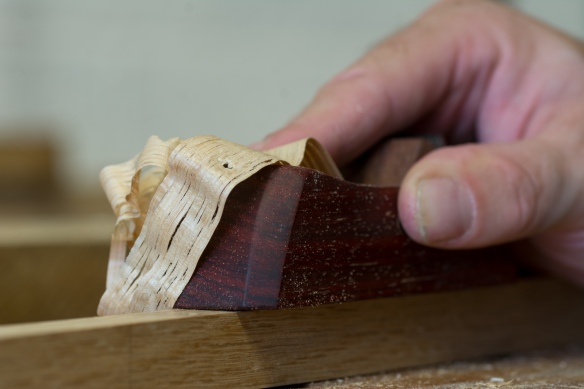
Once I get close to the final size I change to the finely set plane, still working along 3/4 of the stick’s length, and constantly rotate the stick in my off-hand as I work. One of the difficult elements of shaping the sticks compared to flat work is that reading the grain is much more difficult, and also important. When using four-sided boards it is easy to tell from the reference edge and end grain which direction the grain is moving. But as the sticks become more cylindrical there are fewer visual cues. Fortunately, with mild timbers, using a very sharp and finely set plane, and skewing the plane heavily, it is possible to ignore grain direction somewhat. On more orney stock, it becomes a case of remembering where the trouble spots are and reversing the direction in which you plane.
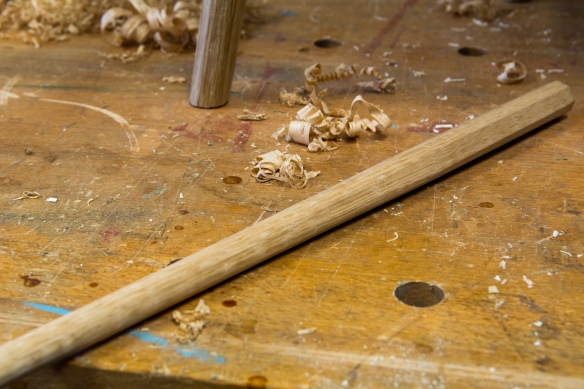
The stick part way through shaping – one end is fitted, and and I blend in the shape as I fit the other end
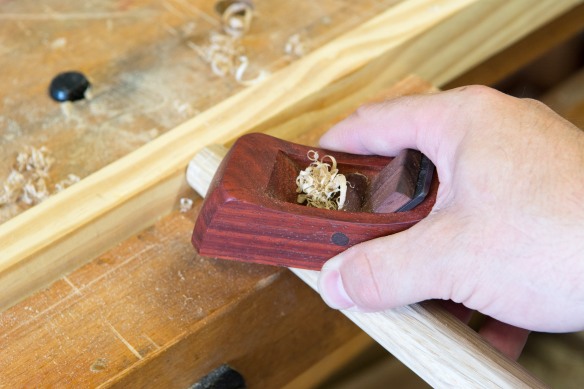
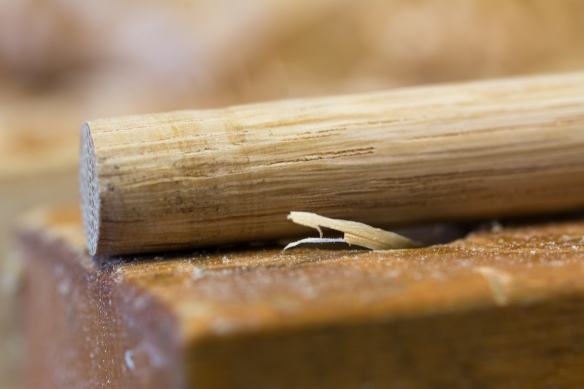
Once the stick is cylindrical and close to final dimension, I try it in the test mortise and plane away any burnished areas, as these are the high spots. I’m aiming for a “squeaky” fit, but one which goes a full 1″ into the seat mortise. Once that end is done, I swap the stick round so that I am working the the comb-end of the stick. That end is still octagonal in cross section at this point, although the stick tapers into a cylinder from about 1/4 of the length. I work that end, blending the octagonal end into the existing cylindrical elements of the stick until it is consistently round and fits the test mortise for the comb.
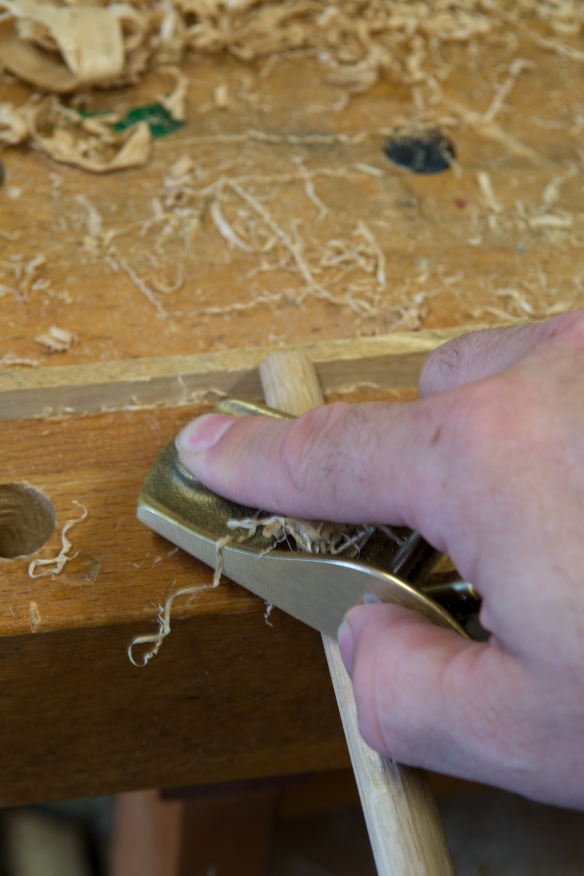
Skewing the plane and using a very fine cut helps to control tearout
Finally, as much as I dislike sanding I do then hit the sticks with 120 grit abranet briefly. This helps to remove any remaining light tearout, and to smooth the sticks off. The end result is a stick that looks round, and doesn’t have too many obvious facets, but has obviously been rounded by hand rather than machine.

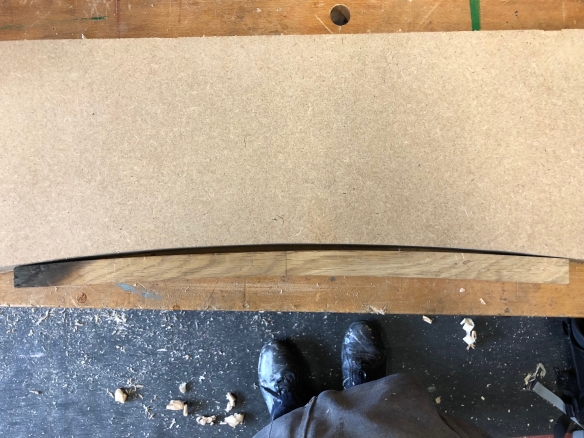
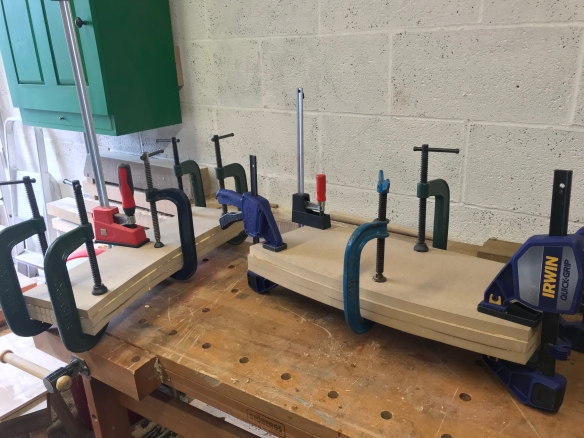
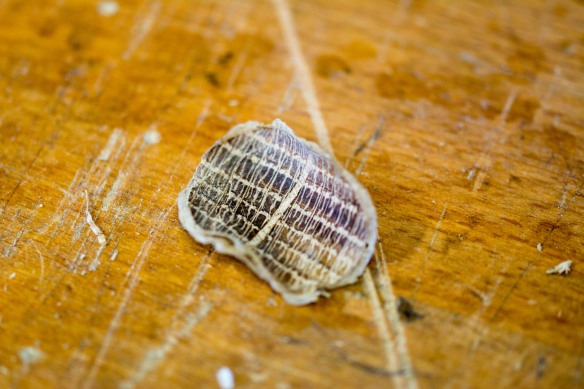
The first two sticks using oak left over from the Anarchist’s Tool Chest had shakes running throughout. So they went in the burn pile.
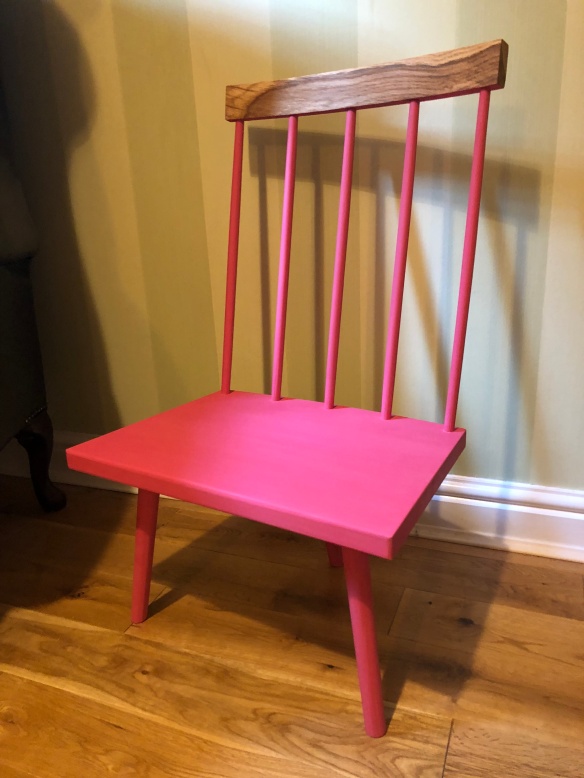
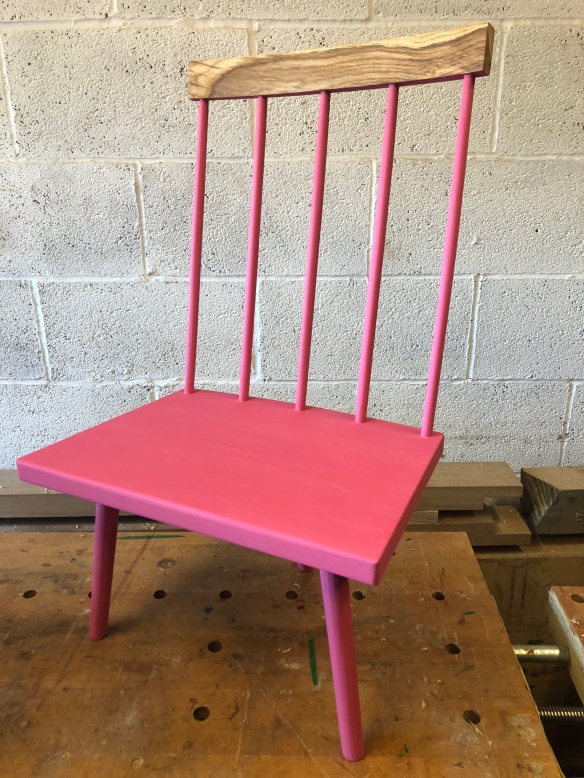
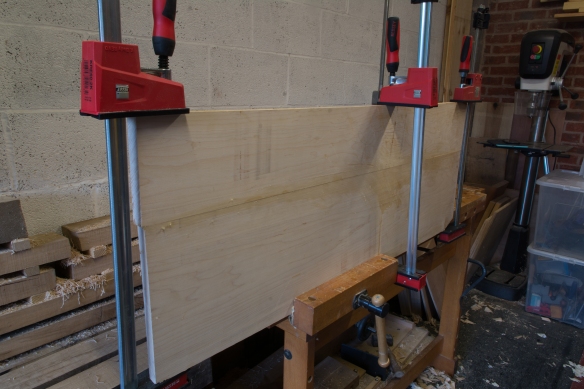
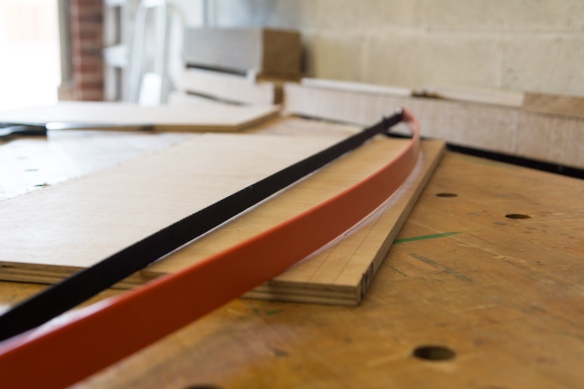
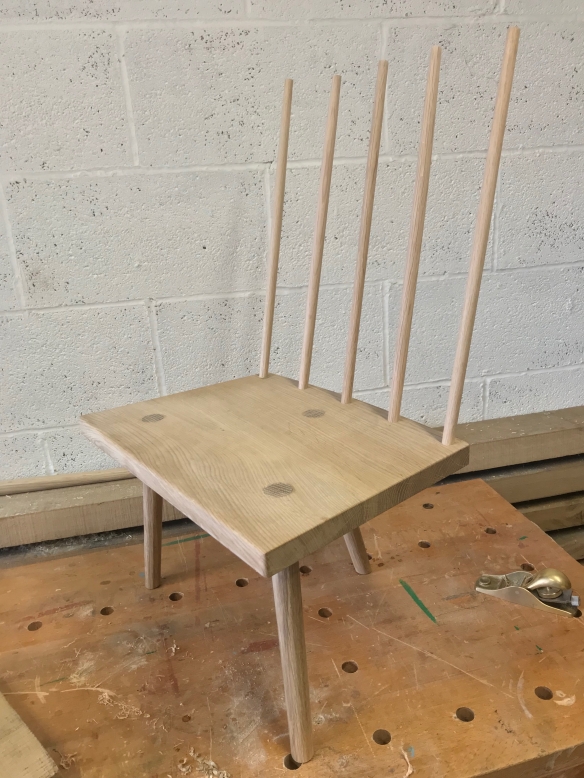
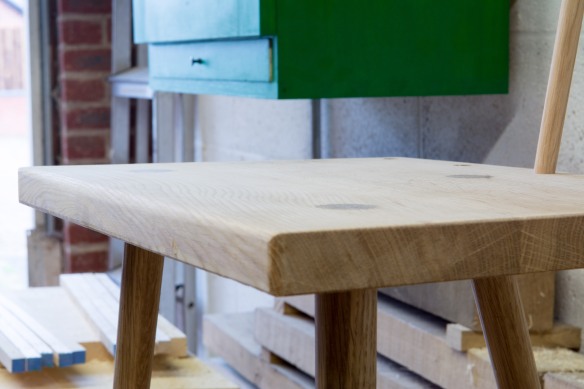
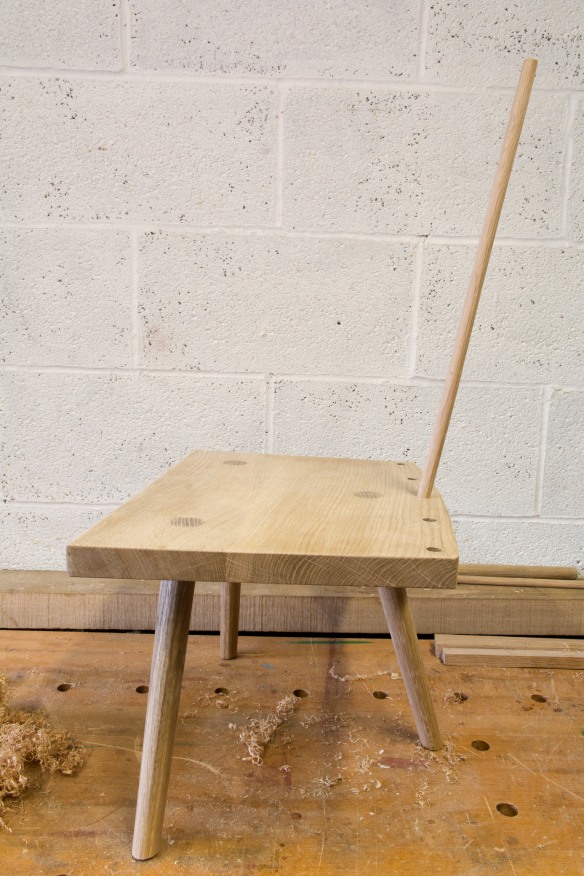
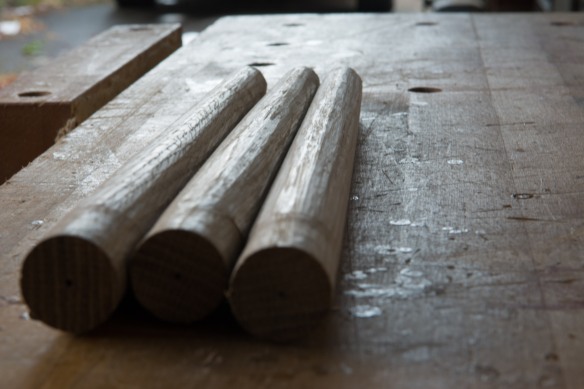
The oak I’ve been using for these sticks comes from two sources, all of it left over from previous projects. Some is left over from the Policeman’s Boot Bench, and has been wonderfully mild to work. The rest is excess stock I bought for fitting out the Anarchist’s Tool Chest in October 2014. That oak has been more problematic, despite never having had issues with the stock that actually made it into the tool chest. The first two of the sticks from the ATC oak revealed deep shakes along their length once I had finished shaping them (it only ever happens after you’ve put the work in, right?). So those were scrapped instantly – this is one of the reasons it pays to have spare sticks. Fortunately the remaining sticks are all perfectly fine. I couldn’t resist dry-fitting the first four sticks, and the chair is starting to look quite nice.
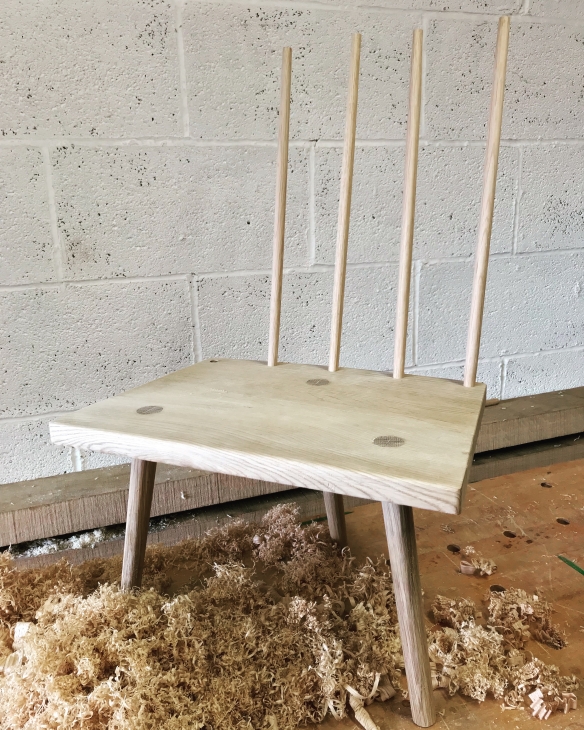
Four sticks down, one to go.